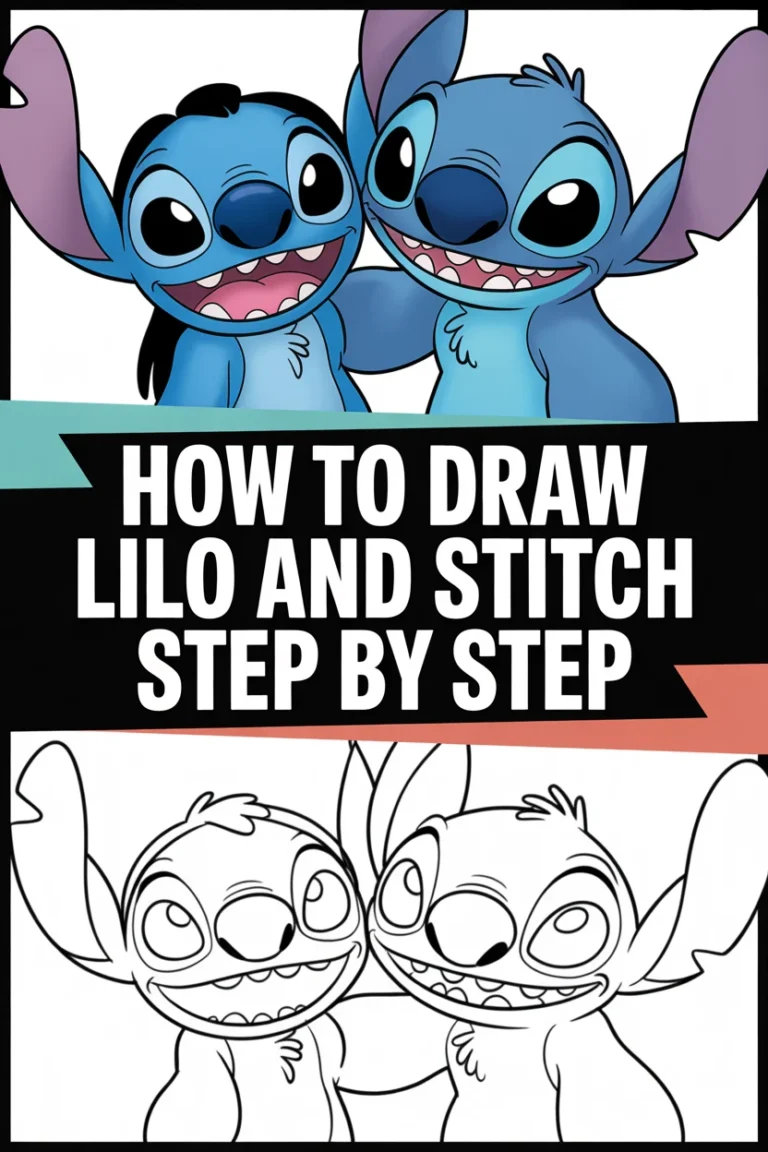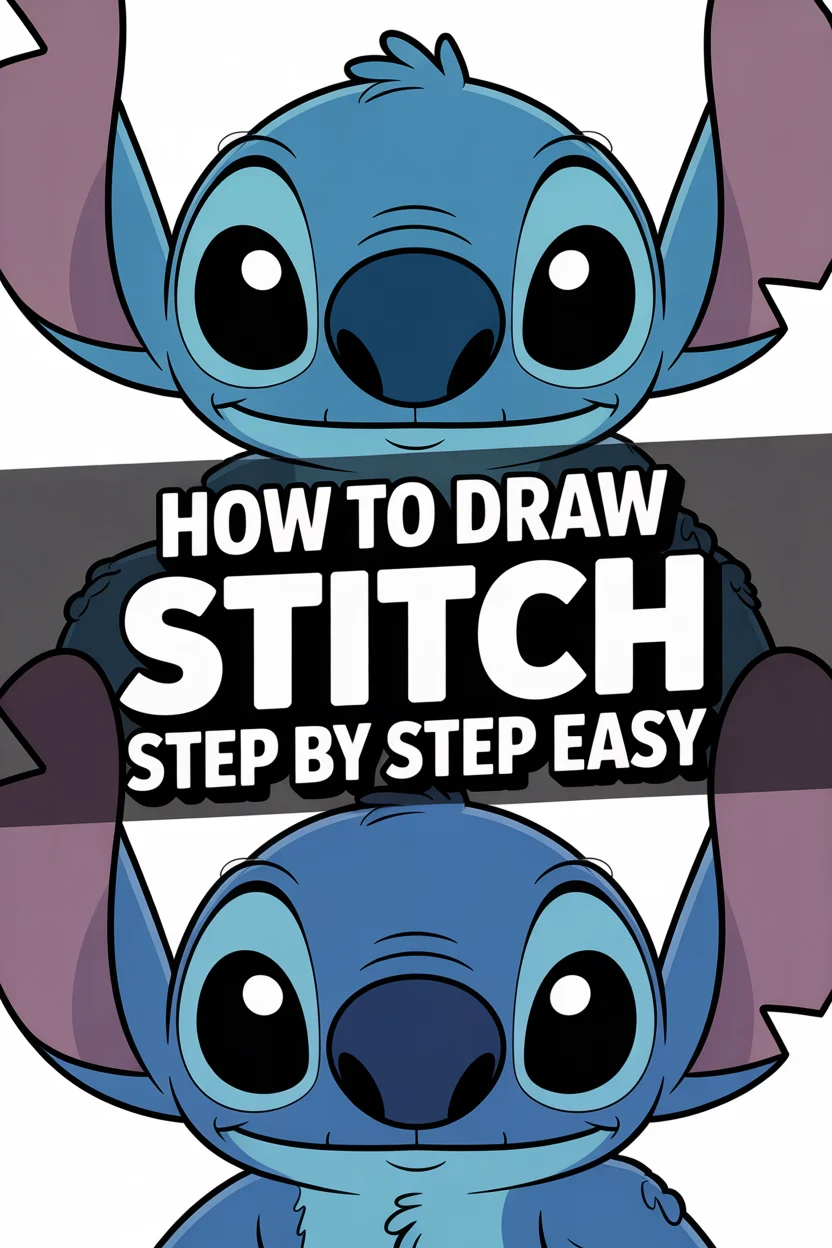
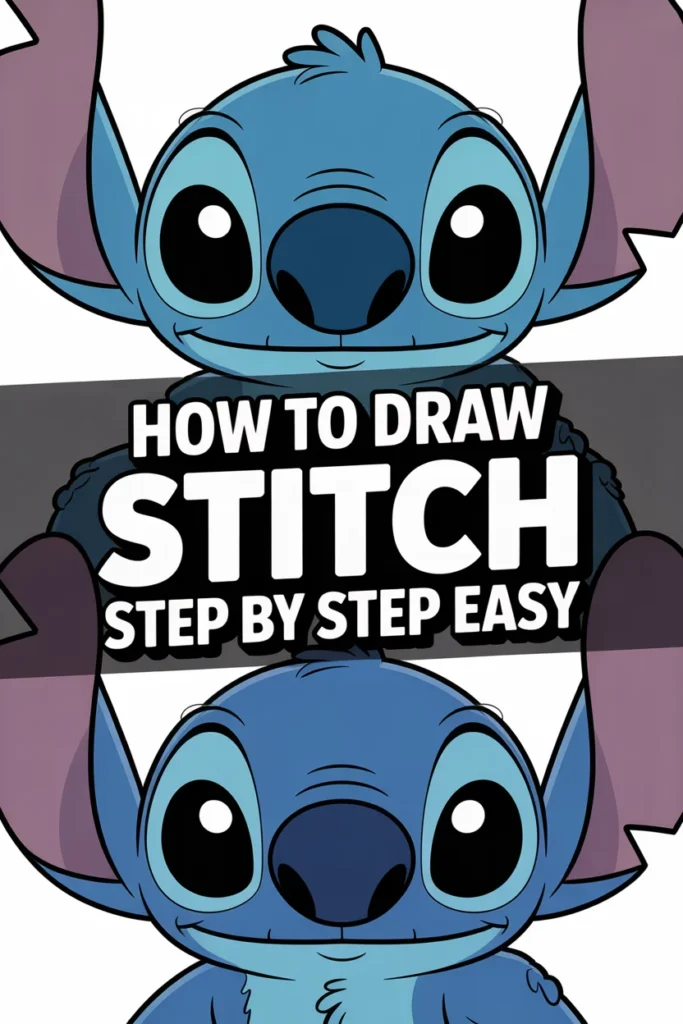
👽 How To Draw Stitch Step By Step Easy

& Painting
No rigid rules or pretension. Just practical guides, medium comparisons, and encouraging tips to help you enjoy the drawing & painting process.
Learning to draw your favorite characters is a fantastic way to boost your creative skills.
I remember the first time I tried to draw Stitch; it felt daunting, but breaking it down made all the difference.
This guide will walk you through each part, making it simple and fun for anyone to create their own adorable alien.
Quick Overview
In this guide, you’ll learn to sketch Stitch, the lovable alien from Disney’s Lilo & Stitch, using easy-to-follow steps.
You’ll build confidence in your drawing abilities and end up with a fantastic drawing of everyone’s favorite “dog.”
- Time needed: 45-75 minutes (depending on detail and coloring)
- Difficulty: Beginner
- What you’ll need: Pencil (HB or 2B), eraser, paper, optional: black fineliner, colored pencils or markers
Step-by-Step Instructions
Step 1: Sketch the Basic Head Shape
Begin by drawing a large, slightly flattened oval for Stitch’s head.
This oval should be wider at the top and narrow slightly towards the bottom, almost like an inverted egg shape.
Don’t press too hard with your pencil; these are just guide lines.
Pro Tip: Use light, feathery strokes when starting. This makes it much easier to erase mistakes without damaging your paper. Think of it as “feeling out” the shape.
Step 2: Add the Body and Facial Guidelines
Draw a smaller, somewhat rounder oval beneath the head for Stitch’s torso.
Overlap it slightly with the bottom of the head oval to connect them naturally.
Next, draw a vertical line down the center of Stitch’s head, and two horizontal lines across it.
The first horizontal line should be about halfway down, and the second one slightly below it, defining where his eyes and nose will sit.
Step 3: Shape the Large Ears
Attach Stitch’s iconic large ears to the sides of his head.
Each ear should be a long, curved shape, tapering to a point at the top.
They should extend quite far out from his head, giving him his characteristic look.
The inner line of each ear should curve gently inward, creating a sense of depth.
Step 4: Place the Eyes and Nose
Position two large, almond-shaped eyes on the upper horizontal guideline, one on each side of the vertical line.
Leave a good amount of space between them for his nose.
Below the eyes, on the lower horizontal guideline, draw an oval for his large, dark nose.
The nose should be quite prominent and slightly wider than it is tall.
Step 5: Sketch the Mouth and Cheeks
Draw a wide, curved line beneath the nose for Stitch’s mischievous smile.
You can make it a gentle curve for a happy expression or a more open “U” shape for a playful look.
Next, add two small, rounded bumps on either side of his mouth to indicate his prominent cheeks.
These add to his cute, alien appearance.
Pro Tip: Pay attention to the spacing. Stitch’s features are often close together, giving his face a compact yet expressive quality. Adjust your guidelines as needed.
Step 6: Outline the Limbs and Claws
Sketch his short, sturdy arms extending from the sides of his body.
They should be relatively thick and end in three distinct, rounded fingers with small, sharp claws.
For his legs, draw two slightly thicker, powerful shapes extending downwards.
His feet should also have three rounded toes with visible claws.
Remember that Stitch has a somewhat squat, powerful build.
Step 7: Refine Details and Inner Ear Lines
Now it’s time to add the inner details.
Draw the pupils within his eyes, usually large and round, giving him an innocent or curious gaze.
Add a small, curved line inside each ear to show the inner ear structure.
These lines help define the shape and make the ears look less flat.
Refine the contours of his head, body, and limbs, making them smoother and more defined.
Step 8: Ink and Erase
Once you are happy with your pencil sketch, carefully trace over all your desired lines using a black fineliner or a darker pencil.
Take your time here to ensure clean, crisp lines.
After the ink is dry, gently erase all the underlying pencil guidelines.
Your Stitch drawing should now stand out clearly.
Step 9: Color Your Stitch (Optional)
This is where Stitch truly comes to life!
Color his main body a vibrant blue, with a lighter blue for the inner ear and the area around his mouth.
His nose is typically a dark blue or black, and his claws are a light grey or white.
His eyes can be black with white highlights to make them sparkle.
Pro Tip: When coloring, use smooth, even strokes in one direction for a consistent look. Layering colors can add depth and dimension to your drawing.
Common Mistakes to Avoid
Disproportionate Head and Body
Many beginners make Stitch’s head too small or too large compared to his body.
This can make him look less like the character you know.
Always start with the basic shapes and ensure the head is significantly larger than the body, but still balanced.
Flat Ears
Stitch’s ears are a huge part of his character, and drawing them as simple flat triangles misses their charm.
Remember to give them a gentle curve and add the inner ear line to show their three-dimensional quality.
Lack of Expressive Eyes
Stitch is known for his wide, expressive eyes.
Drawing them as plain circles without pupils or highlights can make him look lifeless.
Focus on the almond shape, the large pupils, and a small white highlight to give them sparkle and personality.
Too Many Sharp Angles
Stitch is a creature of curves and rounded edges, even with his sharp claws.
Overly sharp angles in his head, body, or limbs can make him appear rigid and less friendly.
Aim for smooth, flowing lines to capture his organic, alien form.
Troubleshooting
My Lines Are Too Wobbly
Wobbly lines often come from drawing too slowly or with too much hesitation.
Try to draw your lines in one confident, swift motion, even if it means lifting your pencil slightly.
Practice drawing long, smooth curves on a separate sheet to build muscle memory.
Stitch Looks Off-Balance
If your Stitch drawing feels lopsided, it’s likely an issue with your initial guidelines.
Go back to Step 2 and ensure your vertical and horizontal lines are truly centered and level.
These foundational lines are crucial for overall symmetry.
I Can’t Get the Right Proportions
Proportions are tricky, and it’s a common struggle.
Use reference images of Stitch and pay close attention to how his head relates to his body, and how long his ears are compared to his head.
You can even lightly measure ratios on a reference picture to help train your eye.
Key Takeaways
- Always start with light, basic shapes like ovals and circles to build your foundation.
- Use facial guidelines to accurately place Stitch’s eyes, nose, and mouth.
- Stitch’s large, curved ears and expressive eyes are key to his recognizable look.
- Refine your lines gradually, moving from rough sketches to cleaner outlines.
- Don’t be afraid to erase and redraw; practice is how you improve.
- Adding color brings your drawing to life and completes the process.
Frequently Asked Questions
What kind of pencil is best for sketching?
An HB or 2B pencil is ideal for initial sketches. They are soft enough to create light lines that are easy to erase, but also dark enough to see clearly.
How can I make Stitch’s expression more mischievous?
To give Stitch a mischievous look, exaggerate his smile slightly, maybe with one side curving up a bit more. You can also add slightly raised eyebrows or a hint of a furrow in his brow.
Should I draw all the details at once?
No, it’s best to build up your drawing in layers. Start with the largest, most basic shapes, then add larger features like ears and limbs, and finally move to smaller details like pupils and claws. This layered approach prevents feeling overwhelmed.
What if my drawing doesn’t look exactly like Stitch?
That’s perfectly normal, especially when you’re starting out! The goal is to learn and enjoy the process. Every artist has their own unique style, and slight variations make your drawing unique. Keep practicing, and you’ll see improvement over time.
Our Top Recommended Finds
- Sketchbook with Quality Paper: A good sketchbook prevents bleed-through and handles erasures better, making your drawing experience smoother.
- Set of Graphite Pencils (HB, 2B, 4B, 6B): Having a range of pencil hardness allows for varied line weights and shading, adding depth to your art.
- Kneaded Eraser: This type of eraser is gentle on paper and lifts graphite without smudging or leaving crumbs, perfect for clean corrections.
Unleash Your Inner Artist Today!
You now have all the tools and steps you need to bring Stitch to life on paper.
Don’t wait; grab your pencil and paper and start sketching this adorable alien right now.
Remember, every stroke is a step towards improvement, and the most important thing is to have fun with your art.
Once you’ve mastered Stitch, why not try drawing other Lilo & Stitch characters, or even create your own unique alien friend?
& Painting
No rigid rules or pretension. Just practical guides, medium comparisons, and encouraging tips to help you enjoy the drawing & painting process.