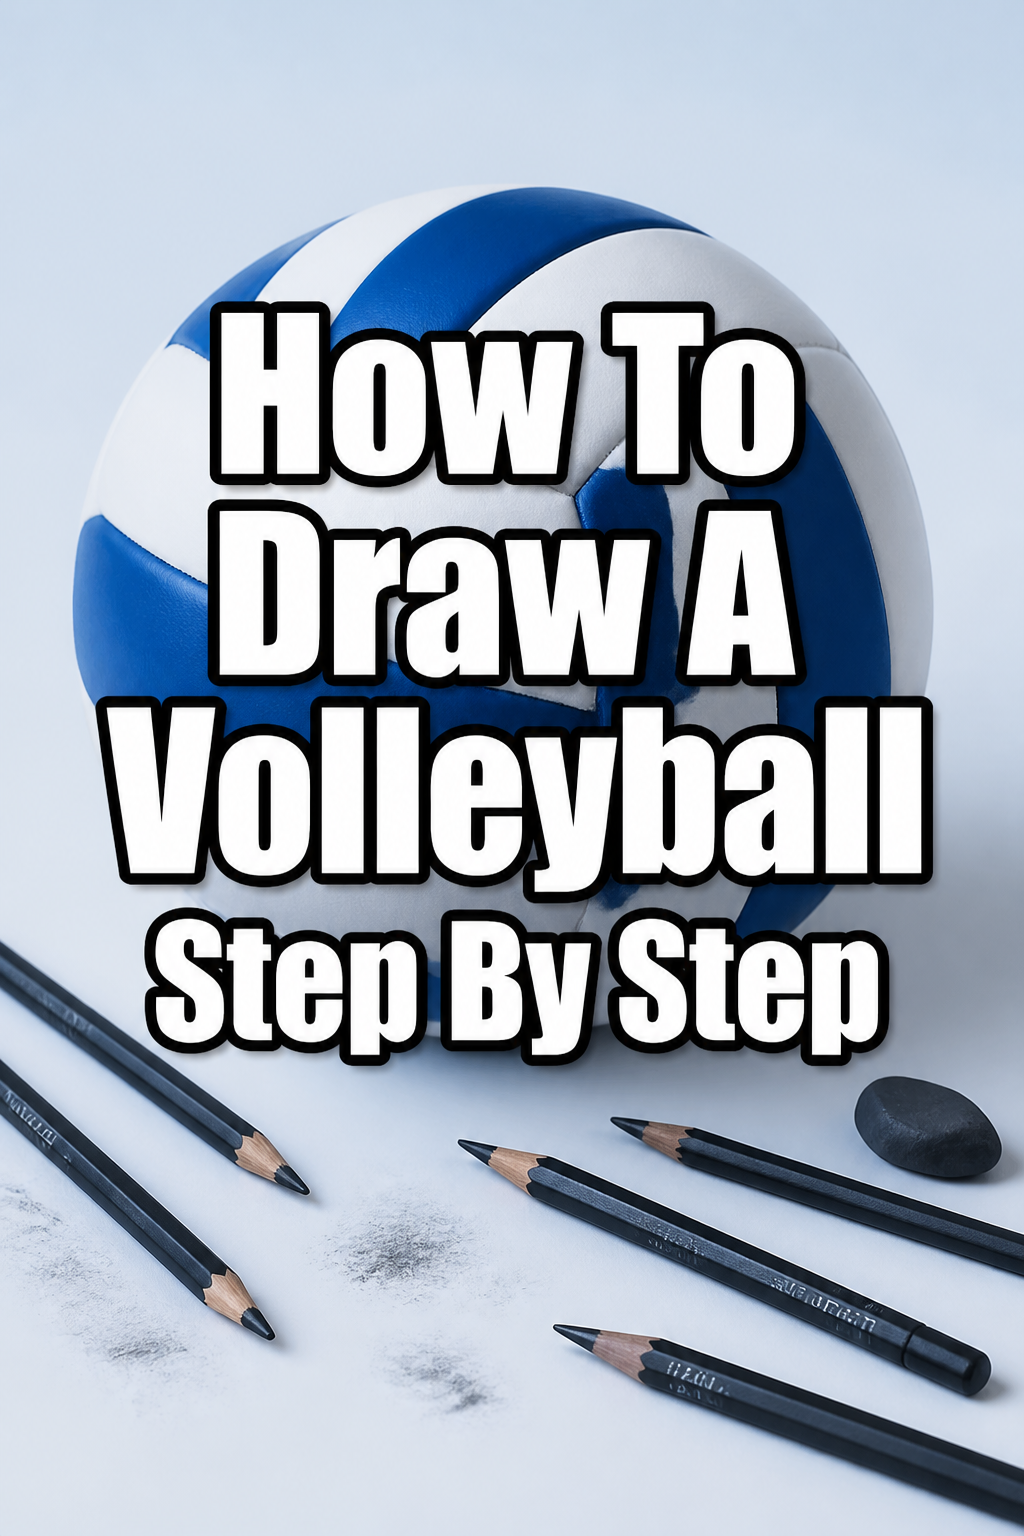
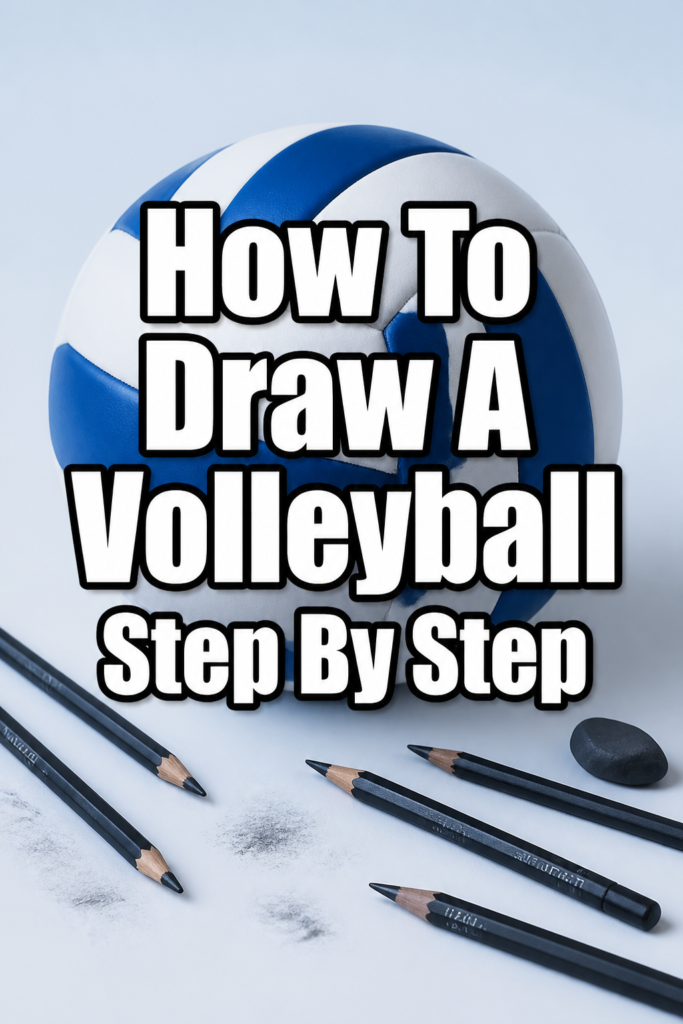
🏐 How To Draw A Volleyball Step By Step

& Painting
No rigid rules or pretension. Just practical guides, medium comparisons, and encouraging tips to help you enjoy the drawing & painting process.
I remember sitting on the sidelines of a high school gym, trying to sketch the game ball during a timeout.
My first attempt looked more like a lumpy potato than a professional sports ball because I didn’t understand the geometry of the panels.
This guide draws on years of technical sketching experience to show you exactly how those iconic curved lines wrap around a sphere.
Quick Overview
You are about to learn how to transform a simple flat circle into a three-dimensional volleyball with realistic textures and shadows.
- Time needed: 20 to 30 minutes
- Difficulty: Beginner
- What you’ll need: Drawing paper, HB and 2B pencils, a compass or circular object, and a soft eraser.
Step-by-Step Instructions
Step 1: Sketch The Base Circle
Start by drawing a perfect circle in the center of your page using a very light touch.
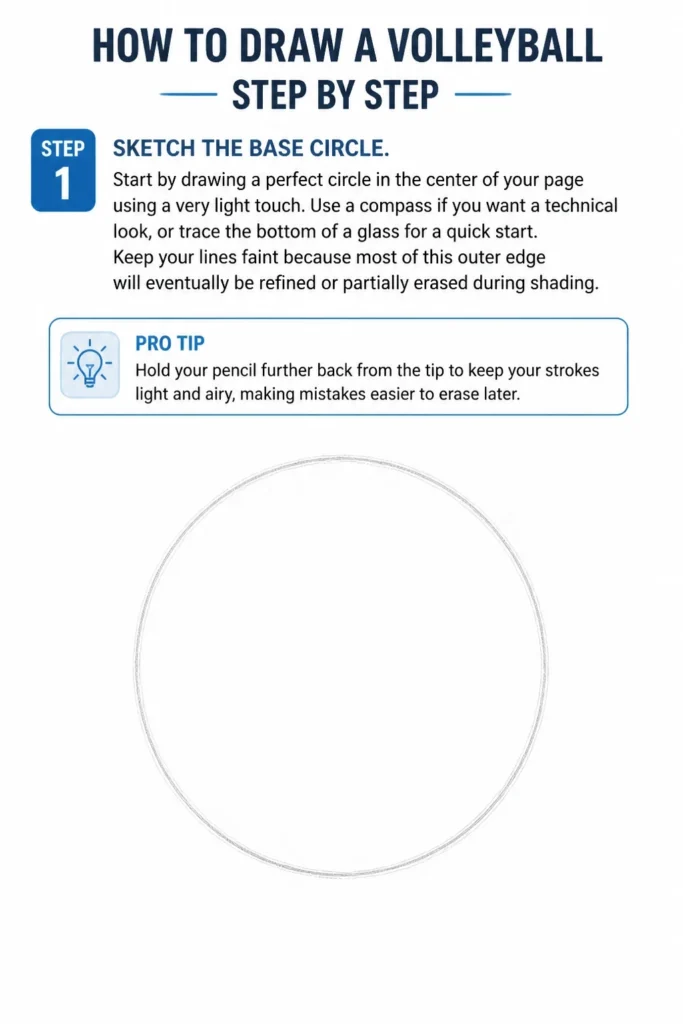
Use a compass if you want a technical look, or trace the bottom of a glass for a quick start.
Keep your lines faint because most of this outer edge will eventually be refined or partially erased during shading.
Pro Tip: Hold your pencil further back from the tip to keep your strokes light and airy, making mistakes easier to erase later.
Step 2: Locate The Center Point
Identify a spot slightly off-center where the three main sections of the volleyball will meet.
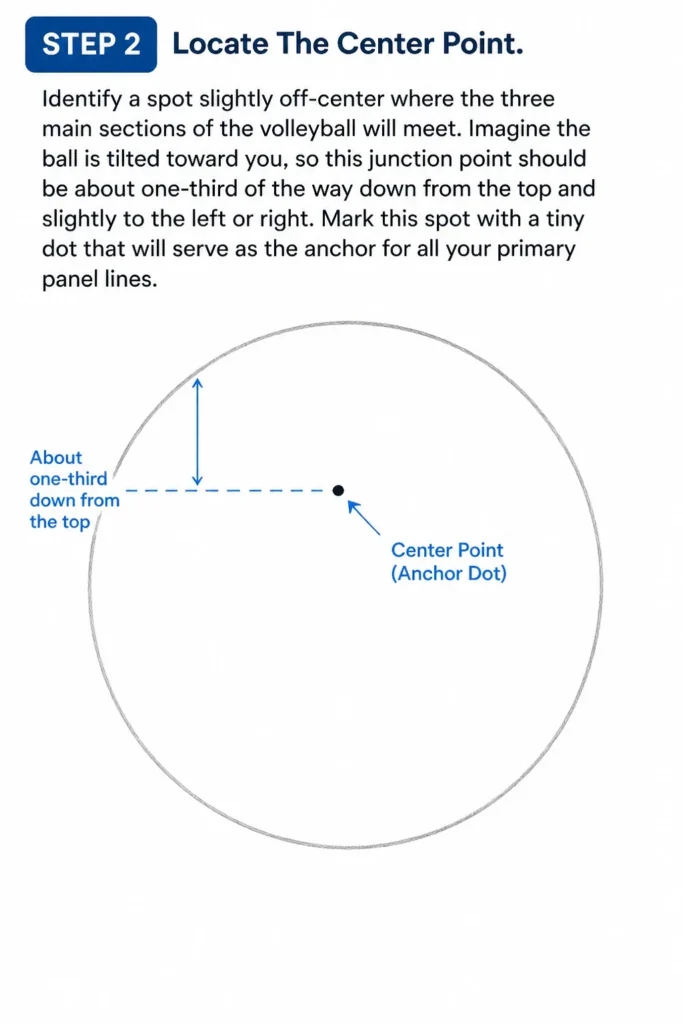
Imagine the ball is tilted toward you, so this “junction” point should be about one-third of the way down from the top and slightly to the left or right.
Mark this spot with a tiny dot that will serve as the anchor for all your primary panel lines.
Step 3: Draw The Triple-Panel Junction
Create three lines extending outward from your center dot to the edge of the circle.
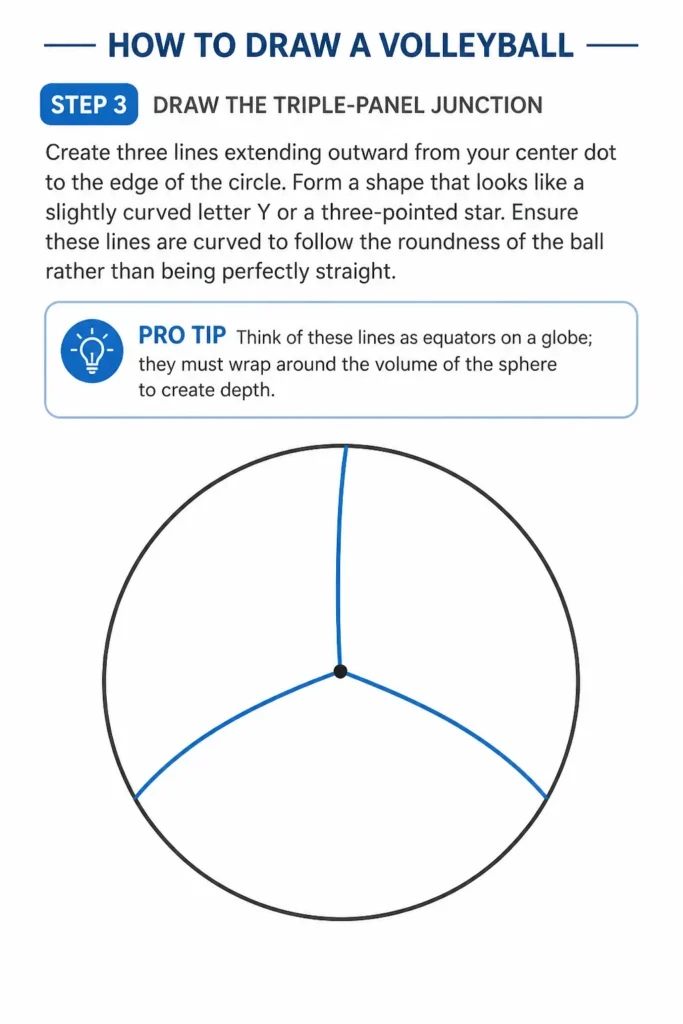
Form a shape that looks like a slightly curved letter “Y” or a three-pointed star.
Ensure these lines are curved to follow the roundness of the ball rather than being perfectly straight.
Pro Tip: Think of these lines as “equators” on a globe; they must wrap around the volume of the sphere to create depth.
Step 4: Divide The First Section
Focus on one of the three sections you just created with your “Y” shape.
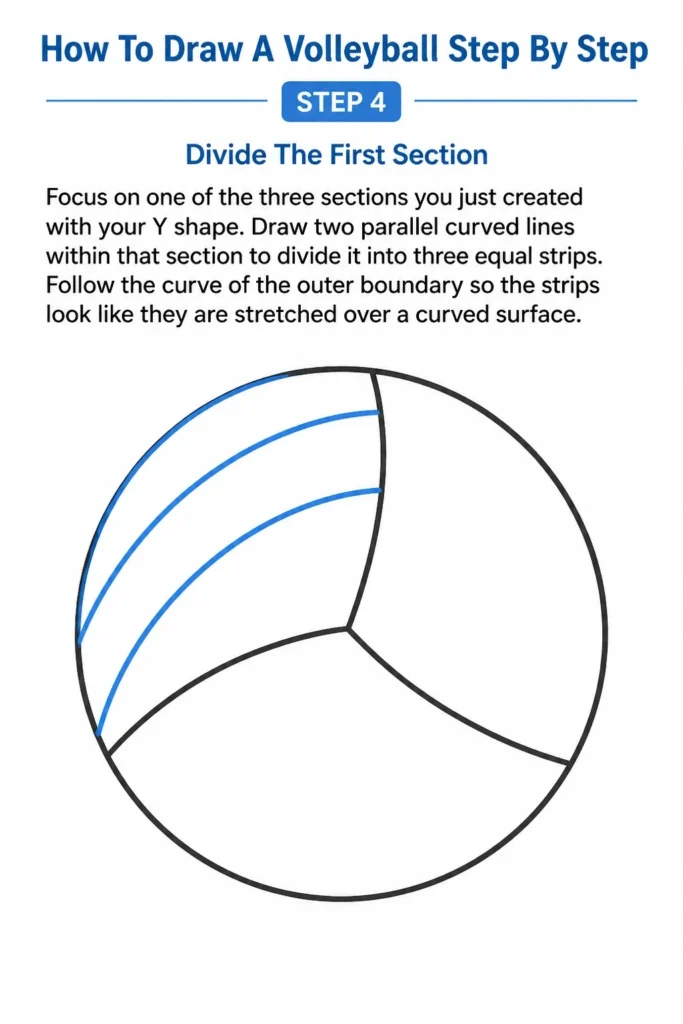
Draw two parallel curved lines within that section to divide it into three equal strips.
Follow the curve of the outer boundary so the strips look like they are stretched over a curved surface.
Step 5: Complete The Remaining Sections
Repeat the previous step for the other two large sections of the ball.
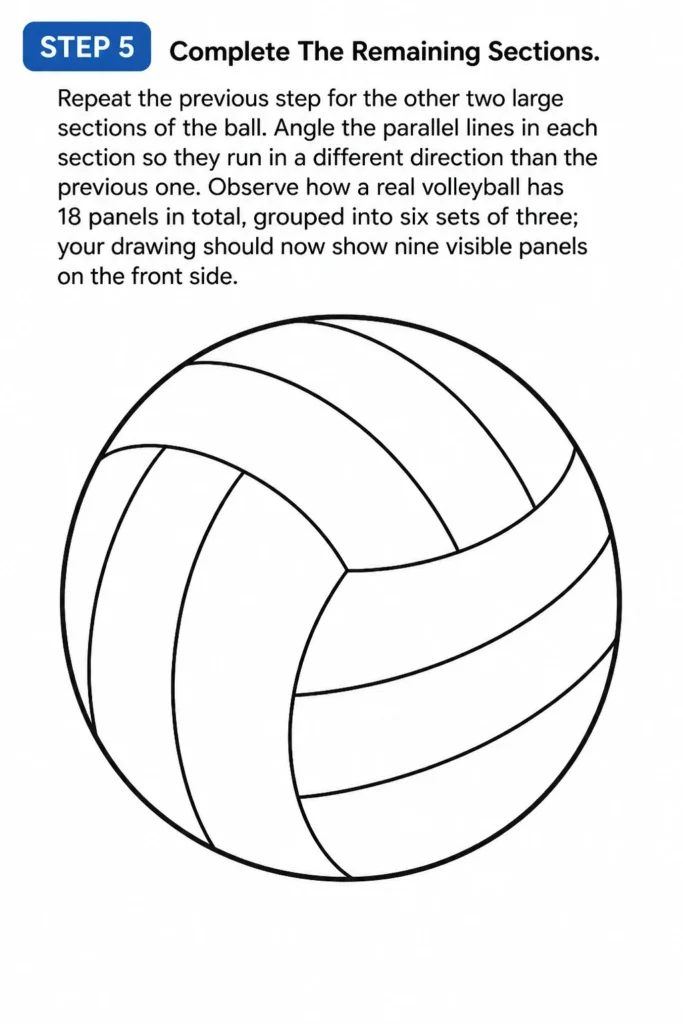
Angle the parallel lines in each section so they run in a different direction than the previous one.
Observe how a real volleyball has 18 panels in total, grouped into six sets of three; your drawing should now show nine visible panels on the front side.
Step 6: Refine The Seams
Go back over your light lines with a slightly darker pencil to define the seams between the panels.
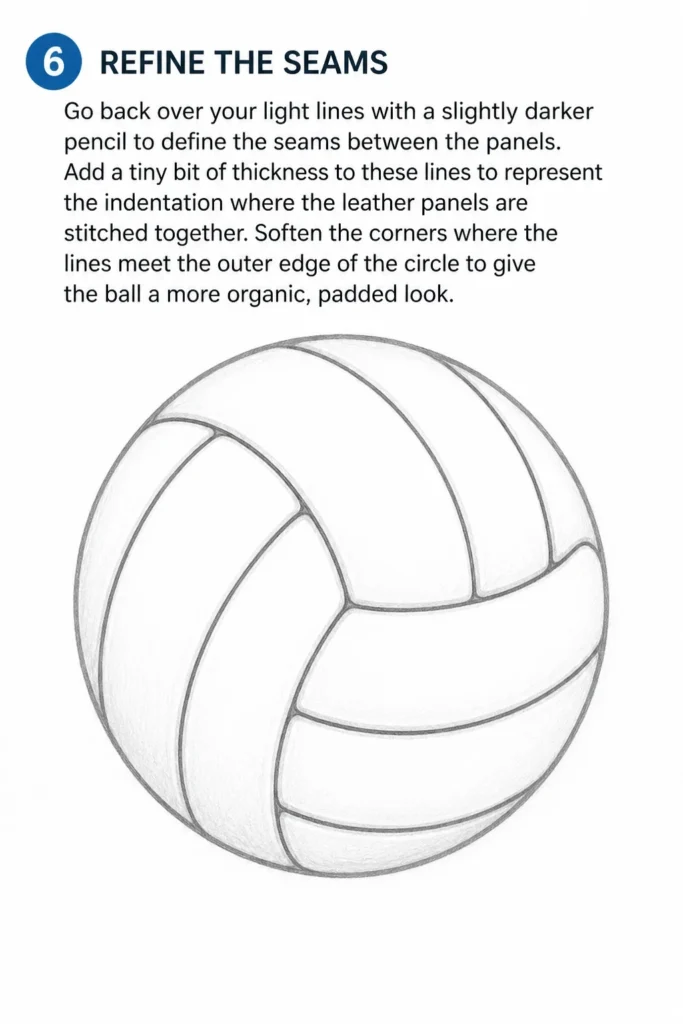
Add a tiny bit of thickness to these lines to represent the indentation where the leather panels are stitched together.
Soften the corners where the lines meet the outer edge of the circle to give the ball a more organic, padded look.
Step 7: Establish The Light Source
Decide which direction the light is coming from before you start any shading or texturing.
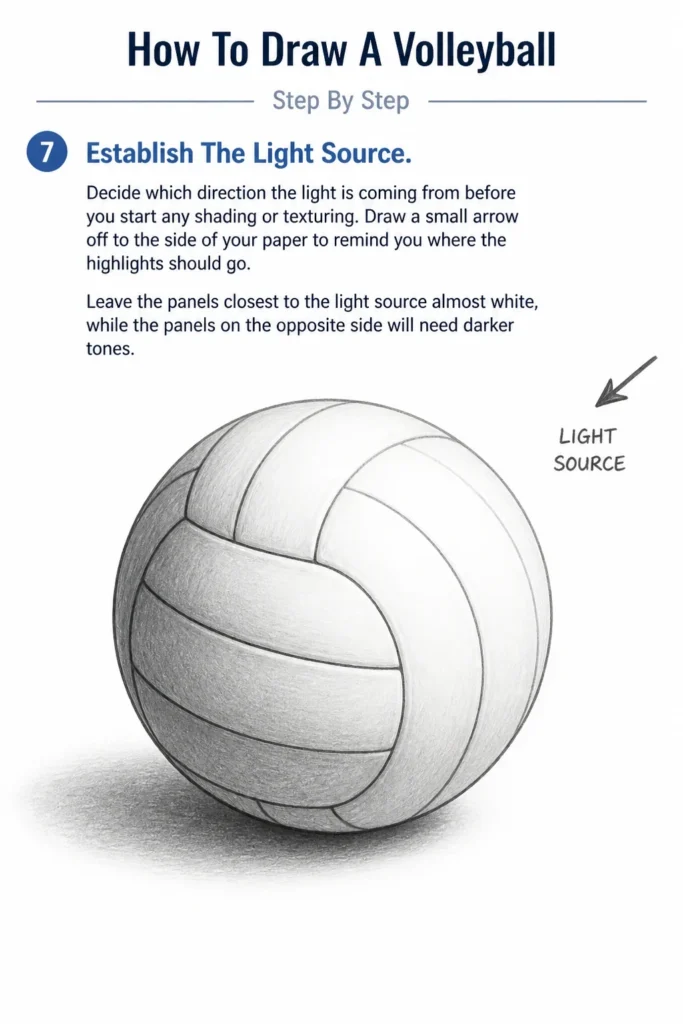
Draw a small arrow off to the side of your paper to remind you where the highlights should go.
Leave the panels closest to the light source almost white, while the panels on the opposite side will need darker tones.
Step 8: Add Depth With Shading
Apply a light layer of graphite to the sides of the ball that are facing away from your light source.
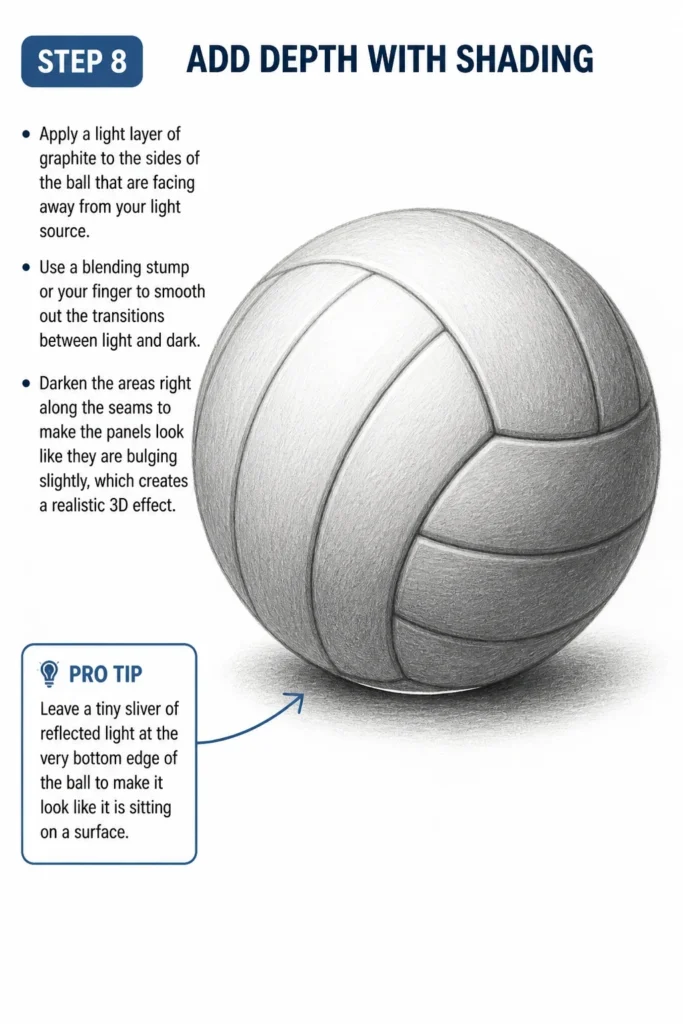
Use a blending stump or your finger to smooth out the transitions between light and dark.
Darken the areas right along the seams to make the panels look like they are bulging slightly, which creates a realistic 3D effect.
Pro Tip: Leave a tiny sliver of “reflected light” at the very bottom edge of the ball to make it look like it is sitting on a surface.
Step 9: Detail The Texture
Add very small, faint dots or a stippling effect if you are drawing a modern synthetic volleyball.
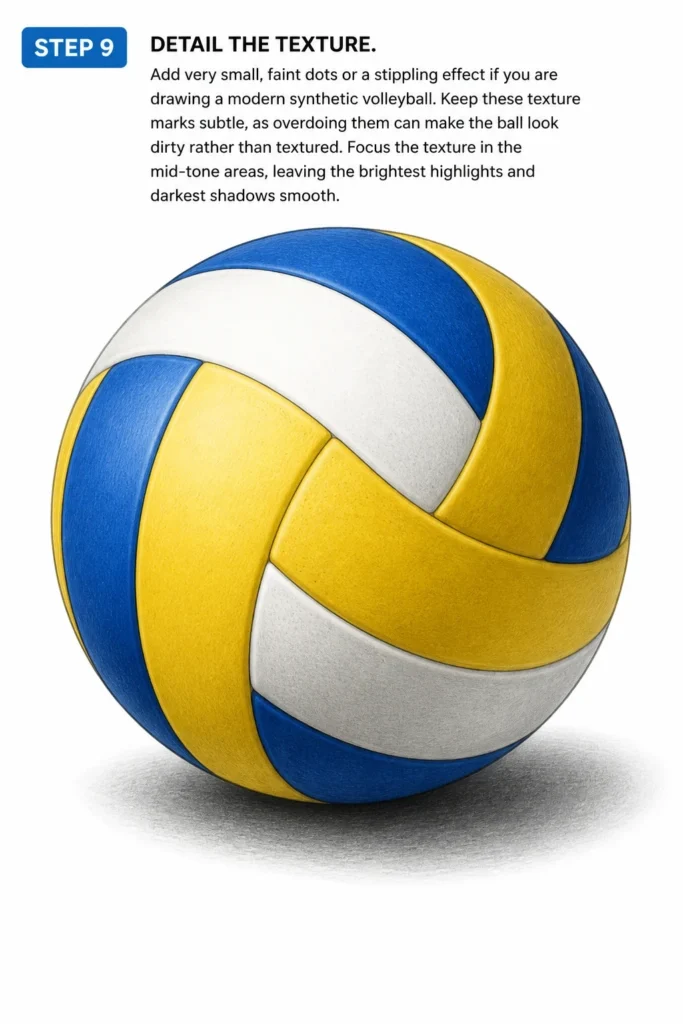
Keep these texture marks subtle, as overdoing them can make the ball look dirty rather than textured.
Focus the texture in the mid-tone areas, leaving the brightest highlights and darkest shadows smooth.
Step 10: Final Highlights And Cleanup
Use your eraser to “draw” highlights back into the brightest parts of the ball.
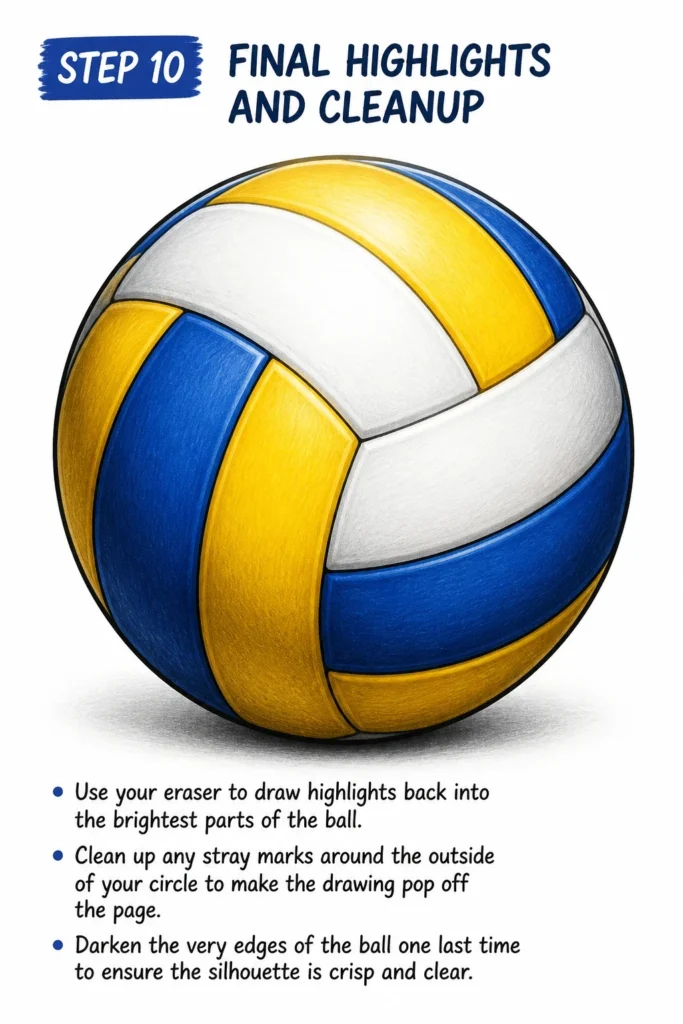
Clean up any stray marks around the outside of your circle to make the drawing pop off the page.
Darken the very edges of the ball one last time to ensure the silhouette is crisp and clear.
Common Mistakes to Avoid
Drawing Perfectly Straight Lines
One of the most frequent errors is using a ruler or drawing straight lines for the internal panels. A volleyball is a sphere, and every line on its surface must follow that curvature. If your lines are straight, the ball will look like a flat disc or a hexagon rather than a rounded object.
To fix this, always visualize the line wrapping around the back of the ball. Practice drawing “C” curves that mimic the outer edge of the circle. This simple adjustment instantly adds volume to your sketch.
Ignoring The Three-Panel Grouping
Many beginners draw random lines across the circle, which results in something that looks more like a basketball or a beach ball. A standard volleyball has a very specific pattern of three parallel panels grouped together. If your panels don’t meet at a central junction in groups of three, the eye will recognize it as “incorrect” even if the drawing is otherwise good.
Always start with the “Y” shape mentioned in the steps. This ensures the geometry stays true to the real design of the ball. It acts as a map for the rest of your details.
Applying Too Much Pressure Too Early
If you press down hard with your pencil during the initial stages, you will leave permanent grooves in the paper. Since drawing a volleyball requires a lot of adjustment to get the curves right, heavy lines are a nightmare to erase. You will end up with “ghost lines” that ruin the final look of the shading.
Start so light that the lines are barely visible to the naked eye. Only commit to darker lines once you are 100% happy with the placement and curvature of every panel.
Troubleshooting
The Ball Looks Lopsided
If your circle looks more like an oval, the entire perspective of the panels will feel off. This usually happens when you draw the circle freehand without a guide. You can fix this by using a compass or by drawing a square first and “rounding off” the corners until they touch the midpoints of the square’s sides.
If the ball is already drawn, try rotating your paper. Often, looking at the drawing from a different angle reveals exactly where the curve is flat or bulging. You can then shave off the excess with an eraser or fill in the gaps.
The Panels Don’t Line Up At The Edges
Sometimes the parallel lines in one section don’t seem to “fit” with the lines in the next section. This happens when the angles of your “Y” shape are too narrow or too wide. The three main sections should be roughly equal in size to maintain symmetry.
If this happens, check the center point where the panels meet. Moving that point slightly can often realign the rest of the drawing. Remember that perspective will make the panels further away look smaller and more compressed.
Key Takeaways
- Start with a circle: A perfect base is essential for a realistic sports ball.
- Use the Y-junction: This is the secret to getting the 18-panel layout correct every time.
- Curve every line: Avoid straight lines to ensure the ball looks three-dimensional and spherical.
- Group in threes: Always draw the panels in sets of three parallel strips within the larger sections.
- Layer your shading: Build up darkness slowly to create a soft, leather-like texture.
- Highlight for realism: Use an eraser to add a bright spot where the light hits the ball directly.
Frequently Asked Questions
What is the difference between drawing an indoor and a beach volleyball?
Indoor volleyballs usually have 18 panels that are more rectangular and tightly packed. Beach volleyballs are often slightly larger and may feature only 12 panels with more pronounced curves. The shading on a beach volleyball is usually softer because the material is less shiny than the synthetic leather used indoors.
Which pencil is best for the final outlines?
A 2B or 4B pencil is ideal for the final outlines and the deep shadows in the seams. These softer leads allow you to get a rich, dark black without having to press too hard. For the initial sketch, always stick with a harder lead like an HB or 2H.
How do I make the ball look like it is spinning?
To show motion, you can add “motion blur” lines behind the ball or slightly blur the edges of the panels in the direction of the spin. You can also draw the seams with a bit of a “swirl” rather than steady curves. Adding a few small “speed lines” trailing off one side helps convey the energy of a serve or a spike.
Can I use this method to draw a basketball?
The basic principle of drawing a sphere is the same, but the panel pattern is completely different. A basketball uses a “ribbed” pattern with two long intersecting loops and a central horizontal band. You can use the shading techniques from this guide, but you would need to change the line placement entirely.
Our Top Recommended Finds
- Graphite Drawing Pencil Set: A set that includes ranges from 4H to 6B will give you the versatility needed for both light sketching and deep shading.
- Kneaded Eraser: These are essential for lifting small amounts of graphite to create highlights or softening textures without smudging.
- Drawing Compass: A sturdy metal compass ensures your base circle is mathematically perfect, which is the foundation of a good sports sketch.
Taking Your Sports Art Further
Now that you have mastered the basic anatomy of a volleyball, try placing it in a scene.
You could draw a net with the ball just clearing the top or sketch a player’s hands in a “setting” position underneath it.
The skills you learned here about curvature and 3D volume apply to almost any spherical object you will ever draw.
Grab your sketchbook and try drawing the ball from three different angles today to lock in these techniques.
& Painting
No rigid rules or pretension. Just practical guides, medium comparisons, and encouraging tips to help you enjoy the drawing & painting process.