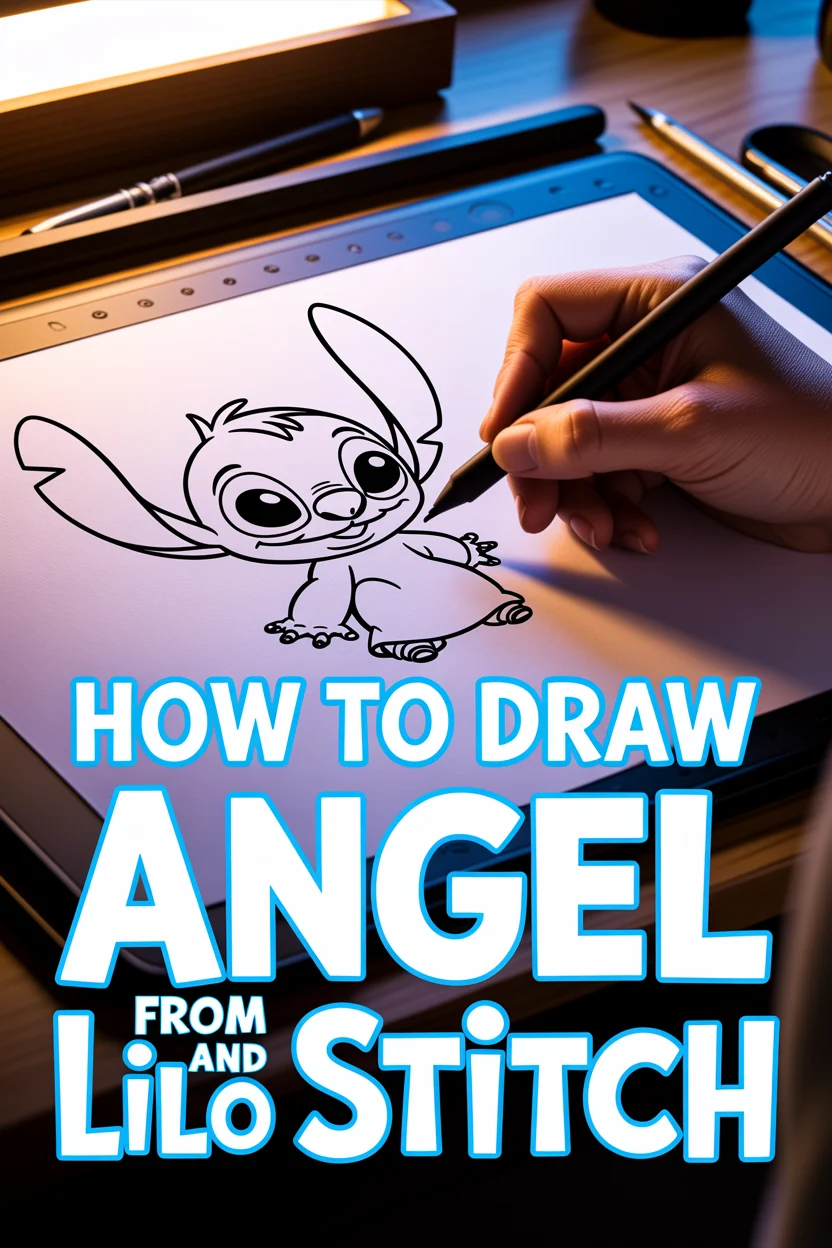
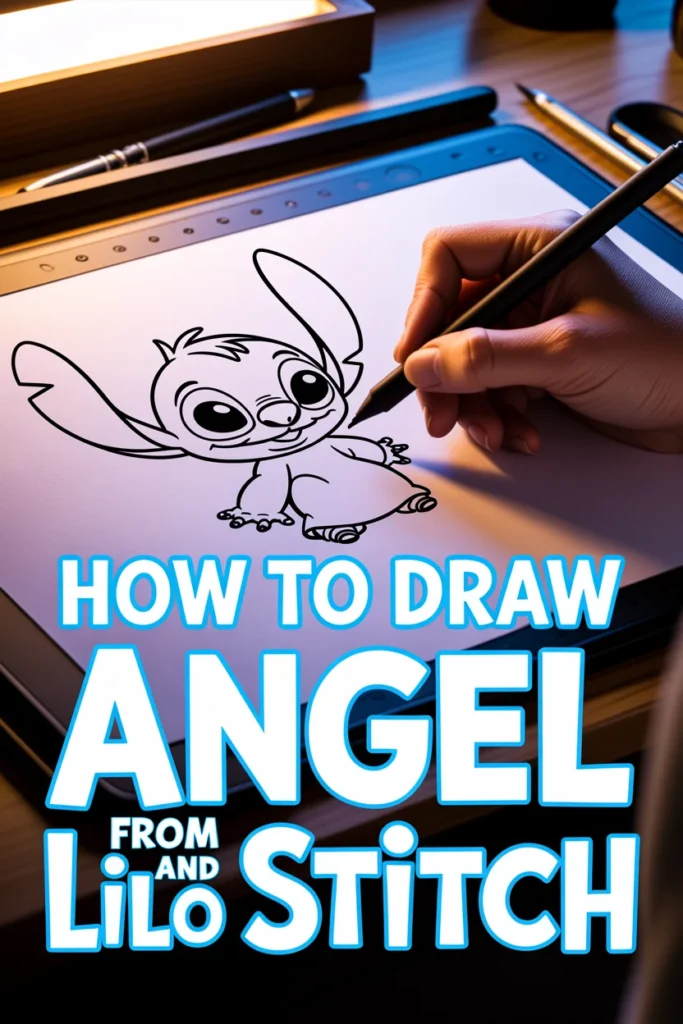
💖 How To Draw Angel From Lilo And Stitch

& Painting
No rigid rules or pretension. Just practical guides, medium comparisons, and encouraging tips to help you enjoy the drawing & painting process.
Learning to draw Angel was one of my favorite challenges when I first got into character art. Her unique design and expressive features make her incredibly fun to sketch. This guide will help you capture her charm, even if you’re just starting out.
I’ve broken down her distinct look into simple, manageable steps that anyone can follow. You’ll soon be creating your own adorable Angel drawings.
Quick Overview
This guide will walk you through creating a complete drawing of Angel, from initial sketches to final details. You’ll learn how to build her unique shape and add all her iconic features.
- Time needed: 45-75 minutes
- Difficulty: Intermediate
- What you’ll need: Pencil (HB or 2B), eraser, drawing paper, optional: fineliner, colored pencils (pinks, purples)
Step-by-Step Instructions
Step 1: Lay Out the Basic Shapes for the Head and Body
Start by sketching the foundational forms that will define Angel’s overall structure. These initial light lines are crucial for getting her proportions right before adding details.
- Draw a large oval for Angel’s head, slightly tilted. This will be the main guide for her face.
- Add a smaller, slightly squashed oval below and to the left of the head for her main body. Overlap it slightly with the head.
- Sketch a curved line extending from the body oval downwards to indicate the start of her hip and leg area.
Pro Tip: Use very light pencil strokes for these initial shapes. They are just guides and will be erased later, so don’t press too hard.
Step 2: Position the Facial Guidelines and Ear Bases
Now we’ll establish where Angel’s eyes, nose, and mouth will sit. This helps maintain symmetry and proper placement of her features.
- Draw a horizontal guideline across the middle of the head oval for the eyes.
- Add a vertical guideline down the center of the head, slightly curved to match the head’s tilt. This marks the center of her face.
- Sketch two long, curved lines extending from the top sides of her head for the base of her ears. Think of them as long, floppy ribbons.
Step 3: Define the Eyes, Nose, and Mouth
Angel’s expressive face is key to her character. Focus on making her eyes large and her mouth wide to capture her personality.
- Draw two large, almond-shaped eyes on the horizontal guideline, spaced apart. Make the outer corners slightly higher.
- Add a small, oval-shaped nose just below the intersection of the guidelines. It should be quite tiny compared to her eyes.
- Sketch a wide, curved line for her mouth extending from below the nose. It often has a slight upward curve, giving her a gentle smile.
Step 4: Shape the Ears and Antennae
Angel’s long, flexible ears and distinctive antennae are defining features. Pay attention to their flow and the tips of the antennae.
- Flesh out the ears, making them wide and floppy, curving inwards towards her body. They should have a soft, organic shape.
- Draw two thin, curved lines extending from the top of her head, above her eyes, for her antennae.
- Add a perfect circle at the end of each antenna. These are her communication and memory-wiping devices.
Step 5: Sketch the Arms and Legs
Angel has four arms and distinct, squat legs. Concentrate on their placement and the simple, rounded forms.
- Draw two upper arms extending from her shoulders, curving downwards. Each arm should be relatively thick and end in a simple, rounded hand-like shape with no distinct fingers.
- Add two lower arms, positioned slightly below the first pair, following a similar curved, rounded design.
- Sketch her two stubby legs extending from the bottom of her body oval, curving outwards slightly. Her feet are simple, rounded forms.
Step 6: Outline the Chest Markings and Tail
These details are crucial for making your Angel drawing instantly recognizable. The chest swirl and small tail complete her unique look.
- Draw a prominent swirl or spiral pattern on her chest, centered between her upper arms. This is a key identifier.
- Add a small, pointed tail extending from the back of her body. It’s usually short and curves slightly upwards.
- Refine the overall body outline, smoothing out any rough edges from your initial sketch.
Step 7: Add Final Details and Clean Up
This is where Angel truly comes to life. Focus on her eye details and cleaning up your lines for a polished look.
- Draw large pupils within her eyes and add a small highlight circle in each to give them a lively sparkle.
- Carefully erase all the initial construction lines and guidelines, leaving only your refined outlines.
- Go over your final lines with a darker pencil or a fineliner for a clean, crisp finish.
Pro Tip: Consider coloring Angel with shades of pink and purple. Her primary body color is a vibrant pink, with a lighter pink for her inner ears, belly, and the tips of her antennae.
Common Mistakes to Avoid
Disproportionate Head Size
A common error is making Angel’s head too small or too large in relation to her body. Her head is a dominant feature, but it needs to balance with her compact body. Always start with a clear head-to-body ratio in your initial sketch to prevent her looking off-balance. Ensure the body oval is about two-thirds the size of the head.
Inconsistent Eye Placement
Angel’s large, expressive eyes are central to her appeal. Placing them too close, too far apart, or at different heights can make her look cross-eyed or asymmetrical. Use your horizontal eye guideline diligently and ensure the spacing between them feels natural for her character.
Stiff Ears and Antennae
Angel’s ears and antennae are known for their flexible, flowing nature. Drawing them as rigid, straight lines takes away from her playful personality. Practice drawing long, soft curves for these elements, giving them a sense of movement and life. They should look soft and pliable, not stiff.
Missing or Incorrect Chest Swirl
The swirl on Angel’s chest is one of her most distinctive markings. Forgetting it or drawing it inaccurately can make her less recognizable. Pay close attention to its placement and the direction of the spiral. It should be centered and clearly defined to properly identify her.
Troubleshooting
My Angel Looks Flat and Lifeless
If your drawing lacks depth, it’s likely due to overly rigid lines or a lack of subtle curves. Angel is a very rounded character. Focus on using curved lines for her body, limbs, and even her facial features. Try adding a slight curve to your initial head and body ovals to suggest volume from the start.
I Can’t Get the Four Arms to Look Natural
Drawing four arms can feel awkward at first. The key is to think of them in pairs. The upper pair should emerge from the shoulder area, and the lower pair slightly below, closer to her chest. Ensure they follow a natural, downward curve and that they don’t look like they’re directly stacked on top of each other.
My Lines Are Messy and Unclean
This usually happens when you press too hard with your initial sketch lines or try to draw details before the basic structure is solid. Practice using a very light touch for your guide shapes. Only apply more pressure when you’re confident in your final outlines. A good quality eraser also helps immensely in cleaning up without smudging.
Key Takeaways
- Start with light, basic shapes for the head and body to establish correct proportions.
- Utilize facial guidelines to ensure accurate and symmetrical placement of eyes, nose, and mouth.
- Emphasize Angel’s large, expressive eyes and wide, friendly mouth for her signature look.
- Pay careful attention to the fluid, curved nature of her ears and antennae.
- Remember her four arms and the distinctive chest swirl as essential identifying features.
- Practice light sketching and careful erasing for a clean, polished final drawing.
Frequently Asked Questions
Is Angel hard to draw for beginners?
Angel can be a good challenge for beginners. While her overall shape is rounded and seemingly simple, getting her proportions right, especially with the four arms and floppy ears, requires some attention to detail. This guide breaks it down to make it accessible.
What’s the best way to make her look like she’s smiling?
To capture her smile, ensure the primary curve of her mouth goes upwards slightly at the ends. You can also add very subtle, small curves or dimples at the corners of her mouth. Her large, bright eyes also contribute greatly to a cheerful expression.
How do I make her look 3D instead of flat?
To add a sense of dimension, avoid drawing everything with perfectly straight lines. Use slightly curved lines for the edges of her head, body, and limbs. You can also add very subtle shading on one side of her body or under her chin to suggest light and shadow.
Can I draw Angel in different poses?
Absolutely! Once you master her basic front-facing pose, try experimenting. Think about her movement in the show – she’s often dancing or singing. Start with your basic shape guides, then adjust their angles and curves to match your desired pose.
Our Top Recommended Finds
- Quality Sketch Pencils (HB, 2B, 4B): These provide a range of hardness for light sketching and darker outlines, making your drawing process much smoother.
- Kneaded Eraser: Perfect for lifting pencil marks without damaging the paper, allowing for clean corrections and soft highlights.
- Fine-Tip Black Liner Pens: Great for inking your final lines, giving your drawing a professional, crisp finish before coloring.
Bringing Your Angel to Life
You’ve just completed a fantastic journey into drawing Angel, one of Lilo and Stitch’s most beloved characters. Each line you drew brought her unique charm closer to life on your paper. Don’t stop here; your artistic adventure is just beginning.
Now that you’ve mastered Angel, why not try drawing Stitch himself, or perhaps even Lilo? The skills you’ve developed today are transferable to countless other characters and styles. Pick up your pencil right now and continue exploring your creativity.
& Painting
No rigid rules or pretension. Just practical guides, medium comparisons, and encouraging tips to help you enjoy the drawing & painting process.