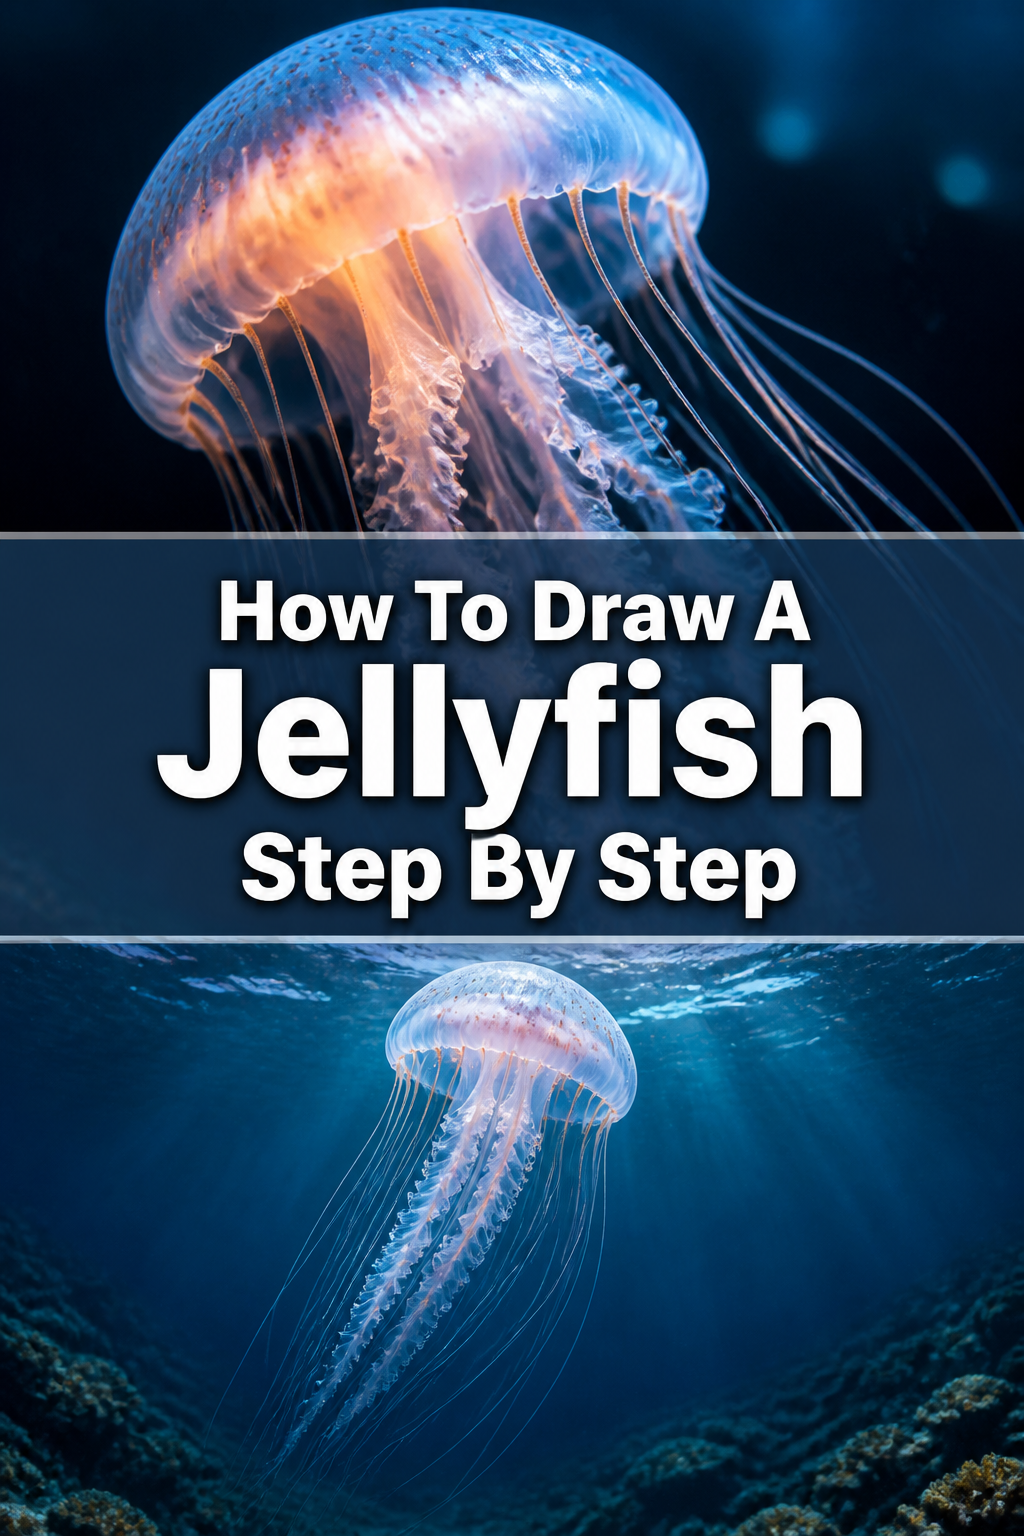
How To Draw A Jellyfish Step By Step

& Painting
No rigid rules or pretension. Just practical guides, medium comparisons, and encouraging tips to help you enjoy the drawing & painting process.
Have you ever wanted to capture the ethereal beauty of a jellyfish on paper? It’s a surprisingly accessible and rewarding artistic journey.
I remember my first attempt, intimidated by their fluid shapes, but quickly discovered simple techniques make all the difference. This guide will walk you through creating your own stunning jellyfish drawing, building your confidence with each line.
Quick Overview
You’re about to embark on a creative adventure, transforming basic shapes into a graceful underwater creature. By the end, you’ll have a complete jellyfish drawing, ready for display or further artistic exploration.
- Time needed: 45-75 minutes (depending on detail)
- Difficulty: Beginner to Intermediate
- What you’ll need: Pencil (HB, 2B), eraser, drawing paper, optional: blending stump, fine-liner pen.
Step-by-Step Instructions
Step 1: Sketch the Bell’s Basic Form
Begin by lightly sketching the main body, or bell, of your jellyfish. Think of an upside-down cup or a mushroom cap with softly rounded edges. This initial shape doesn’t need to be perfect, as we’ll refine it later.
Aim for a slightly irregular, organic curve at the bottom, hinting at its natural movement. This establishes the foundation for the entire drawing.
Pro Tip: Use a very light hand with your pencil here. These are guide lines, meant to be easily erased or drawn over as you progress.
Step 2: Define the Inner Bell and Ruffles
Now, let’s add some internal structure to the bell. Draw a slightly smaller, curved line inside the main bell shape, mirroring its top contour. This suggests the inner membrane or stomach of the jellyfish.
Below the main bell, sketch some gentle, wavy lines to create the characteristic ruffled edge. These ruffles should flow naturally, giving the bell a sense of texture and softness.
Step 3: Introduce the Oral Arms
The oral arms are the thick, frilly structures hanging directly beneath the bell. Imagine them as a cluster of wavy ribbons or folded fabric. Start by drawing a central point under the bell.
From this point, sketch several broad, undulating shapes extending downwards. These should be wider and more substantial than the delicate tentacles you’ll add later.
Step 4: Sketch the Flowing Tentacles
This is where the jellyfish truly comes to life with movement. Draw a series of long, thin lines extending from the underside of the bell, between and around the oral arms. Vary their lengths and directions.
Some tentacles can curve gently, while others might loop or zig-zag, conveying the impression of them drifting in water. Don’t make them perfectly straight; embrace their natural fluidity.
Pro Tip: Experiment with different thicknesses for your tentacles. Some can be very fine, almost hair-like, while others might have a bit more substance, adding visual interest.
Step 5: Refine and Clean Up Your Lines
With the basic forms established, it’s time to firm up your drawing. Use a slightly darker pencil (like a 2B) to trace over the lines you want to keep, making them clearer and more confident. Pay attention to the organic curves of the bell and the flow of the tentacles.
Gently erase any unnecessary guide lines from your initial sketches. This step transforms your rough sketch into a defined outline.
Step 6: Add Subtle Shading and Depth
Shading brings your jellyfish to life, giving it form and dimension. Apply light shading to the underside of the bell, especially where it curves inward. Think about a light source coming from above.
Also, add subtle shadows within the ruffles of the bell and the folds of the oral arms. This creates a sense of depth and makes your jellyfish appear more three-dimensional. Use soft, gradual transitions for a realistic look.
Step 7: Enhance Texture and Details
Now, let’s add some finer details. Draw tiny, delicate lines or dots along the bell’s surface to suggest its transparent, gelatinous texture. You might also add very light, wispy lines along the tentacles to enhance their delicate appearance.
Consider adding a few small bubbles around the jellyfish to imply an underwater environment. These small touches greatly enhance the overall realism and visual appeal.
Step 8: Final Touches and Review
Take a step back and observe your drawing. Are there any areas that need more definition or softer blending? Darken key outlines slightly where elements overlap, like where a tentacle passes behind an oral arm, to create separation.
Use your eraser to lift highlights on the top of the bell or along the edges of the tentacles, making them appear more luminous. A well-placed highlight can make a significant difference.
Common Mistakes to Avoid
Making the Bell Too Symmetrical
Many beginners draw the jellyfish bell as a perfect semicircle or a perfectly symmetrical dome. Jellyfish are organic creatures, and their bells rarely conform to perfect geometry. This can make the drawing look stiff and unnatural.
Instead, aim for slight irregularities and subtle asymmetry in your bell shape. A slightly uneven curve or a gently tilted top will lend a more authentic, fluid appearance to your jellyfish.
Stiff or Straight Tentacles
One of the most captivating aspects of a jellyfish is the graceful movement of its tentacles. Drawing them as straight, rigid lines completely defeats this purpose. This makes the jellyfish appear lifeless and static.
Always strive for fluidity and varied curves in your tentacles. Imagine them drifting in water, gently swaying and looping. Varying their lengths and directions also adds to this natural look.
Over-Shading or Under-Shading
Getting the shading right is crucial for a creature that is largely transparent. Over-shading can make the jellyfish look opaque and heavy, losing its delicate quality. Conversely, under-shading leaves it looking flat and two-dimensional.
Practice subtle, light layering with your pencil to build up soft gradients. Focus on indicating form rather than creating heavy, dark shadows. Think about how light would pass through its translucent body.
Ignoring Negative Space
Often, artists focus solely on the jellyfish itself and neglect the space around it. Ignoring negative space can lead to a drawing that feels cramped or lacks context. The water around the jellyfish is just as important.
Consider how the tentacles interact with the surrounding “empty” space. Sometimes, implying the water with a few bubbles or a faint ripple can enhance the sense of an underwater environment without drawing an entire background.
Troubleshooting
My Jellyfish Looks Flat
If your drawing lacks depth and appears two-dimensional, it’s likely an issue with shading and form. A flat drawing often means you haven’t sufficiently indicated the roundness of the bell or the volume of the oral arms.
To fix this, go back and re-evaluate your light source. Add more gradual shading on the underside and curved areas of the bell. Use subtle gradients to show how the light falls across its translucent body, creating a sense of volume.
The Tentacles Don’t Look Flowy
If your tentacles appear stiff or unnatural, you might be drawing them too quickly or without enough observation of real jellyfish movement. Static lines don’t convey the ethereal quality.
Practice drawing long, continuous, wavy lines with your entire arm, not just your wrist. Try sketching a variety of S-curves and loops. Imagine them being pulled and pushed by gentle currents, allowing your hand to follow that imagined flow.
I Can’t Get the Transparency Right
Achieving the translucent effect of a jellyfish can be challenging, often resulting in either too opaque or too faint a drawing. This is a common hurdle for many artists.
The trick is to use very light pencil pressure for most of the body, building up layers gradually. Focus on subtle shadows and highlights rather than heavy outlines. The transparency comes from the absence of heavy shading in most areas, allowing the “background” to show through, even if implied.
Key Takeaways
- Start Light: Always begin with very light sketch lines to establish your basic shapes, making corrections easy.
- Embrace Organic Shapes: Jellyfish are naturally irregular; avoid perfect symmetry for a more authentic look.
- Focus on Flow: The movement of tentacles and oral arms is key to capturing a jellyfish’s grace.
- Layer Your Shading: Build up subtle values gradually to create depth and hint at transparency without making it opaque.
- Pay Attention to Detail: Small additions like ruffles, internal lines, or bubbles enhance realism and texture.
- Practice Patience: Drawing takes time and observation; don’t rush the process, and enjoy each stage.
Frequently Asked Questions
What kind of pencil is best for drawing jellyfish?
An HB pencil is excellent for initial sketching due to its versatility and ease of erasing. For adding definition and shading, a softer pencil like a 2B or 4B will allow you to create darker values and smoother blends, which are perfect for capturing the delicate nature of a jellyfish.
How do I make the jellyfish look like it’s glowing?
To create a glowing effect, focus on strong contrast between light and shadow. Keep the areas where the light hits the jellyfish very bright, almost white, and gradually blend into slightly darker tones. You can also use an eraser to lift out small, bright highlights, especially along the top edges of the bell, to simulate a luminous quality.
Should I draw the background first or the jellyfish?
It’s generally recommended to draw the main subject, the jellyfish, first. This allows you to focus on its form and details without being distracted by the background. Once the jellyfish is established, you can then add a subtle background, like implied water or a few bubbles, ensuring it complements rather than overshadows your main subject.
How can I make my jellyfish drawing unique?
To make your drawing unique, experiment with different angles and poses for your jellyfish. You could draw it from below, looking up, or show multiple jellyfish interacting. Play with various patterns on the bell or add unusual tentacle formations. Incorporating vibrant colors or a dynamic underwater scene can also set your artwork apart.
Our Top Recommended Finds
- Staedtler Mars Lumograph Pencils: A classic set offering a range of hardness for versatile sketching and shading.
- Kneaded Eraser: Essential for lifting graphite gently without smudging, perfect for highlights and corrections.
- Smooth Bristol Paper: Provides an excellent surface for detailed line work and blending, making your jellyfish pop.
Dive Into Your Artistic Ocean Today!
You now have a complete toolkit to bring these mesmerizing creatures to life on paper. Remember, every line you draw is a step closer to mastering your craft.
Don’t let hesitation hold you back. Grab your pencil, find a quiet moment, and let the gentle sway of the jellyfish inspire your next masterpiece. Your underwater adventure awaits!
& Painting
No rigid rules or pretension. Just practical guides, medium comparisons, and encouraging tips to help you enjoy the drawing & painting process.