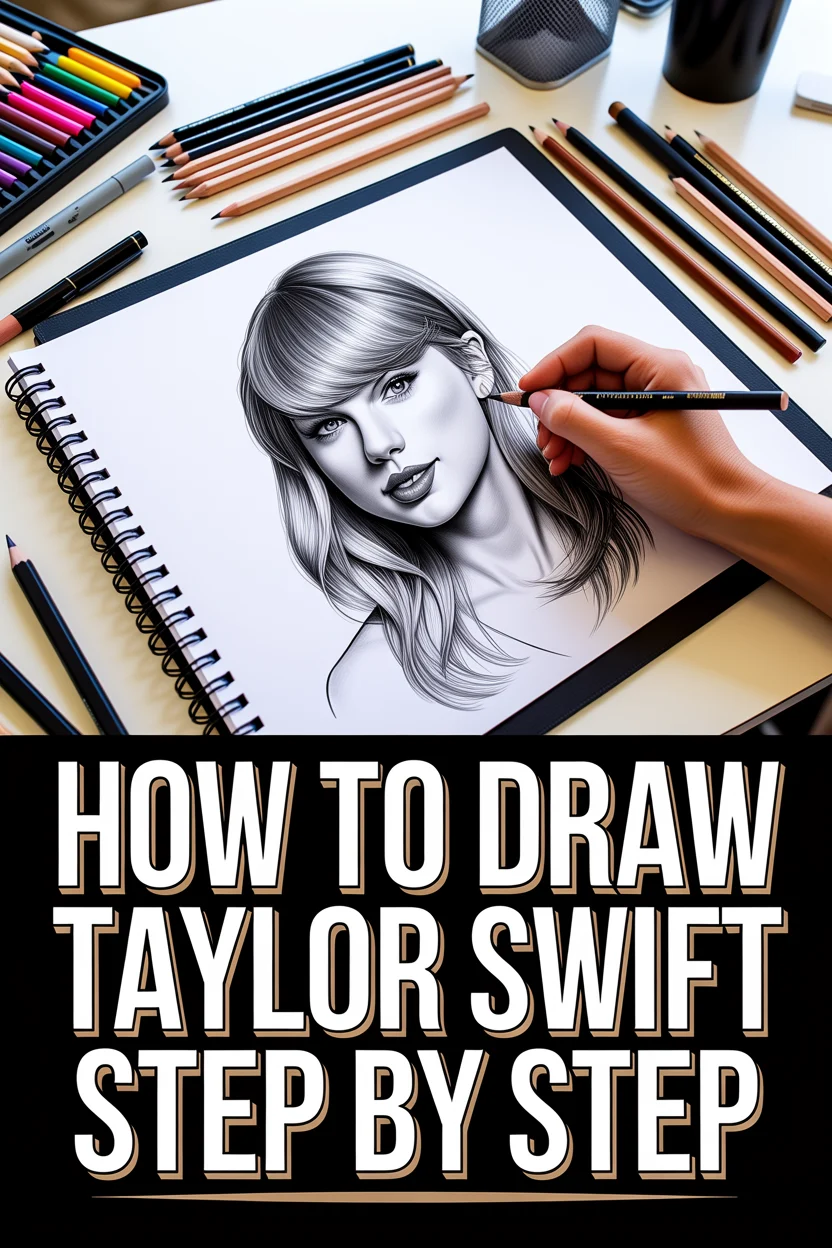
⭐ How To Draw Taylor Swift Step By Step

& Painting
No rigid rules or pretension. Just practical guides, medium comparisons, and encouraging tips to help you enjoy the drawing & painting process.
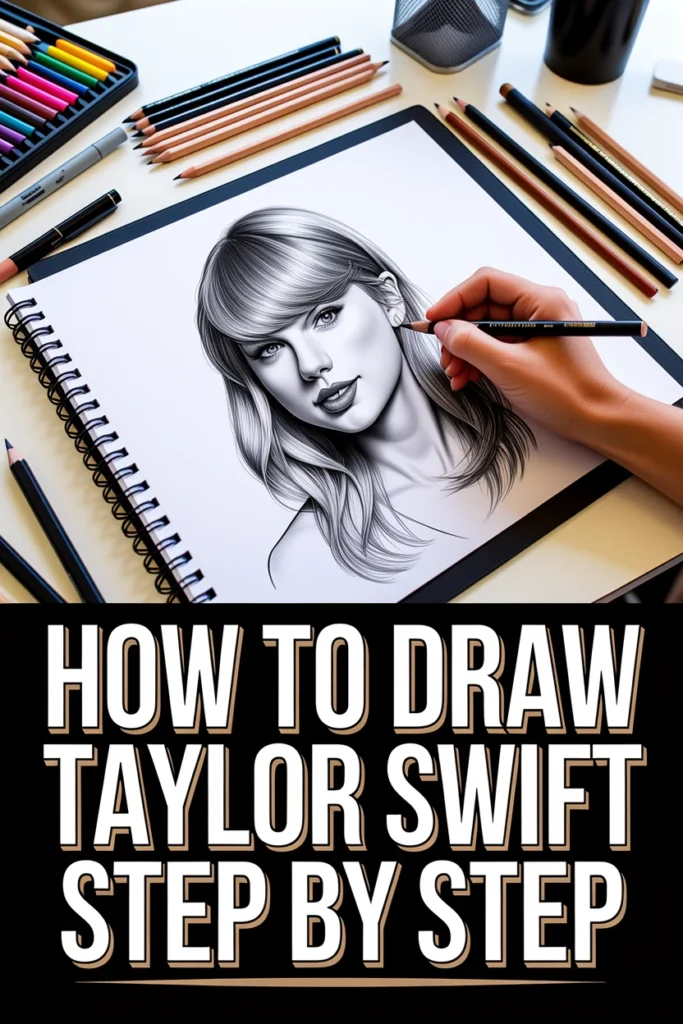
Capturing the essence of a pop icon like Taylor Swift on paper is a truly rewarding artistic journey.
I remember my own early attempts, sketching her during a concert movie, starting with simple shapes and slowly building up the details.
This guide is crafted from that experience, designed to help you bring her distinctive features to life with confidence.
Quick Overview
You’re about to embark on creating a recognizable portrait of Taylor Swift, focusing on her unique facial structure and expressive features.
This process will build your observational skills and understanding of human anatomy in portraiture.
- Time needed: 60-90 minutes
- Difficulty: Intermediate
- What you’ll need: Drawing paper, a graphite pencil (HB or 2B recommended), an eraser, and a good reference photo of Taylor Swift.
Step-by-Step Instructions
Step 1: Choose Your Reference Photo Wisely
Select a high-quality reference photo of Taylor Swift. Look for an image where her face is well-lit, clear, and at a relatively straightforward angle.
A photo that shows her typical expression or a slight smile often works best for capturing her personality.
Pro Tip: Having a few different reference photos can be helpful. One for the main pose, and others to study specific details like her eyes, nose, or hair texture.
Step 2: Establish the Basic Head Shape and Proportions
Begin by lightly sketching the overall shape of her head. Think of it as an inverted egg or an oval, slightly wider at the top.
Once you have the basic form, gently draw a vertical line down the center of the face and a horizontal line across the middle.
These guidelines will help you position her features symmetrically and accurately.
Step 3: Map Out Key Facial Features
Use your reference photo to estimate the placement of her eyes, nose, and mouth along your guidelines.
Typically, the eyes sit on the halfway line, the nose is about halfway between the eyes and the chin, and the mouth is halfway between the nose and the chin.
Taylor Swift often has a slightly elongated face, so observe those proportions carefully.
Step 4: Sketch the Eyes and Eyebrows
Focus on her eyes next. Taylor’s eyes are a prominent feature, often described as expressive and almond-shaped.
Draw the upper and lower eyelids, paying close attention to the slight tilt and the space between them.
Her eyebrows are usually well-defined but not overly arched, following a natural curve. Sketch them lightly above the eyes.
Pro Tip: The distance between her eyes is roughly equal to the width of one eye. Use this as a guide for spacing.
Step 5: Define the Nose and Mouth
Move to her nose. Taylor’s nose is relatively delicate and well-proportioned.
Draw the bridge of the nose, then the subtle curves of the nostrils and the tip.
For her mouth, sketch the philtrum (the vertical groove between the base of the nose and the border of the upper lip) first.
Then, draw the cupid’s bow of her upper lip and the fuller shape of her lower lip. She often has a gentle smile, so capture that slight upward curve.
Step 6: Shape the Jawline, Ears, and Hairline
Refine the jawline, observing how it tapers from her cheekbones to her chin. Taylor has a distinct, somewhat angular jawline.
Place the ears, usually aligning the top with the eyebrows and the bottom with the base of the nose.
Sketch her hairline, noting where her hair begins on her forehead. She often has a fringe or side-swept bangs.
Step 7: Detail the Hair and Neck
Block in the main shape of her hair. Whether it’s long and wavy, curly, or a sleek bob, capture the overall volume and direction.
Don’t draw individual strands yet; focus on the large masses of hair.
Add her neck, observing its width and how it connects to the head and shoulders.
Pro Tip: Hair isn’t a solid block. Think of it in sections and layers, allowing light and shadow to define its movement.
Step 8: Add Shading and Refinement
Begin to add shading to give your drawing depth and form. Observe the light source in your reference photo.
Apply lighter pressure for illuminated areas and gradually build up darker tones for shadows, such as under her chin, around her eyes, and in her hair.
Refine details like the sparkle in her eyes, the texture of her lips, and individual hair strands where they catch the light.
Erase any remaining guidelines and clean up stray marks for a polished finish.
Common Mistakes to Avoid
Inaccurate Proportions
Many beginners struggle with getting facial proportions correct. If the eyes are too close or too far apart, or the nose is too high, the likeness will be lost.
Constantly compare your drawing to the reference photo, using your pencil to measure distances and angles. Don’t be afraid to erase and adjust early on.
Lack of Light and Shadow
Leaving a drawing flat, without proper shading, makes it look two-dimensional and lifeless. Taylor’s features have form, which is revealed through light and shadow.
Study where the light hits her face and where shadows fall. Gradually build up your tones from light to dark, creating a sense of depth and realism.
Over-Reliance on Outlines
Drawing only with strong outlines can make the portrait stiff. While outlines are important for initial placement, a realistic portrait uses varying line weight and shading to define edges.
Soften some of your outlines with shading and allow features to emerge from the interplay of light and dark, especially around the cheeks and forehead.
Ignoring Her Unique Features
Taylor Swift has distinct features like her eye shape, the curve of her lips, and her jawline. Generic features will result in a generic face, not Taylor.
Take extra time to observe and replicate the specific angles and curves that make her recognizable. It’s in these subtle details that the likeness truly shines.
Troubleshooting
My drawing doesn’t look like Taylor Swift.
This is a very common issue when drawing portraits. The key is often in the initial proportion and placement of features.
Go back to Step 2 and 3. Re-evaluate your basic head shape and the placement of your guidelines. Use your pencil to measure distances on your reference photo and compare them meticulously to your drawing.
Even a small deviation in eye spacing or nose length can drastically alter the likeness.
My drawing looks flat, without depth.
A flat drawing usually means you haven’t fully explored the range of tones from light to dark. Real faces are three-dimensional, and shading is what conveys that.
Revisit Step 8. Identify the darkest shadows and the brightest highlights in your reference. Push your darks further and ensure you have smooth transitions between tones. Don’t be afraid to use a darker pencil or apply more pressure in shadow areas.
The hair looks like a helmet.
Hair often looks stiff when drawn as a single block or with too many uniform lines. Hair has volume, texture, and movement.
Instead of drawing every strand, focus on the larger masses and the direction the hair flows. Use varying line pressure to suggest individual strands and create highlights and shadows within the hair to show its form and texture.
Key Takeaways
- Start with a strong reference: A clear, well-lit photo is crucial for an accurate portrait.
- Master basic proportions: Accurate placement of features on the initial head shape is vital for likeness.
- Observe unique details: Pay close attention to Taylor’s specific eye shape, lip curve, and jawline.
- Embrace shading: Use light and shadow to give your drawing depth, form, and realism.
- Practice patience: Drawing portraits takes time and observation; don’t rush the process.
- Don’t fear erasing: Adjustments are part of the artistic process and lead to better results.
Frequently Asked Questions
What kind of pencil is best for drawing portraits?
For initial sketching and light tones, an HB or 2H pencil is ideal as it’s easy to erase. For darker shadows and details, a 2B or 4B pencil will give you richer, deeper tones. Having a range allows for greater control over your shading.
How do I make the eyes look alive?
The key to lively eyes is often the highlight. Leave a small, unshaded white dot in the pupil to represent the light reflecting off the eye. Also, ensure the upper eyelid casts a slight shadow over the top of the eyeball, giving it depth.
Should I draw the clothes and background?
For a beginner, focusing solely on the face is recommended to master likeness. Once you’re comfortable, you can gradually add simple clothing lines to ground the portrait. Backgrounds can be added later to enhance the mood, but keep them subtle so they don’t distract from Taylor’s face.
How do I get the hair to look natural?
Avoid drawing hair as solid lines. Instead, think of it as masses and shapes. Use long, flowing strokes that follow the direction of the hair. Vary the pressure of your pencil to create highlights where light hits and shadows where the hair overlaps, giving it texture and volume.
Our Top Recommended Finds
- Basic Sketching Pencil Set: A set with a range of graphite pencils (2H to 6B) gives you versatile options for light sketches and deep shading.
- Kneaded Eraser: Unlike a standard eraser, a kneaded eraser can be molded to lift graphite gently without smudging, perfect for highlights and corrections.
- Smooth Drawing Paper: Paper with a slight tooth allows for smooth blending and layering of graphite, making your shading look professional.
Your Artistic Journey Continues
You’ve just completed a significant step in your drawing adventure, bringing the iconic Taylor Swift to life on paper.
Each stroke you made, each observation you noted, has sharpened your artistic eye and refined your technique.
Now, why not try drawing her from a different angle, or perhaps capturing a different era of her career?
Keep practicing, keep observing, and most importantly, keep enjoying the creative process.
& Painting
No rigid rules or pretension. Just practical guides, medium comparisons, and encouraging tips to help you enjoy the drawing & painting process.