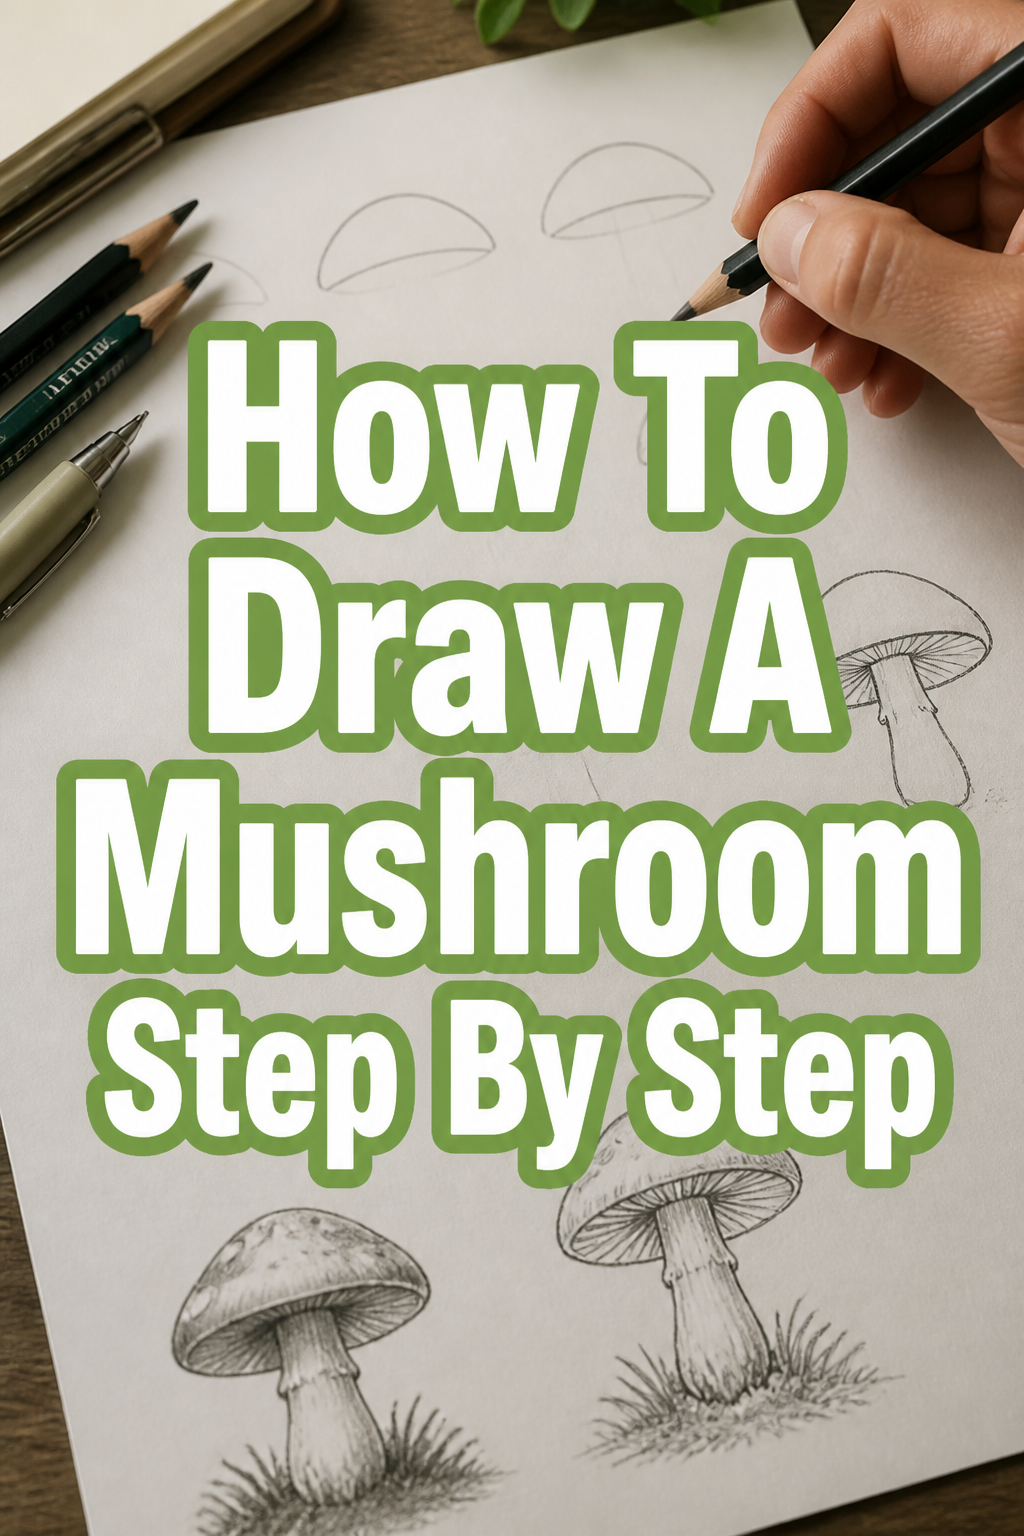
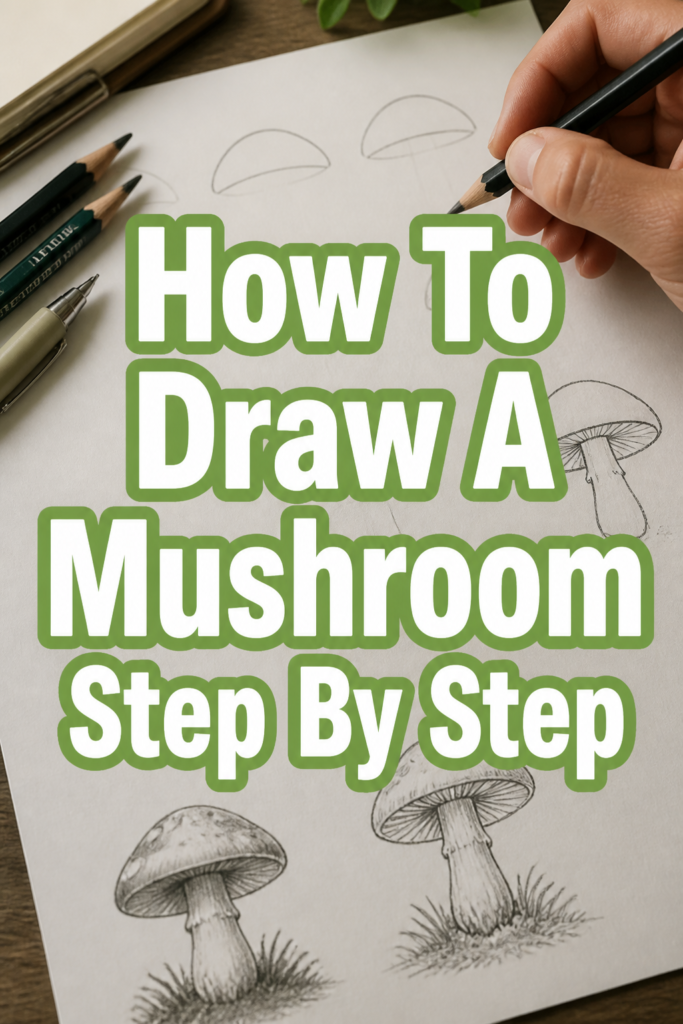
🍄 How To Draw A Mushroom Step By Step

& Painting
No rigid rules or pretension. Just practical guides, medium comparisons, and encouraging tips to help you enjoy the drawing & painting process.
Have you ever wanted to capture the whimsical charm of a mushroom on paper?
Drawing can seem intimidating, but with the right guidance, anyone can create something beautiful.
I’ve spent countless hours sketching natural forms, and mushrooms are a fantastic subject to practice fundamental drawing skills.
Quick Overview
This guide will walk you through creating a delightful mushroom drawing, from basic shapes to intricate details.
You’ll learn techniques for shading and adding texture, bringing your fungi friend to life.
By the end, you’ll have a complete drawing and a newfound confidence in your artistic abilities.
- Time needed: 45-75 minutes
- Difficulty: Beginner
- What you’ll need: Pencil (HB, 2B, 4B recommended), eraser, drawing paper, optional blending tool or cotton swab
Step-by-Step Instructions
Step 1: Sketch the Basic Forms
Begin your drawing by lightly sketching the fundamental shapes that make up a mushroom.
Draw an oval or a flattened dome shape for the cap near the top of your paper.
Add a slightly curved cylinder or a rectangular shape directly below the cap for the stem.
Think of these as your building blocks, not perfect outlines.
Pro Tip: Keep your lines extremely light at this stage. You’ll be refining and erasing them later, so don’t press too hard. This helps maintain flexibility in your design.
Step 2: Connect and Refine the Cap
Connect the base of your cap shape to the top of your stem with gentle, natural curves.
Refine the overall outline of the cap, making it look more organic than a perfect geometric shape.
Mushrooms often have slightly irregular caps, so don’t strive for absolute symmetry.
Consider the specific type of mushroom you want to draw; some caps are flatter, others more rounded.
Step 3: Shape the Stem and Add the Base
Refine the sides of the stem, giving it a more tapered or bulbous form as desired.
Many mushroom stems broaden slightly towards the base or narrow just before meeting the ground.
Draw a gentle curve at the bottom of the stem to indicate where it meets the earth or rests on a surface.
This grounding line makes your mushroom feel more stable and less like it’s floating.
Step 4: Introduce the Underside Details (Gills or Pores)
Look at the underside of your mushroom cap.
Draw a series of radiating lines from the stem outwards to represent the gills.
These lines should be close together and follow the curve of the cap’s underside.
If drawing a mushroom with pores (like a bolete), simply imply a textured underside with subtle dots or a stippled effect instead of distinct lines.
Pro Tip: The gills closest to you will appear longer and more detailed, while those further back will be shorter and less distinct due to perspective. Vary their length and visibility for realism.
Step 5: Add a Veil or Ring (Optional)
Determine if your mushroom has a ring or veil.
Many common mushrooms, like the classic fly agaric, feature a skirt-like ring around the stem.
Draw a delicate, wavy line encircling the stem, usually just below the cap.
This detail adds character and helps identify the mushroom type.
Step 6: Begin Basic Shading for Form
Identify your light source. This determines where shadows will fall.
Apply a light, even layer of graphite to the areas that would naturally be in shadow.
The underside of the cap, the side of the stem opposite the light, and underneath the ring are good starting points.
Use an HB pencil for these initial, lighter shadow tones.
Step 7: Deepen Shadows and Add Texture
Build up your shadows gradually, using a 2B or 4B pencil for darker areas.
Focus on creating contrast between light and dark to give your mushroom a three-dimensional look.
Add texture to the cap and stem. The cap might have small spots or irregularities; the stem could show subtle vertical striations.
Use small dots, short lines, or gentle scribbles to suggest these textures.
Pro Tip: Use a blending tool or a cotton swab to smooth out your shaded areas for a softer, more realistic gradient. Remember to leave some highlights completely untouched to simulate reflected light.
Step 8: Final Refinements and Details
Review your entire drawing.
Erase any remaining light sketch lines that are no longer needed.
Sharpen key outlines where necessary, but avoid making them too harsh, which can flatten the drawing.
Add subtle details like a few tiny blades of grass at the base or a slight ripple on the cap’s edge.
These small touches enhance the overall realism and charm of your mushroom.
Common Mistakes to Avoid
Making Outlines Too Dark Too Soon
One frequent error is pressing too hard with your pencil during the initial sketching phase.
This creates dark, indelible lines that are difficult to erase without damaging the paper.
Always start with the lightest touch possible, allowing you to easily adjust and refine your shapes as you progress.
Ignoring the Light Source
Failing to establish a consistent light source is another common pitfall.
Without a clear direction for light, your shadows will appear haphazard and your mushroom will lack depth.
Decide early on where your light is coming from and ensure all shaded areas logically follow this direction.
Over-smoothing Textures
While blending can create smooth transitions, over-smoothing can erase important textural details.
Mushrooms are natural objects with unique surfaces, whether it’s the slight roughness of a stem or the subtle patterns on a cap.
Balance blending with leaving enough textural indications to make your drawing feel real and organic.
Symmetry Over Naturalism
Many beginners try to make their mushroom perfectly symmetrical, especially the cap and stem.
However, natural forms are rarely perfect. Striving for absolute symmetry can make your drawing look stiff and unnatural.
Embrace slight irregularities and organic curves to give your mushroom a more lifelike appearance.
Troubleshooting
My Mushroom Looks Flat
If your mushroom appears two-dimensional, it likely needs more contrast in its shading.
Go back and deepen your darkest shadows, especially on the underside of the cap, the side of the stem opposite the light, and any overlapping elements.
Ensure you have distinct highlights where the light hits directly, creating a clear range of tones from light to dark.
I Can’t Get the Gills to Look Right
Drawing convincing gills requires attention to perspective and density.
Make sure they radiate from a central point and follow the curve of the cap’s underside.
Vary their length and visibility; gills closer to the viewer will be longer and more defined, while those further back will be shorter and blurrier.
Practice drawing individual curved lines before adding them all together.
My Lines Are Too Scratchy
Scratchy lines often result from using too much pressure or a pencil that is too hard for the initial sketch.
Try switching to a softer pencil (like an HB or B) for your main outlines, and use a very light hand.
Practice drawing long, confident strokes rather than short, hesitant ones to achieve smoother lines.
Key Takeaways
- Always start with very light, basic shapes to establish your composition.
- Refine outlines gradually, embracing the organic and often irregular nature of mushrooms.
- Establish a consistent light source early to guide your shading and create depth.
- Build up shadows in layers, moving from lighter to darker pencils for rich contrast.
- Add texture carefully, using small marks to suggest the unique surfaces of the cap and stem.
- Don’t be afraid to experiment with different mushroom types and details.
Frequently Asked Questions
What’s the best pencil to start with?
An HB pencil is an excellent choice for beginners. It’s versatile enough for initial sketching and provides a good range of mid-tones for shading without being too dark or too light.
How can I make my drawing more realistic?
Realism comes from observing carefully and paying attention to details like light, shadow, and texture. Study reference photos of real mushrooms, focus on subtle tonal variations, and don’t neglect the tiny imperfections that make natural objects unique.
Should I use an eraser often?
Yes, an eraser is a crucial tool! Don’t be afraid to use it to correct mistakes, lighten lines, or even lift highlights during shading. It’s part of the drawing process, not a sign of failure.
Can I add color to my mushroom drawing?
Absolutely! Once your pencil drawing is complete, you can use colored pencils, watercolors, or markers to bring it to life. Just be sure your graphite lines are light enough so they don’t overpower the color.
Our Top Recommended Finds
- Sketchbook with Quality Paper: A good sketchbook provides a smooth surface that holds graphite well and withstands erasing without tearing.
- Set of Drawing Pencils (HB, 2B, 4B, 6B): Having a range of pencil hardnesses allows for greater control over value and shading, essential for creating depth.
- Kneaded Eraser: This type of eraser is perfect for lifting graphite gently, shaping, and creating highlights without smudging your work.
Your Next Artistic Adventure Awaits
You’ve just completed a wonderful mushroom drawing, building your skills step by step.
This process is about more than just one drawing; it’s about developing your artistic eye and confidence.
Why not try drawing another mushroom, perhaps a different variety, or add a small ecosystem around your current one?
Pick up your pencil today and let your creativity continue to flourish!
& Painting
No rigid rules or pretension. Just practical guides, medium comparisons, and encouraging tips to help you enjoy the drawing & painting process.