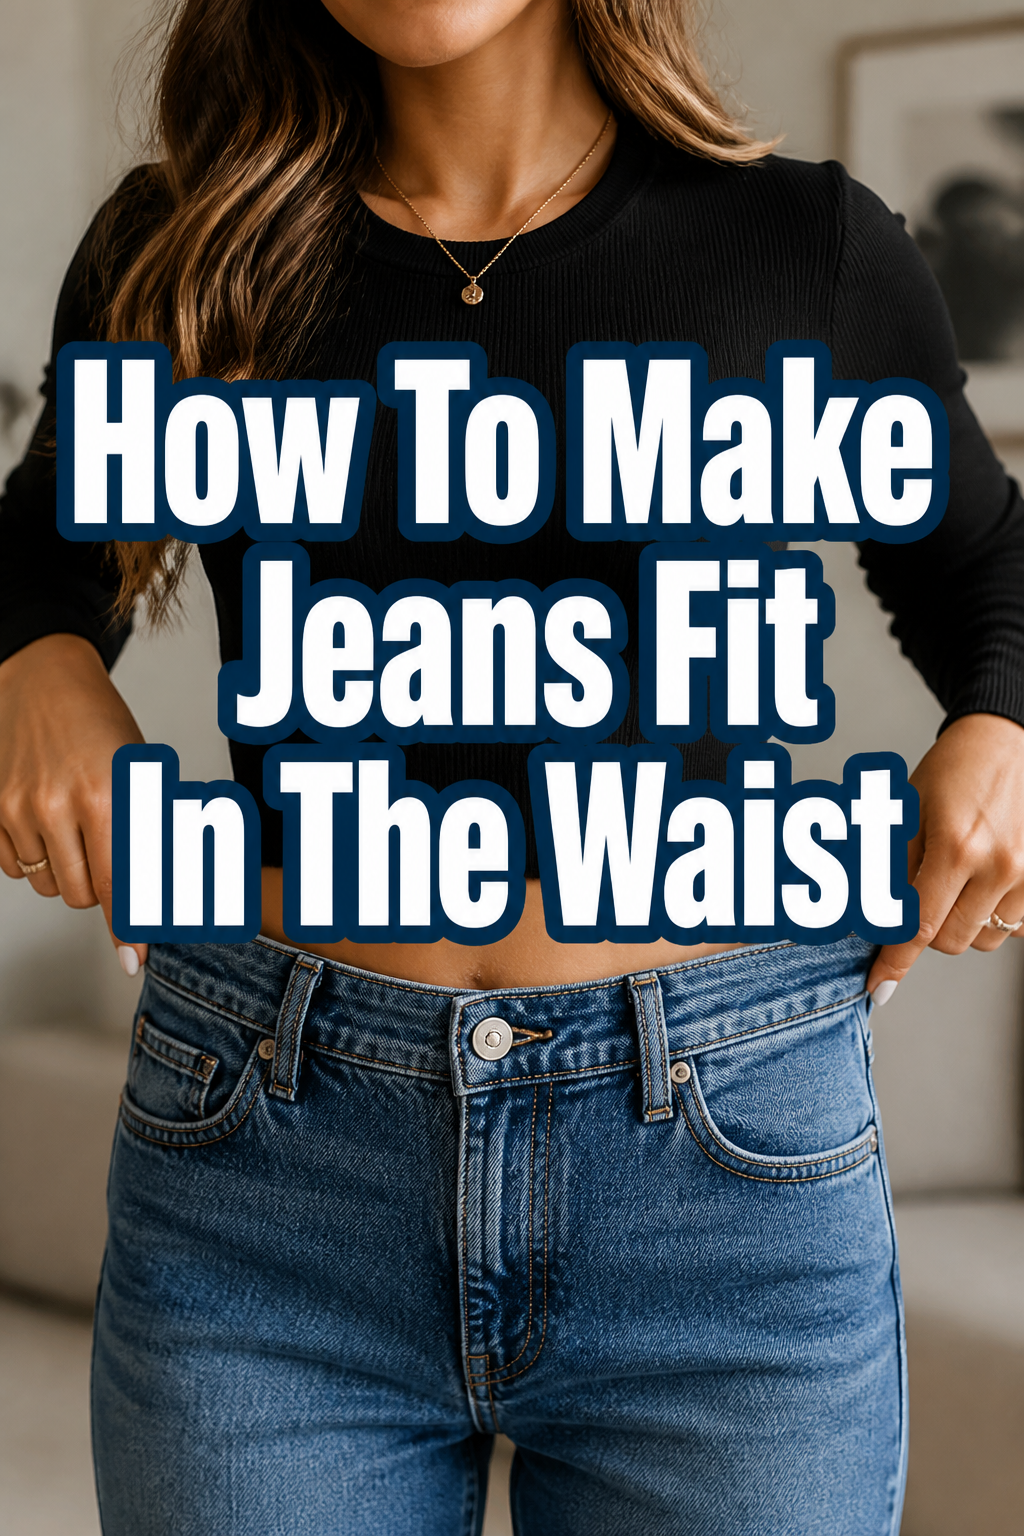
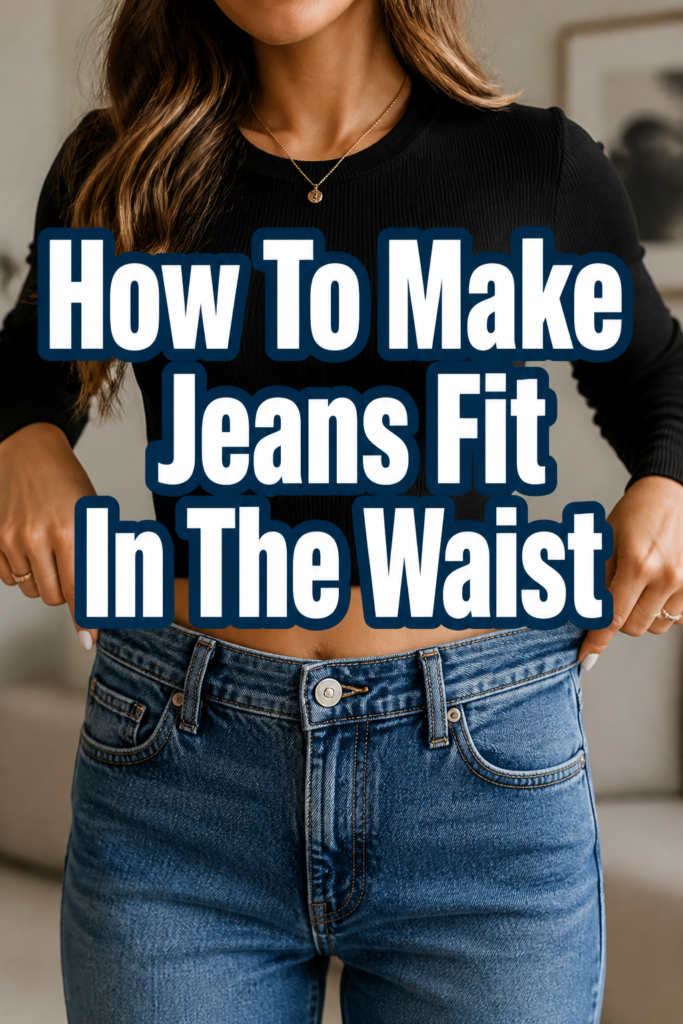
👖 How To Make Jeans Fit In The Waist

& Painting
No rigid rules or pretension. Just practical guides, medium comparisons, and encouraging tips to help you enjoy the drawing & painting process.
Jeans that gape at the back or slide down your hips are a common frustration. You’ve likely bought a pair that fits your thighs perfectly, only to find the waist is far too loose. It’s a tale as old as time for many denim lovers.
I’ve personally wrestled with countless pairs of jeans, determined to make them fit just right. This guide draws on those experiences, offering practical, achievable solutions to tailor your denim precisely to your unique shape. You don’t need to be a seasoned seamstress to achieve a better fit.
Quick Overview
This guide will equip you with a range of techniques, from no-sew hacks to simple alterations, ensuring your jeans embrace your waist comfortably. You’ll learn how to transform ill-fitting denim into a perfectly tailored look.
- Time needed: 15 minutes to 2 hours (depending on method)
- Difficulty: Beginner to Intermediate
- What you’ll need: Measuring tape, fabric chalk, scissors, needle, thread, elastic, safety pins, iron, sewing machine (optional)
Step-by-Step Instructions
Step 1: Assess the Problem & Measure
Before diving into any alteration, take a moment to truly understand the fit issue. Put on your jeans and observe where they gap or feel too loose. Is it the entire waistband, or just the back?
Use a measuring tape to determine exactly how much excess fabric you have. Pinch the excess fabric at the back of the waistband until the jeans fit snugly. Measure this pinched amount. This measurement is crucial for any sewing adjustments.
Mark the excess: While wearing the jeans, use fabric chalk or a pin to mark the exact points where you’re pinching the fabric. This will guide your alterations.
Pro Tip: Always measure twice. It’s better to be precise now than to regret an alteration later. Consider if the stretch of the denim will change after washing.
Step 2: The Hot Wash & Dry Shrink Method (For Cotton-Rich Denim)
If your jeans are mostly cotton, strategic shrinking can work wonders. This method is best for denim that’s only slightly too large in the waist. It works by causing the cotton fibers to contract.
Wash your jeans in the hottest water setting your machine offers. Turn them inside out to help preserve the color. Use your regular detergent.
Dry on high heat immediately after washing. The high heat of the dryer will help the fibers contract further. Repeat this process if the first round doesn’t achieve the desired shrinkage. This method is less effective on denim with a high percentage of synthetic fibers like spandex or polyester.
Understand limitations: While effective, this method shrinks the entire garment, not just the waist. It might also affect the length or other areas of the fit.
Step 3: Cinch with a Belt or Waist Adjuster
For a quick, no-sew fix, a belt is your best friend. A well-chosen belt can gather the excess fabric at the waist, creating a more fitted silhouette. Choose a belt that complements your outfit and the style of your jeans.
Consider specialized waist adjusters. These small clips or buttons allow you to create a new, tighter buttonhole on your jeans without permanent alteration. They are discreet and effective for minor adjustments.
Explore options: Look for internal waist cinchers that attach to the existing belt loops or even hidden elastic bands designed to pull in the back of the waistband.
Pro Tip: For a more tailored look with a belt, try a belt with a narrower width. This can create a cleaner gather of fabric without adding bulk.
Step 4: Add Darts to the Back Waistband
Darts are a classic sewing technique to take in excess fabric, creating a contoured fit. This is ideal for jeans that gape at the back waist. You’ll typically add two darts, one on each side of the center back seam.
Mark your darts: While wearing the jeans, pinch the excess fabric at the back until the waist fits. Mark where these pinches naturally fall. You’ll typically create two darts, each starting about 4-6 inches below the waistband and tapering to nothing at the waistband itself. Each dart should be centered between the side seam and the center back seam.
Pin and sew: Take off the jeans and turn them inside out. Pin along your marked dart lines, ensuring they are symmetrical. Sew slowly along the pinned lines, starting wide at the bottom and tapering to a point at the waistband.
Press the darts: After sewing, press the darts towards the center back seam using an iron. This creates a crisp, professional finish.
Step 5: Insert Elastic into the Back Waistband
Adding elastic to the back of the waistband is a comfortable and forgiving way to cinch in a loose waist. This method works well for jeans with a bit of stretch already. It’s a great option if you want a subtle, gathered effect.
Prepare the waistband: Using a seam ripper, carefully open a small section (about 1-2 inches) of the inside seam of the back waistband. Do this on both sides, near the belt loops. This creates channels for your elastic.
Thread the elastic: Cut a piece of non-roll elastic that is about 4-6 inches shorter than the back section of your waistband (from one opening to the other). Attach a safety pin to one end of the elastic. Thread the elastic through one opening, guiding it all the way to the other opening.
Secure and stitch: Once the elastic is threaded through, pull it taut until the waistband gathers to your desired fit. Pin each end of the elastic securely to the waistband fabric at the openings. Stitch the elastic ends in place using your sewing machine or by hand. Close the openings in the waistband with a simple stitch.
Pro Tip: Test the elastic tension before permanently sewing. Wear the jeans and adjust the elastic until it feels comfortable and snug.
Step 6: Use Button Extenders or Reducers
For minor adjustments, especially if your jeans are just slightly too loose or too tight, button extenders or reducers can be a lifesaver. These are small, temporary devices that modify the fit around the button.
Button reducers: If your jeans are too loose, a button reducer allows you to create a new, closer buttonhole without sewing. It’s usually a small pin-like device that you push through the waistband fabric, creating a new anchor point for your existing button.
Button extenders: Conversely, if your jeans are a bit too tight, a button extender adds a small length of fabric or elastic between your button and buttonhole, giving you a little extra room.
Temporary fixes: These tools are excellent for quick, non-permanent adjustments. They’re perfect for days when you need a little more or less room.
Step 7: Consider Professional Alterations
If you’re dealing with significant gapping, a complex fit issue, or simply prefer not to attempt sewing yourself, a professional tailor is an excellent option. They can perform more intricate alterations like taking in side seams or completely re-sizing the waistband.
Discuss your needs: Clearly explain to the tailor where you want the jeans adjusted. Bring the jeans in, wearing them, so they can see the fit issues firsthand. A professional can often achieve a flawless, custom fit.
Weigh the cost: Professional alterations come with a cost, but for a favorite or expensive pair of jeans, it can be a worthwhile investment to ensure a perfect fit.
Common Mistakes to Avoid
Over-Shrinking Your Jeans
One common mistake is to aggressively shrink jeans without considering the fabric composition. Denim with a high percentage of stretch (elastane, spandex) will not shrink as much as 100% cotton denim. Over-shrinking can lead to a garment that’s too tight everywhere, not just the waist, or one that loses its shape.
Always check the fabric label first. If you’re unsure, try a gentle hot wash and dry first, then assess before repeating. Remember, you can always shrink more, but you can’t un-shrink.
Ignoring Denim Stretch
Many modern jeans contain stretch fibers. It’s easy to forget that these jeans will relax and stretch out with wear, often becoming looser than they were when first put on. If you alter them to be perfectly snug right out of the wash, they might become too tight after an hour of wear.
Always wear your jeans for a short period after washing to let them relax a bit before making permanent alterations. This gives you a more accurate sense of their true fit.
Making Asymmetrical Darts or Elastic Adjustments
When adding darts or elastic to the back waistband, it’s easy to make one side different from the other. This can result in a lopsided fit that feels uncomfortable and looks uneven.
Always measure and mark carefully, ensuring symmetry. Use a ruler or measuring tape to ensure your darts are the same length and width, and that your elastic is evenly distributed. Take your time with pinning before you stitch.
Troubleshooting
Jeans Still Gape After Alteration
If your jeans still gape slightly after trying a method like darts or elastic, it might mean you didn’t take in enough fabric. It could also indicate that the gape extends beyond just the back waistband.
Carefully re-evaluate the fit. You might need to add slightly wider darts or a bit more tension to the elastic. For persistent gaping, especially around the hips, a professional tailor can assess if a more comprehensive alteration, such as taking in the side seams, is needed.
Waistband Feels Too Tight or Uncomfortable
If your jeans now feel too tight or uncomfortable in the waist, you might have over-corrected. This is a common issue, especially with shrinking methods or overly aggressive darting.
For sewn alterations like darts, you might be able to carefully remove the stitches with a seam ripper and re-sew them, making the darts slightly narrower. If you used elastic, you might need to replace it with a slightly longer piece, or ease up on the tension. For shrunken jeans, unfortunately, stretching them back out is difficult, but wearing them frequently might help them relax slightly.
Stitching Looks Uneven or Unprofessional
If your hand-stitching or machine-stitching looks messy, it’s often due to rushing or not using the correct technique. Uneven stitches can also compromise the durability of the alteration.
Practice on scrap fabric first to get a feel for your machine or hand-sewing technique. Ensure you’re using a sharp needle appropriate for denim and a strong thread. Go slowly, and use pins generously to keep your fabric in place. Remember, practice makes perfect, and even experienced sewers sometimes need to unpick and re-do.
Key Takeaways
- Always measure the exact amount of excess fabric before starting any alteration.
- Hot washing and drying is effective for cotton-rich denim but shrinks the entire garment.
- Belts and waist adjusters offer quick, non-permanent solutions for minor looseness.
- Darts are a precise way to tailor the back waistband, creating a contoured fit.
- Elastic inserted into the back waistband provides comfortable, forgiving cinching.
- Don’t be afraid to seek professional help for complex fit issues or if you prefer not to sew.
- Always account for denim stretch and avoid over-shrinking or over-tightening.
Frequently Asked Questions
Can I make jeans smaller without sewing?
Yes, absolutely! Methods like hot washing and drying (for cotton denim), using a belt, or employing waist adjusters/button reducers are all effective no-sew options. These are great for quick fixes or minor adjustments.
How do tailors make jeans fit in the waist?
Professional tailors often use more advanced techniques. They might take in the jeans at the side seams, remove and reattach the entire waistband, or add precisely measured darts. They have specialized tools and expertise to ensure a seamless, factory-finish look.
Will washing jeans in hot water always shrink them?
Hot water washing will primarily shrink jeans made of 100% cotton or a high percentage of cotton. Denim with a significant amount of synthetic fibers like spandex or polyester will resist shrinking or only shrink minimally, as these fibers are designed to maintain their shape. Always check the fabric content label.
How much can you take in jeans at the waist?
You can typically take in a few inches at the waist using DIY methods like darts or elastic, especially if the excess is concentrated at the back. For more significant adjustments (4+ inches), or if the jeans need to be taken in all around the waist and hips, professional alteration is usually recommended to maintain the garment’s original structure and fit.
Our Top Recommended Finds
- Fabric Chalk or Disappearing Ink Pen: Essential for precise marking without permanent stains.
- Non-Roll Elastic (1-inch width): Ideal for comfortable waist adjustments that won’t twist inside the waistband.
- Denim Sewing Needles: Stronger than regular needles, they prevent breakage when working with thick denim fabric.
Embrace Your Perfect Fit Today
No more settling for jeans that don’t quite hug your curves the way they should. With these practical steps, you have the power to transform your denim collection. From quick fixes to simple sewing, achieving a perfectly fitted waist is well within your reach.
Take the plunge and try one of these methods. You’ll be amazed at the confidence a well-fitting pair of jeans can bring. Ready to tackle another denim challenge? Consider learning how to hem your jeans or repair a ripped knee for a truly personalized wardrobe.
& Painting
No rigid rules or pretension. Just practical guides, medium comparisons, and encouraging tips to help you enjoy the drawing & painting process.