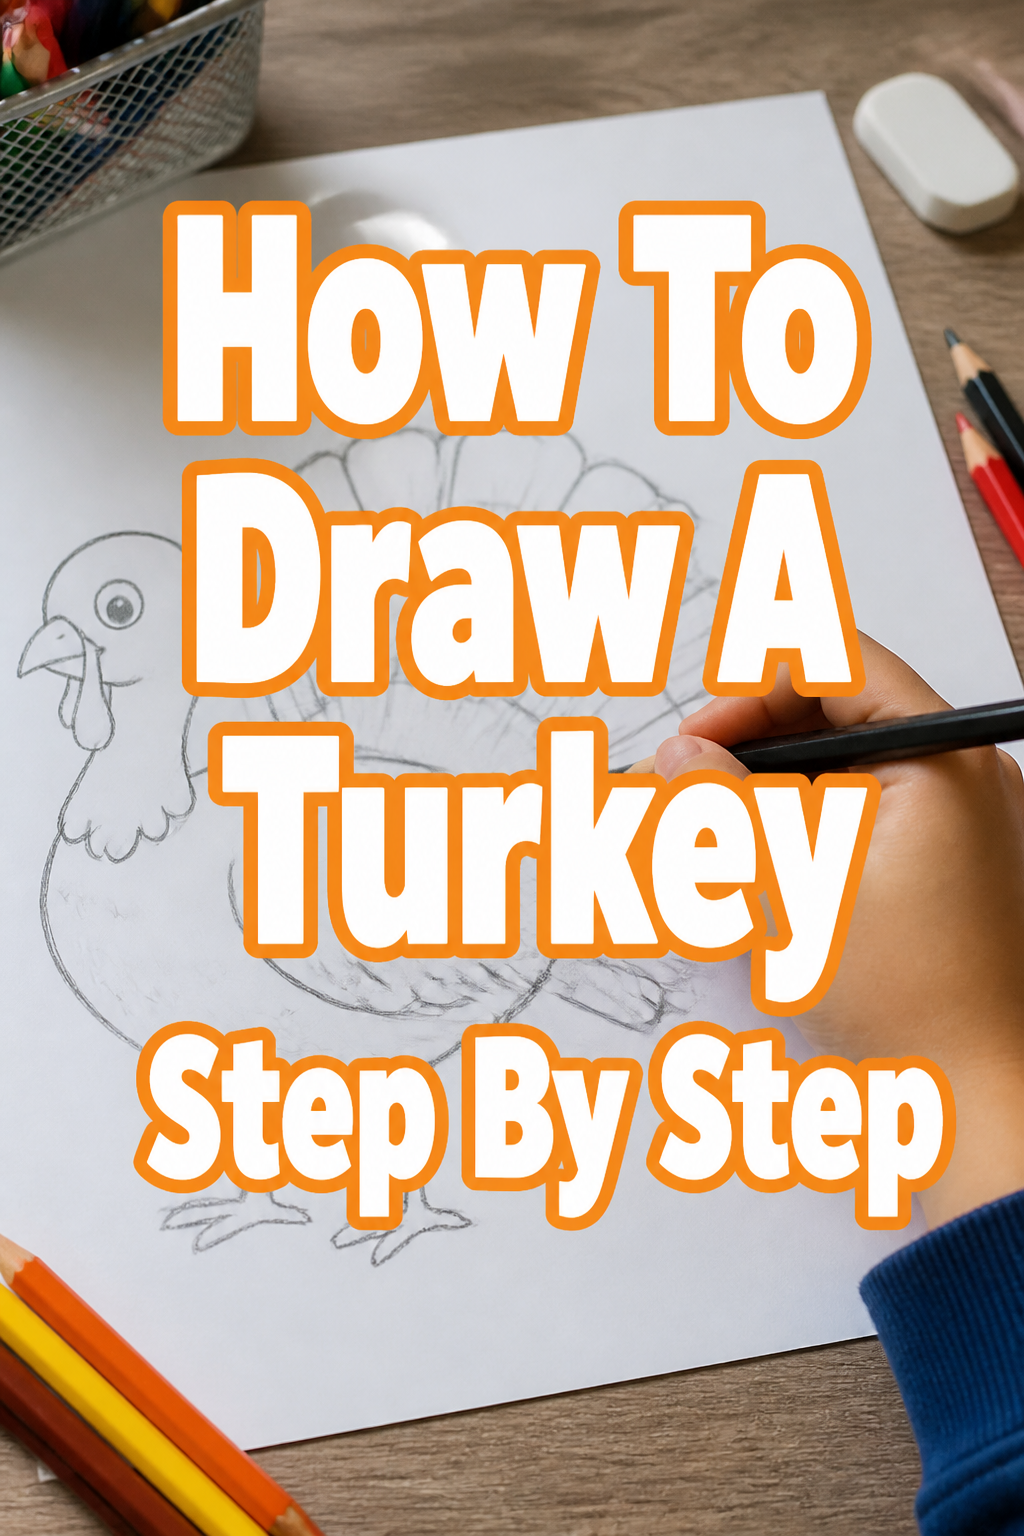
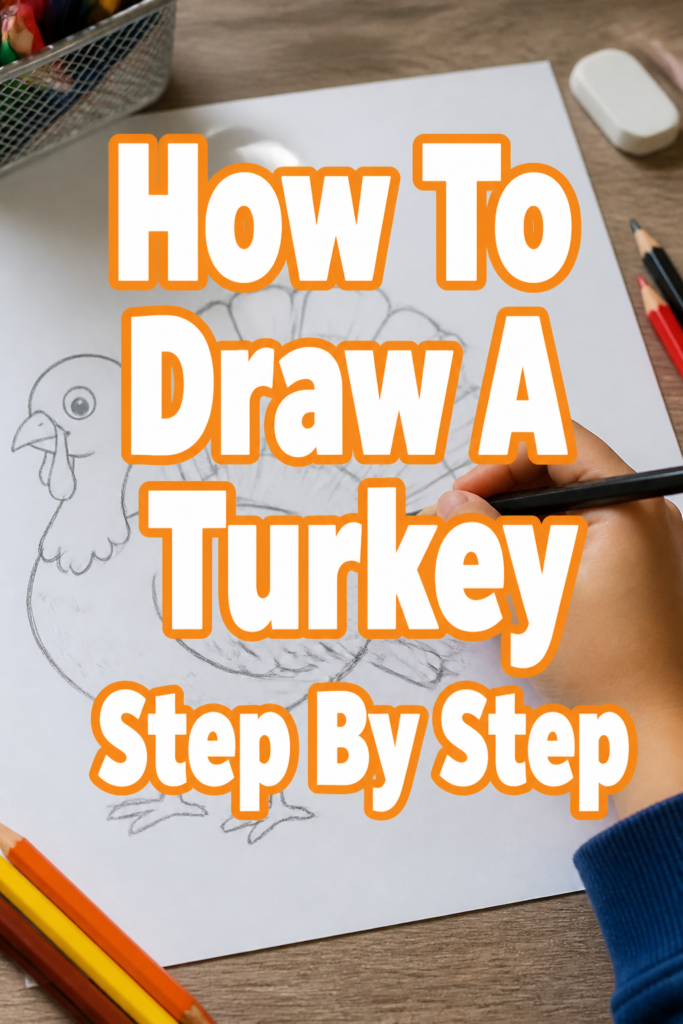
🦃 How To Draw A Turkey Step By Step

& Painting
No rigid rules or pretension. Just practical guides, medium comparisons, and encouraging tips to help you enjoy the drawing & painting process.
Learning to draw can feel intimidating, but it’s a rewarding journey.
I remember struggling with basic shapes, but breaking things down made all the difference.
This guide will show you exactly how to create a charming turkey drawing, no prior experience needed.
Quick Overview
You’re about to learn how to sketch a delightful turkey, perfect for holiday cards or just for fun. We will build it up from simple shapes to a complete, feathered friend.
- Time needed: 30-45 minutes
- Difficulty: Beginner
- What you’ll need: Pencil, eraser, paper, optional colored pencils or markers
Step-by-Step Instructions
Step 1: Sketch the Basic Body Shapes
Begin by lightly drawing two ovals on your paper. These will form the foundation of your turkey’s body.
Place a larger, slightly tilted oval in the center for the main body. Above and slightly to the left of this, draw a smaller oval for the head.
Ensure these initial shapes are very light. You’ll be erasing these lines later, so don’t press too hard.
Pro Tip: Think of these ovals as starting points, not rigid boundaries. They guide your proportions and placement.
Step 2: Connect the Head and Body
Now, connect the smaller head oval to the larger body oval using two curved lines. These lines will form the turkey’s neck.
Make the neck lines gently curved, creating a natural flow between the head and body.
The top line should curve slightly outwards, and the bottom line should curve inwards, giving the neck a realistic taper.
Step 3: Define the Tail Feathers
It’s time for the turkey’s most distinctive feature: its fan-like tail. Draw a large, semicircular shape behind the main body oval.
This arc should be expansive, extending upwards and outwards from the back of the body. Imagine a proud display of feathers.
Don’t worry about individual feathers yet; focus on the overall shape and size of the tail fan.
Step 4: Add the Legs and Feet
Draw two simple lines extending downwards from the bottom of the body for the legs. These lines should be slightly angled outwards.
At the end of each leg, sketch three short, pointed lines for the toes. Add a tiny line at the back for a fourth, smaller toe.
Keep the legs relatively short and sturdy. Turkeys have strong, thick legs.
Step 5: Detail the Head and Face
Inside the head oval, draw a small, round eye. Add a tiny dot in the center for the pupil.
Below the eye, draw a triangular shape for the beak, pointing slightly downwards. Underneath the beak, add the wattle—a small, fleshy, dangling piece.
Don’t forget the snood, a fleshy appendage that hangs over the beak. Draw it as a small, curved line extending from above the beak.
Step 6: Refine the Body and Wings
Now, gently erase the initial oval guidelines that are no longer needed. Start to smooth out the lines of the neck and body.
Add a small, curved shape on each side of the body for the wings. These are often tucked in, so they don’t need to be overly detailed.
The wings can be simple, slightly elongated curves that follow the contour of the body.
Step 7: Draw the Tail Feathers and Texture
Inside the large tail fan, draw several curved lines radiating from the base of the tail. These lines will create individual feather segments.
You can add small, jagged edges or slight curves at the ends of these segments to suggest feather texture.
For the body, add some short, feathery strokes along the chest and back to give it more dimension.
Step 8: Ink and Erase
Once you are happy with your pencil drawing, carefully go over all the desired lines with a pen or a darker pencil.
Take your time with this step, ensuring clean and confident lines. This process makes your turkey stand out.
After the ink is completely dry, use your eraser to remove any remaining light pencil lines. Your turkey drawing is now complete!
Common Mistakes to Avoid
Disproportionate Head and Body
Sometimes, artists make the head too large or too small compared to the body. This can make the turkey look unbalanced or cartoonish in an unintended way.
Always start with your basic ovals to establish a good size relationship. Step back and look at your proportions before adding details.
Flat Tail Fan
A common error is drawing the tail as a flat, two-dimensional shape. This robs the turkey of its majestic display.
Remember to give the tail a slight curve and depth. Imagine it fanning out from the turkey’s body, creating a sense of volume.
Stiff Neck and Legs
Drawing the neck and legs too straight can make your turkey appear rigid and lifeless. Turkeys have natural curves and angles.
Introduce subtle curves to the neck and slight bends in the legs. This will give your drawing more movement and a lifelike quality.
Over-Complicating Details Too Early
Jumping straight into feather texture or intricate facial features before the basic structure is solid is a common trap. This can lead to frustration and a messy drawing.
Always build your drawing from simple shapes to complex details. Establish the foundation first, then refine. This approach ensures a cleaner, more controlled outcome.
Troubleshooting
My Turkey Looks Too Flat
If your turkey lacks depth, you might not be thinking in three dimensions. The initial ovals are key to establishing volume.
Go back to your basic shapes. Try overlapping the body and head ovals slightly to suggest one is in front of the other. Also, ensure your tail fan has a clear curve, not just a flat line.
The Features Don’t Look Right
If the eyes, beak, or wattle seem off, it’s often a matter of placement or size. Even small adjustments can make a big difference.
Use a reference image of a turkey’s face to guide you. Try sketching the features very lightly first, then adjust their position and size until they look natural before committing to darker lines.
I Can’t Get the Feathers to Look Realistic
Realistic feathers require patience and observation. It’s easy to draw generic lines instead of actual feather shapes.
Instead of drawing every single feather, focus on suggesting texture. Use varying line lengths and slight overlaps. For the tail, remember the fan-like structure and radiating lines, then add small, curved tips to represent individual feathers.
Key Takeaways
- Start with simple, light geometric shapes to build your foundation.
- Gradually refine your drawing, moving from large forms to smaller details.
- Pay attention to proportions to ensure your turkey looks balanced and natural.
- Use an eraser to clean up guidelines and correct mistakes as you go.
- Practice makes perfect; don’t be afraid to try drawing it multiple times.
- Adding subtle curves and varied lines brings life and movement to your turkey.
Frequently Asked Questions
Can I draw this turkey with different poses?
Absolutely! Once you master the basic structure, you can experiment. Try angling the head differently, or showing one wing slightly open. The core shapes remain the same, but their arrangement changes.
What if my lines aren’t perfectly smooth?
Don’t worry about perfectly smooth lines, especially when you’re starting. A slightly “sketchy” quality can add character to your drawing. Focus on getting the overall shape and proportions right. Smoothness comes with practice.
How can I add color to my turkey?
Once your line drawing is complete and erased, you can add color. Use browns, reds, and oranges for the body and tail feathers. A bright red for the wattle and snood will make your turkey pop. Experiment with shading to add depth.
Is it okay to use a reference photo?
Using reference photos is highly encouraged! It helps you understand turkey anatomy, feather patterns, and colors. Don’t copy directly, but use them to inform your own drawing and make it more accurate and lively.
Our Top Recommended Finds
- Sketching Pencils Set: A good set with varying lead hardness (2H to 6B) allows for light guidelines and dark finishes.
- Kneaded Eraser: Perfect for lifting pencil marks gently without smudging, essential for clean line art.
- Quality Drawing Paper: Choose paper with a slight tooth; it holds pencil and ink better than very smooth paper.
Your Feathered Masterpiece Awaits
You’ve now walked through every step to create your very own turkey drawing.
Drawing is a skill that grows with every stroke, so don’t hesitate to put pencil to paper again.
Try drawing your turkey from different angles, or add a festive scene around it. Embrace the journey and enjoy the creative process today!
& Painting
No rigid rules or pretension. Just practical guides, medium comparisons, and encouraging tips to help you enjoy the drawing & painting process.