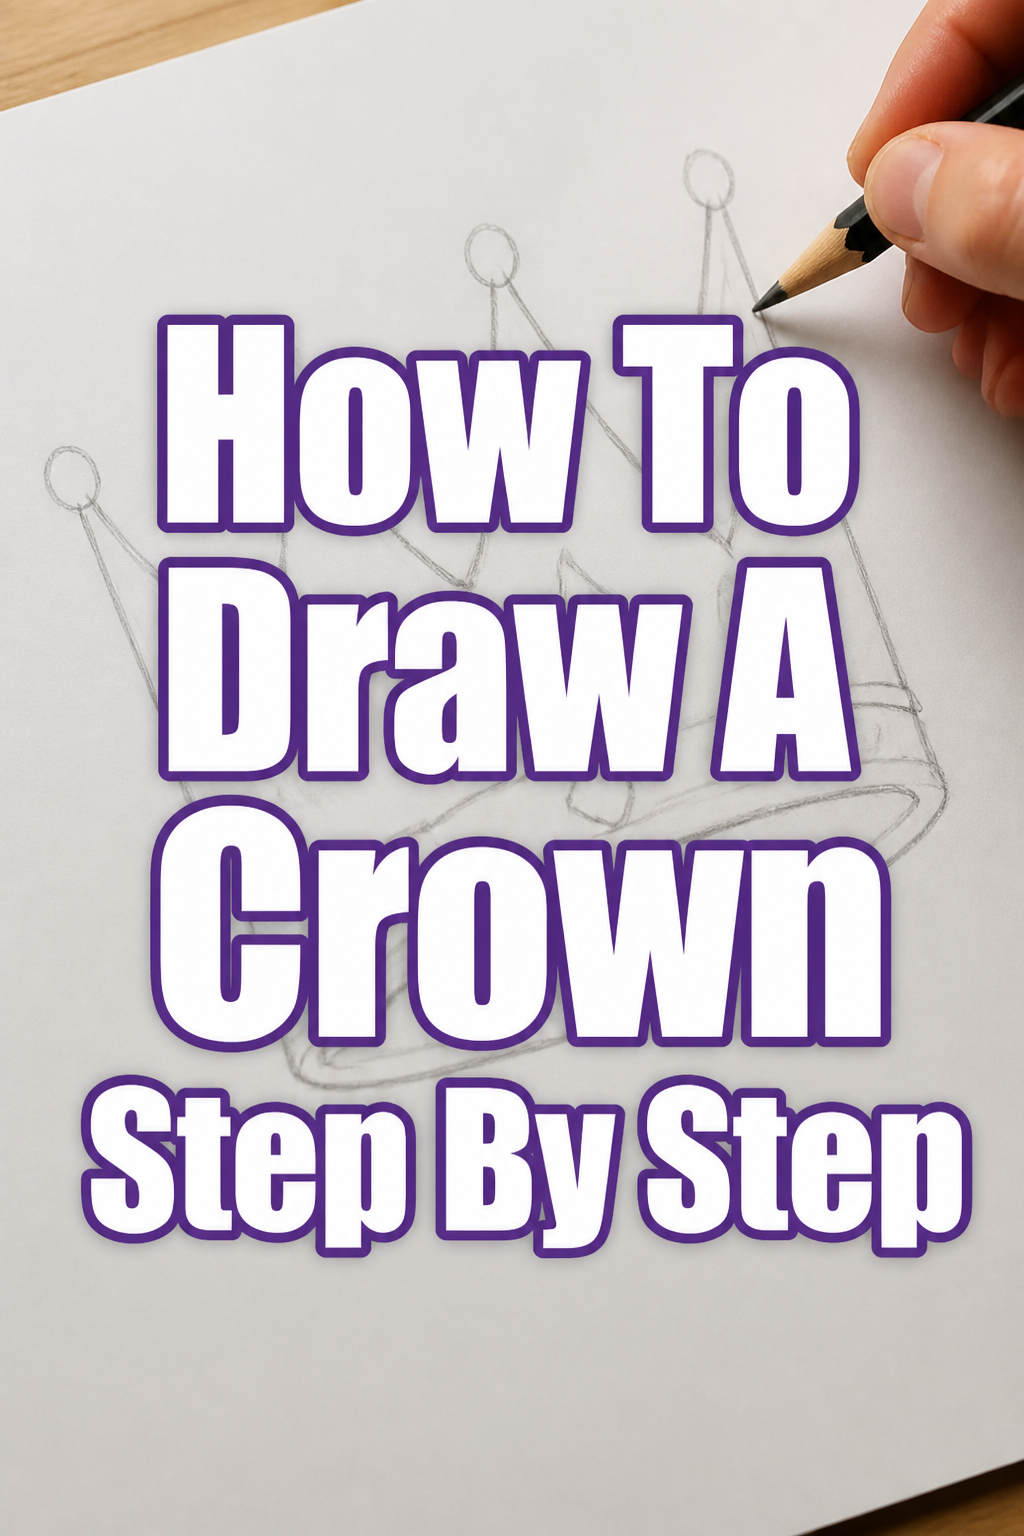
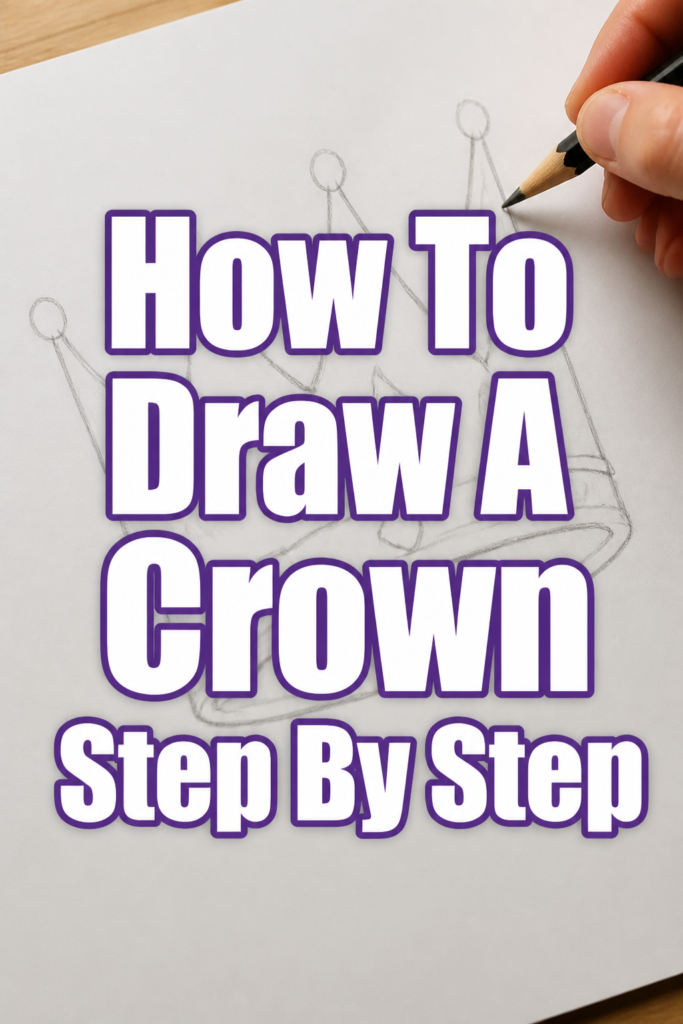
👑 How To Draw A Crown Step By Step

& Painting
No rigid rules or pretension. Just practical guides, medium comparisons, and encouraging tips to help you enjoy the drawing & painting process.
I remember my first attempts at drawing a crown. They often looked more like a lopsided fence than a regal accessory. But over the years, I’ve refined a straightforward process that makes drawing a majestic crown surprisingly simple. This guide shares the exact steps I use, ensuring you create a beautiful piece of royalty.
Quick Overview
This guide will walk you through creating a stunning crown, from initial sketches to adding dazzling details. You will learn fundamental drawing techniques applicable to many other subjects. By the end, you will have a complete, regal crown drawing.
- Time needed: 30-60 minutes
- Difficulty: Beginner
- What you’ll need: Pencil (HB, 2B), eraser, paper, optional: fine-liner pen, colored pencils or markers
Step-by-Step Instructions
Step 1: Lay the Foundation with Basic Shapes
Begin by lightly sketching the fundamental structure of your crown. Think of it as building a simple framework first. This initial step sets the stage for everything else.
Start with a slightly curved horizontal line for the bottom edge of the crown. This line will give your crown a stable base, suggesting it sits on a head. Above this, draw another parallel, slightly longer curved line to create the top edge of the main band.
Connect these two curved lines with two short vertical lines on each end. This forms a basic, slightly curved rectangular shape, which will be the main band of your crown. Ensure these lines are very light, as they are just guidelines.
Pro Tip: Use a light hand with your pencil for all initial sketches. This makes it much easier to erase mistakes and refine your lines later without leaving smudges or indentations.
Step 2: Define the Crown’s Points
Now, let’s add the iconic points that give a crown its regal silhouette. These can vary in number and shape, so feel free to experiment. We’ll start with a classic pointed design.
Divide the top curved line of your band into several equal segments. Mark these points with small dashes. From each mark, draw a gentle upward curve, meeting at a central point to form a rounded triangle or arch.
Repeat this process across the entire length of the top band, creating a series of symmetrical points. Ensure the spacing between each point is consistent for a balanced look. These points give the crown its characteristic majestic appearance.
Step 3: Add Depth and Dimension to the Band
A crown isn’t flat; it has thickness and depth. We will now add lines that suggest this three-dimensional quality. This makes your crown look solid and real.
Just inside the bottom curved line of your main band, draw another parallel curved line. This creates the inner rim of the crown, indicating its thickness. Do the same for the top edge of the band, drawing a parallel line just below the base of your points.
For the points themselves, draw a second line just inside each point, following its curve. This creates the illusion of a thicker, more substantial structure for each point. These subtle additions instantly give your crown more visual weight.
Step 4: Construct the Arches (Optional but Recommended)
Many classic crowns feature elegant arches spanning from the front to the back. Adding these can elevate your crown’s grandeur. If you prefer a simpler crown, you can skip this step.
From the center of the main band, draw two gently curving lines that arch upwards and inwards. These lines should meet at a central point above the crown’s points, forming a dome-like structure. Think of them as elegant bridges.
Add a second, parallel line just inside each of these arches to give them thickness. This reinforces the three-dimensional quality and makes them look sturdy. These arches are often where a central gem or orb is placed.
Step 5: Incorporate Jewels and Ornaments
No crown is complete without sparkling embellishments. This is where your crown truly comes to life with dazzling details. Let your imagination guide you here.
Draw circles, ovals, or teardrop shapes along the main band and on each point of the crown. These will be your jewels. Vary their sizes for visual interest, placing larger gems at the center of points and smaller ones along the band.
Consider adding smaller decorative elements like filigree or etched patterns onto the metal surfaces of the crown. You can draw tiny swirls, dots, or crosshatch patterns to suggest intricate metalwork. Don’t forget a large, prominent gem at the very top, where the arches meet.
Step 6: Refine Lines and Erase Guidelines
Now that all the elements are in place, it’s time to clean up your drawing and make your crown look crisp. This step transforms your sketch into a polished piece.
Carefully go over all the desired lines of your crown with a slightly darker pencil (like a 2B) or a fine-liner pen. Make these lines firm and confident, defining the final shape of your crown and its details. Pay attention to smooth curves and sharp points.
Once you are satisfied with your main lines, gently erase all the initial light sketch lines and any unnecessary guidelines. Take your time to ensure a clean finish. This reveals the true form of your magnificent crown.
Step 7: Add Shading and Texture
Shading gives your crown volume and makes it look like it’s made of real metal and gems. This is crucial for creating a realistic impression. Think about where light would hit and where shadows would fall.
Imagine a light source, perhaps coming from the top left. Apply light shading to the areas that would be in shadow, such as the underside of the band, the inner edges of the points, and the parts of the arches that recede. Use cross-hatching or smooth blending.
For the jewels, add small, bright highlights to suggest their sparkle. A tiny white spot on one side of a gem, with a slightly darker shadow on the opposite side, creates the illusion of faceted brilliance. You can also add a subtle texture to the metal, like small, closely spaced lines to mimic brushed gold.
Step 8: Consider Color (Optional)
While shading adds depth, color brings your crown to vibrant life. This final step can make your drawing truly pop. Choose colors that evoke royalty and richness.
If you choose to color your crown, select rich yellows or golds for the metal. Use deep reds, blues, greens, or purples for the jewels. Layer your colors to create depth and variation.
Apply lighter shades where the light hits and darker shades in shadowed areas, reinforcing your earlier shading. Adding a touch of white or a very pale yellow to highlights on the metal can suggest a metallic sheen.
Common Mistakes to Avoid
Flat Appearance
Many beginners draw crowns as if they are completely flat, lacking any sense of three-dimensionality. This makes the crown look like a cardboard cutout rather than a solid object. Remember that a crown is a physical object with thickness and depth.
To fix this, always add inner lines for the band and points, creating a sense of thickness. Imagine you can see the inside edge of the crown. Overlapping elements and proper shading also help to suggest volume and form, making your crown appear solid.
Inconsistent Symmetry
A crown’s regal appeal often comes from its balanced and symmetrical design. If the points are unevenly spaced, or the arches are lopsided, the crown can look amateurish and poorly constructed. Precision in your initial sketch is key.
Use light guidelines to help you divide the space evenly before drawing the points or arches. Measure distances if needed, especially for the central elements. Don’t be afraid to erase and redraw lines until they look balanced and harmonious.
Lack of Detail or Over-detailing
Some drawings might lack enough details to make the crown interesting, while others might become cluttered with too many small, indistinct elements. Both can detract from the overall appearance. The key is finding a balance.
Focus on a few well-placed, larger jewels and then add smaller, supporting details like filigree or tiny beads. Ensure each detail is clearly drawn and serves a purpose. Avoid adding too many patterns that blend together or become muddy, especially in smaller areas.
Poor Shading
Incorrect or insufficient shading can make a crown look dull and unconvincing. If there’s no contrast between light and dark, the crown won’t appear to have any texture or form. Shading is what makes it look metallic and shiny.
Always establish a clear light source and consistently apply shadows and highlights based on that source. Use a range of pencil pressures or color values to create smooth transitions from light to dark. Remember that metallic objects have sharp, defined highlights, not just soft gradients.
Troubleshooting
My Crown Looks Too Flat
If your crown appears flat, it likely lacks the necessary depth and dimension. This is a common issue when starting out. The drawing needs more elements to suggest it’s a 3D object.
Go back and add inner lines to the main band and each point. These lines create the thickness of the material. Also, ensure you have proper shading that shows where light hits and where shadows fall, especially on the underside and inside curves. Overlapping shapes also contribute to depth.
The Points are Uneven
Uneven points can make your crown look unbalanced and less majestic. This often happens if you freehand the points without initial guides. Symmetry is crucial for a regal look.
Before drawing the final points, lightly mark out equal segments along the top band. Use these marks as guides for the base of each point. You can also lightly draw a central vertical axis for each point to ensure they rise straight up. Erase and refine until they look symmetrical.
My Jewels Don’t Sparkle
If your drawn jewels look dull instead of brilliant, you might be missing key elements that create the illusion of sparkle. Jewels rely on contrast to appear shiny.
To make jewels sparkle, add a small, bright white highlight (a tiny dot or dash) in one area, and then a slightly darker shadow on the opposite side. This contrast mimics light reflecting off a polished surface. You can also use a very light touch of color in the middle and darker around the edges for depth.
Key Takeaways
- Always start with light, basic geometric shapes as your foundation.
- Add inner lines and thickness to create a sense of three-dimensional depth.
- Pay attention to symmetry and balance for a regal and polished look.
- Embellish with jewels and ornaments, varying their size and placement.
- Refine your lines and meticulously erase all initial guidelines for a clean finish.
- Use shading to give your crown volume, texture, and a metallic sheen.
- Consider adding color to enhance the crown’s visual appeal and vibrancy.
Frequently Asked Questions
What kind of pencil is best for crown drawing?
For initial sketching and guidelines, an HB pencil is ideal because it’s light and easy to erase. For defining your lines and adding darker shading, a 2B or 4B pencil will give you richer, darker tones. Having a range allows for more control.
How do I make the metal look shiny?
To make the metal appear shiny, you need strong contrast between light and dark areas. Identify a clear light source and apply sharp, bright highlights where the light would directly reflect. Blend darker shadows smoothly into other areas, and consider adding subtle texture lines.
Can I draw a crown without arches?
Absolutely! Many crown designs do not feature arches. You can create a beautiful, majestic crown simply with a strong band and intricate points, adorned with jewels. The choice to include arches depends entirely on the style of crown you envision.
How can I make my crown look unique?
To make your crown unique, experiment with different shapes for the points, try varying the types and arrangements of jewels, or incorporate personal symbols into the design. You can also add unique textures or etched patterns to the metal. Don’t be afraid to deviate from traditional designs.
Our Top Recommended Finds
- Staedtler Mars Lumograph Pencil Set: This set offers a great range of graphite pencils from hard to soft, perfect for both light sketching and deep shading.
- Kneaded Eraser: Essential for lifting graphite gently without smudging, allowing for precise clean-up and highlight creation.
- Strathmore Smooth Bristol Paper: A smooth surface paper that’s excellent for detailed line work and blending, ensuring your pencil glides effortlessly.
Your Masterpiece Awaits!
You now have a clear path to drawing a magnificent crown. Each step builds upon the last, guiding you from a simple idea to a finished piece of art. The process is rewarding, and the skills you gain are invaluable for other drawing projects.
Why not grab your pencil and paper right now? Start sketching your first regal design, or revisit this guide to refine a previous drawing. Perhaps you’ll next try drawing a scepter or a royal emblem to accompany your crown. The world of drawing is yours to command!
& Painting
No rigid rules or pretension. Just practical guides, medium comparisons, and encouraging tips to help you enjoy the drawing & painting process.