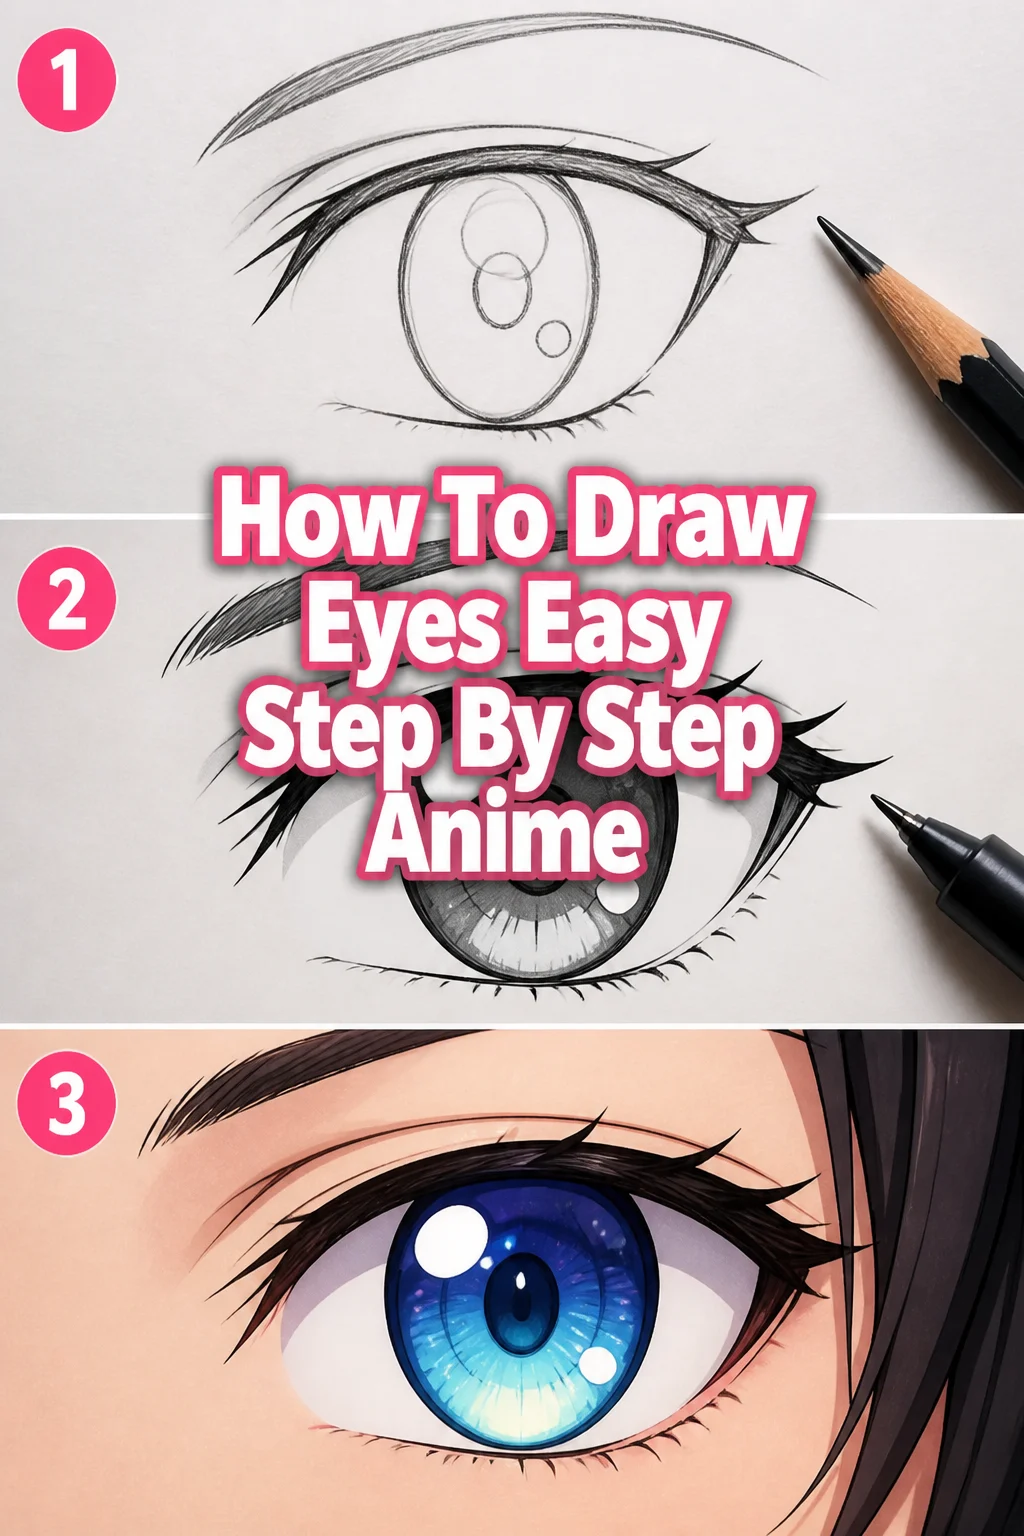
✨ How To Draw Eyes Easy Step By Step Anime
Have you ever wanted to bring your anime characters to life with expressive eyes? It’s a fundamental skill that truly defines a character’s personality.
I’ve spent countless hours practicing these techniques, and I’m excited to share a simplified method that even beginners can master. This guide breaks down the process, making it approachable and fun for everyone.
Quick Overview
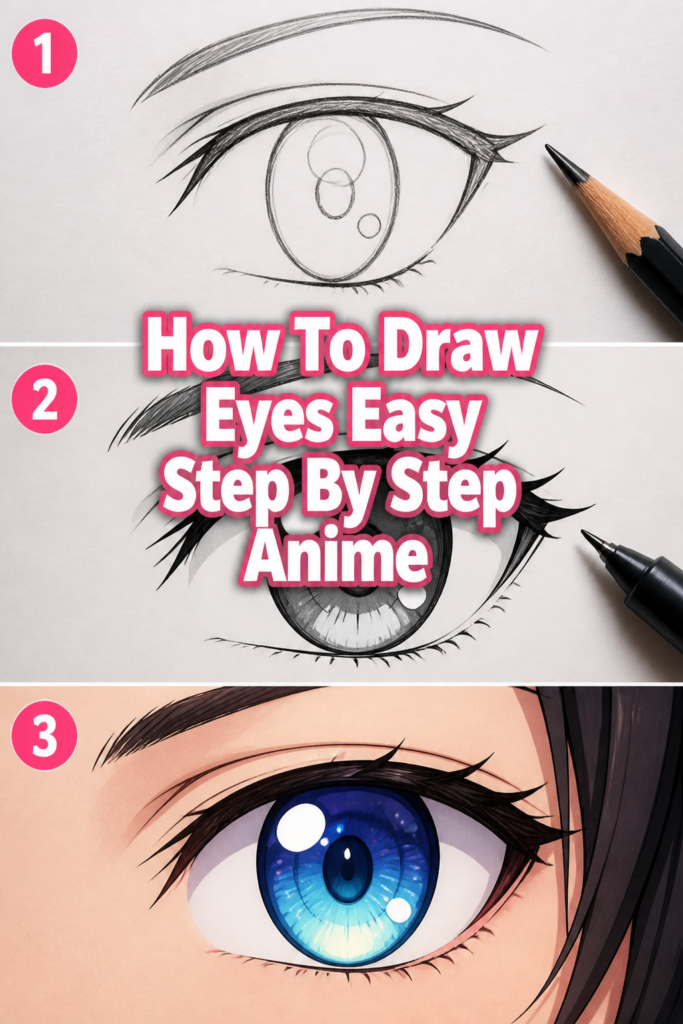
This guide will walk you through creating captivating anime eyes, focusing on fundamental shapes and shading. You’ll learn how to construct the eye from basic forms and add details that give it life.
You’ll soon be able to draw a variety of expressive anime eyes with confidence.
- Time needed: 30-60 minutes (depending on practice and detail)
- Difficulty: Beginner
- What you’ll need: Pencil (HB, 2B recommended), eraser (kneaded and plastic), paper, optional inking pen.
Step-by-Step Instructions
Step 1: Sketch the Basic Guidelines
Begin by drawing a horizontal line. This will serve as the eye line, establishing the general height and angle of the eye.
Add a slightly curved line above and below this initial horizontal line. These curves will define the overall almond or oval shape of the eye.
Keep these lines very light. They are just guides and will be erased later.
Pro Tip: Think of the eye as an almond. The initial curves should gently taper towards the inner and outer corners.
Step 2: Define the Eyelids
Refine the upper eyelid. Draw a clear, smooth curve that sits just above your initial upper guideline. This line will typically be thicker and more prominent.
Create the lower eyelid with a gentler, thinner curve below your horizontal line. Anime eyes often have a very subtle lower lid, sometimes just indicated by a slight curve.
Ensure the outer corner of the eye usually points slightly upwards, giving that classic anime tilt.
Step 3: Place the Iris and Pupil
Draw a large circle for the iris. This circle should be partially covered by the upper eyelid, and sometimes slightly by the lower lid too, depending on the expression.
Position the pupil in the center of the iris. This is a smaller, darker circle that should be perfectly round.
The placement of the iris and pupil dictates the character’s gaze and emotion. Centered suggests a direct look, while shifting them can imply shyness or looking away.
Pro Tip: Avoid drawing the entire iris as a full circle unless you’re going for a very wide-eyed, surprised look. Covering part of it adds realism and depth.
Step 4: Add the Catchlight
Sketch one or two small, bright shapes within the iris. These are the catchlights, reflecting light and making the eye look alive and wet.
Typically, a large catchlight is placed in the upper part of the iris, and sometimes a smaller one in the lower part. These should remain completely white.
Varying the shape and number of catchlights can subtly change the eye’s sparkle and character.
Step 5: Draw the Eyelashes
Add eyelashes along the upper eyelid. Anime eyelashes are often stylized, appearing as a few thick, pointed clusters rather than individual hairs.
Draw them curving outwards and slightly upwards from the upper lid line. The outer corner usually has the most prominent lashes.
The lower lid can have very sparse or no eyelashes, or just a few small, individual strokes. Avoid overdoing them on the bottom lid.
Pro Tip: Think of eyelashes as extensions of the eyelid curve. They should follow the natural arc of the eye.
Step 6: Refine and Shade
Begin shading the iris. The top part of the iris, directly under the upper eyelid, is usually the darkest due to shadow.
Create a gradient effect within the iris, fading from dark at the top to lighter towards the bottom. Leave the catchlights untouched and bright white.
Shade the pupil solid black. Add a subtle shadow directly under the upper eyelid, on the white part of the eye (sclera), to give it a spherical appearance.
A light shadow can also be placed under the lower eyelid to suggest depth.
Step 7: Clean Up and Ink (Optional)
Gently erase all your initial sketch lines and any stray marks. Make sure your main eye lines are clean and crisp.
Go over your pencil lines with an inking pen if you want a more finished, professional look. Use varying line weights – thicker for the upper lid and outer edges, thinner for the lower lid and inner details.
Once the ink is dry, erase any remaining pencil marks underneath. Your eye is now ready!
Step 8: Experiment with Expressions
Practice altering the angle of the eyelids and the position of the iris. A slightly lowered upper eyelid can convey tiredness or sadness.
Change the size and shape of the catchlights. Larger, more numerous catchlights often suggest excitement or wonder.
Observe how different eyebrow positions interact with the eyes. Eyebrows are crucial for conveying a full range of emotions in anime.
Common Mistakes to Avoid
Symmetry Issues
A frequent challenge is making both eyes look consistent. Often, one eye might be slightly larger, higher, or angled differently than the other.
To fix this, always start with light construction lines for both eyes simultaneously, using a central vertical guideline on the face to ensure proper spacing. Regularly flip your drawing upside down or hold it up to a mirror to spot inconsistencies.
Flat, Lifeless Eyes
Without proper shading and catchlights, eyes can appear dull and two-dimensional. This happens when artists neglect the spherical nature of the eyeball.
Remember to shade the top part of the iris and add a subtle shadow on the sclera under the upper lid. The catchlights are essential for that spark of life, so don’t forget them.
Over-detailed Eyelashes
Trying to draw every single eyelash can make the eyes look cluttered and unnatural, especially in the simplified anime style. This often detracts from the overall expression.
Instead, focus on drawing eyelashes as stylized clusters or groups. A few well-placed, flowing strokes are far more effective than dozens of individual hairs.
Incorrect Pupil Placement
The pupil must always be perfectly centered within the iris. If it’s off-center, even slightly, the eye can look unfocused or wall-eyed.
Take your time to carefully place the pupil. It’s a small detail that has a huge impact on the eye’s realism and gaze direction.
Troubleshooting
Eyes Look Dull or Empty
If your eyes lack vibrancy, the issue often lies with insufficient contrast or missing catchlights. Ensure your pupil is truly black and the iris has clear dark-to-light gradients.
Double-check that your catchlights are pure white and distinctly shaped. Sometimes, simply adding a second, smaller catchlight can dramatically improve the eye’s sparkle.
Difficulty with Proportions
Struggling to make eyes the right size or place them correctly on a face? This is a common hurdle for beginners. The key is to start with very light construction lines for the entire head.
Use horizontal guidelines for the eye line and vertical lines for the center of the face and the space between the eyes. Anime eyes are typically one eye-width apart. Don’t press hard until you’re confident with the placement.
Lines Look Messy or Uneven
If your lines appear wobbly or inconsistent, it often indicates pressing too hard with your pencil or trying to draw long lines in one go. Light pressure is your best friend when sketching.
Practice drawing smooth, confident strokes, even if they are short. You can always connect shorter, cleaner lines to form a longer curve. Also, ensure your pencil is sharp for better control.
Key Takeaways
- Start Simple: Always begin with basic geometric shapes and light guidelines to establish proportion and placement.
- Catchlights are Crucial: These small white reflections are the secret to bringing an anime eye to life, giving it sparkle and emotion.
- Shading Adds Depth: Use gradients within the iris and subtle shadows on the sclera to make the eye appear spherical and three-dimensional.
- Stylize Eyelashes: Focus on drawing a few well-placed, flowing clusters rather than individual hairs for an authentic anime look.
- Practice Consistency: Regular practice helps develop muscle memory and improves your ability to draw symmetrical and expressive eyes.
- Don’t Fear Mistakes: Every “mistake” is a learning opportunity. Embrace the process and keep experimenting with different styles.
Frequently Asked Questions
How do I make eyes look different for different characters?
Varying the basic eye shape is a great start; rounder eyes for innocent characters, narrower for serious ones. Adjust the size and position of the iris and pupil to convey different emotions – a smaller iris can look more intense, while a larger one can appear more youthful. Experiment with different eyelash styles and catchlight placements too.
Should I use references when drawing anime eyes?
Absolutely! Using references is highly encouraged, especially when you’re learning. Look at your favorite anime characters or real-life eyes to understand structure, emotion, and style. Don’t copy directly, but use them as inspiration to develop your own unique approach and understanding.
What if my eyes don’t look symmetrical?
Symmetry is one of the hardest aspects of drawing faces. Start by drawing a central vertical line on your face guide. Then, draw construction lines for both eyes at the same time, not one eye completely before starting the other. Regularly flip your canvas (if digital) or hold your paper up to a mirror to spot imbalances. Practice makes perfect here.
Our Top Recommended Finds
- Sketching Pencils (HB, 2B, 4B): Having a range of hardness allows for light initial sketches and darker, richer shading.
- Kneaded Eraser: Perfect for lifting graphite gently without damaging the paper, and for precise clean-ups without smudging.
- Fine-liner Inking Pens (0.1, 0.3, 0.5mm): Essential for achieving crisp, clean line art and adding definition after your pencil sketch.
Unleash Your Character’s Gaze
You now have the foundational steps to draw captivating anime eyes. Remember, drawing is a journey of continuous learning and practice. Each eye you create builds your skill and confidence.
Don’t be afraid to experiment with different shapes, expressions, and shading techniques. Your unique style will emerge through consistent effort. Pick up your pencil today and start bringing your characters to life with expressive, beautiful eyes!