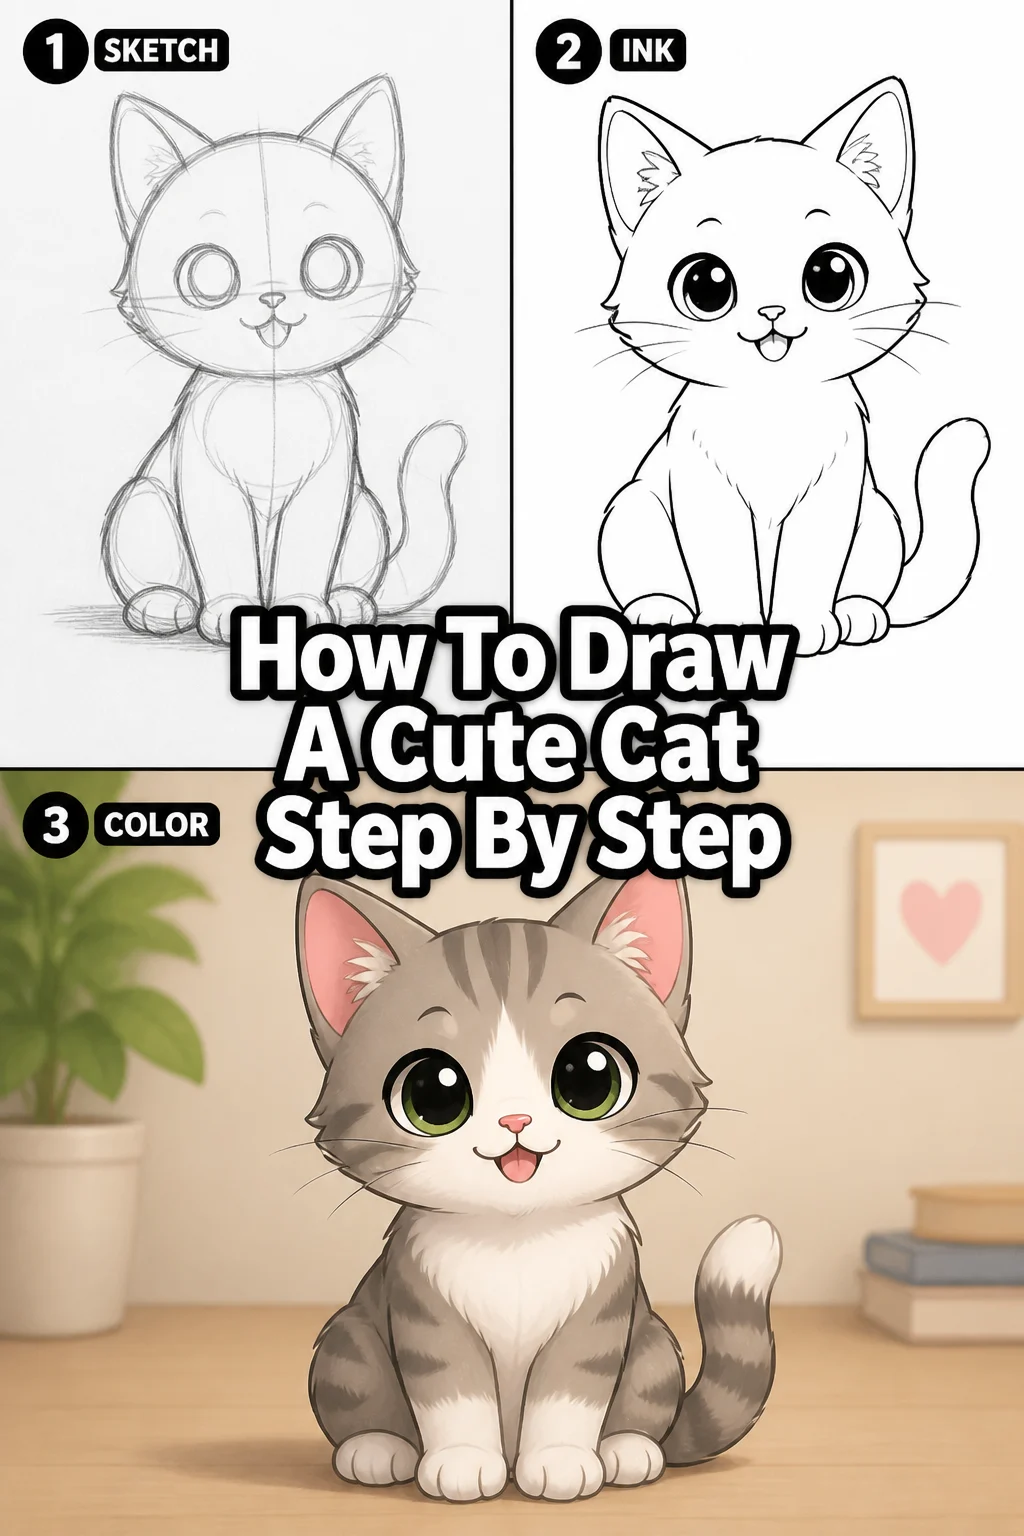
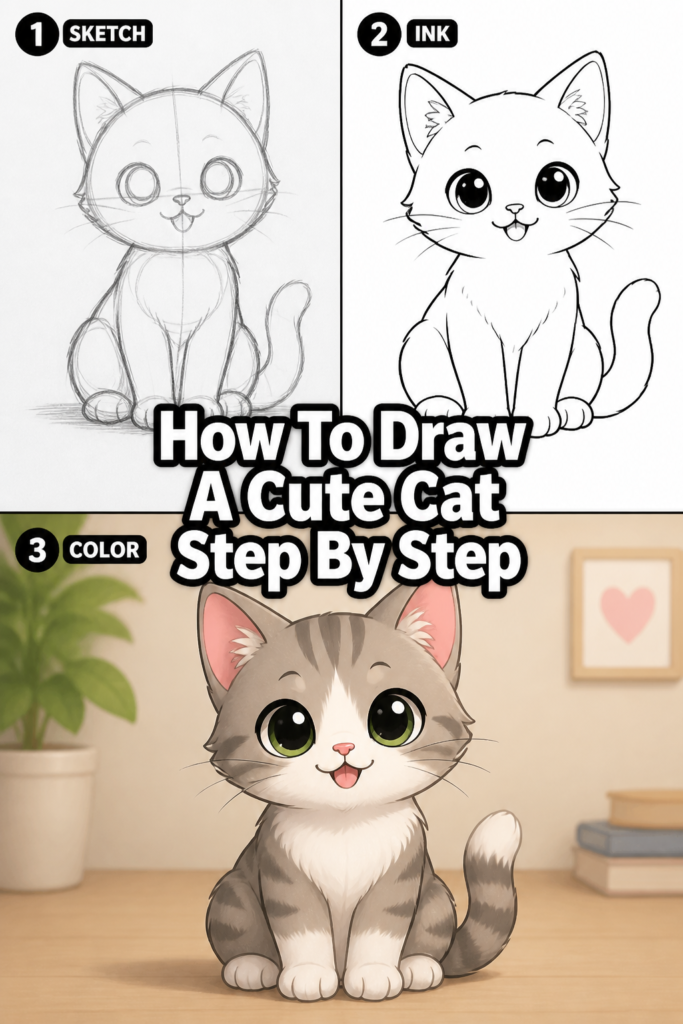
🐱 How To Draw A Cute Cat Step By Step
There’s something truly special about bringing a cute cat to life on paper.
I remember my first attempts, sketching endless circles until I finally understood the simple shapes that make up our feline friends.
This guide shares those easy, foundational steps, so you can draw your own adorable cat with confidence and joy.
Quick Overview
You’re about to embark on a delightful artistic journey!
By the end of this guide, you’ll have a charming, hand-drawn cat staring back at you.
- Time needed: 45-75 minutes
- Difficulty: Beginner
- What you’ll need: Pencil, eraser, paper, optional: black pen, colored pencils
Step-by-Step Instructions
Step 1: Sketch the Basic Shapes for the Head and Body
Begin by lightly drawing a medium-sized circle in the upper middle of your paper.
This will serve as the cat’s head, so don’t press too hard with your pencil.
Below and slightly overlapping this first circle, draw a larger, oval shape for the body.
Imagine a plump potato or a bean; this oval should be about one and a half times the size of the head circle.
Pro Tip: Use very light, “sketchy” lines at this stage. These are just guidelines, and you’ll erase them later. Think of them as your blueprint.
Step 2: Connect the Head and Body, Then Add the Tail
Connect the head and body shapes with two gentle, curved lines.
These lines will create the neck and shoulders, making the transition smooth and natural.
Now, draw a long, graceful curve extending from the lower back of the body oval.
This will be the cat’s tail; make it flow upwards or gently curl, giving it character.
Remember to keep your lines light and flowing, capturing a sense of movement.
Step 3: Define the Ears and Muzzle Area
Add two triangular shapes on top of the head circle for the ears.
Place them slightly apart, with the tips pointing upwards, and give them a soft, rounded inner curve.
Next, sketch a smaller, slightly flattened oval or a rounded rectangle near the bottom center of the head circle.
This shape defines the muzzle area where the nose and mouth will eventually go.
Step 4: Place the Eyes and Nose
Draw two almond or oval shapes for the eyes within the head circle, just above the muzzle area.
Space them evenly apart, ensuring they are roughly the same size.
For the nose, create a small, inverted triangle shape directly above the center of the muzzle guide.
You can round off its corners to make it softer and more cat-like.
Pro Tip: The placement of the eyes greatly impacts the cat’s expression. Experiment with making them slightly larger or smaller, or moving them closer together, to see how the “cuteness” changes.
Step 5: Sketch the Mouth and Whiskers
From the bottom point of the nose, draw two gentle, curved lines extending downwards and outwards.
These form the cat’s mouth, often looking like a subtle “W” or an upside-down “Y” shape.
Now, add whiskers! Draw a few delicate, slightly curved lines radiating outwards from each side of the muzzle.
Cats typically have three to four prominent whiskers on each side.
Step 6: Outline the Paws and Refine the Body Shape
Sketch the front paws using simple oval or rounded rectangle shapes at the bottom of the body.
Draw two visible paws, making them look sturdy but soft.
For the back legs, you might only see one or two subtle curves extending from the body’s underside, depending on your cat’s pose.
Refine the overall body shape by gently curving the lines you drew earlier, making the cat look plump and cuddly.
Step 7: Erase Guidelines and Add Final Details
Carefully erase all the initial light sketch lines and overlapping guides.
You should now see a clean outline of your cat.
Add small details like pupils in the eyes (often vertical slits or rounded dots), tiny lines inside the ears, and perhaps some fur texture along the edges.
You can also draw tiny toes on the paws for extra charm.
Step 8: Ink and Color (Optional)
If you wish, go over your pencil lines with a fine-point black pen to make them crisp and permanent.
Once the ink is dry, you can completely erase any remaining pencil marks.
Finally, bring your cat to life with color! Use colored pencils, crayons, or markers to add fur color, pink to the nose and inner ears, and a vibrant shade to the eyes.
Consider adding subtle shading to give your cat depth and dimension.
Common Mistakes to Avoid
Making Proportions Uneven
One common pitfall is drawing the head too large or too small relative to the body.
This can make the cat look awkward or out of balance, losing its inherent cuteness.
Always start with your basic shapes, comparing their sizes before you add details, to ensure a harmonious overall structure.
Drawing Stiff, Jagged Lines
Cats are graceful creatures, and their outlines should reflect that fluidity.
Using short, choppy, or overly angular lines can make your cat look rigid and less alive.
Practice drawing long, smooth, continuous curves, even if they’re light and sketchy at first, to capture their natural elegance.
Adding Too Much Detail Too Soon
It’s tempting to jump straight to drawing individual hairs or intricate eye patterns.
However, focusing on small details before establishing the foundational shapes can lead to a messy drawing that lacks a strong form.
Always build your drawing from large shapes to small details, ensuring your cat has a solid structure first.
Symmetry Over Naturalness
While some symmetry is good, trying to make every feature perfectly mirrored can make your cat look robotic.
Slight variations in ear size, eye shape, or whisker placement can add personality and make your drawing feel more organic.
Embrace subtle imperfections for a more natural and endearing look.
Troubleshooting
My Cat Looks Lopsided or Unbalanced
This often happens when the initial basic shapes aren’t centered or are drawn at different angles.
Go back to Step 1 and redraw your head circle and body oval very lightly, ensuring they are aligned and proportionate to each other.
Sometimes, simply rotating your paper or stepping back to view your drawing from a distance can help you spot imbalances.
I Can’t Get the Eyes to Look Right
The eyes are crucial for conveying cuteness, and getting them wrong can be frustrating.
Experiment with different shapes – ovals, almonds, or even slightly rounded rectangles – and try varying their size and distance apart.
Adding a small highlight dot in each pupil can instantly bring them to life and add sparkle.
My Lines Aren’t Smooth or Confident
This is a common beginner’s hurdle and usually comes down to practice and technique.
Try drawing with your whole arm, rather than just your wrist, for smoother, longer strokes.
Don’t be afraid to make multiple light “ghost lines” before committing to a darker, more confident stroke.
Key Takeaways
- Start with Simple Shapes: Always begin with basic circles and ovals to establish your cat’s head and body.
- Draw Lightly First: Use a light touch for initial guidelines; this makes corrections and erasing much easier.
- Embrace Curves: Cats are fluid; use soft, continuous curves for their outlines, ears, and tail.
- Focus on Proportions: Regularly compare the size of the head to the body, and the eyes to the head, to maintain balance.
- Build Details Gradually: Add features like eyes, nose, and whiskers only after the main structure is in place.
- Practice Makes Progress: Don’t expect perfection on your first try; every drawing is a step forward in your artistic journey.
Frequently Asked Questions
What kind of pencil is best for drawing?
A standard HB pencil is excellent for general sketching and provides a good balance between darkness and erasability.
For lighter guidelines, an H or 2H pencil works well, while a B or 2B can be used for darker outlines and shading.
How do I make my cat look fluffy?
To create a fluffy appearance, avoid drawing straight, hard lines for the cat’s outline.
Instead, use short, slightly jagged or wavy strokes along the edges of the body, especially around the cheeks, chest, and tail, to suggest soft fur.
Adding very light, short lines in the direction of fur growth can also enhance this effect.
Can I draw different cat poses with these steps?
Absolutely! The core principle of starting with basic shapes applies to any pose.
You would simply adjust the size and orientation of your initial circles and ovals to represent a sitting, sleeping, or playful cat.
For example, a sleeping cat might start with a more curled oval for the body and a head tucked in.
How do I make the cat look unique?
Once you’re comfortable with the basic structure, you can experiment with different eye shapes, ear positions, or tail curls.
Adding unique fur patterns like stripes or spots, or changing the cat’s expression with eyebrow lines, can give it a distinct personality.
Our Top Recommended Finds
- Sketchbook with Quality Paper: A good sketchbook prevents bleed-through and offers a smooth surface for your pencils.
- Drawing Pencil Set: A set with varying lead hardness (e.g., 2H, HB, 2B, 4B) allows for greater control over line weight and shading.
- Kneaded Eraser: Unlike standard erasers, a kneaded eraser lifts graphite without smudging or damaging the paper, perfect for subtle corrections.
Your Feline Masterpiece Awaits!
You’ve taken the first exciting steps into the world of drawing cute cats.
Each stroke you make builds your confidence and brings you closer to creating wonderful art.
Don’t stop here; keep practicing, keep experimenting, and let your creativity flow.
Perhaps your next project could be a cat in a playful pose, or even a whole family of adorable felines!