🎨 How To Copy And Paste A Drawing On Paper
Ever wished you could perfectly replicate a favorite sketch onto a new piece of paper, perhaps to add color or create a series? It’s a common desire for artists and hobbyists alike.
I remember struggling with this exact challenge in art school, trying to get a consistent character pose across multiple comic panels. Learning these techniques was a game-changer.
This guide will walk you through the practical steps to “copy and paste” your artwork using simple, effective paper-based methods, giving you reliable results every time.
Quick Overview
You’re about to learn how to accurately transfer any drawing from one paper to another, preserving its details and proportions.
- Time needed: 15-45 minutes (depending on drawing complexity)
- Difficulty: Beginner
- What you’ll need: Original drawing, new paper, tracing paper, pencil (HB or 2B), eraser, ruler (optional), masking tape.
Step-by-Step Instructions
Step 1: Gather Your Essential Tools
Before you begin, ensure you have all the necessary materials laid out. A well-prepared workspace makes the process smooth and enjoyable.
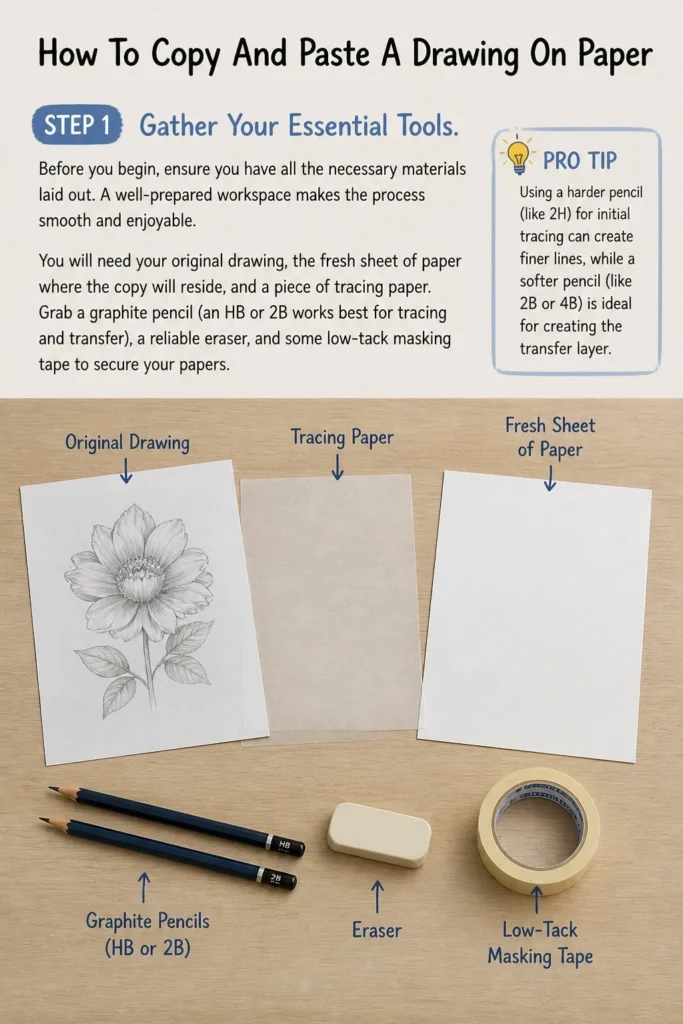
You will need your original drawing, the fresh sheet of paper where the copy will reside, and a piece of tracing paper.
Grab a graphite pencil (an HB or 2B works best for tracing and transfer), a reliable eraser, and some low-tack masking tape to secure your papers.
Pro Tip: Using a harder pencil (like 2H) for initial tracing can create finer lines, while a softer pencil (like 2B or 4B) is ideal for creating the transfer layer.
Step 2: Secure Your Original Drawing
Place your original drawing flat on a clean, stable surface. This will be your base layer for the entire copying process.
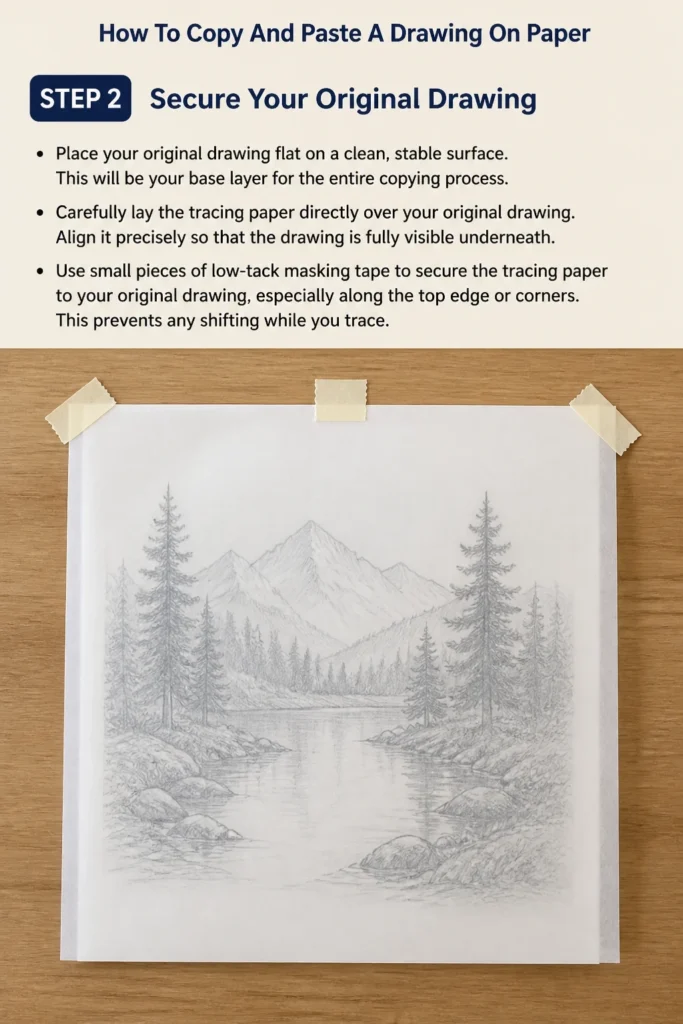
Carefully lay the tracing paper directly over your original drawing. Align it precisely so that the drawing is fully visible underneath.
Use small pieces of low-tack masking tape to secure the tracing paper to your original drawing, especially along the top edge or corners. This prevents any shifting while you trace.
Step 3: Trace the Outline Accurately
With your tracing paper firmly in place, begin tracing the main outlines and key details of your original drawing.
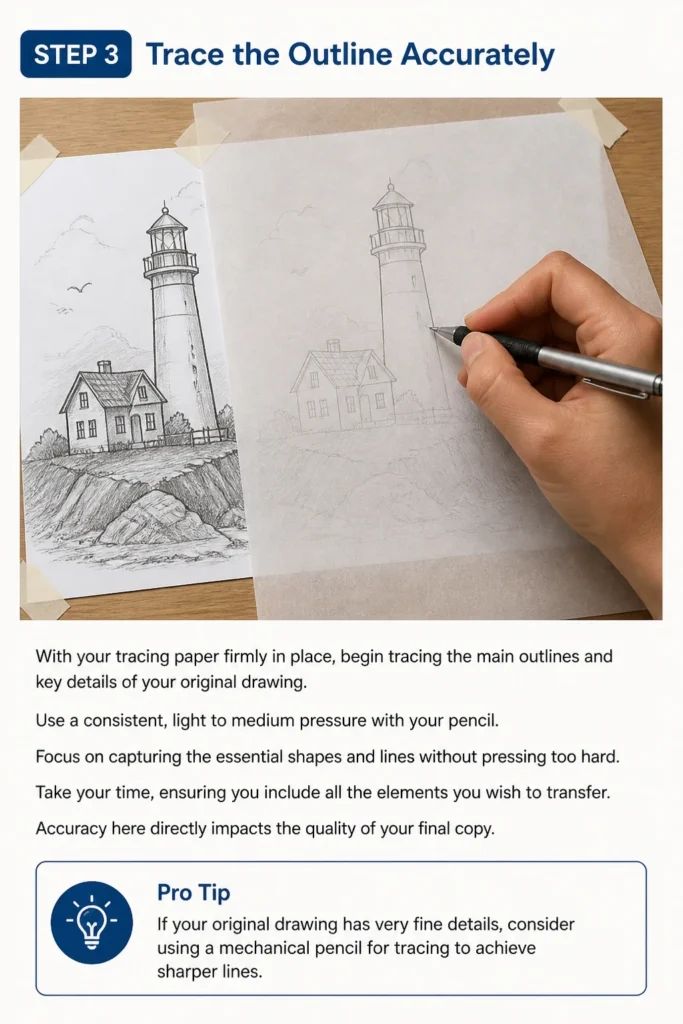
Use a consistent, light to medium pressure with your pencil. Focus on capturing the essential shapes and lines without pressing too hard.
Take your time, ensuring you include all the elements you wish to transfer. Accuracy here directly impacts the quality of your final copy.
Pro Tip: If your original drawing has very fine details, consider using a mechanical pencil for tracing to achieve sharper lines.
Step 4: Prepare for Graphite Transfer
Once your tracing is complete, carefully remove the tracing paper from your original drawing. You now have a transparent copy of your artwork.
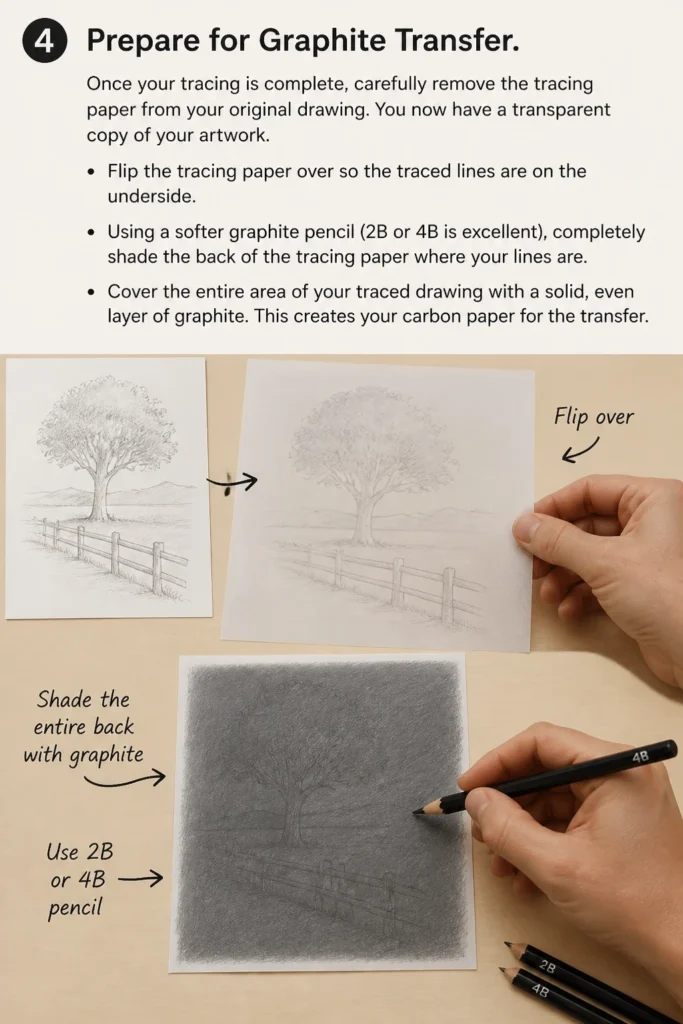
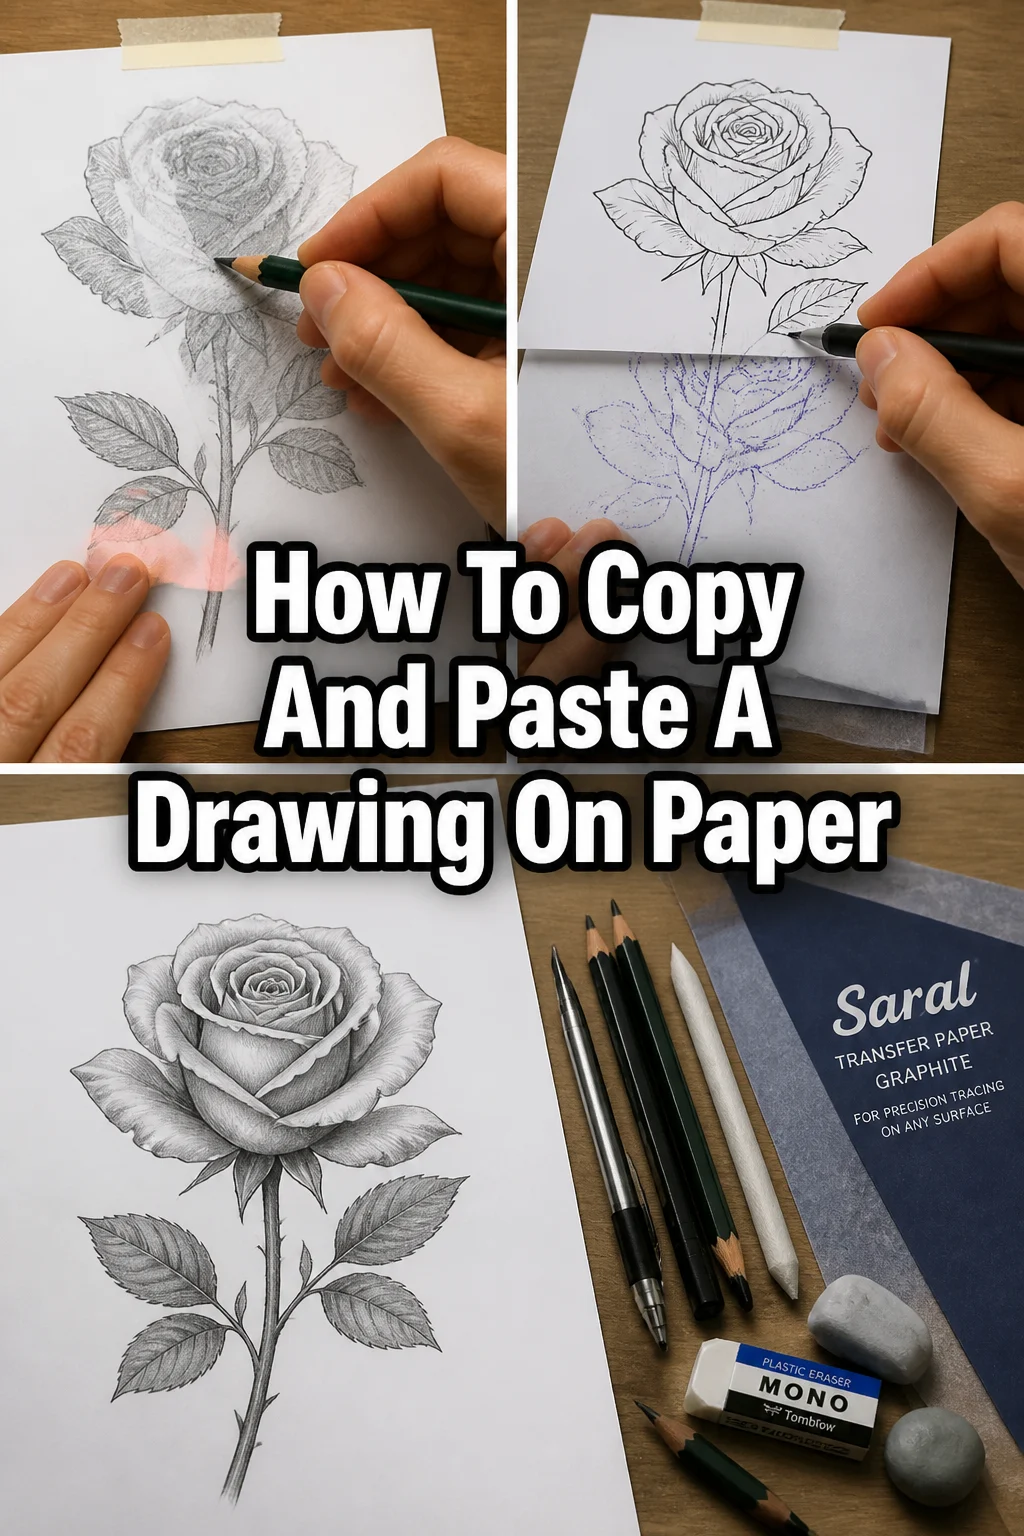
Flip the tracing paper over so the traced lines are on the underside. Using a softer graphite pencil (2B or 4B is excellent), completely shade the back of the tracing paper where your lines are.
Cover the entire area of your traced drawing with a solid, even layer of graphite. This creates your “carbon paper” for the transfer.
Step 5: Position Your Tracing for Transfer
Take your fresh sheet of paper – the destination for your copied drawing – and place it flat on your clean work surface.
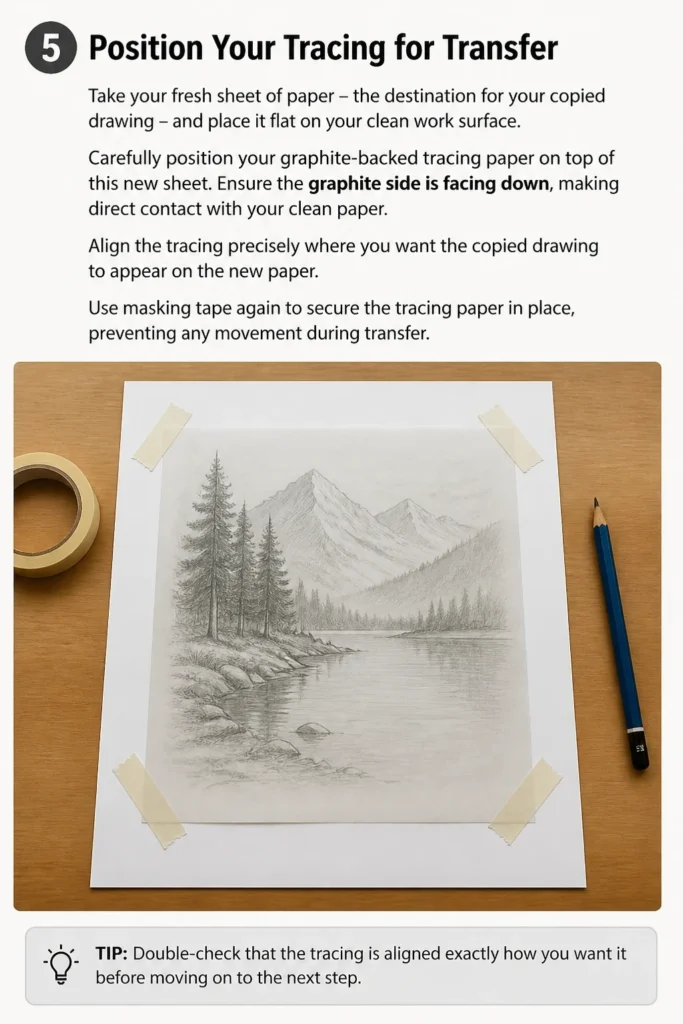
Carefully position your graphite-backed tracing paper on top of this new sheet. Ensure the graphite side is facing down, making direct contact with your clean paper.
Align the tracing precisely where you want the copied drawing to appear on the new paper. Use masking tape again to secure the tracing paper in place, preventing any movement during transfer.
Step 6: Transfer the Drawing with Pressure
Now, with a slightly harder pencil (like an HB or 2H), begin to re-trace the lines on the top side of your tracing paper.
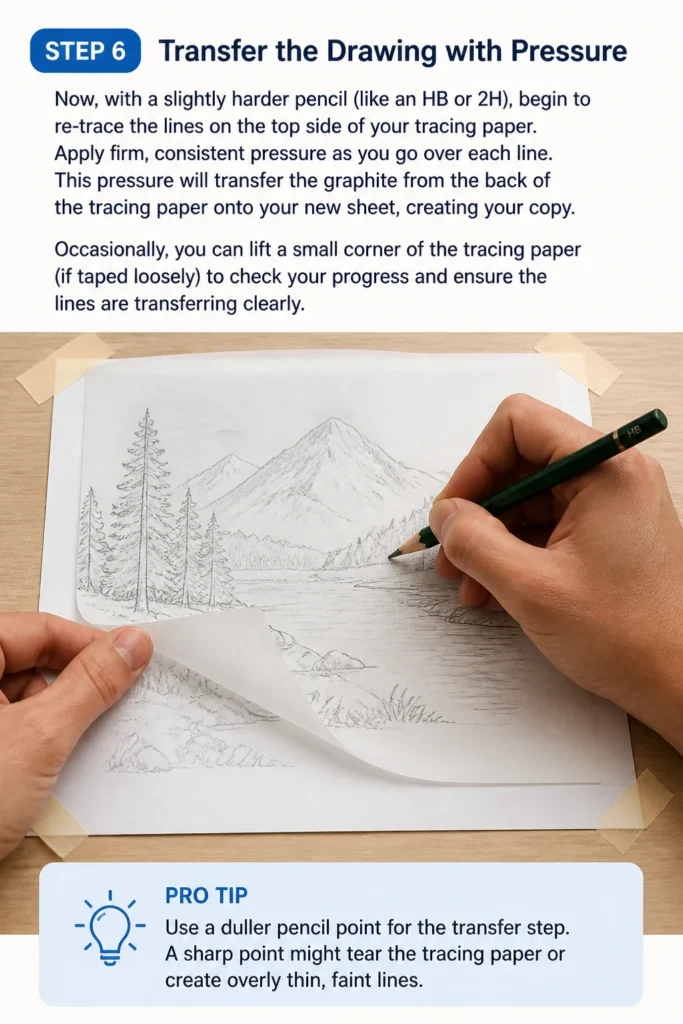
Apply firm, consistent pressure as you go over each line. This pressure will transfer the graphite from the back of the tracing paper onto your new sheet, creating your copy.
Occasionally, you can lift a small corner of the tracing paper (if taped loosely) to check your progress and ensure the lines are transferring clearly.
Pro Tip: Use a duller pencil point for the transfer step. A sharp point might tear the tracing paper or create overly thin, faint lines.
Step 7: Refine and Erase Any Smudges
Once you’ve re-traced all the lines, carefully remove the masking tape and lift the tracing paper. Your drawing should now be visibly copied onto the new paper.
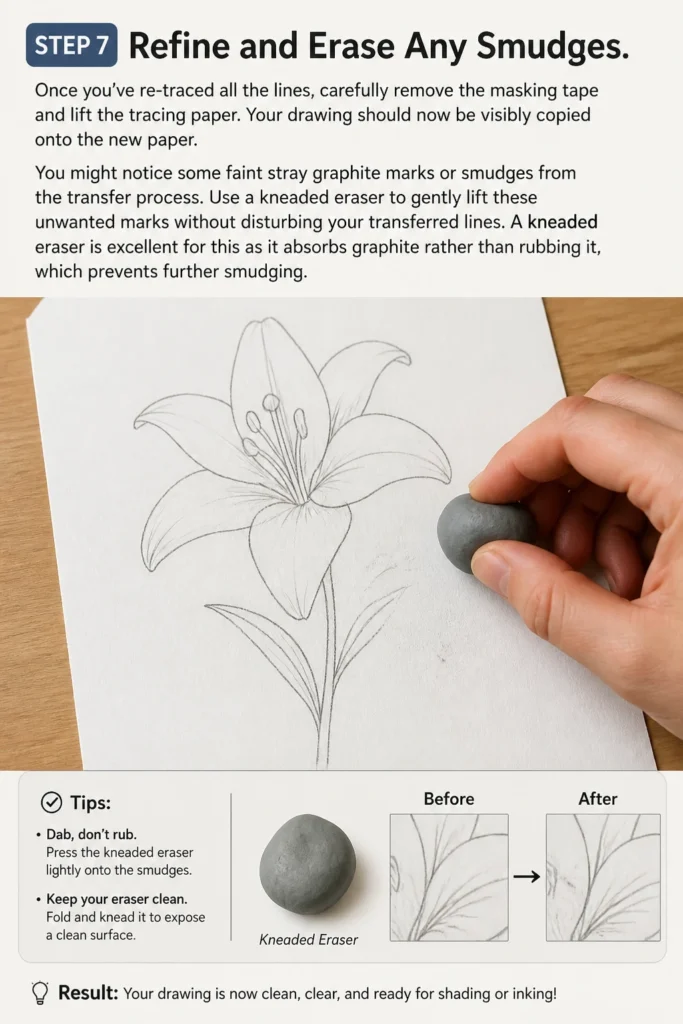
You might notice some faint stray graphite marks or smudges from the transfer process. Use a kneaded eraser to gently lift these unwanted marks without disturbing your transferred lines.
A kneaded eraser is excellent for this as it absorbs graphite rather than rubbing it, which prevents further smudging.
Step 8: Final Touches and Outlining
With the transferred drawing now clean, you can begin to refine the lines. Use a fresh pencil to go over the transferred lines, making them darker and more permanent.
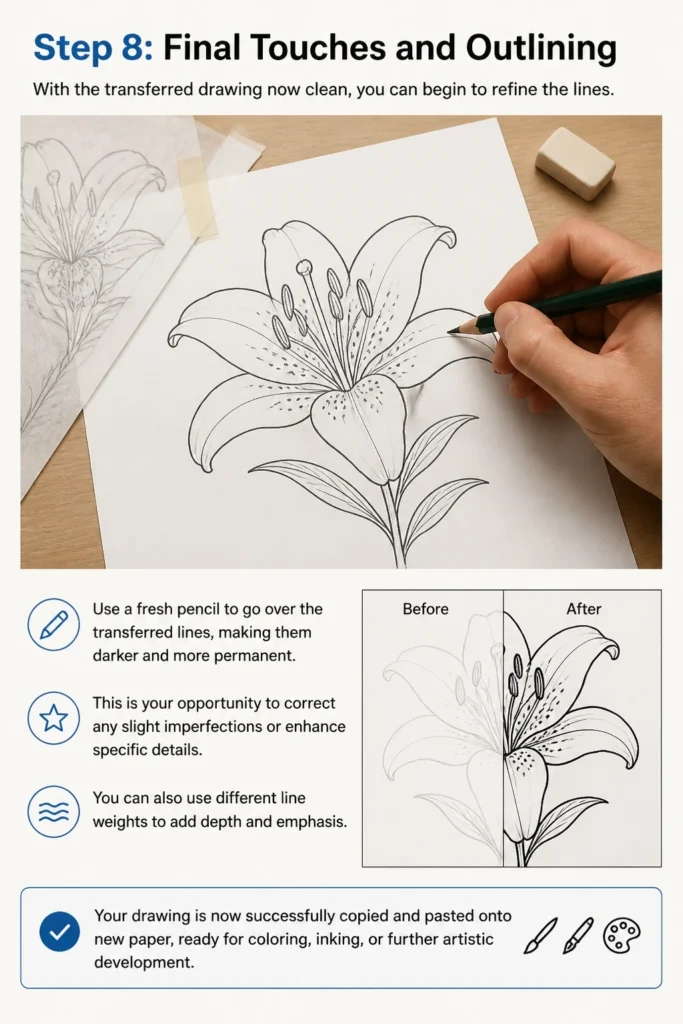
This is your opportunity to correct any slight imperfections or enhance specific details. You can also use different line weights to add depth and emphasis.
Your drawing is now successfully “copied and pasted” onto new paper, ready for coloring, inking, or further artistic development.
Common Mistakes to Avoid
Not Securing Your Papers
One of the most frustrating issues when copying a drawing is having the papers shift during tracing or transfer. This leads to misaligned lines and a distorted copy.
Always use low-tack masking tape to secure both your original drawing to your tracing paper, and then your tracing paper to your destination paper. This simple step saves a lot of headaches.
Uneven Graphite Application
When preparing the back of your tracing paper with graphite, an uneven layer will result in some parts of your copied drawing appearing faint or even missing.
Ensure you apply a consistent, solid layer of graphite across all areas where your traced lines exist. Overlap your pencil strokes slightly to avoid patchy results.
Pressing Too Hard During Tracing
Applying excessive pressure when tracing the original drawing can indent the original paper, potentially damaging it. It also makes erasing mistakes on the tracing paper more difficult.
Use a light to medium touch for the initial tracing. Save the firm pressure for the final transfer stage to push the graphite onto the new paper.
Using the Wrong Pencil for Transfer
Trying to transfer with a very hard pencil (like 4H or 6H) might not deposit enough graphite. Conversely, using an extremely soft pencil (like 6B or 8B) for the transfer pressure can lead to excessive smudging.
An HB or 2H pencil is usually ideal for applying pressure during transfer. For shading the back of the tracing paper, a 2B or 4B provides ample graphite for clear lines.
Troubleshooting
Transferred Lines Are Faint or Incomplete
If your copied lines appear too light or parts of the drawing didn’t transfer, it’s likely due to insufficient graphite on the back of the tracing paper or not enough pressure during transfer.
Carefully re-secure your tracing paper over the destination paper. Go back over the faint areas, applying firmer pressure. If needed, lift the tracing paper, re-apply more graphite to the back in the problem areas, and try again.
Excessive Smudging on the New Paper
Smudges often occur if you used too much graphite on the back of the tracing paper, or if your hand dragged across the freshly transferred lines.
Use a clean kneaded eraser to gently dab and lift the smudges. Avoid rubbing, which can spread the graphite further. Work carefully and consider placing a clean sheet of paper under your hand as you transfer to prevent smudges.
Drawing Appears Distorted After Transfer
Distortion usually points to the tracing paper shifting during either the initial tracing or the final transfer step.
The solution is prevention: always use masking tape to secure your papers firmly at every stage. If distortion has occurred, it’s often best to re-trace the original and start the transfer process again with better paper security.
Key Takeaways
- Always secure your papers with low-tack masking tape to prevent shifts and distortions.
- Use a softer pencil (2B-4B) to create a generous, even layer of graphite on the back of your tracing paper.
- Apply firm, consistent pressure when re-tracing the lines to transfer the drawing onto your new paper.
- A kneaded eraser is your best friend for gently cleaning up any stray graphite or smudges.
- Take your time with each step; accuracy in tracing and placement ensures a high-quality copy.
- This method is incredibly versatile for replicating sketches, character designs, or architectural plans.
Frequently Asked Questions
Can I use this method for very large drawings?
Yes, you can. For very large drawings, you might need to use multiple sheets of tracing paper, carefully aligning them and taping them together to cover the entire original. Ensure your transfer graphite is consistent across all joined sheets.
What if I don’t have tracing paper?
While tracing paper is ideal, you can improvise. A thin, translucent paper like parchment paper (baking paper) can work in a pinch, though it might be less transparent. Alternatively, you can directly shade the back of your original drawing, but this risks damaging the original.
Can I use colored pencils for the transfer layer?
No, colored pencils typically use wax or oil binders that don’t transfer effectively with pressure like graphite does. Stick to graphite pencils for creating the transfer layer for the best results.
How do I make the transferred lines permanent?
Once transferred, your lines are just graphite. You can go over them with a permanent ink pen, markers, or simply press harder with your pencil to darken them. For very delicate work, a fixative spray can protect the graphite from smudging, but it’s usually not necessary for lines that will be inked or painted over.
Our Top Recommended Finds
- Strathmore Tracing Paper Pad: Excellent transparency and durability, available in various sizes for all your projects.
- Faber-Castell Graphite Pencil Set (HB, 2B, 4B): Provides the perfect range of lead hardness for both tracing and creating the transfer layer.
- Kneaded Eraser: Essential for cleaning up stray marks without damaging your paper or smudging your transferred lines.
Unleash Your Creative Replications
Mastering the art of copying drawings on paper opens up a world of possibilities for your creative projects. You can now duplicate your favorite sketches, create variations, or prepare multiple canvases for painting.
Don’t let the fear of ruining an original stop you from experimenting. Grab your tools and try this technique today.
The ability to accurately replicate your work is a valuable skill that will elevate your artistic journey, allowing you to build upon your creations with confidence.