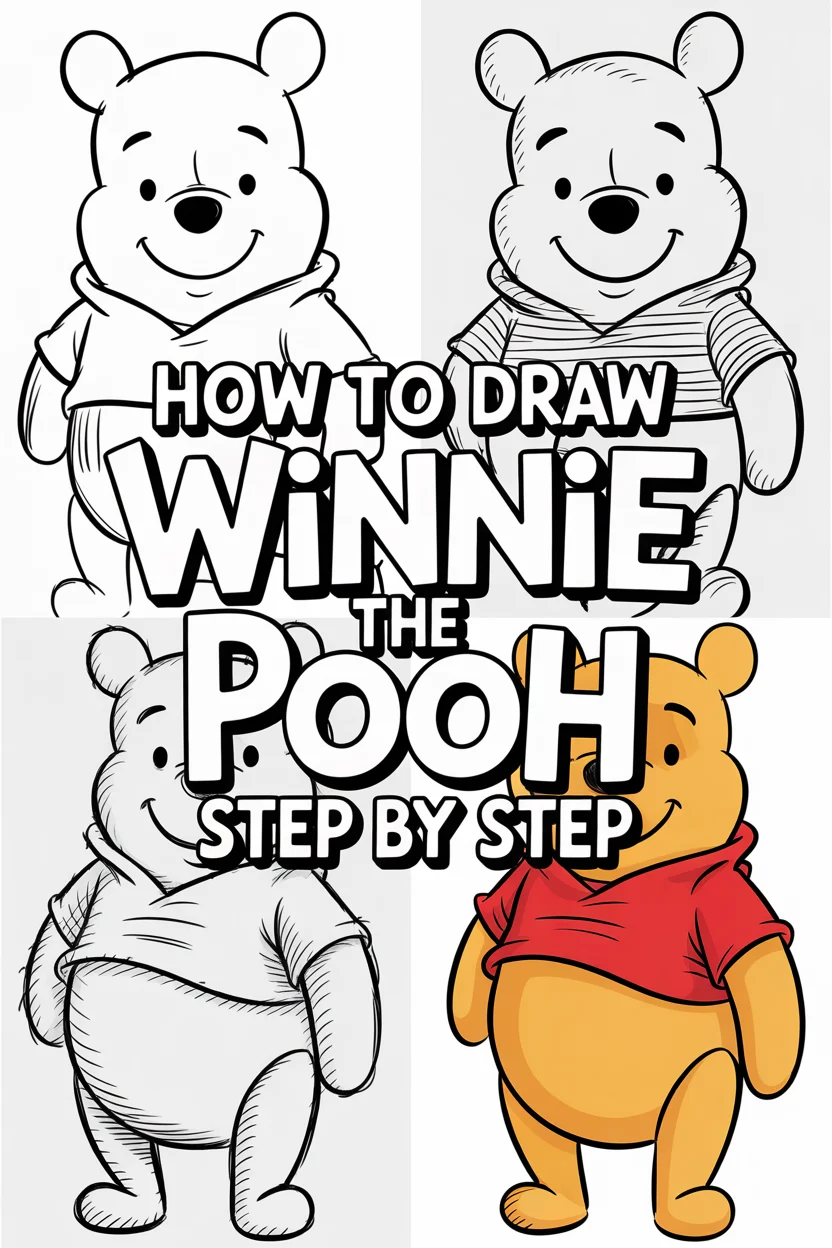
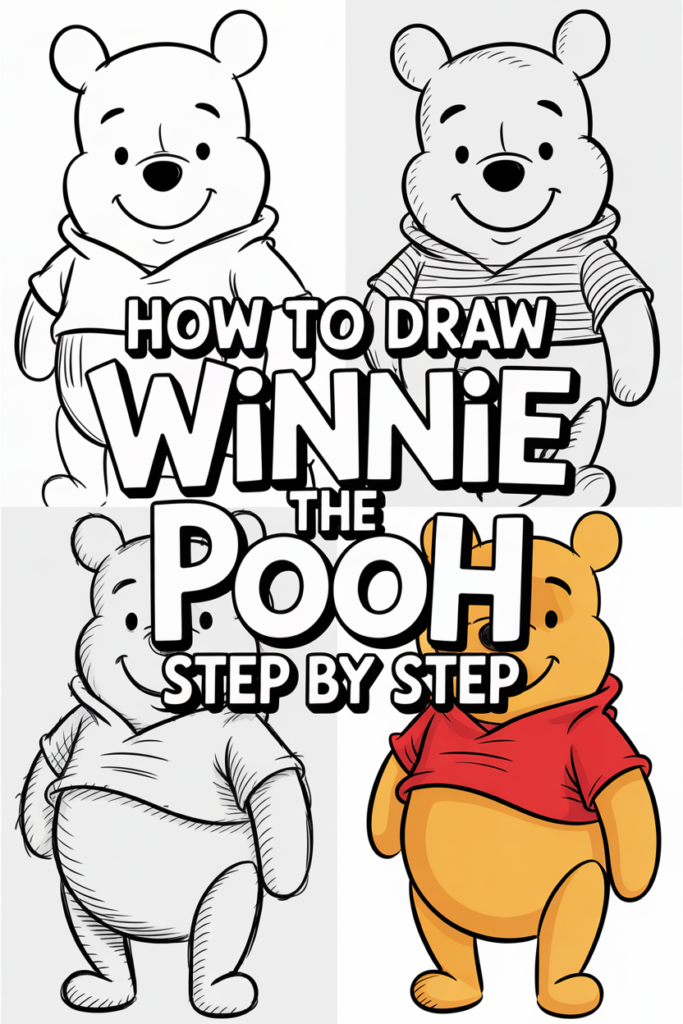
🐻 How To Draw Winnie The Pooh Step By Step
Have you ever wanted to bring a little bit of the Hundred Acre Wood to life on paper? Drawing Winnie the Pooh is a delightful journey into childhood nostalgia. I remember my first attempts at drawing him, a bit wobbly, but filled with so much joy.
This guide will help you create your very own cheerful Pooh Bear. You’ll soon discover how simple it can be to capture his classic charm.
Quick Overview
Get ready to sketch, ink, and color your way to a perfect Winnie the Pooh. You’ll be amazed at what you can create with these simple steps. This guide breaks down the process into manageable parts, making it accessible for everyone.
- Time needed: 45-60 minutes (or longer if you want to add intricate details)
- Difficulty: Beginner to Intermediate
- What you’ll need: Pencil, eraser, paper, black pen or marker, colored pencils or crayons
Step-by-Step Instructions
Step 1: Sketch the Basic Shapes for the Head and Body
Begin by lightly drawing two overlapping circles. The top circle will be Pooh’s head, and it should be slightly smaller than the bottom circle, which forms his body.
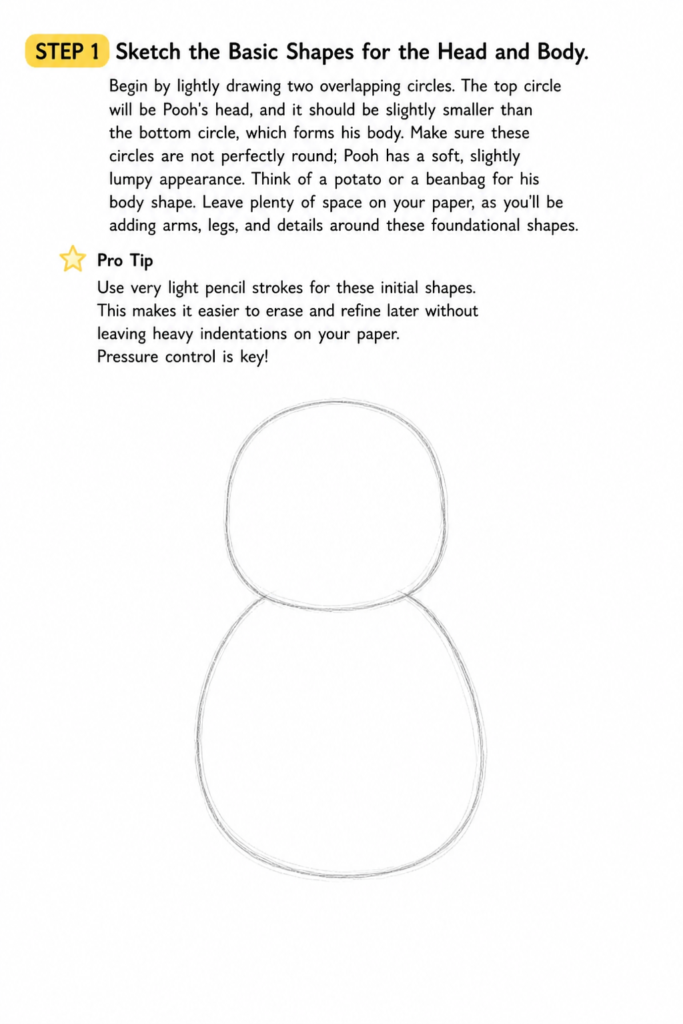
Make sure these circles are not perfectly round; Pooh has a soft, slightly lumpy appearance. Think of a potato or a beanbag for his body shape.
Leave plenty of space on your paper, as you’ll be adding arms, legs, and details around these foundational shapes.
Pro Tip: Use very light pencil strokes for these initial shapes. This makes it easier to erase and refine later without leaving heavy indentations on your paper. Pressure control is key!
Step 2: Add Guide Lines for Facial Features
Draw two intersecting lines on Pooh’s head circle. One line should run vertically down the center, and the other horizontally across the middle.
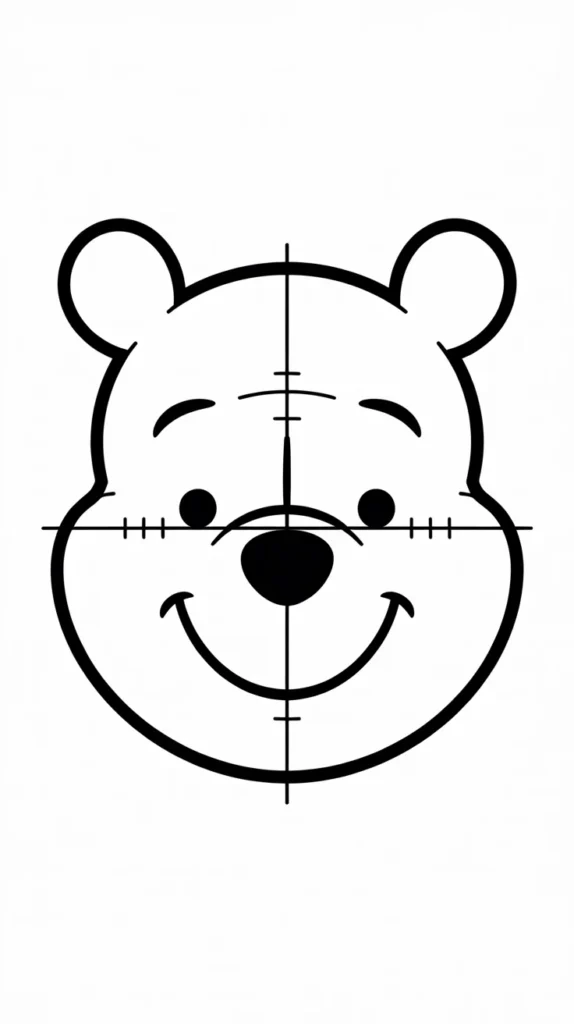
These lines will help you accurately place his eyes, nose, and mouth. The horizontal line will indicate where his eyes sit, and the vertical line will guide the center of his face.
Slightly curve these lines to suggest the roundness of his head. This makes the face look less flat and more three-dimensional.
Step 3: Detail the Face – Eyes, Nose, and Mouth
Place Pooh’s eyes just above the horizontal guideline, on either side of the vertical one. They are small, simple dots or tiny ovals.
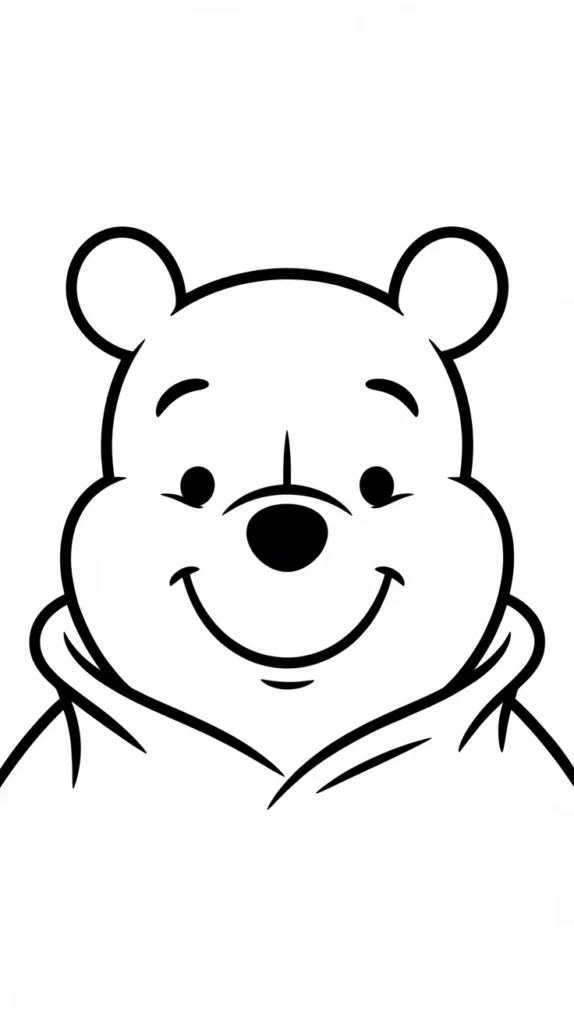
His nose is an upside-down oval, sitting where the horizontal and vertical lines intersect. Make it slightly larger than his eyes.
For his mouth, draw a gentle curve starting just below his nose and extending outward, then curve it up slightly at the ends for his characteristic smile. Add a small, short vertical line from the bottom of his nose to the center of his mouth curve.
Pro Tip: Pooh’s expression is gentle and sweet. Avoid making his eyes too large or his smile too wide, as this can change his friendly demeanor. Less is often more with his simple features.
Step 4: Define the Head and Add Ears
Refine the shape of Pooh’s head, making it slightly irregular and soft around the edges. Erase any parts of the initial circle that don’t fit the new outline.
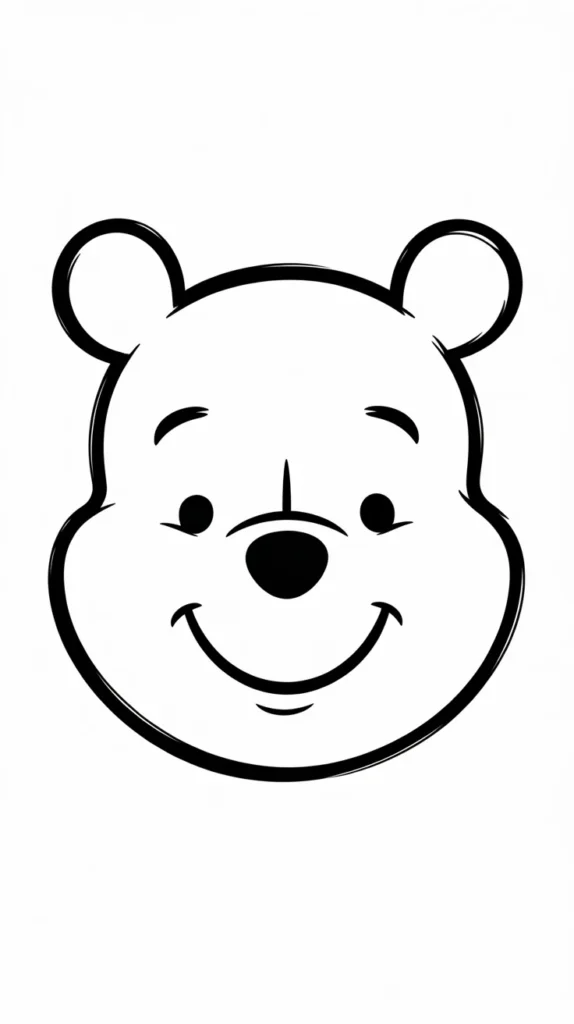
Draw his ears as small, rounded semicircles on top of his head, positioned slightly to the sides. They should be relatively close to each other.
Add a smaller, curved line inside each ear to give them some depth. This small detail makes them look less flat.
Step 5: Sketch the Arms and Legs
Extend Pooh’s arms from the sides of his upper body. They should be relatively short and chubby, curving gently downwards.
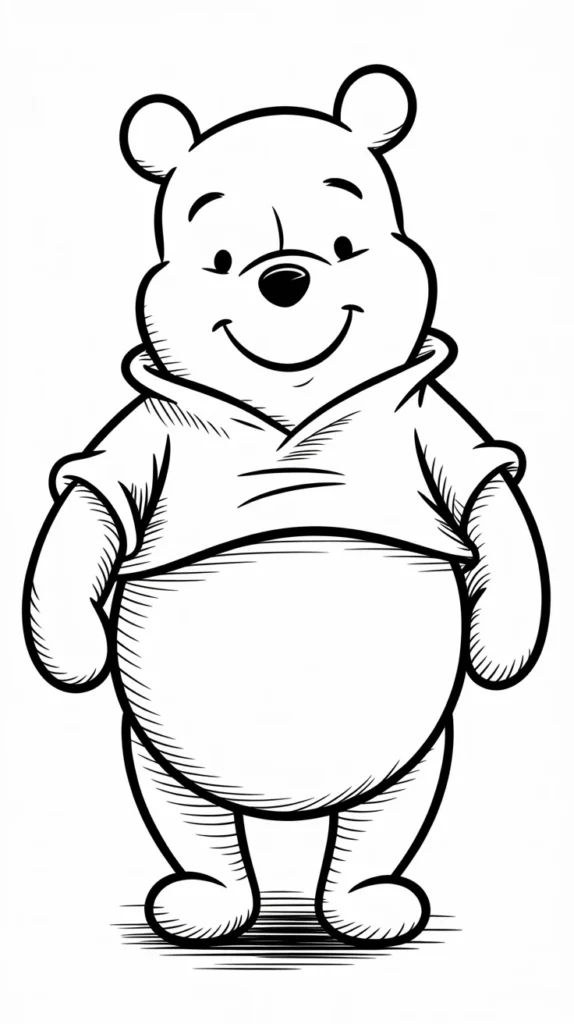
His hands are simple, rounded shapes without individual finger details. Think of them as soft, mitten-like paws.
Draw his legs from the bottom of his body circle. They are also short and stout, ending in rounded, bear-like feet. Make sure his feet appear to be resting on a surface.
Pro Tip: Pay attention to the natural flow of his limbs. Pooh is often depicted in relaxed, slightly slumped poses, so avoid making his arms and legs too straight or rigid. A slight curve adds character.
Step 6: Add His Iconic Red Shirt
Outline Pooh’s classic red shirt. It usually covers his torso but leaves his arms and a small portion of his tummy exposed at the bottom.
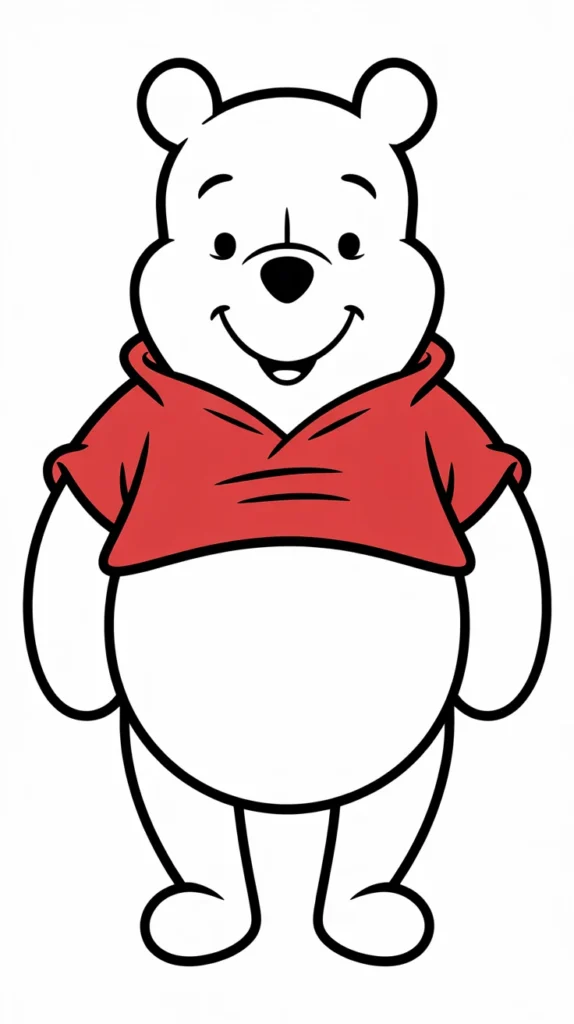
Draw a curved line across his midsection, indicating the bottom edge of his shirt. Add two short, curved lines for the sleeves, just above his elbows.
The shirt should look a bit snug, emphasizing his round belly. Don’t worry about perfect symmetry; Pooh is charmingly imperfect.
Step 7: Clean Up and Prepare for Inking
Carefully erase all the initial sketch lines and guidelines that are no longer needed. Take your time to clean up any stray marks.
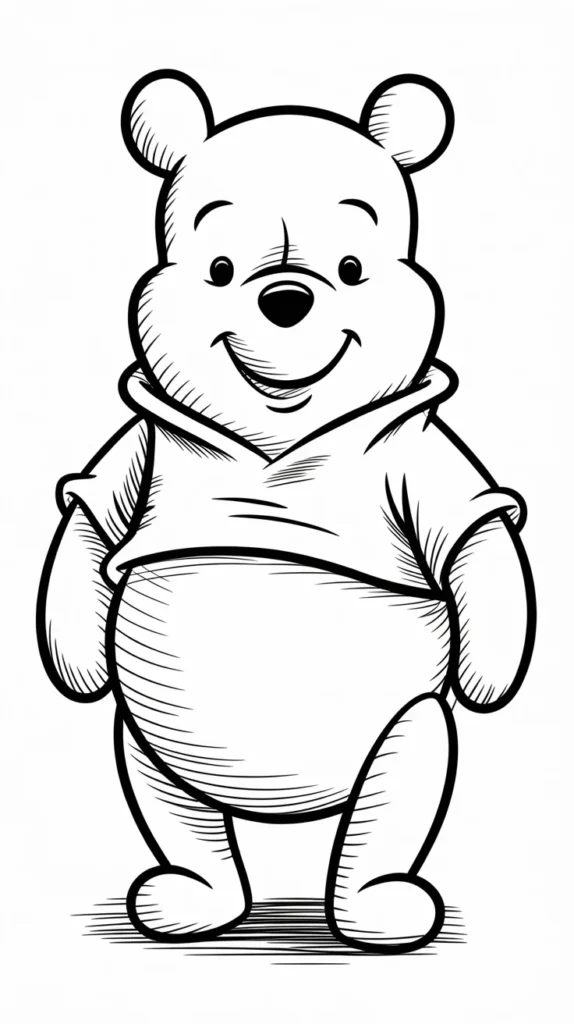
Look at your drawing and make any final adjustments to the shapes and proportions. This is your last chance to refine the pencil drawing before committing to ink.
Ensure all the main outlines are clear and ready to be traced. Your Pooh Bear should now be clearly visible in pencil.
Step 8: Ink Your Drawing
Trace over all your final pencil lines with a black pen or fine-tip marker. Use a steady hand to create smooth, confident lines.
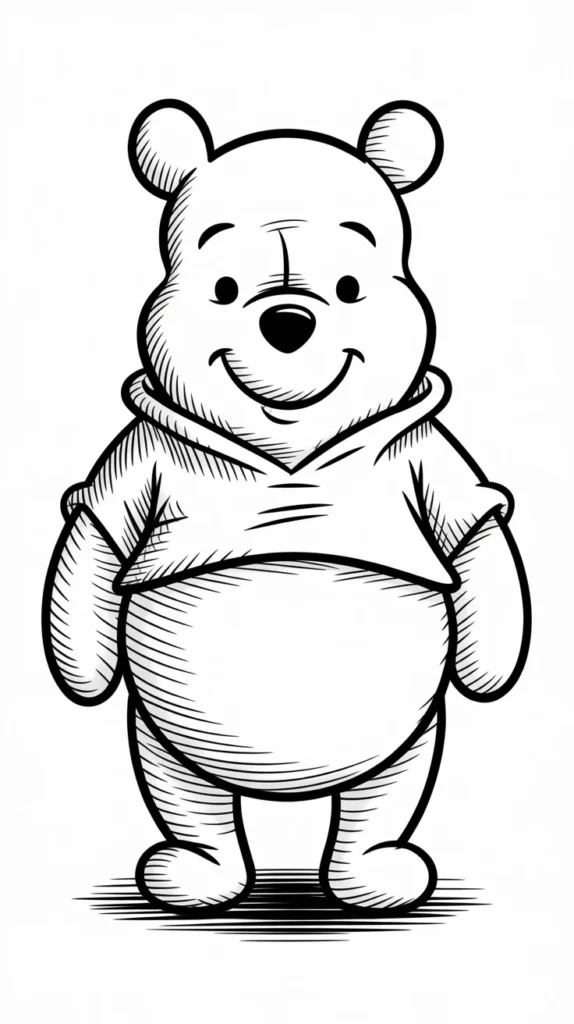
Vary the line thickness slightly if you like; a thicker outline for the main body and thinner lines for internal details can add visual interest.
Once the ink is completely dry, gently erase any remaining pencil marks. This will leave you with a clean, crisp outline of Pooh.
Pro Tip: Test your pen on a scrap piece of paper first to ensure it doesn’t bleed. If you make a mistake with ink, don’t panic! You can sometimes creatively turn it into a shadow or a part of the texture. Embrace small imperfections.
Step 9: Color Your Winnie The Pooh
Color Pooh’s body a warm, honey-like yellow. Use a slightly darker shade for subtle shading around the edges or under his chin to give him dimension.
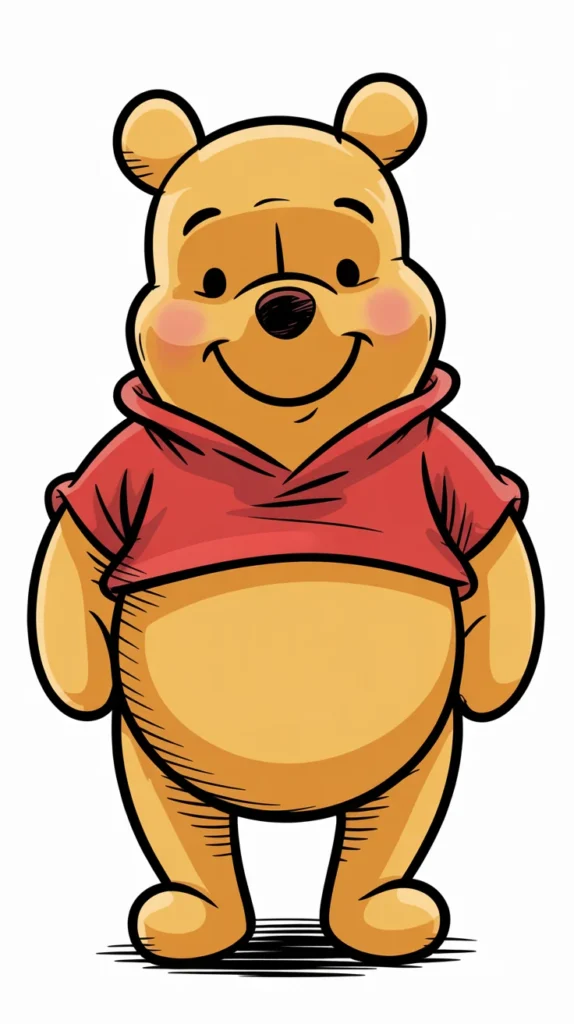
His shirt should be a vibrant red. You can use a slightly darker red or even a touch of brown for shadows within the folds of his shirt.
His nose is typically a dark brown or black. His eyes are usually black dots. Remember to keep his overall palette cheerful and bright.
Add a touch of pink or light orange to his cheeks for a rosy glow, if you wish. This adds to his lovable, friendly appearance.
Common Mistakes to Avoid
Incorrect Proportions
Many beginners make Pooh’s head too small or too large in relation to his body. Pooh’s head is significant, but not overwhelmingly so, and his body is round and substantial. Always start with basic shapes and compare their sizes before adding details.
To correct this, re-evaluate your initial circles. Is the head roughly two-thirds the size of the body circle? Are the limbs proportional to his stout frame? Adjust the underlying pencil sketch until the balance feels right.
Stiff or Lifeless Poses
Winnie the Pooh is a soft, cuddly bear. His limbs should have gentle curves, and his posture should be relaxed. Drawing him too rigidly can make him look unnatural and less appealing.
Think about how a teddy bear might sit or stand. Use curved lines for his arms and legs, and let his body have a slight slump or tilt. Avoid perfectly straight lines where a curve would feel more organic.
Over-detailing the Face
Pooh’s face is incredibly simple, relying on just a few key features to convey his personality. Adding too many details, like overly complex eyes or a very elaborate mouth, can detract from his iconic look.
Stick to the small, dot-like eyes, the simple upside-down oval nose, and the gentle, slightly upturned smile. These minimal details are what make him so recognizable and endearing.
Rushing the Sketch Phase
It’s tempting to jump straight to inking, but rushing the initial pencil sketch can lead to numerous errors that are difficult to fix later. The sketch phase is where you establish all your proportions and forms.
Spend ample time on light pencil lines, ensuring everything is exactly where you want it. Erase and redraw as many times as necessary. A solid foundation makes for a much better final drawing.
Troubleshooting
My Drawing Looks “Off” or Not Quite Like Pooh
This is a very common concern, especially when starting out. The main culprit is often proportions or the placement of facial features. Go back to your initial sketch layers.
Compare your drawing closely to a reference image of Winnie the Pooh. Are his eyes too far apart? Is his nose too high? Is his head shape a bit too pointy? Adjust these elements with your pencil until they align more closely with the reference.
My Lines Are Shaky or Uneven
Shaky lines often come from drawing with just your wrist. Try to use your whole arm for longer strokes, especially when outlining the body. Practice drawing continuous, smooth curves and straight lines on scrap paper.
Another tip is to rotate your paper as you draw to find the most comfortable angle for your hand. This allows you to pull lines rather than push them, which often results in smoother strokes.
I Can’t Get the Colors Right
Coloring can be tricky, especially achieving that warm, soft Pooh yellow. If your colors look flat, try layering. Start with a light application of yellow, then add another layer, pressing slightly harder in areas you want to appear darker or shaded.
For shading, don’t be afraid to use a very light touch of a slightly darker yellow, orange, or even a pale brown. This adds depth without making the color look muddy. Always swatch your colors on a separate paper first.
Key Takeaways
- Start with basic shapes: Circles and ovals are your best friends for establishing Pooh’s form.
- Keep proportions in mind: His head-to-body ratio and limb thickness are crucial for his recognizable look.
- Embrace simplicity: Pooh’s charm lies in his straightforward, minimal facial features.
- Don’t rush the sketch: Take your time with pencil lines, as this foundation is vital for a successful drawing.
- Practice makes progress: The more you draw, the more natural and confident your lines will become.
- Have fun with it: The joy of creating Pooh is part of the process, so let your creativity flow!
Frequently Asked Questions
What kind of paper is best for drawing Pooh?
For beginners, standard drawing paper or even good quality printer paper works well. If you plan to use markers or watercolors, opt for thicker paper (like Bristol board or watercolor paper) to prevent bleed-through and buckling.
Can I draw him in different poses?
Absolutely! Once you master his basic form, you can experiment with different poses. Start by sketching new action lines and basic shapes for the pose you want, then build Pooh’s details on top. Observing real teddy bears or Pooh illustrations in various poses can be very helpful.
How do I make my lines smoother?
Smooth lines come with practice and confidence. Try drawing continuously without lifting your pencil too often. Practice drawing “ghost lines” (moving your hand over the paper without touching it) before committing to a stroke. Also, ensure your arm, not just your wrist, is involved in the drawing motion.
Is it okay if my first attempt isn’t perfect?
It’s more than okay – it’s expected! Every artist starts somewhere. The goal is to learn and improve with each drawing. Celebrate your progress and enjoy the process, rather than striving for immediate perfection. Your unique style will develop over time.
Our Top Recommended Finds
- Graphite Pencil Set (HB, 2B, 4B): Offers a range of hardness for light sketching to darker lines, perfect for detailed work.
- Kneaded Eraser: Soft and moldable, it lifts graphite without damaging paper or leaving crumbs, ideal for cleaning up light pencil marks.
- Sketchbook with Acid-Free Paper: Provides a dedicated space for your art, and acid-free paper ensures your drawings won’t yellow over time.
Your Hundred Acre Wood Adventures Await!
You’ve just taken a wonderful step into the world of drawing, creating a beloved character. This guide has equipped you with the skills to draw Winnie the Pooh, but your artistic journey doesn’t have to stop here.
Why not try drawing his friends next? Piglet, Tigger, or Eeyore could be your next delightful challenge. Keep practicing, keep exploring, and most importantly, keep enjoying the process of bringing characters to life. Grab your pencil and start your next drawing today!