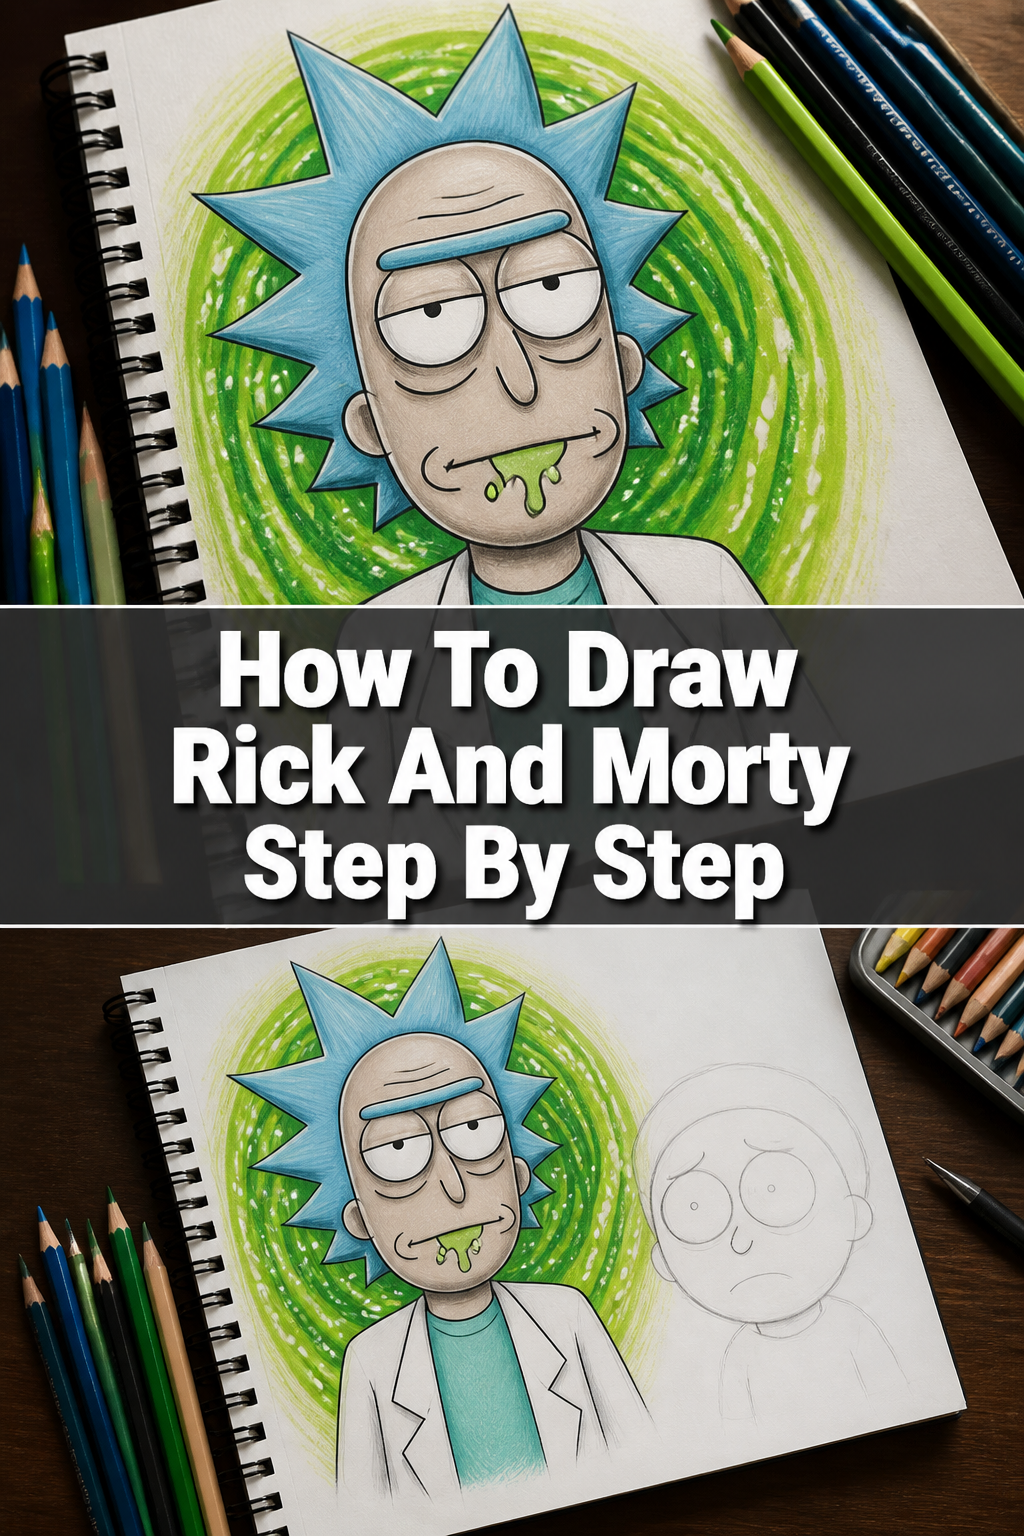
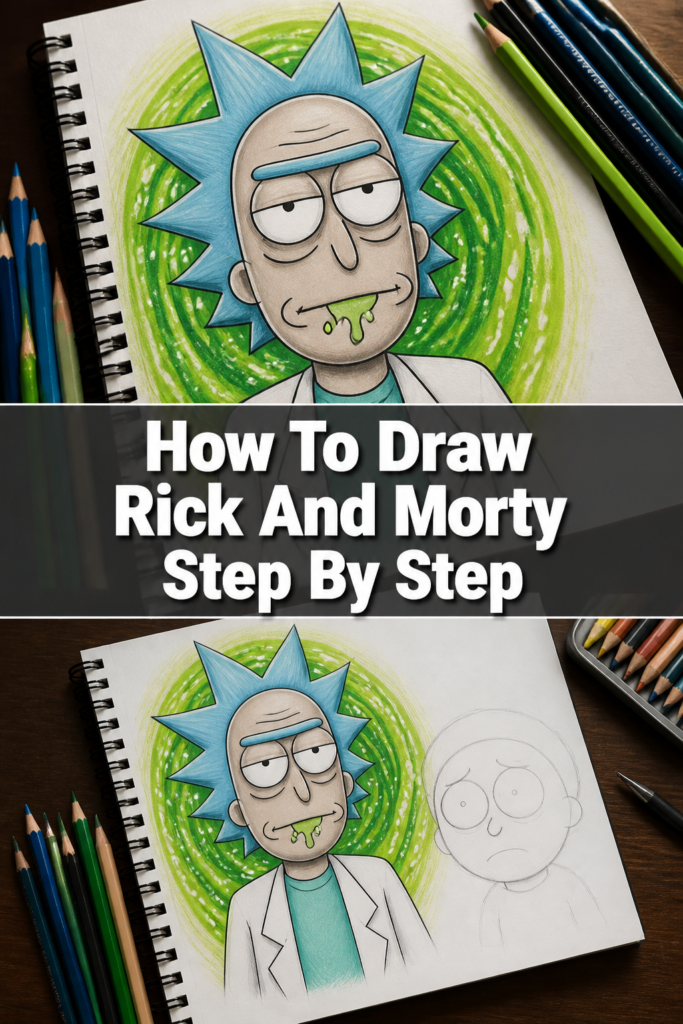
🧪 How To Draw Rick And Morty Step By Step

& Painting
No rigid rules or pretension. Just practical guides, medium comparisons, and encouraging tips to help you enjoy the drawing & painting process.
Ever wanted to bring the chaotic, brilliant world of Rick and Morty to life on paper?
It’s an incredibly fun and rewarding journey.
As someone who’s spent countless hours sketching these characters, I can assure you that with the right guidance, you’ll be creating your own interdimensional masterpieces in no time.
Quick Overview
This guide will walk you through drawing Rick Sanchez and Morty Smith, focusing on their iconic features and expressions.
You’ll learn to break down their complex designs into simple, manageable shapes.
- Time needed: 45-75 minutes (depending on detail and experience)
- Difficulty: Beginner to Intermediate
- What you’ll need: Pencil, eraser, paper, fine-tip inking pen (optional), colored pencils or markers (optional)
Step-by-Step Instructions
Step 1: Gather Your Tools and Warm Up
Before you begin, make sure your drawing space is comfortable and well-lit.
Having all your materials within reach prevents interruptions.
Do a few quick warm-up sketches, like circles and lines, to get your hand loose.
Pro Tip: Don’t press too hard with your pencil in the initial stages. Light lines are easier to erase and adjust later.
Step 2: Start with Basic Shapes for Rick
Let’s begin with Rick. His head is a primary focus.
Draw a large, slightly flattened oval for his head.
Add a vertical line down the center and a horizontal line across the middle for facial guides.
Sketch a small rectangle or cylinder for his neck, connecting it to a larger, somewhat triangular or trapezoidal shape for his torso.
Use simple lines and circles for his arms and hands, indicating joints.
Step 3: Define Rick’s Facial Features
Rick’s face is iconic. His unibrow and crazy hair are key.
Create two large, round eyes on the horizontal guideline, slightly separated.
Form his distinctive unibrow above the eyes; it’s thick and often extends past his head’s outline.
Draw a long, pointed nose that starts above the horizontal line and extends well below it.
Sketch a simple, curved line for his mouth, usually a cynical smirk or a straight line.
Step 4: Add Rick’s Hair and Lab Coat
Rick’s spiky blue hair is a defining feature.
Draw a series of sharp, jagged spikes around the top and sides of his head, giving it a messy, electrified look.
Outline his lab coat. It’s usually open, flowing, and has a distinctive collar.
Add the sleeves and the details of his shirt underneath, often a light blue color.
Include his belt and pants, keeping them simple and proportional to his upper body.
Step 5: Move to Morty’s Basic Shapes
Now for Morty. He’s rounder and more innocent-looking.
Draw a slightly elongated circle or oval for Morty’s head.
Add facial guidelines, similar to Rick’s, but perhaps a bit lower for the eyes.
Sketch a small, short neck.
Form his body with a rounded rectangle or pear shape; he’s often hunched or a bit awkward.
Use simple lines for his arms and legs, indicating his smaller stature.
Step 6: Detail Morty’s Face and Hair
Morty’s wide eyes and simple hair are crucial.
Draw two large, expressive circles for his eyes, close together and slightly below the horizontal guideline.
Add small pupils looking in the desired direction, often a bit wide-eyed or worried.
Sketch his nose as a tiny, simple curve or dot.
Form his mouth as a small, slightly open curve, often showing slight apprehension.
Draw his short, bowl-cut hair. It’s usually a smooth, rounded shape that frames his face.
Step 7: Complete Morty’s Outfit and Refine
Morty’s yellow shirt is his signature.
Outline his yellow t-shirt, which is often a bit baggy.
Add his blue jeans, keeping them simple and without too many folds.
Sketch his shoes, which are typically plain and rounded.
Erase all your initial pencil guidelines carefully, leaving only the clean outlines.
Pro Tip: Pay attention to the characters’ expressions. Rick often has a smug or bored look, while Morty is usually anxious or confused. These details add personality.
Step 8: Inking and Coloring (Optional)
This step brings your drawing to life.
Use a fine-tip inking pen to go over all your finalized pencil lines.
Allow the ink to dry completely before erasing any remaining pencil marks.
Color Rick’s hair light blue, his lab coat white/off-white, and his shirt light blue.
Color Morty’s hair brown, his shirt yellow, and his pants blue.
Add a touch of light green for Rick’s drool if you want to capture his classic look.
Common Mistakes to Avoid
Inconsistent Proportions
A common pitfall is making one part of a character too big or too small compared to the rest. Rick’s head is large, but his body still needs to be proportionate to it. Morty is generally smaller and more compact than Rick.
Always start with basic shapes and compare them to each other before adding details. Step back frequently to view your drawing as a whole and check for balance.
Over-detailing Too Early
Trying to draw perfect eyes or hair before the basic head shape is solid can lead to frustration and a skewed drawing. You might end up with features that don’t fit the overall structure.
Focus on the foundational shapes first. Build your drawing layer by layer, from general to specific. Details come last, once the main structure is correct.
Stiff Poses
Rick and Morty are dynamic characters, even when standing still. Drawing them too rigidly can make them look lifeless. Their animation style often features slightly awkward or exaggerated poses.
Think about their personalities when posing them. Rick might be leaning or gesturing wildly, while Morty might be slightly slouched or wide-eyed. Use curved lines for limbs rather than straight ones to convey movement.
Ignoring Facial Expressions
The characters’ expressions are a huge part of their appeal. A blank face won’t convey their personalities effectively. Rick’s cynicism and Morty’s anxiety are often visible in their eyes and mouths.
Study reference images for their specific expressions. Practice drawing different eye and mouth shapes to capture their range of emotions. Even subtle changes can make a big difference.
Troubleshooting
My Characters Look Flat
If your drawings lack depth, you might be relying too much on outlines. Characters need volume and form to appear three-dimensional, even in a cartoon style.
Think about the basic shapes you used. Are they truly round ovals or flat circles? Add slight curves to the lines that define the edges of their heads and bodies to suggest curvature. Consider adding subtle shading if you’re comfortable, to hint at light and shadow.
I Can’t Get the Hair Right
Hair can be tricky, especially Rick’s wild spikes or Morty’s smooth bowl cut. It’s easy for it to look unnatural or too rigid.
For Rick, focus on the overall shape and direction of the spikes rather than drawing each individual strand. For Morty, aim for a clean, rounded silhouette. Use reference images and practice drawing the hair as a distinct mass, not just a series of lines.
My Lines Are Messy
Wobbly or uncertain lines can make your drawing look amateurish. This often happens when you draw too slowly or try to “sketch” a single line with many small strokes.
Practice drawing confident, single strokes. Use your whole arm, not just your wrist, for longer lines. If a line isn’t perfect, erase it and try again. Inking helps clean up messy pencil lines, so don’t be afraid to refine at that stage.
Key Takeaways
- Always start with light, basic geometric shapes to build your characters.
- Focus on capturing the unique proportions of Rick’s large head and Morty’s rounded features.
- Pay close attention to their distinctive facial expressions, which convey their personalities.
- Don’t rush the process; build your drawing layer by layer from rough sketch to clean lines.
- Practice regularly to improve your line confidence and understanding of form.
- Embrace the unique, slightly crude art style of Rick and Morty; it doesn’t have to be perfect.
Frequently Asked Questions
Can I draw them in different poses?
Absolutely! Once you’re comfortable with their basic structure, experiment with different poses. Think about how their bodies bend and stretch. Use simple stick figures or mannequins as a starting point for complex poses.
What if my drawing doesn’t look exactly like the show?
That’s perfectly fine! The goal is to learn and have fun. Developing your own style is part of the artistic journey. As long as the key characteristics are there, your drawing will be recognizable and unique.
Should I use a ruler for straight lines?
Generally, no. While some elements might appear straight, the show’s style is hand-drawn. Relying too much on rulers can make your drawing look stiff. Practice drawing freehand to develop a more natural and fluid line quality.
How can I make my characters look more “alive”?
Beyond expressions, consider their body language. A slight lean, a hand gesture, or how their clothes wrinkle can add life. Also, vary your line weight when inking; thicker lines for outlines and thinner for internal details can create visual interest.
Your Portal to Infinite Creativity
You’ve just taken your first step into a dimension of artistic expression.
Drawing Rick and Morty isn’t just about copying characters; it’s about understanding form, personality, and the joy of creation.
Don’t stop here. Try drawing them interacting, or in different outfits, or even create your own alien characters in their style.
Grab your pencil, embrace the chaos, and get sketching today!
Our Top Recommended Finds
- Sketchbook with medium-weight paper: A good quality sketchbook prevents bleed-through and holds up to erasing, making it perfect for practicing.
- Set of drawing pencils (HB, 2B, 4B): Different lead hardness allows for varying line weights and shading, giving your sketches more depth.
- Fine-tip inking pens (various sizes): These pens are essential for clean, crisp outlines and details, making your finished art pop.
& Painting
No rigid rules or pretension. Just practical guides, medium comparisons, and encouraging tips to help you enjoy the drawing & painting process.