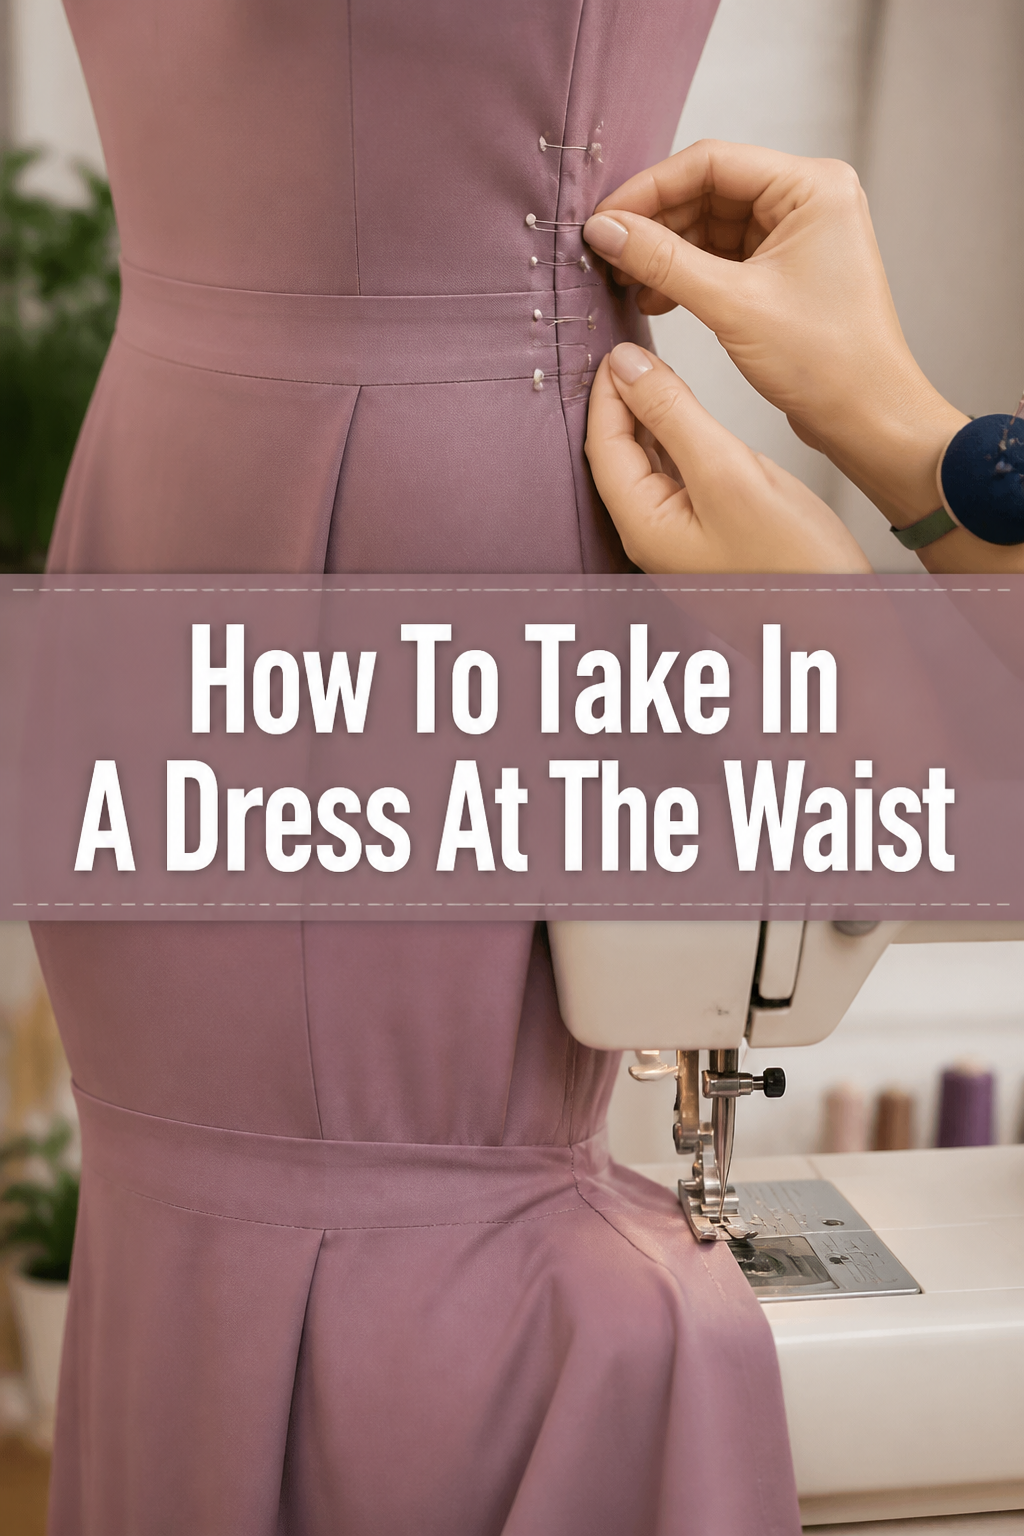
👗 How To Take In A Dress At The Waist

& Painting
No rigid rules or pretension. Just practical guides, medium comparisons, and encouraging tips to help you enjoy the drawing & painting process.
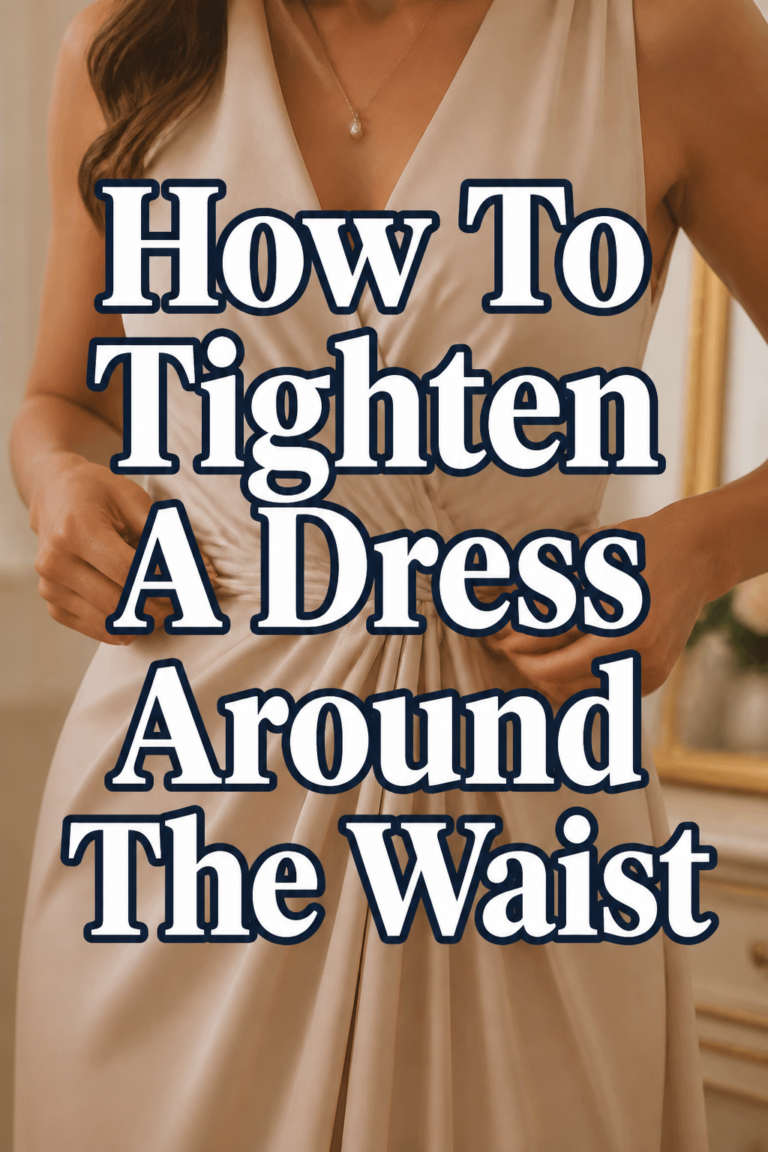
I vividly recall the frustration of finding a perfect dress, only for it to gape awkwardly around the waist. It’s a common wardrobe dilemma, and one I learned to tackle head-on with a needle and thread. This guide shares the practical steps I’ve refined over many projects, empowering you to achieve that custom-fit look right from your home.
You don’t need to be a professional tailor to make simple alterations. With a bit of patience and the right approach, you can transform an ill-fitting dress into a garment that flatters your figure beautifully. Let’s get started on creating that perfect silhouette.
Quick Overview
This guide will walk you through the process of altering a dress at the waist, ensuring a flattering and comfortable fit. You’ll learn how to measure, mark, and sew new seams with confidence.
You’ll gain the skills to customize your clothing, saving money on professional alterations and giving new life to pieces in your closet.
- Time needed: 1-3 hours (depending on complexity and experience)
- Difficulty: Intermediate
- What you’ll need: Sewing machine, matching thread, sharp scissors, measuring tape, tailor’s chalk or fabric marker, straight pins, seam ripper, iron, pressing cloth.
Step-by-Step Instructions
Step 1: Prepare Your Dress and Workspace
Begin by laying your dress flat on a clean, well-lit surface. Ensure you have ample space to work comfortably. Gather all your tools within easy reach.
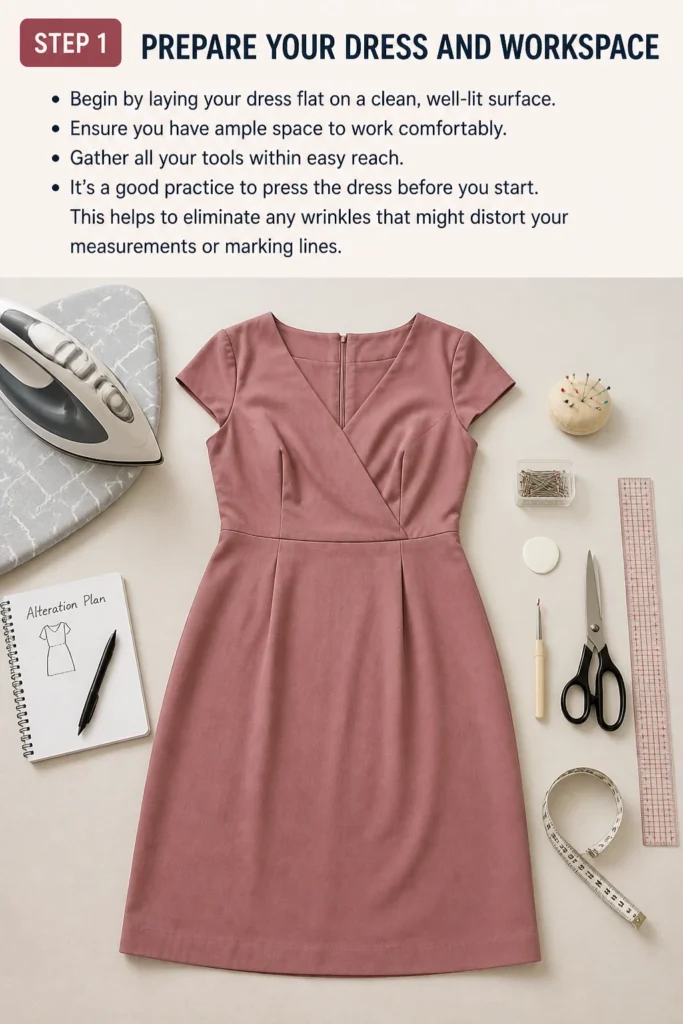
It’s a good practice to press the dress before you start. This helps to eliminate any wrinkles that might distort your measurements or marking lines.
Step 2: Try On the Dress and Pin for Fit
Put the dress on inside out. This makes it easier to mark and pin the alterations accurately. Stand in front of a mirror.
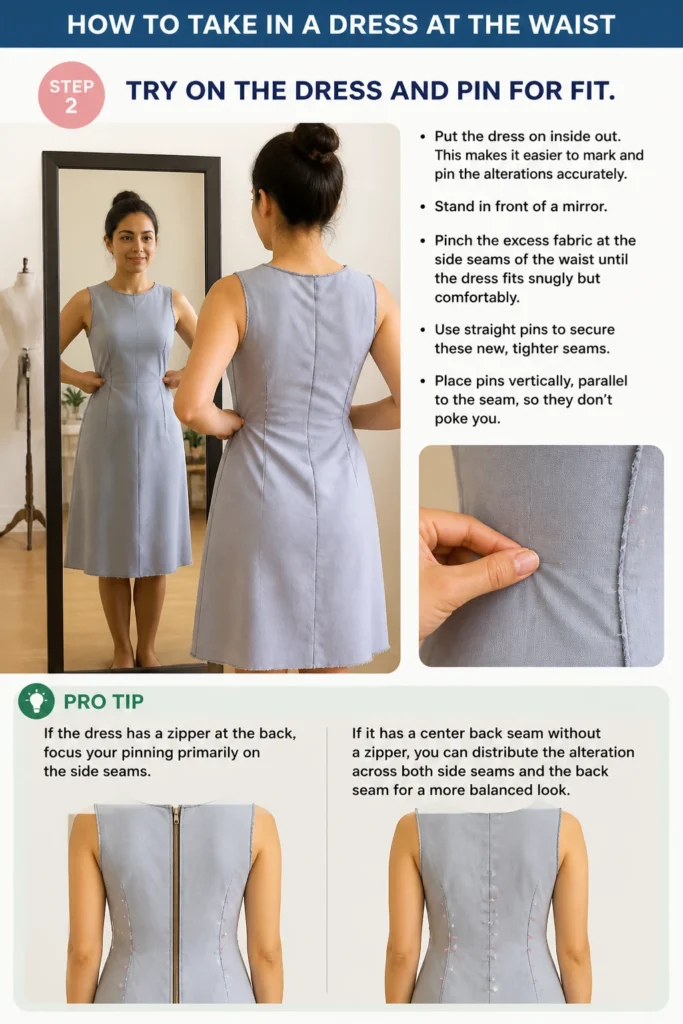
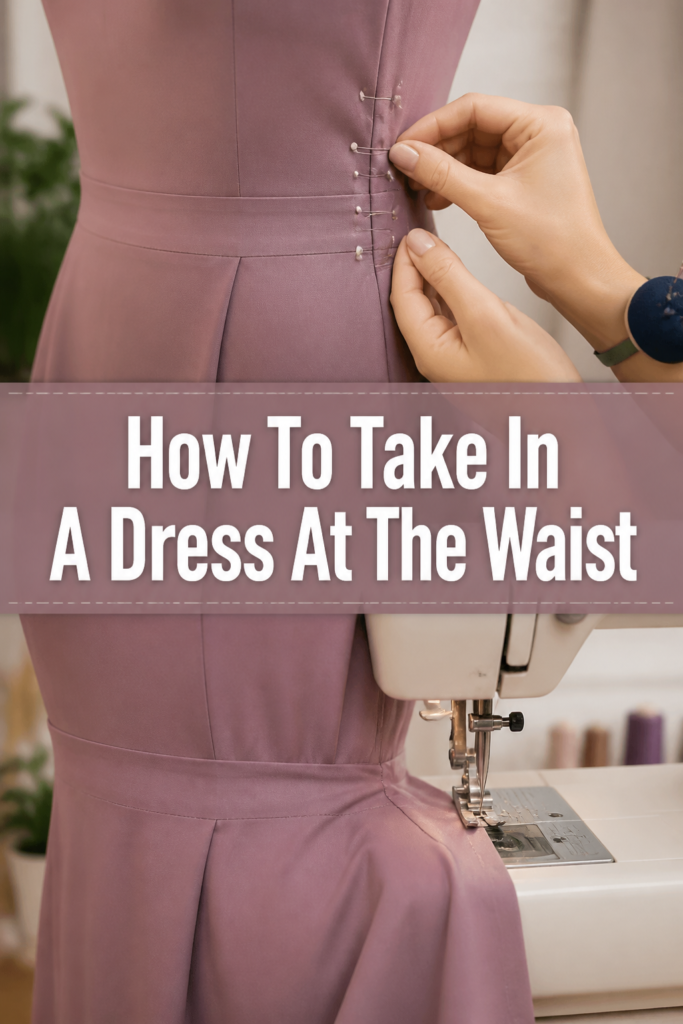
Pinch the excess fabric at the side seams of the waist until the dress fits snugly but comfortably. Use straight pins to secure these new, tighter seams. Place pins vertically, parallel to the seam, so they don’t poke you.
Pro Tip: If the dress has a zipper at the back, focus your pinning primarily on the side seams. If it has a center back seam without a zipper, you can distribute the alteration across both side seams and the back seam for a more balanced look.
Step 3: Mark Your New Seam Lines
Carefully take off the dress, keeping all the pins in place. Lay the dress flat, still inside out. Using tailor’s chalk or a fabric marker, draw a new seam line just inside the pins.
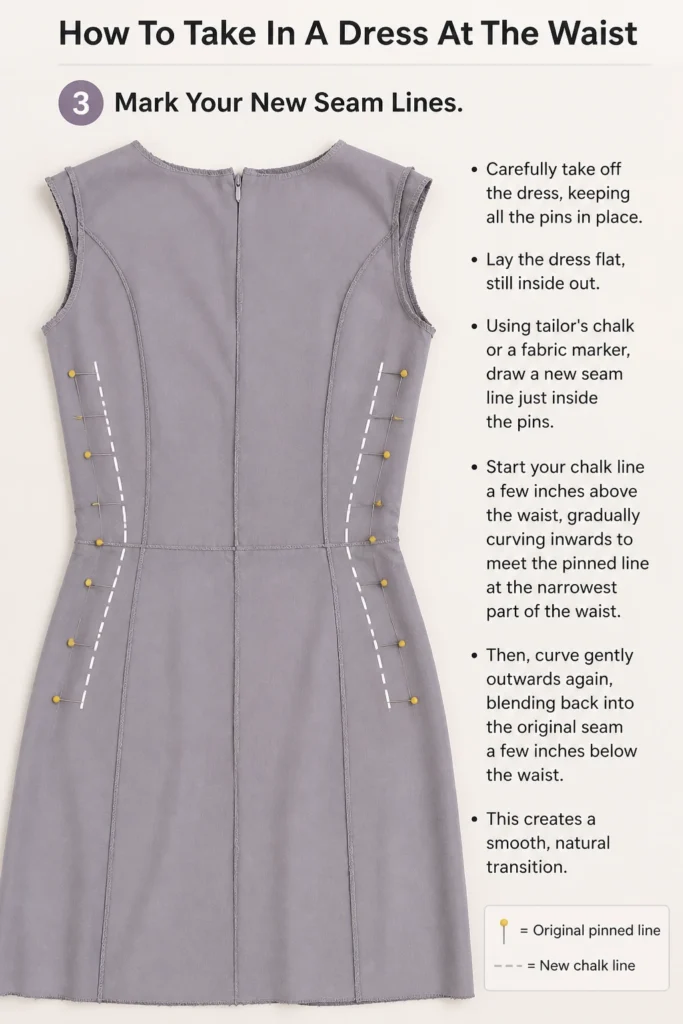
Start your chalk line a few inches above the waist, gradually curving inwards to meet the pinned line at the narrowest part of the waist. Then, curve gently outwards again, blending back into the original seam a few inches below the waist. This creates a smooth, natural transition.
Step 4: Baste For a Test Fit
Before committing to a permanent stitch, baste the new seam lines. Use a hand-sewing needle and a contrasting color thread for a loose, temporary stitch along your chalk lines. This allows for easy removal if adjustments are needed.
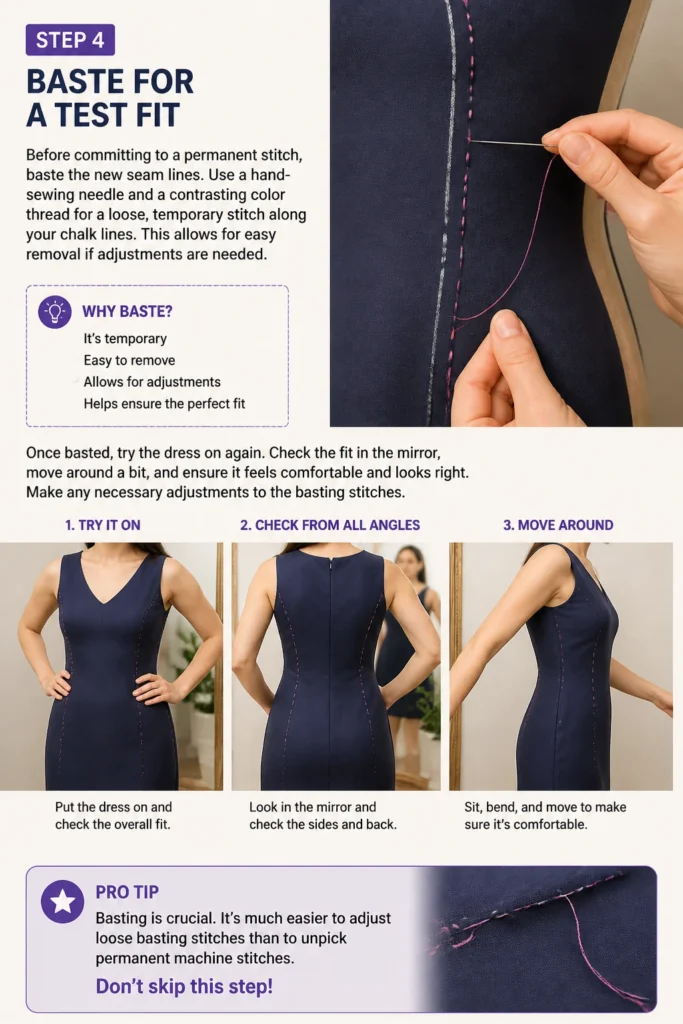
Once basted, try the dress on again. Check the fit in the mirror, move around a bit, and ensure it feels comfortable and looks right. Make any necessary adjustments to the basting stitches.
Pro Tip: Basting is crucial. It’s much easier to adjust loose basting stitches than to unpick permanent machine stitches. Don’t skip this step!
Step 5: Stitch The New Seams
With the fit confirmed by your basting, it’s time to machine stitch. Using thread that matches your dress, sew directly over your chalk lines (and basting stitches, if you prefer). Start a few inches above the waist, where you began your chalk line, and backstitch at the beginning and end of your seam for security.
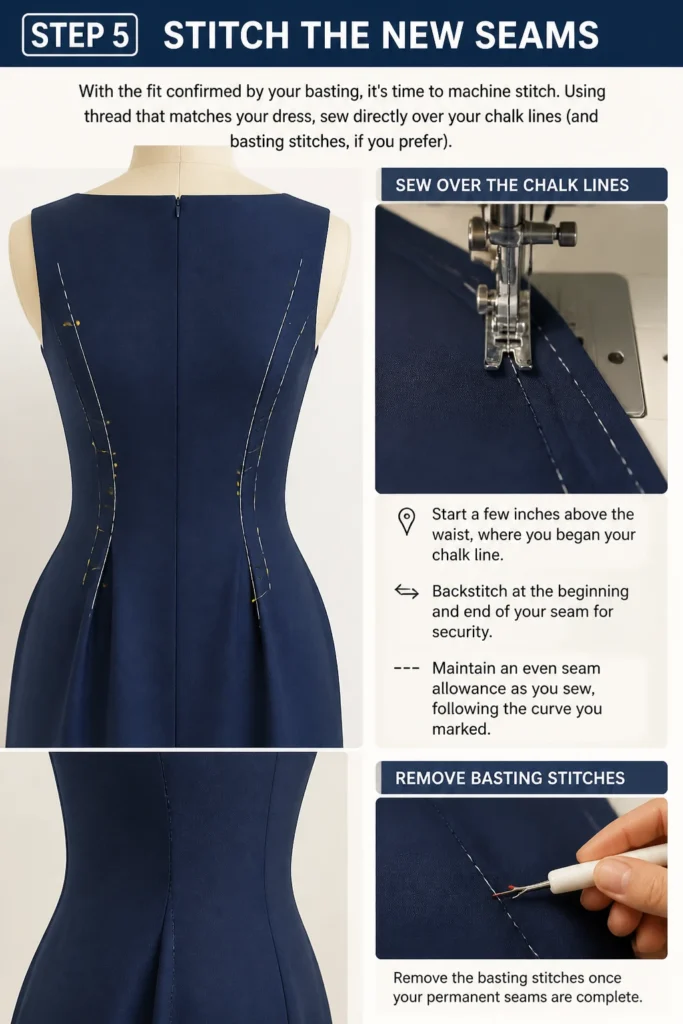
Maintain an even seam allowance as you sew, following the curve you marked. Remove the basting stitches once your permanent seams are complete.
Step 6: Trim And Finish Raw Edges
After sewing your new seams, you’ll have excess fabric on the inside. Carefully trim this excess, leaving a seam allowance of about ½ to ¾ inch (1.25 to 2 cm). Be careful not to cut too close to your new stitches.
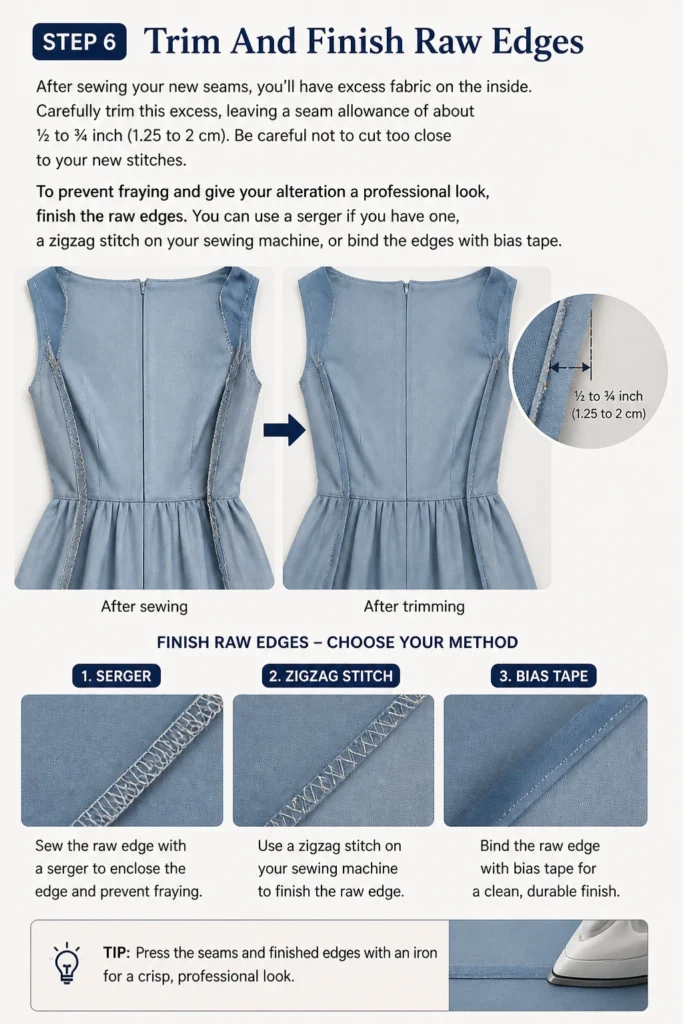
To prevent fraying and give your alteration a professional look, finish the raw edges. You can use a serger if you have one, a zigzag stitch on your sewing machine, or bind the edges with bias tape.
Step 7: Press For a Professional Finish
Finally, press your newly sewn seams flat. Use an iron appropriate for your fabric type. Pressing helps the seams lay smooth and gives your alteration a crisp, professional appearance.
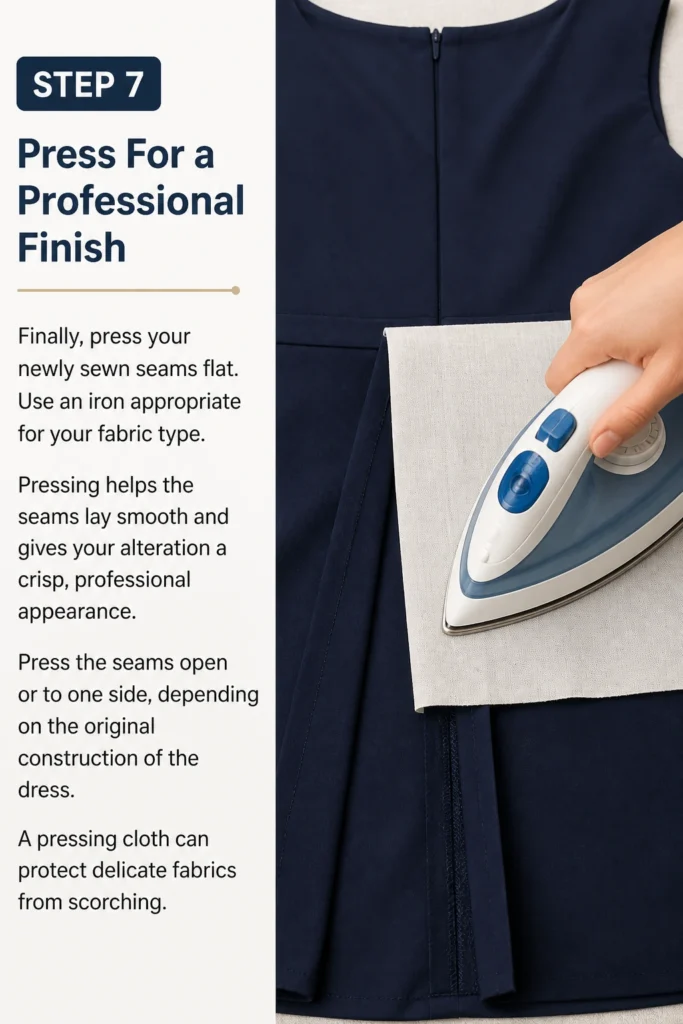
Press the seams open or to one side, depending on the original construction of the dress. A pressing cloth can protect delicate fabrics from scorching.
Common Mistakes to Avoid
Not Measuring Accurately
Guessing how much to take in can lead to a dress that’s either still too loose or now too tight. Always try the dress on inside out and pin it precisely. Take your time to get the fit just right before marking any lines.
Skipping the Basting Step
Many eager DIYers want to jump straight to machine sewing. Skipping basting, however, is a common pitfall. Basting gives you a chance to test the fit and make minor tweaks without having to unpick permanent stitches, saving you time and frustration.
Cutting Too Much Fabric
Once fabric is cut, it’s gone for good. Always trim the excess fabric after you’ve sewn and checked the new seams. Leave a generous seam allowance, as this provides room for future adjustments if needed.
Forgetting to Press
A well-pressed seam makes a huge difference in the final look of your alteration. Neglecting to press can leave your seams looking bulky or puckered, detracting from the professional finish you’re aiming for. Always finish with a good press.
Troubleshooting
Seam Puckering
If your seams look puckered, it could be due to tension issues on your sewing machine or sewing too quickly. Try adjusting your machine’s tension settings or slowing down your stitching speed. Ensure you are using the correct needle for your fabric type.
Uneven Waistline
An uneven waistline after alteration often indicates that the original marking or pinning was inconsistent. Unpick the stitches, re-pin the dress while wearing it inside out, and mark your lines again with extra care, ensuring a smooth, gradual curve.
Still Too Loose/Tight After Sewing
If the dress isn’t quite right after your first machine stitch, don’t despair. If it’s too loose, you can sew another, slightly deeper seam parallel to the first. If it’s too tight, carefully unpick your stitches and re-sew a shallower seam. This is why leaving a generous seam allowance is so important.
Key Takeaways
- Always try the dress on inside out for accurate pinning and marking.
- Use tailor’s chalk or a fabric marker to draw smooth, gradual seam lines.
- Basting is a critical temporary step for testing the fit before permanent stitching.
- Trim excess fabric only after confirming the new seam is correct, leaving a generous seam allowance.
- Finish raw edges to prevent fraying and ensure a professional, durable alteration.
- Pressing your seams is essential for a polished and professional final appearance.
Frequently Asked Questions
Can I do this alteration by hand?
Yes, you can certainly take in a dress at the waist by hand. Use a strong backstitch for durability, ensuring your stitches are small and even. It will take more time than machine sewing, but the result can be just as good.
What if my dress has a zipper at the back?
If your dress has a back zipper, it’s generally best to take in the excess fabric primarily at the side seams. Altering a zipper seam is more complex and often requires special techniques to avoid distorting the zipper. Focus on the sides for a simpler approach.
How do I deal with lining in the dress?
If your dress has a lining, you’ll need to alter the lining separately from the main dress fabric. Pin and mark the lining seams in the same way you did the outer fabric. Sew the lining seams, trim, and finish them independently to allow for movement and prevent bulk.
What if the dress has boning or intricate details at the waist?
Dresses with boning, darts, or complex embellishments at the waist require a more advanced approach. You might need to carefully unpick existing stitches, remove boning, or work around the details. For these types of dresses, consider consulting a professional tailor if you’re not confident.
Our Top Recommended Finds
- Good Quality Sewing Machine: A reliable machine with basic stitches will make this project much easier and more enjoyable. Look for one with adjustable stitch length and tension.
- Fabric Clips: These are excellent alternatives to pins, especially for thicker fabrics or when you want to avoid pinholes. They hold fabric securely without distortion.
- Seam Gauge: A small ruler with a sliding marker, perfect for quickly and accurately measuring seam allowances and hems. It ensures consistent results.
Craft Your Perfect Fit Today
Taking in a dress at the waist is a rewarding skill that opens up a world of possibilities for your wardrobe. No longer will you pass on a beautiful dress just because the fit isn’t quite right. You now have the knowledge and steps to make it truly yours.
Embrace the satisfaction of a garment that fits you perfectly. Start with a simple dress, take your time, and enjoy the process of custom tailoring. Your closet, and your confidence, will thank you.
& Painting
No rigid rules or pretension. Just practical guides, medium comparisons, and encouraging tips to help you enjoy the drawing & painting process.