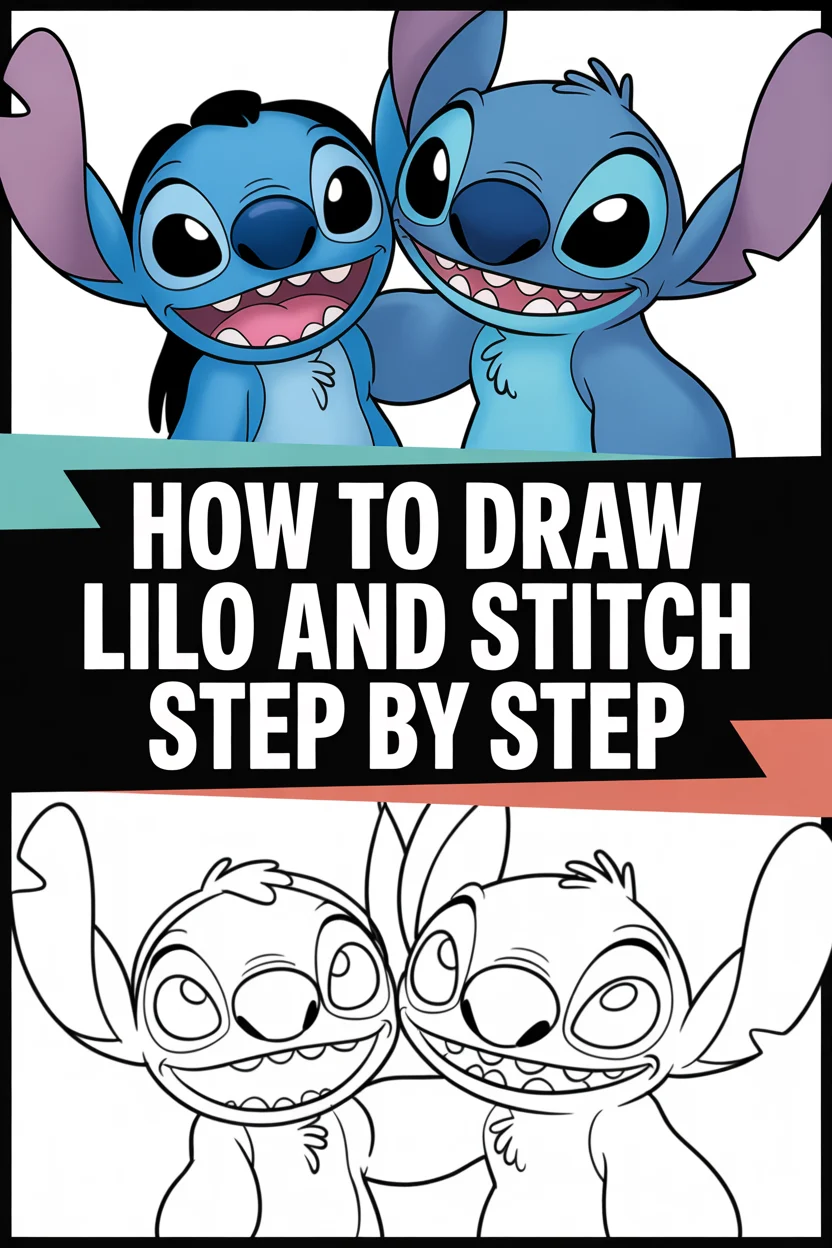
🎨 How To Draw Lilo And Stitch Step By Step

& Painting
No rigid rules or pretension. Just practical guides, medium comparisons, and encouraging tips to help you enjoy the drawing & painting process.
Ever wanted to bring the magic of Lilo & Stitch to life with your own hands?
This guide will show you exactly how to capture their unique charm on paper.
I’ve spent countless hours sketching these beloved characters, and I’m excited to share my easy-to-follow method with you.
Quick Overview
By the end of this guide, you’ll have a delightful drawing of Lilo and Stitch, complete with their signature expressions.
- Time needed: 60-90 minutes (can be split into multiple sessions)
- Difficulty: Beginner to Intermediate
- What you’ll need: Pencil (HB or 2B), eraser, paper, optional inking pen, optional coloring supplies
Step-by-Step Instructions
Step 1: Gather Your Tools and Warm Up
Before diving into the drawing, make sure you have all your materials ready.
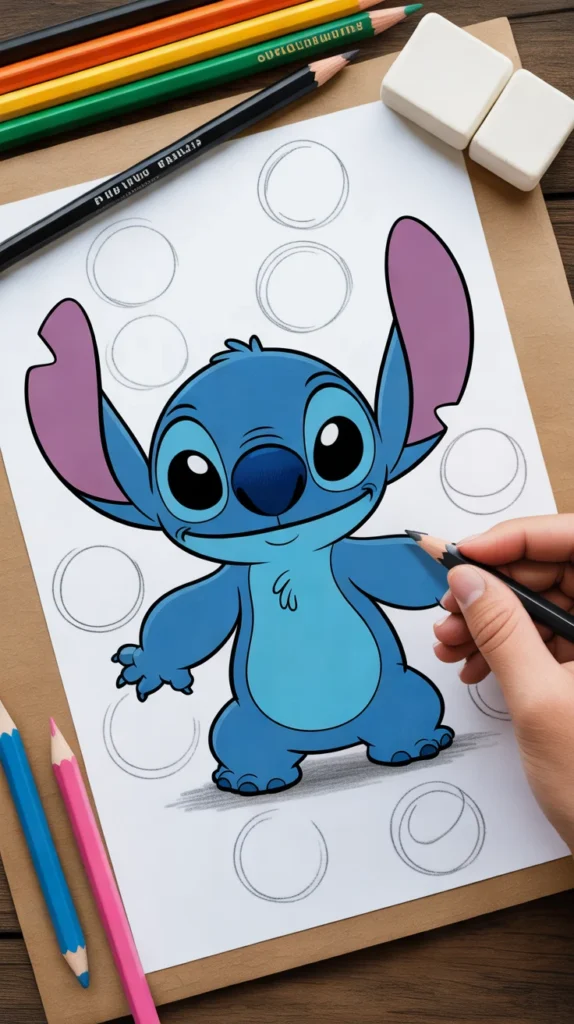
A comfortable workspace helps a lot.
- Lay out your paper, pencils, and eraser.
- Gently sketch some circles and ovals on a separate scrap piece of paper. This loosens your hand.
- Practice drawing light lines. You’ll need these for initial guides.
Pro Tip: Use a light touch with your pencil for initial sketches. This makes erasing mistakes much easier without damaging the paper.
Step 2: Establish Stitch’s Basic Forms
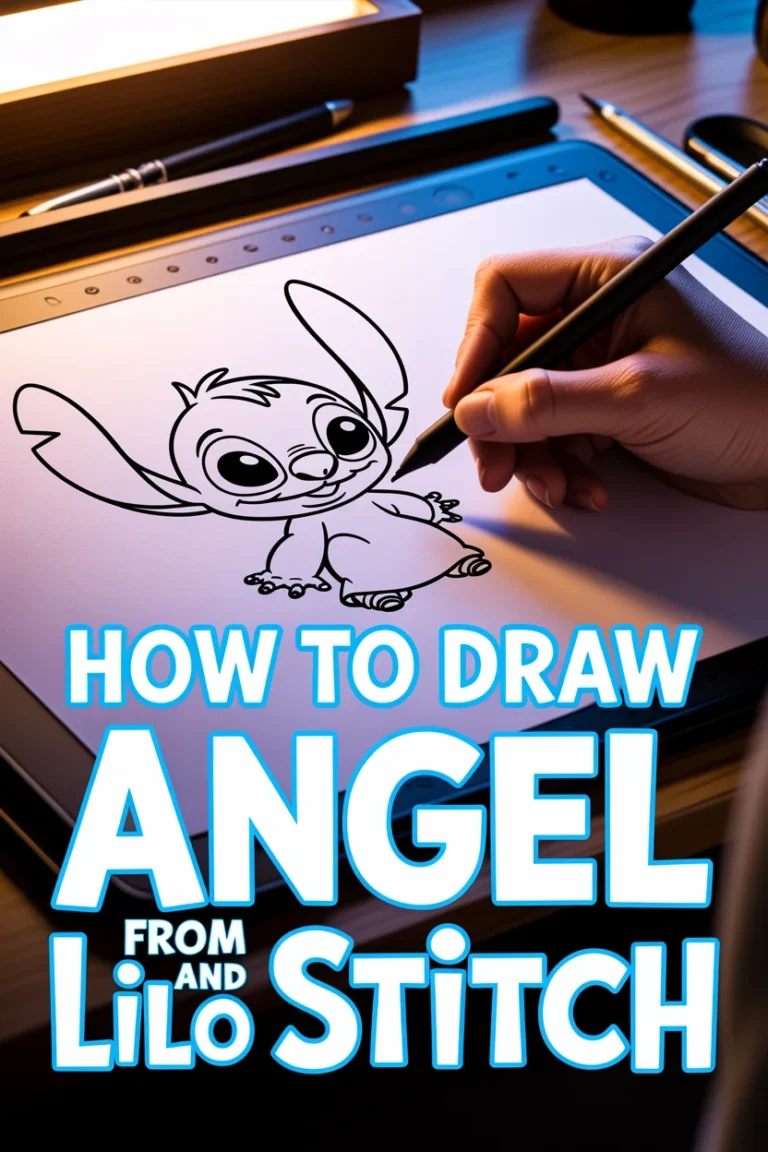
Stitch is all about rounded shapes and a mischievous grin.
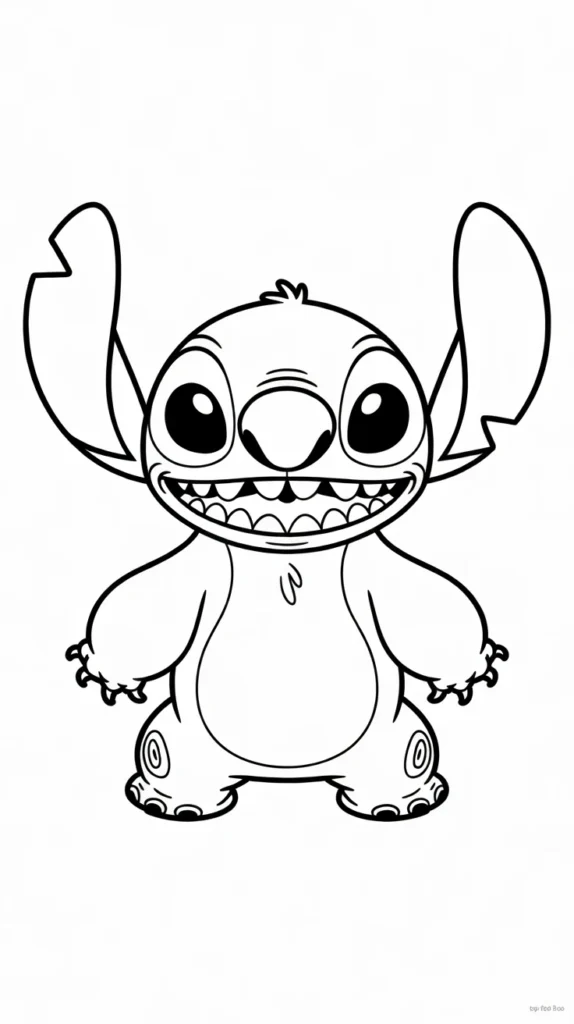
We will start with simple geometry.
- Draw a large oval for Stitch’s head. It should be slightly wider at the top.
- Sketch a smaller, bean-like shape below the head for his body. Leave a small gap.
- Connect the head and body with two curved lines, creating a neck area.
- Add two small ovals on either side of his head for guide placements of his ears.
- Draw a vertical and a horizontal guideline across his face oval. This will help with feature placement.
Step 3: Define Stitch’s Facial Features
This is where Stitch’s personality starts to shine through.
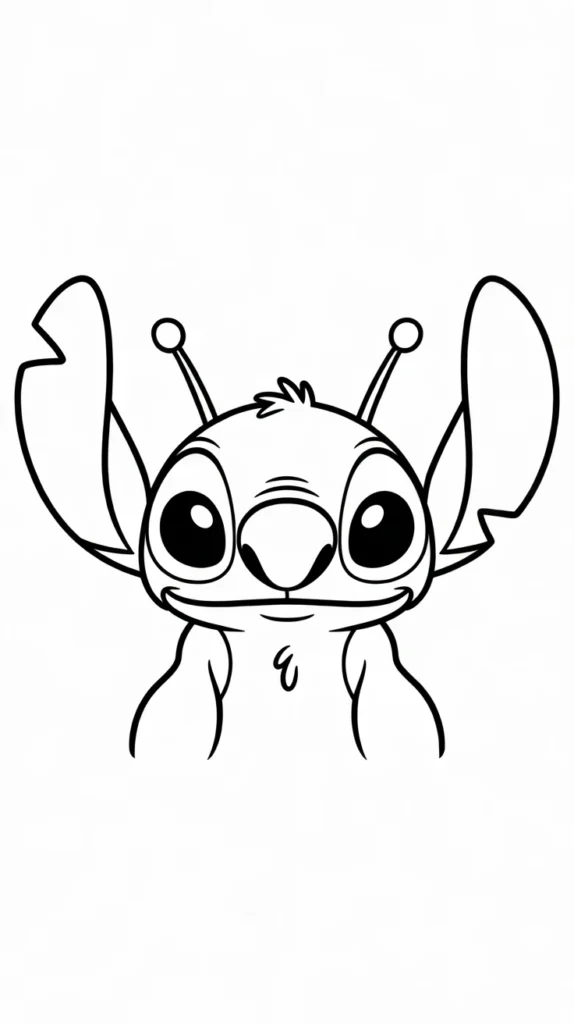
Pay close attention to his expressive face.
- Sketch two large, oval eyes above the horizontal guideline, slightly separated.
- Draw a small, upturned, almost heart-shaped nose in the center, just below the horizontal line.
- Create a wide, curved line for his mouth, extending past his eyes on both sides.
- Add two small, pointed teeth on his upper jaw and a curved tongue inside his mouth.
- Refine the ear shapes. They should be large and pointed, almost like bat wings, extending from the small ovals you drew earlier.
- Draw his two small antennae on top of his head, slightly curved.
Pro Tip: Stitch’s eyes are relatively large and close-set, giving him that distinct, curious look. His mouth is also very wide. Exaggerate these features slightly.
Step 4: Sketch Stitch’s Body, Arms, and Legs
Now we’ll give Stitch his full form.
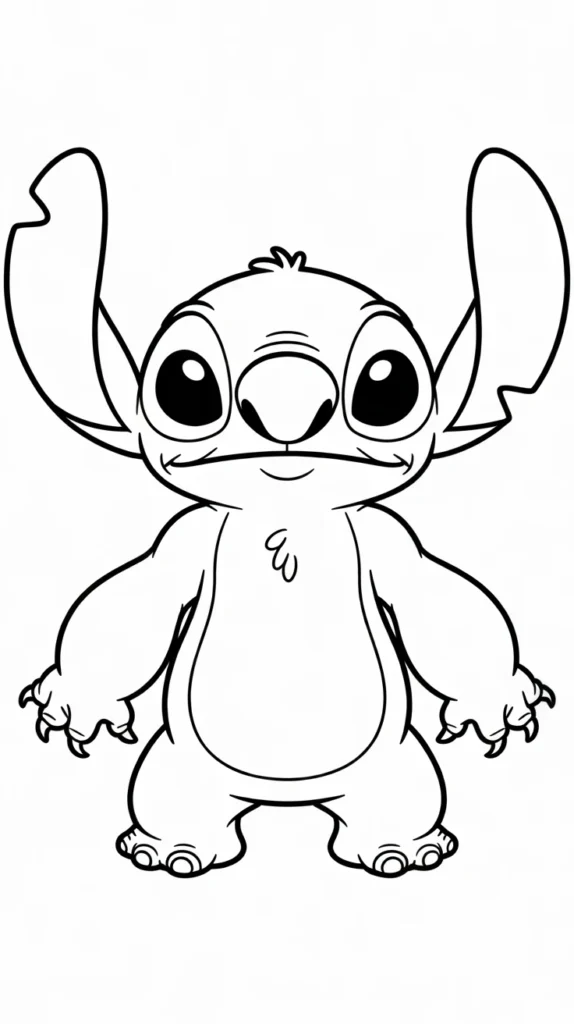
Remember his stocky build.
- Flesh out the body shape, making it slightly wider at the bottom.
- Draw two short, chunky arms extending from the upper part of his body.
- Add his three-fingered hands at the end of each arm. Make the fingers short and rounded.
- Sketch two short, thick legs from the lower body.
- Create his three-toed feet, making them flat and wide.
- Draw a small, rounded belly patch on his torso.
Step 5: Begin Lilo with Core Forms
Lilo has a simpler, more human-like structure.
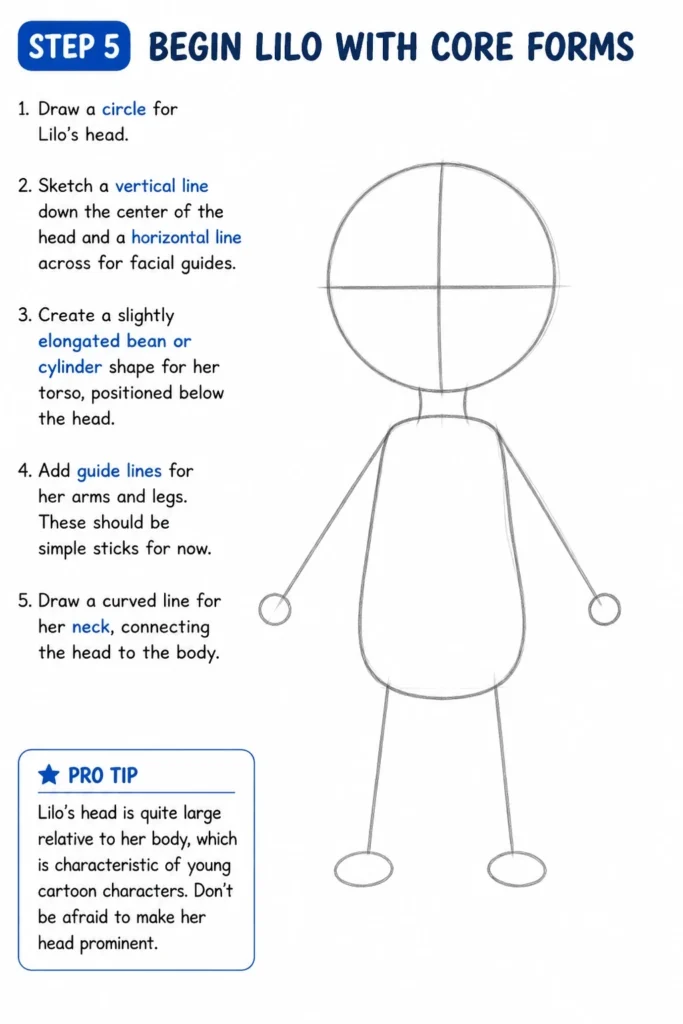
We will use basic shapes for her too.
- Draw a circle for Lilo’s head.
- Sketch a vertical line down the center of the head and a horizontal line across for facial guides.
- Create a slightly elongated bean or cylinder shape for her torso, positioned below the head.
- Add guide lines for her arms and legs. These should be simple sticks for now.
- Draw a curved line for her neck, connecting the head to the body.
Pro Tip: Lilo’s head is quite large relative to her body, which is characteristic of young cartoon characters. Don’t be afraid to make her head prominent.
Step 6: Detail Lilo’s Face and Hair
Lilo’s expression is often sweet and determined.
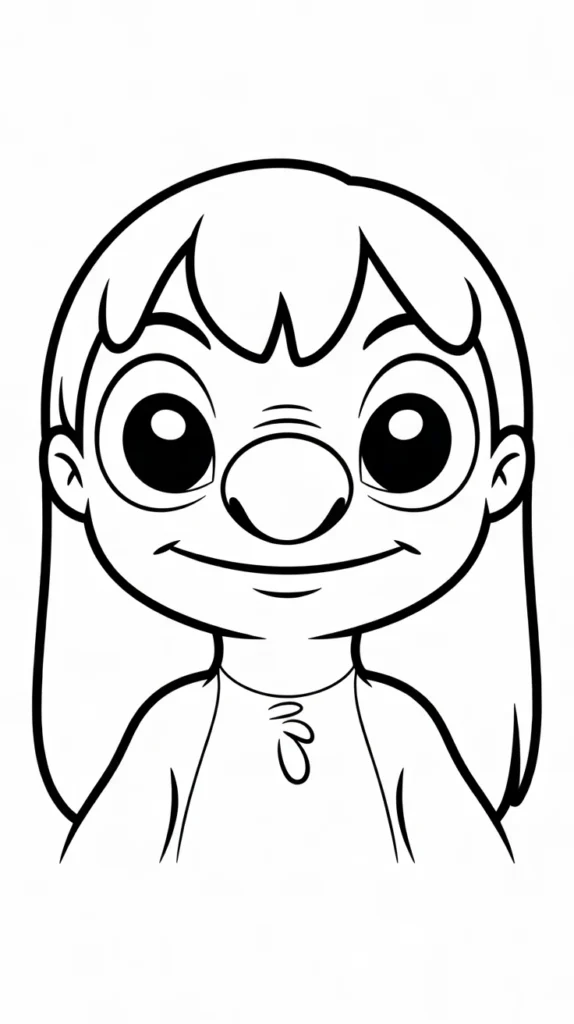
Her hair is also very distinctive.
- Draw two large, round eyes for Lilo, positioned on the horizontal guideline.
- Add her small, button nose just below the horizontal line.
- Sketch a gentle, closed-mouth smile or a determined straight line for her mouth.
- Define her eyebrows above her eyes.
- Draw her iconic long, straight black hair. It should frame her face and extend past her shoulders.
- Add her bangs, which are often cut straight across her forehead.
Step 7: Draw Lilo’s Outfit and Body Details
Lilo’s red muumuu is instantly recognizable.
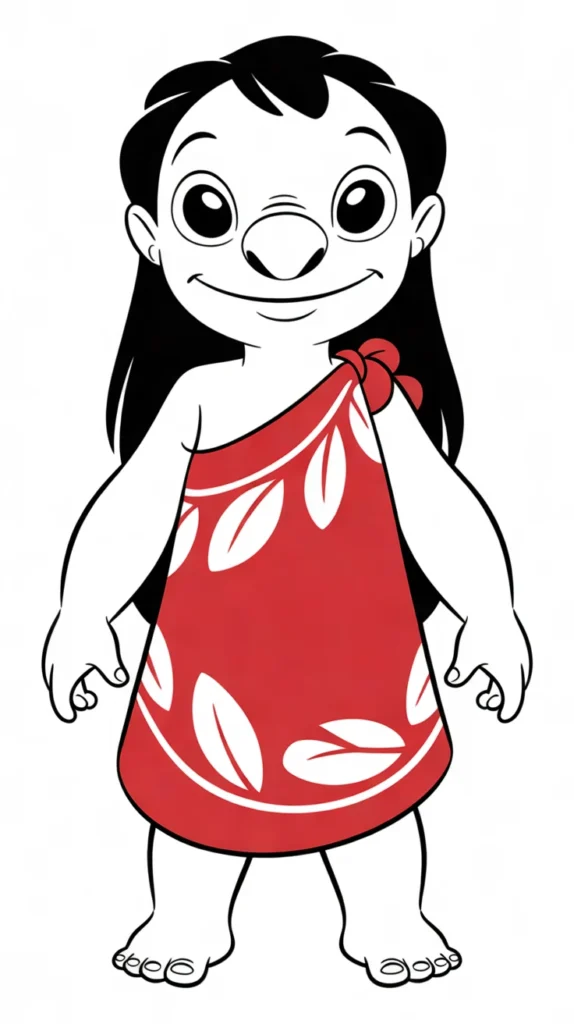
Capture its simple flow.
- Sketch Lilo’s red muumuu. It should be a loose, flowing dress that extends down to her knees.
- Add the white leaf pattern on her dress. These are simple, stylized leaf shapes.
- Draw her short, rounded arms and hands. She has four fingers.
- Create her short, sturdy legs and small, bare feet.
- Refine the overall body shape under the dress, ensuring it looks natural.
Step 8: Refine Lines and Erase Guides
This step cleans up your drawing and makes it pop.
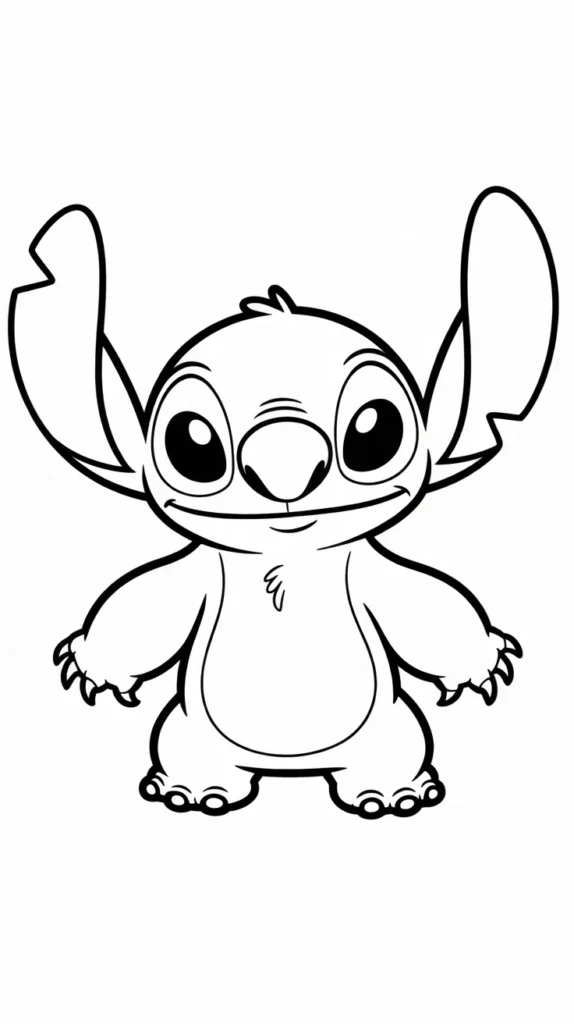
Take your time and be precise.
- Carefully go over all your desired lines with a slightly darker pencil or inking pen.
- Pay attention to the curves and details of both Lilo and Stitch.
- Erase all the initial light sketch lines and guidelines you made.
- Check for any stray marks or smudges and clean them up.
Step 9: Ink and Color Your Masterpiece (Optional)
Adding color truly brings your drawing to life.
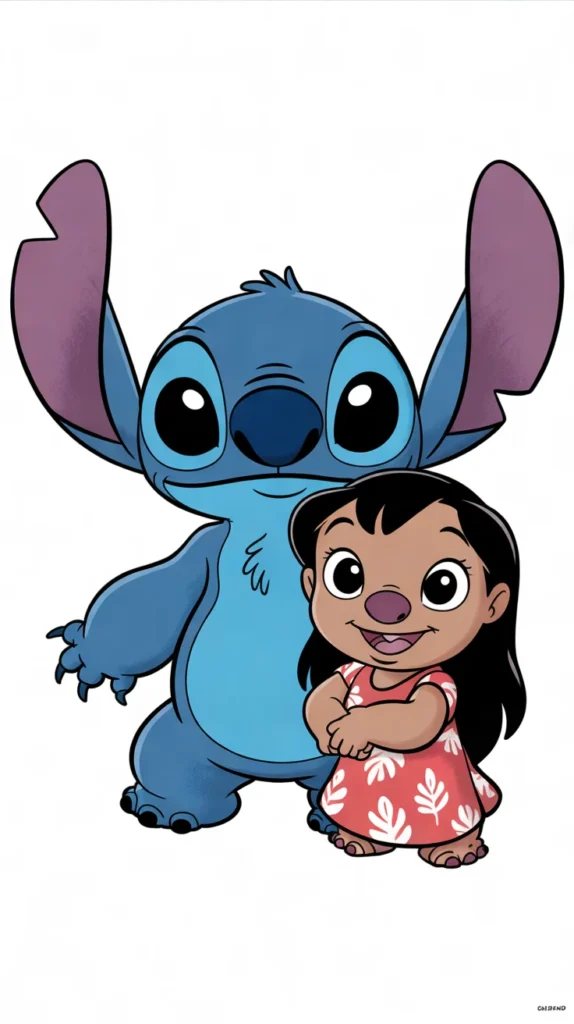
This is where you can make it your own.
- Use a fine-point black pen to ink all the final lines if you want a crisp, cartoon look.
- Allow the ink to dry completely before coloring.
- Color Stitch primarily in blue, with lighter blue for his belly and inner ears. His nose is dark blue/black.
- Color Lilo’s dress red with white leaf patterns. Her hair is black, and her skin is a light tan.
- Experiment with different shading techniques if you feel confident.
Common Mistakes to Avoid
Proportion Problems
One common issue is getting the size relationship between Lilo and Stitch, or even within each character, incorrect.
Stitch is relatively small and stocky, while Lilo, though a child, has a slightly larger head for her body.
Always start with basic shapes and compare their sizes before adding details.
Stiff Poses
Characters can look rigid if you don’t use dynamic guide lines.
Avoid drawing perfectly straight limbs or bodies.
Instead, use curved lines and ‘action lines’ to suggest movement and life, even in a static pose.
Over-detailing Too Soon
Jumping straight into tiny details like pupils or fingers before the main forms are solid can lead to a messy drawing.
Always build your characters from large shapes to small details.
This layered approach ensures everything fits together correctly.
Forgetting to Erase Guides
Leaving visible construction lines can make a finished drawing look unprofessional.
Once you’ve inked or darkened your final lines, take the time to thoroughly erase all initial pencil marks.
A kneaded eraser can be very helpful for this, as it lifts graphite without smudging.
Troubleshooting
My Lines Are Uneven or Wobbly
This often happens when drawing too slowly or pressing too hard.
Try drawing with your whole arm rather than just your wrist, using confident, fluid strokes.
Practice drawing long, smooth lines on scrap paper to build muscle memory.
My Characters Don’t Look Like Lilo and Stitch
The key to character recognition lies in specific features and proportions.
Double-check Stitch’s large eyes, wide mouth, and prominent ears, and Lilo’s large head, straight hair, and simple dress.
Compare your drawing to reference images and adjust the most distinctive features first.
I Can’t Get the Hands and Feet Right
Hands and feet are notoriously tricky.
Simplify them first: think of Stitch’s hands as mittens with three bumps for fingers, and Lilo’s hands as simple four-fingered shapes.
Break them down into basic geometric forms like ovals and rectangles before adding individual digits.
Key Takeaways
- Start every drawing with light, basic geometric shapes to establish proportions.
- Focus on distinctive features like Stitch’s eyes and Lilo’s hair for character accuracy.
- Build your drawing from large forms to small details, working in layers.
- Always use a light hand for initial sketches to allow for easy corrections.
- Practice regularly to improve your line control and confidence.
- Don’t be afraid to use reference images to guide your drawing process.
Frequently Asked Questions
What pencil hardness is best for sketching?
An HB or 2B pencil is ideal for initial sketches. They are soft enough to create light lines that are easy to erase, but also dark enough for you to see your progress clearly.
How can I make my drawing look more dynamic?
Introduce a slight curve to the spine or limbs, even in a standing pose. Consider giving them slightly asymmetrical expressions. These small changes can add a lot of life to your characters.
Is it okay to trace to learn?
Tracing can be a useful tool for understanding proportions and muscle memory, especially for beginners. However, always try to freehand draw after tracing to truly internalize the shapes and forms.
How can I improve my facial expressions?
Study reference images of Lilo and Stitch’s faces in various emotional states. Pay attention to how their eyes, eyebrows, and mouths change. Practice drawing these elements separately before combining them.
Our Top Recommended Finds
- Staedtler Mars Lumograph Pencils: A fantastic set for artists of all levels, offering a range of hardness for sketching and detailing.
- Kneaded Eraser: Essential for lifting graphite gently without smudging or damaging your paper.
- Canson XL Mix Media Pad: Versatile paper that handles pencils, ink, and even light washes of color well, perfect for practice.
Embark on Your Artistic Adventure
You now have all the tools and knowledge to start drawing Lilo and Stitch.
Don’t wait another moment to put pencil to paper and create something wonderful.
Keep practicing, keep exploring, and soon you’ll be drawing all your favorite characters with ease.
& Painting
No rigid rules or pretension. Just practical guides, medium comparisons, and encouraging tips to help you enjoy the drawing & painting process.