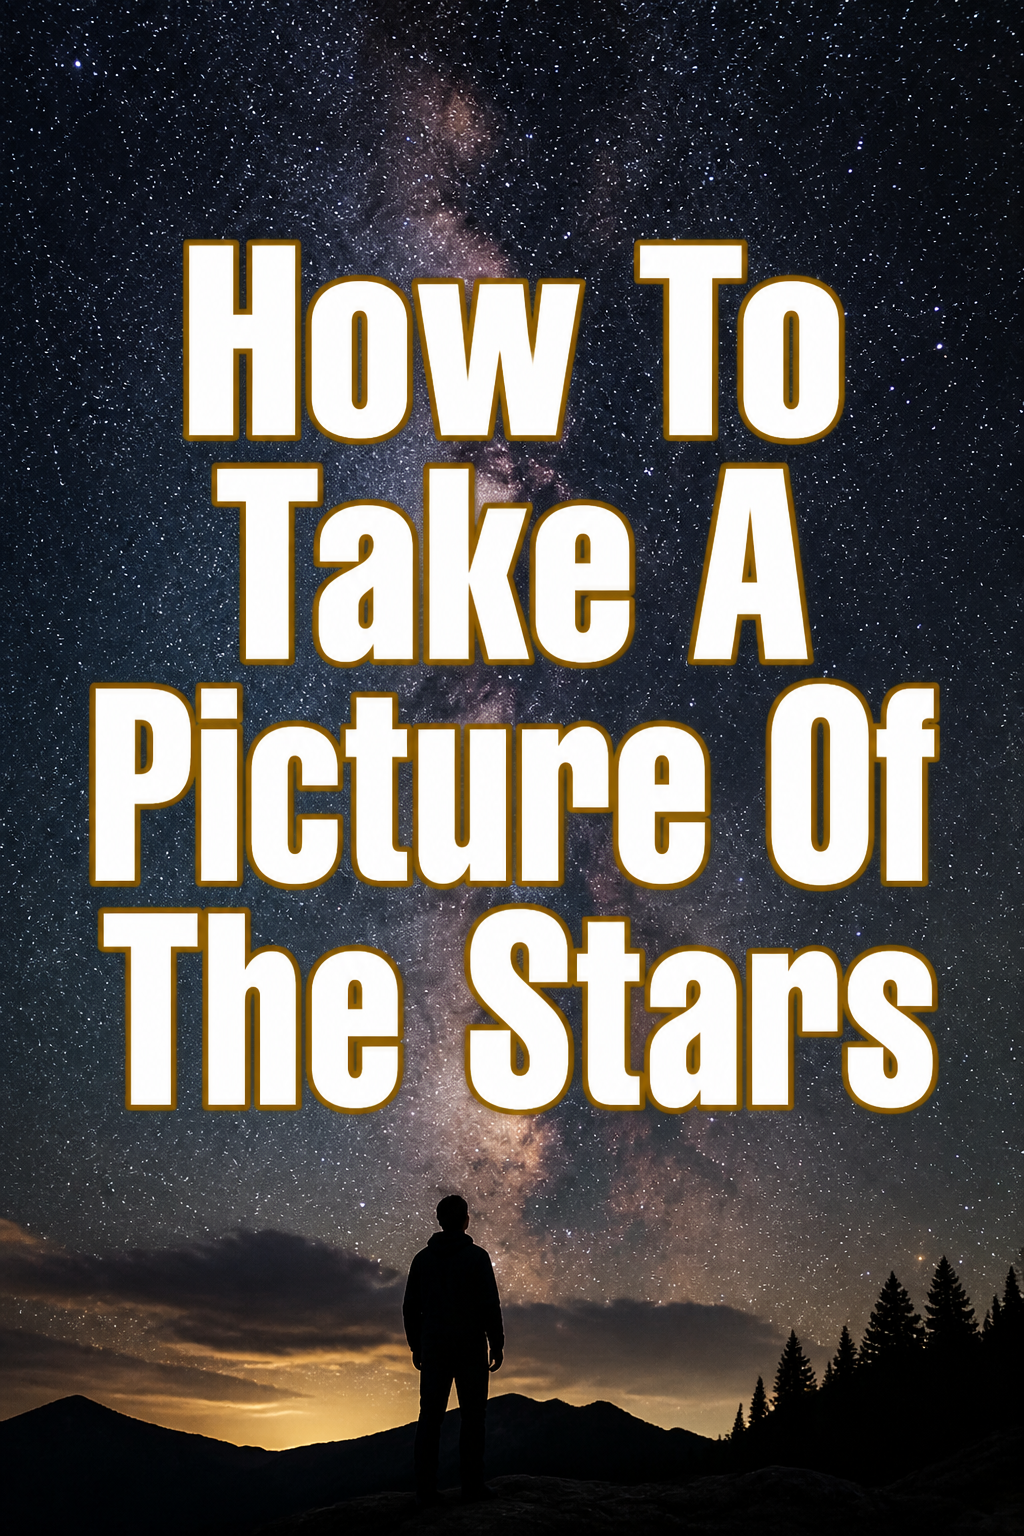
✨ How To Take A Picture Of The Stars

& Painting
No rigid rules or pretension. Just practical guides, medium comparisons, and encouraging tips to help you enjoy the drawing & painting process.
There’s a special kind of magic in seeing the night sky ablaze with countless stars.
I remember my first successful attempt at capturing that wonder; it felt like holding a piece of the cosmos in my hands.
This guide draws on years of chasing dark skies and refining techniques, offering you a clear path to stunning astrophotography.
Quick Overview
You’re about to learn how to transform dark night skies into breathtaking photographs, capturing celestial beauty with your camera.
- Time needed: 1-2 hours for setup and shooting, plus optional post-processing time.
- Difficulty: Intermediate (requires manual camera control).
- What you’ll need: DSLR or Mirrorless camera, wide-angle lens, sturdy tripod, remote shutter release.
Step-by-Step Instructions
Step 1: Find Your Dark Sky Sanctuary
The first and most crucial step is escaping light pollution. City lights create a pervasive glow that washes out fainter stars, making them impossible to photograph.
Use light pollution maps online (like DarkSiteFinder.com) to locate truly dark areas, often found in national parks, remote rural locations, or designated dark sky preserves.
Plan your trip for a moonless night, or when the moon is a thin crescent, as moonlight can also significantly brighten the sky.
Pro Tip: Arrive at your chosen location before sunset. This gives you time to scout interesting foregrounds and set up your gear while you can still see clearly.
Step 2: Gather Your Essential Gear
Astrophotography requires specific equipment to achieve sharp, detailed images of the night sky.
You’ll need a camera capable of manual control (DSLR or Mirrorless), a fast wide-angle lens (f/2.8 or wider is ideal, 14mm-24mm focal length is common), and a very sturdy tripod.
A remote shutter release is also highly recommended to prevent camera shake during long exposures, and a headlamp with a red light setting will help preserve your night vision.
Step 3: Master Your Camera Settings
Switch your camera to manual (M) mode. This gives you complete control over exposure settings, which is essential for capturing faint starlight.
Set your aperture to its widest possible setting (e.g., f/2.8, f/4). A wider aperture lets in more light, crucial for short exposure times.
Adjust your ISO to a high value, typically between ISO 1600 and ISO 6400, depending on your camera’s performance and the darkness of your sky.
Determine your shutter speed using the “500 Rule.” Divide 500 by your lens’s focal length (e.g., 500 / 14mm = 35.7 seconds). This rule helps prevent star trails, keeping stars as sharp points.
Pro Tip: For crop sensor cameras, factor in the crop factor (e.g., 500 / (14mm * 1.5) for a 1.5x crop sensor). This results in a shorter maximum shutter speed.
Step 4: Compose Your Celestial Frame
While the stars are the main subject, a compelling foreground adds depth and interest to your astrophotography.
Look for interesting trees, rock formations, mountains, or even abandoned structures to include in the lower third of your frame.
Use your headlamp (briefly, on a low setting) to illuminate your foreground if it’s too dark, or use ambient light from distant sources if available.
Step 5: Achieve Pinpoint Focus on the Stars
This is often the trickiest part. Switch your lens to manual focus (MF).
Use your camera’s Live View mode and zoom in as much as possible on a bright star or distant light source.
Carefully rotate the focus ring until the star appears as the smallest, sharpest point possible. Many lenses have an “infinity” mark, but it’s rarely precise enough; always fine-tune manually.
Pro Tip: Once focused, tape down your focus ring with a small piece of gaffer tape. This prevents accidental shifts in focus during multiple exposures.
Step 6: Take Your First Test Shots
With your settings dialed in and focus locked, take a test shot using your remote shutter release.
Review the image on your camera’s LCD screen. Pay attention to the brightness of the stars and the overall exposure.
If the image is too dark, increase your ISO or slightly extend your shutter speed (if the 500 Rule allows). If it’s too bright, decrease ISO or shorten shutter speed.
Step 7: Capture Multiple Frames (Optional for Stacking)
For even cleaner, less noisy images, consider taking multiple identical exposures (e.g., 10-20 shots) of the same scene.
These can later be “stacked” in post-processing software (like Starry Landscape Stacker for Mac or DeepSkyStacker for Windows) to reduce noise and enhance detail.
Ensure your camera remains perfectly still between shots if you plan to stack them.
Step 8: Review and Refine
After capturing your images, take a moment to review them on your camera’s screen.
Check the histogram to ensure you haven’t clipped highlights or crushed shadows, especially in the foreground.
Zoom in on the stars to confirm they are sharp and not trailing. Make any necessary adjustments to your focus or settings before packing up.
Common Mistakes to Avoid
Ignoring Light Pollution
Many beginners try to shoot stars from their backyard in a city or suburban area. The ambient light glow, even if not directly visible, severely limits what your camera can capture, resulting in washed-out skies and few visible stars. Always prioritize getting to a truly dark location.
Forgetting a Sturdy Tripod
Long exposures are essential for astrophotography. A flimsy tripod will introduce camera shake, resulting in blurry, streaky stars. Invest in a robust, stable tripod that can securely hold your camera and lens, even in light wind.
Incorrect Focusing
Autofocus struggles in low light, making manual focus critical. Relying on autofocus or simply setting your lens to the “infinity” mark without fine-tuning will lead to soft, blurry stars. Always zoom in on a bright star in Live View to achieve precise focus.
Using Automatic Camera Modes
Your camera’s automatic modes are designed for general photography, not for the unique challenges of capturing faint starlight. They will often choose inappropriate settings, leading to underexposed, noisy, or blurry images. Always shoot in manual mode to control aperture, ISO, and shutter speed.
Troubleshooting
Stars Look Like Trails, Not Points
This issue occurs when your shutter speed is too long for your lens’s focal length, causing the Earth’s rotation to blur the stars into streaks. The solution is to shorten your shutter speed. Re-calculate using the 500 Rule (or 300 Rule for very high-resolution sensors) and adjust accordingly.
Images Are Too Dark or Too Noisy
If your images are too dark, you’re not letting in enough light. Increase your ISO (within your camera’s acceptable noise limits), widen your aperture (if possible), or slightly extend your shutter speed (if star trailing isn’t an issue). If images are too noisy, your ISO might be too high. Try a slightly lower ISO and compensate by widening aperture or extending shutter speed, or consider taking multiple shots for stacking.
Foreground is Underexposed or Blurry
An underexposed foreground often happens because your primary exposure settings are optimized for the stars, not the darker ground. You can use light painting with a headlamp during the exposure to subtly illuminate the foreground. If the foreground is blurry while stars are sharp, you might be focusing on the stars and neglecting the foreground. For a sharp foreground and background, consider taking two separate exposures (one focused on stars, one on foreground) and blending them in post-processing, a technique called focus stacking or exposure blending.
Key Takeaways
- Seek out genuinely dark locations, far from city light pollution, and plan for moonless nights.
- A sturdy tripod, a wide-angle lens with a wide aperture, and manual camera control are non-negotiable.
- Master manual focus by zooming in on a bright star in Live View for pinpoint sharpness.
- Utilize the 500 Rule to determine your maximum shutter speed and avoid star trails.
- Don’t be afraid to experiment with ISO and shutter speed to achieve the ideal exposure for your specific conditions.
- Consider foreground elements to add depth and interest to your celestial compositions.
Frequently Asked Questions
Can I take pictures of stars with my smartphone?
Modern smartphones with advanced computational photography modes (like “Night Mode” or specific “Astrophotography Modes” on some Google Pixel phones) can capture surprisingly good star photos. However, for truly detailed and high-quality results, a dedicated camera with a wide-aperture lens and manual controls will always outperform a smartphone.
What’s the best time of year to photograph the stars?
The best time depends on what you want to photograph. The Milky Way core is most prominent and visible in the Northern Hemisphere from late spring through early autumn. Winter nights often offer clearer skies and more prominent constellations, but the Milky Way core is lower or not visible. Always check astronomical calendars for meteor showers or specific celestial events.
Do I need a special lens for astrophotography?
While you don’t need a “special” lens in the sense of a dedicated astronomical telescope, a fast wide-angle lens (f/2.8 or wider, 14mm-24mm focal length) is highly recommended. These lenses gather more light and allow for longer exposures without star trailing, making them ideal for capturing faint starlight and broad celestial scenes.
How do I find the Milky Way in the sky?
The Milky Way is easiest to see and photograph on a very dark, moonless night, away from light pollution. In the Northern Hemisphere, it rises in the southeast and arcs across the sky. Use a stargazing app (like PhotoPills, Stellarium, or SkyView) on your phone to predict its position and visibility for your specific location and time.
Our Top Recommended Finds
- Sturdy Carbon Fiber Tripod: Essential for stability during long exposures, lightweight for hiking to dark sites.
- Fast Wide-Angle Prime Lens (e.g., 14mm f/2.8): Allows maximum light gathering and minimal distortion for expansive nightscapes.
- Remote Shutter Release: Prevents camera shake, ensuring sharper images during long exposures.
Embark on Your Cosmic Journey
Capturing the stars is more than just taking a picture; it’s an experience that connects you with the vastness of the universe.
With these steps, you have the knowledge to transform fleeting starlight into lasting images.
Don’t wait for the perfect moment; create it. Pack your gear, find a dark sky, and let the cosmos inspire your lens tonight.
& Painting
No rigid rules or pretension. Just practical guides, medium comparisons, and encouraging tips to help you enjoy the drawing & painting process.