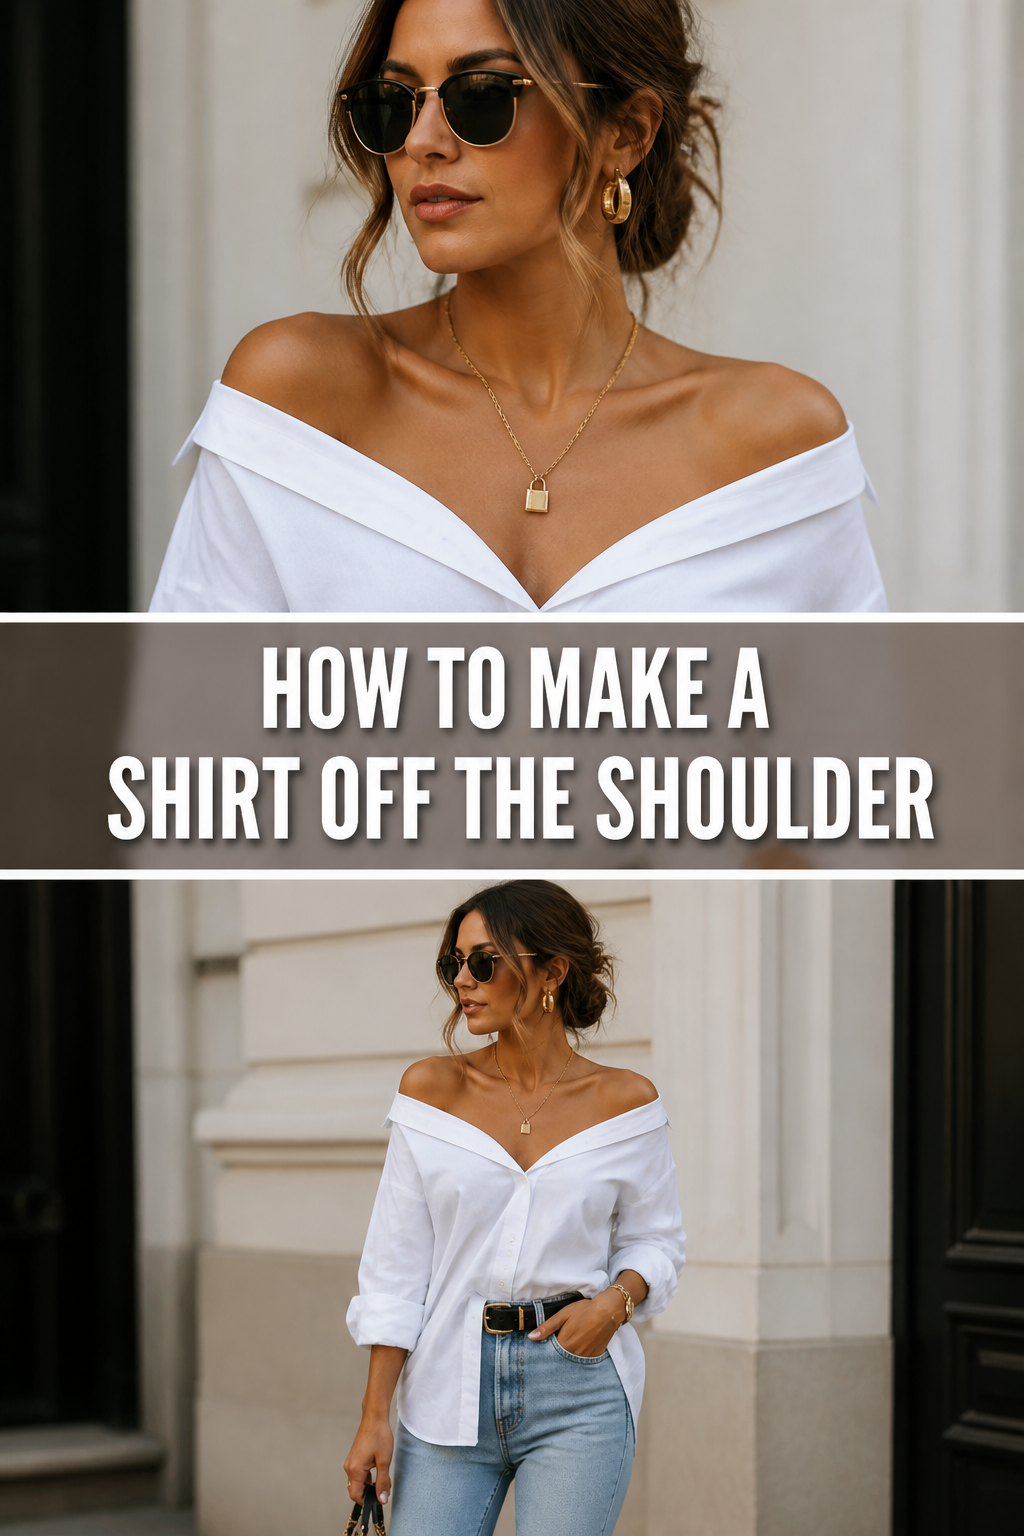
✂️ How To Make A Shirt Off The Shoulder

& Painting
No rigid rules or pretension. Just practical guides, medium comparisons, and encouraging tips to help you enjoy the drawing & painting process.
Transforming a basic t-shirt into a chic off-the-shoulder top is a delightful DIY project.
I remember my first attempt; it felt daunting, but the result was so rewarding and perfectly me.
This guide shares my tried-and-true method, ensuring your project is simple, stylish, and successful.
Quick Overview
You’re about to craft a fashionable off-the-shoulder shirt that adds a touch of custom flair to your wardrobe.
It’s a fantastic way to refresh old garments or personalize new ones.
- Time needed: 30-60 minutes (depending on sewing experience)
- Difficulty: Beginner
- What you’ll need: An old t-shirt, elastic, fabric scissors, sewing machine or needle and thread, safety pin, fabric marker or chalk.
Step-by-Step Instructions
Step 1: Choose Your Shirt and Gather Supplies
Select a t-shirt that is slightly oversized for the best off-the-shoulder drape.
Cotton or jersey fabrics work wonderfully as they are soft and easy to work with.
A shirt you’re comfortable experimenting with is ideal for your first project.
Collect all your materials before you begin.
This includes your chosen t-shirt, a roll of elastic (1/4 inch to 1/2 inch width is good), sharp fabric scissors, and a sewing kit.
A fabric marker or tailor’s chalk will help you mark your cutting lines accurately.
Pro Tip: Wash and dry your t-shirt before starting. This pre-shrinks the fabric, preventing any unwelcome changes in size after you finish your project.
Step 2: Prepare the Shirt for Cutting
Lay your t-shirt flat on a clean, hard surface, smoothing out any wrinkles.
Ensure the front and back layers are perfectly aligned.
This precision helps create an even neckline.
Fold the shirt in half lengthwise.
Make sure the sleeves and side seams match up.
This fold will serve as a guide for symmetrical cutting.
Step 3: Mark the New Neckline
Decide how wide you want your new off-the-shoulder neckline to be.
Hold the shirt up to yourself or a mirror to visualize the desired depth and width.
Remember, you’ll be cutting a curved line.
Measure down from the existing collar seam.
A good starting point is usually 3-5 inches from the shoulder seam at the side of the neck.
Mark this spot with your fabric marker.
Draw a gentle, sweeping curve from this marked point, across the chest area, and up towards the opposite shoulder seam.
The curve should be shallower in the center and deepen slightly towards the sleeves.
Since the shirt is folded, you only need to mark one side.
Pro Tip: Use a ruler or a curved object (like a plate) to help you draw a smooth, consistent curve. This makes the cutting process much easier and more accurate.
Step 4: Cut the Neckline
Carefully cut along the marked line.
Use sharp fabric scissors for a clean edge.
Take your time with this step, as a smooth cut is important for a neat finish.
Unfold your shirt to reveal the new, wider neckline.
Inspect the cut to ensure it’s even on both sides.
Trim any small imperfections if needed.
You now have a raw edge around the entire neckline.
This is where the elastic will be inserted to create the gathered off-the-shoulder effect.
Step 5: Create the Elastic Casing
Fold the raw edge of the new neckline down by about 1/2 to 3/4 inch towards the inside of the shirt.
Press this fold firmly with your fingers or an iron to create a crisp crease.
This forms the channel for your elastic.
Pin the folded edge in place all the way around the neckline.
Use pins every few inches to secure the fold.
Leave a small opening of about 1-2 inches somewhere along the back of the neckline.
Sew the folded edge down, close to the raw edge, creating a casing.
Use a sewing machine for speed and durability, or hand-stitch with a simple running stitch.
Remember to leave that small opening unstitched.
Step 6: Insert the Elastic
Measure the elastic to fit comfortably around your shoulders.
A good starting length is typically a few inches less than the total circumference of your new neckline.
You want it snug enough to stay up but not so tight it’s uncomfortable.
Attach a safety pin to one end of the elastic.
This will act as your guide to thread the elastic through the casing.
The safety pin makes it much easier to push the elastic through the fabric tunnel.
Thread the elastic through the opening you left in the casing.
Gently push and gather the fabric as you go, working the safety pin all the way around.
Be careful not to let the other end of the elastic disappear into the casing.
Step 7: Secure the Elastic and Finish
Pull both ends of the elastic out of the opening.
Overlap the ends by about 1/2 inch and sew them together securely.
Use a strong stitch, either by machine or hand, to create a sturdy loop.
Trim any excess elastic.
Then, gently pull the fabric of the shirt to tuck the joined elastic back into the casing.
The fabric will naturally gather around the elastic.
Close the opening in the casing with a few hand stitches or by machine.
Make sure this final stitch blends in seamlessly with the rest of the casing.
Your off-the-shoulder shirt is now ready to wear!
Common Mistakes to Avoid
Cutting Too Much Fabric
A common pitfall is cutting the neckline too wide or too deep from the start.
Once you cut fabric, you can’t put it back.
Always err on the side of caution; you can always trim more later if it’s not wide enough.
Start with a conservative cut, try the shirt on, and adjust if necessary.
Uneven Neckline
If your neckline is lopsided or wavy, it can make the finished shirt look less professional.
This often happens when the shirt isn’t perfectly folded or when the cutting is rushed.
Take your time marking and cutting, and use the fold as a guide for symmetry.
Elastic That’s Too Tight or Too Loose
The elastic is crucial for the off-the-shoulder effect.
Elastic that’s too tight will feel uncomfortable and might ride up, while elastic that’s too loose won’t stay on your shoulders.
Measure the elastic by wrapping it around your shoulders where the shirt will sit, ensuring it’s snug but comfortable before you cut and sew it.
Skipping the Casing Opening
Forgetting to leave an opening when sewing the casing is a frustrating mistake.
You’ll then have no way to thread the elastic through.
Always remember to leave a 1-2 inch gap in your stitching for elastic insertion.
Troubleshooting
Neckline Keeps Slipping Up
If your shirt keeps creeping up your shoulders, the elastic is likely too loose.
Carefully open a small section of your casing stitch where you joined the elastic.
Pull out the elastic, shorten it by an inch or two, re-sew the ends, and then re-close the casing.
Neckline Feels Too Tight
A neckline that feels too restrictive means your elastic is too short.
Again, open a small part of the casing and carefully snip the elastic where it’s joined.
Measure a new piece of elastic that is slightly longer, secure it, and re-close the casing.
Fabric Gathers Unevenly
Uneven gathering can occur if the elastic is not threaded smoothly or if the fabric itself has varying stretches.
Try gently pulling the elastic and fabric around the casing to redistribute the gathers.
You can also add a few small, discreet stitches from the casing to the elastic at even intervals to hold the gathers in place.
Key Takeaways
- Choose an oversized t-shirt for a comfortable, stylish drape.
- Measure and mark your neckline carefully, cutting conservatively at first.
- Create a clean casing for the elastic, leaving a small opening for insertion.
- Measure your elastic to fit snugly but comfortably around your shoulders.
- Use a safety pin to easily thread the elastic through its casing.
- Securely sew the elastic ends together and close the casing for a polished finish.
Frequently Asked Questions
Can I make an off-the-shoulder shirt without sewing?
Yes, you can create a no-sew version by cutting the neckline as described, then using fabric glue or fusible web to create the casing. However, sewing provides a more durable and professional finish, especially for the elastic channel.
What type of elastic should I use?
Braided or knit elastic, typically 1/4 inch to 1/2 inch wide, works best. Avoid clear elastic for this project as it can be trickier to work with and less comfortable for a neckline.
How do I prevent the raw edge from fraying after cutting?
If you’re not creating a casing, you can use a serger, a zigzag stitch on a regular sewing machine, or fabric fray check liquid along the raw edge. However, creating a casing and enclosing the elastic inherently takes care of the raw edge.
Can I use a shirt that is not oversized?
While you can, an oversized shirt provides more fabric for a relaxed, comfortable drape. A fitted shirt might feel too snug or pull awkwardly when worn off the shoulder, especially if you have broader shoulders.
Our Top Recommended Finds
- Sharp Fabric Scissors: A dedicated pair of fabric scissors ensures clean, precise cuts, which are crucial for a professional-looking finish.
- Good Quality Elastic: Invest in a roll of soft, durable elastic (like Dritz Braided Elastic) that won’t lose its stretch easily.
- Fabric Marker or Tailor’s Chalk: These tools allow you to make clear, temporary marks on your fabric without leaving permanent stains.
Your Next Fashion Statement Awaits
You now have all the knowledge to transform a simple t-shirt into a fabulous off-the-shoulder top.
This project is more than just sewing; it’s about personalizing your style and embracing your creativity.
Don’t hesitate to experiment with different shirt colors, patterns, and elastic widths.
Gather your supplies today and give your wardrobe a fresh, custom upgrade!
& Painting
No rigid rules or pretension. Just practical guides, medium comparisons, and encouraging tips to help you enjoy the drawing & painting process.