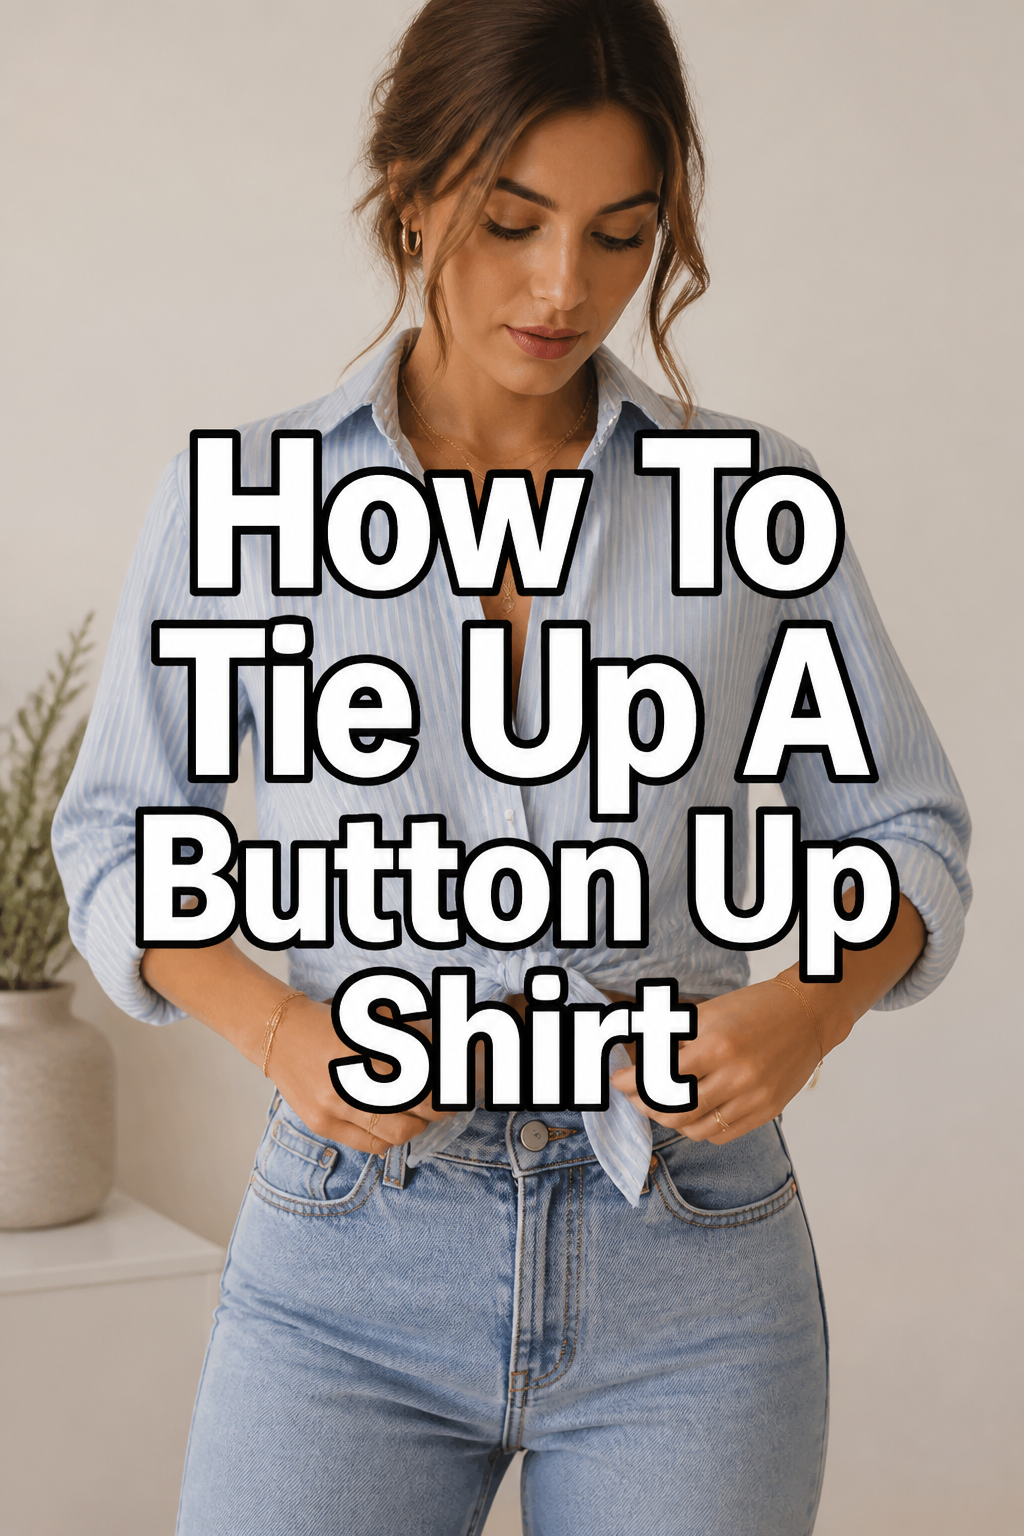
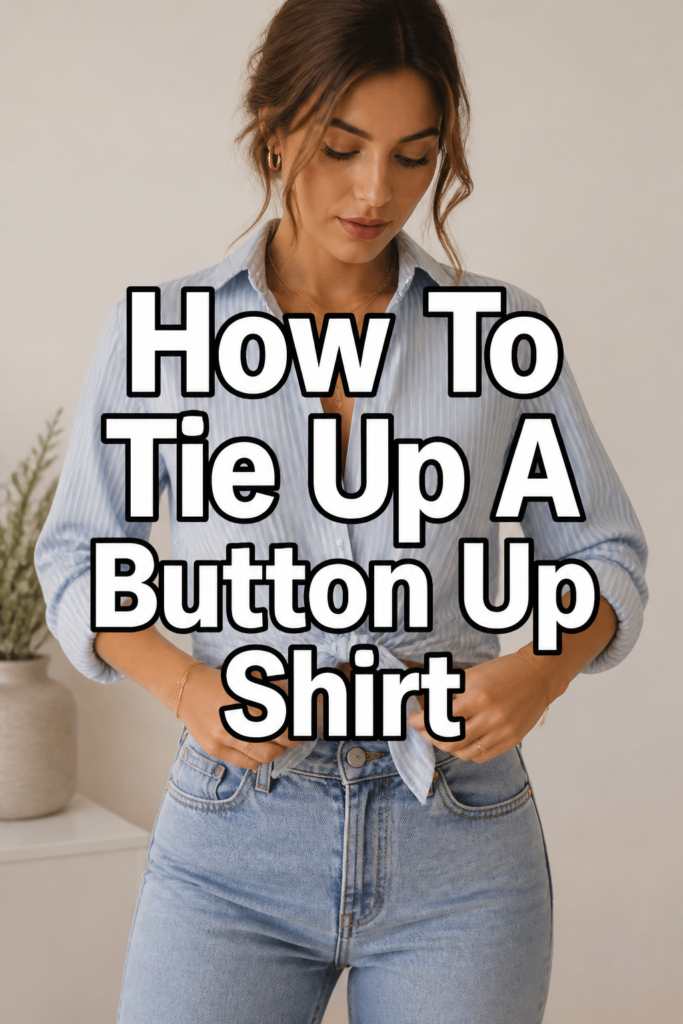
👕 How To Tie Up A Button Up Shirt

& Painting
No rigid rules or pretension. Just practical guides, medium comparisons, and encouraging tips to help you enjoy the drawing & painting process.
Transforming a classic button-up shirt can instantly refresh your wardrobe.
It’s a simple trick that adds personality and style to any outfit, from casual to chic.
I’ve spent years experimenting with different knots and styles, and I’m excited to share the most practical and flattering methods with you.
Quick Overview
Learning to tie your button-up shirt opens up a world of styling possibilities. You’ll master a versatile technique to elevate your everyday looks.
- Time needed: 5-10 minutes
- Difficulty: Beginner
- What you’ll need: A button-up shirt, your hands, a mirror
Step-by-Step Instructions
Step 1: Choose Your Shirt Wisely
The foundation of a great tied shirt begins with the right garment. Not all button-ups are created equal when it comes to knotting.
Opt for shirts made from softer, more pliable fabrics like cotton, linen, rayon, or chambray. Stiffer materials can create a bulky, less flattering knot.
Consider the shirt’s length and fit. A slightly oversized or regular-fit shirt provides ample fabric for tying, while a very fitted or cropped shirt might limit your options.
Pro Tip: Lightweight denim or Tencel shirts are often ideal, offering both structure and drape for a stylish tie. Avoid very thick flannel for a first attempt, as it can be harder to manage.
Step 2: Unbutton for Freedom
Before you begin tying, decide how much skin you want to show or how high you want the knot to sit. This dictates how many buttons you need to undo.
Start by unbuttoning the bottom two to five buttons. More unbuttoned buttons will allow for a lower, more relaxed knot.
Fewer unbuttoned buttons will result in a higher, often more structured knot, perfect for pairing with high-waisted bottoms.
Step 3: Gather the Tails
Once your shirt is unbuttoned to your desired point, it’s time to prepare for the knot. This step is about creating a clean foundation.
Grasp the two bottom front tails of your shirt, one in each hand. Make sure you’re holding them firmly and evenly.
Bring them together in front of your body, aligning them so they are roughly the same length. This ensures a balanced knot.
Step 4: Form the Initial Knot
This is where the magic begins. You’ll create a simple overhand knot, much like the first step in tying your shoelaces.
Cross one tail over the other. Then, feed the top tail underneath the bottom one and pull it through the loop you’ve created.
This forms your first, loose knot. It should sit comfortably without pulling too tightly on the shirt fabric.
Pro Tip: For a slightly different look, you can cross the tails behind your back, bring them forward, and then tie. This creates a more cinched waist effect if the shirt is long enough.
Step 5: Tighten with Care
A well-tied shirt is snug but not constricting. Adjusting the tension is crucial for both comfort and appearance.
Gently pull both tails in opposite directions to tighten the knot. Watch how the fabric gathers around your waist or hips.
Aim for a secure knot that holds its shape but doesn’t pucker the surrounding fabric excessively. A subtle gather is fine, but major wrinkles indicate it’s too tight.
Step 6: Double Knot for Security (Optional)
If you plan on being active or simply want extra assurance your knot won’t unravel, a second knot is a great idea.
Repeat the knotting process immediately after the first. Cross the tails again, feed one under the other, and pull through.
This creates a sturdy double knot. Ensure it lies flat against the first knot for a streamlined look.
Step 7: Tuck or Drape the Ends
Now that your knot is secure, you need to decide what to do with the remaining fabric tails. This step defines the final aesthetic.
Option 1 (Tuck): For a cleaner, more minimalist look, tuck the loose ends of the tails underneath the knot itself, or even into the waistband of your bottoms.
Option 2 (Drape): For a more casual, relaxed vibe, let the tails hang freely. You can gently spread them out or allow them to naturally fall.
Experiment with both to see which best complements your outfit and personal style.
Step 8: Adjust for Symmetry and Comfort
The final touches make all the difference. Step back and assess your work in a mirror.
Smooth out any wrinkles around the knot or the bottom edge of the shirt. Ensure the knot itself looks even and centered (or intentionally off-center).
Check for comfort. The shirt should feel good, not restrictive. Adjust the knot’s position slightly higher or lower if needed.
Step 9: Experiment with Placement
The beauty of tying a button-up is its versatility. Don’t feel limited to a single position.
Try tying the knot directly at your belly button for a classic look, or higher up towards your rib cage for a cropped effect with high-waisted jeans.
For a playful, asymmetrical style, shift the knot to one side. This adds a unique flair and can highlight your waistline.
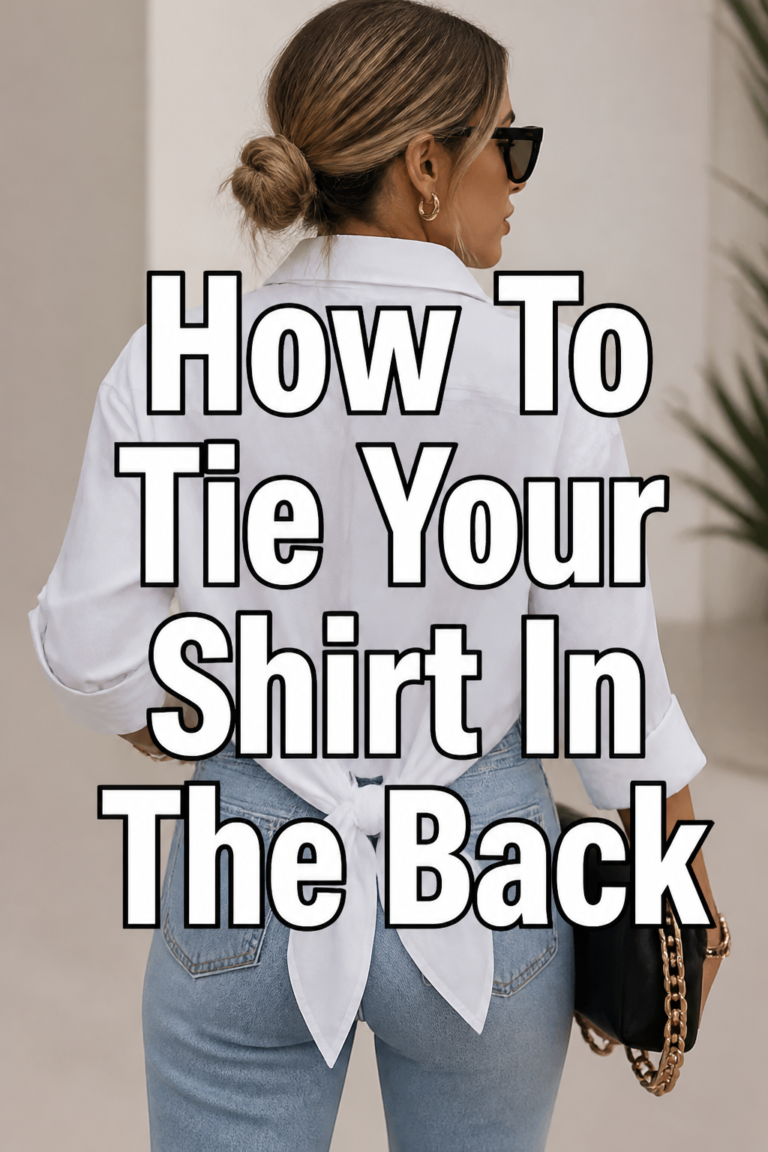
Step 10: Consider the Back (Optional)
While most knots are done in the front, a back tie can create a different silhouette, especially with longer shirts.
Gather the bottom tails of the shirt at your lower back. Cross them and tie a simple knot.
This technique pulls the front of the shirt tighter, creating a more fitted waist and a clean front view. It works wonderfully for oversized shirts you want to cinch.
Common Mistakes to Avoid
Choosing the Wrong Shirt
Many people grab any button-up and expect it to tie perfectly. Stiff fabrics like heavy cotton oxfords often resist a soft, elegant knot.
They can result in a bulky, awkward lump that doesn’t lay flat. Always prioritize shirts with good drape and a bit of fluidity.
Over-Tightening
Pulling the knot too hard is a common error. This can cause excessive puckering and wrinkling of the fabric around the knot.
It also makes the knot uncomfortable and can distort the overall shape of the shirt. Aim for secure, but gentle tension.
Ignoring Fabric Type
Different materials behave uniquely when tied. A silk shirt will drape beautifully but might slip, requiring a tighter double knot.
Linen offers a relaxed, textured look but can wrinkle easily. Always consider how your chosen fabric will react to being tied.
Uneven Tails
Starting with one shirt tail significantly longer than the other leads to an unbalanced knot. This often results in a messy or lopsided appearance.
Take a moment to align the tails evenly before you begin the initial knot. This ensures a symmetrical and polished finish.
Troubleshooting
Knot Comes Undone
If your knot keeps slipping, the fabric might be too slick, or your initial knot wasn’t secure enough. This is a common issue with silk or very soft rayon.
Always use a double knot, ensuring the second knot is pulled taut against the first. For extra security, you can try tucking the very ends of the tails into the knot itself.
Shirt Looks Bulky
A bulky knot can make your waist look wider or feel uncomfortable. This often happens with thicker fabrics or if too much fabric is gathered.
Try unbuttoning one more button to reduce the amount of fabric in the knot. Also, ensure you are tightening the knot horizontally rather than vertically to keep it flat.
Too Much Fabric
Sometimes, an oversized shirt leaves you with excessively long tails after tying. This can look messy or overwhelm your outfit.
Consider tying a double knot and then tucking the remaining long tails completely underneath the shirt or into your waistband. Alternatively, experiment with a side knot, which can manage excess fabric more gracefully.
Key Takeaways
- Choosing a soft, pliable fabric is crucial for a smooth, flattering knot.
- Adjusting the number of unbuttoned buttons determines your knot’s height and style.
- A gentle, secure knot avoids puckering and ensures comfort.
- Double knotting provides extra security, especially for active wear or slippery fabrics.
- Experiment with tucking or draping the tails to customize your final look.
- Don’t be afraid to try different knot placements—front, side, or even back—to discover new styles.
Frequently Asked Questions
Can I tie a shirt that’s too big?
Absolutely! Tying is an excellent way to give an oversized shirt a more defined shape. The knot cinches the waist, transforming a baggy fit into a stylish, tailored look. Just make sure there’s enough length to comfortably tie without pulling up too high.
What fabrics work best for tying?
Lightweight cotton, linen, rayon, chambray, and Tencel are ideal. These fabrics are soft and drape well, allowing for a neat, flat knot. Avoid very stiff materials like heavy denim or thick flannel, which tend to create bulky knots.
Can I tie the shirt at the back?
Yes, tying a shirt at the back is a fantastic option, especially for longer or oversized shirts. This technique creates a clean front silhouette and a cinched waist. Gather the tails at your lower back, tie them, and adjust for comfort and fit.
How do I prevent wrinkles from tying?
While some natural gathering is inevitable, you can minimize wrinkles. Choose softer fabrics that resist deep creases. Avoid over-tightening the knot. After untying, a quick spray with a wrinkle release spray or a light steaming will usually smooth things out easily.
Our Top Recommended Finds
- Fabric Steamer: Essential for quickly smoothing out any wrinkles that form around your knot or throughout the shirt after wear.
- Lint Roller: Keeps your tied shirt looking pristine by removing any stray fibers or dust, ensuring a polished finish.
- Shirt Extenders/Layering Tanks: Great for adding length or a different texture underneath if you tie your shirt very high, providing extra coverage and style.
Embrace Your Unique Style
Tying your button-up shirt is more than just a trick; it’s a statement of personal style.
It empowers you to transform a basic garment into something fresh, fun, and entirely your own, adapting it to countless outfits and occasions.
Now that you have the steps, grab your favorite button-up and start experimenting. Discover the knots and placements that make you feel confident and stylish today!
& Painting
No rigid rules or pretension. Just practical guides, medium comparisons, and encouraging tips to help you enjoy the drawing & painting process.