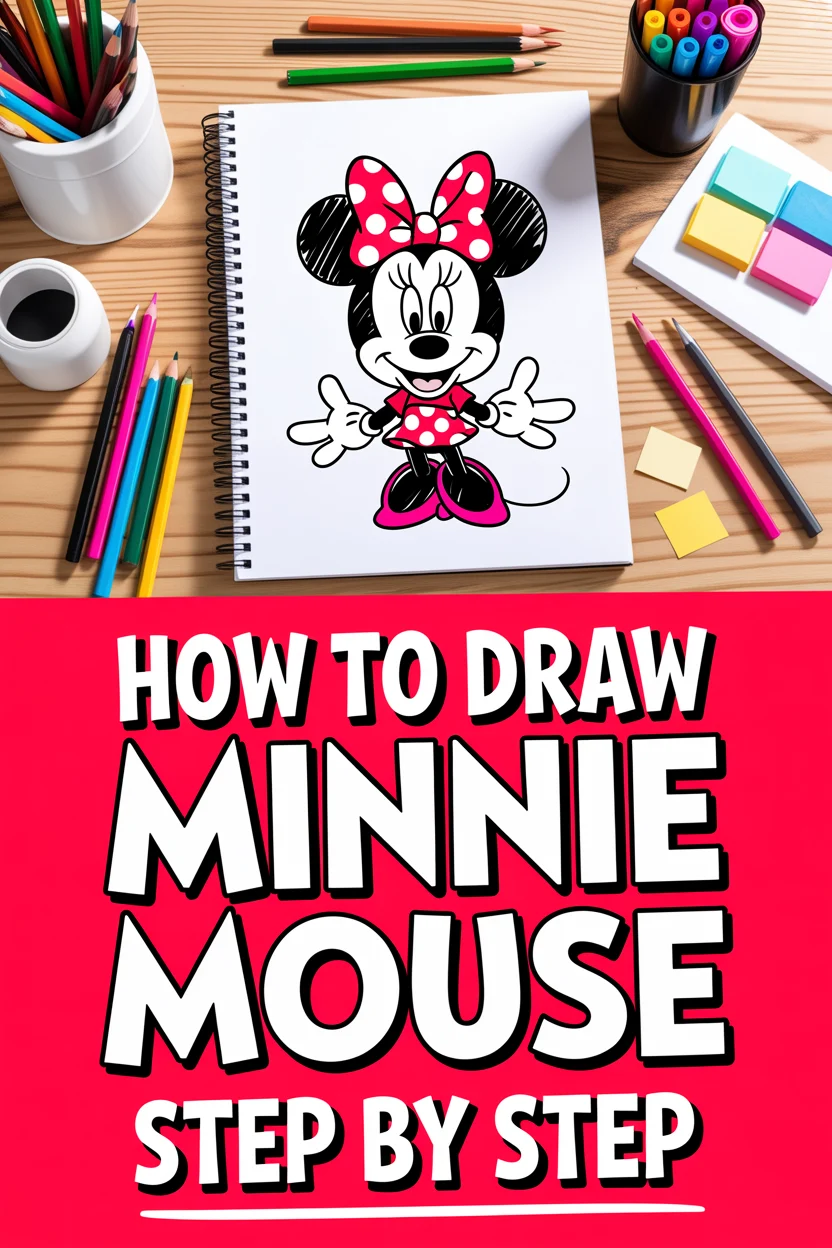
🎨 How To Draw Minnie Mouse Step By Step

& Painting
No rigid rules or pretension. Just practical guides, medium comparisons, and encouraging tips to help you enjoy the drawing & painting process.
Minnie Mouse is a timeless icon, bringing joy to generations with her sweet charm and stylish polka dots.
Learning to draw her is a delightful journey that unlocks a piece of classic animation.
Having sketched countless Disney characters over the years, I’ve found a method that makes drawing Minnie both fun and achievable for anyone.
Quick Overview
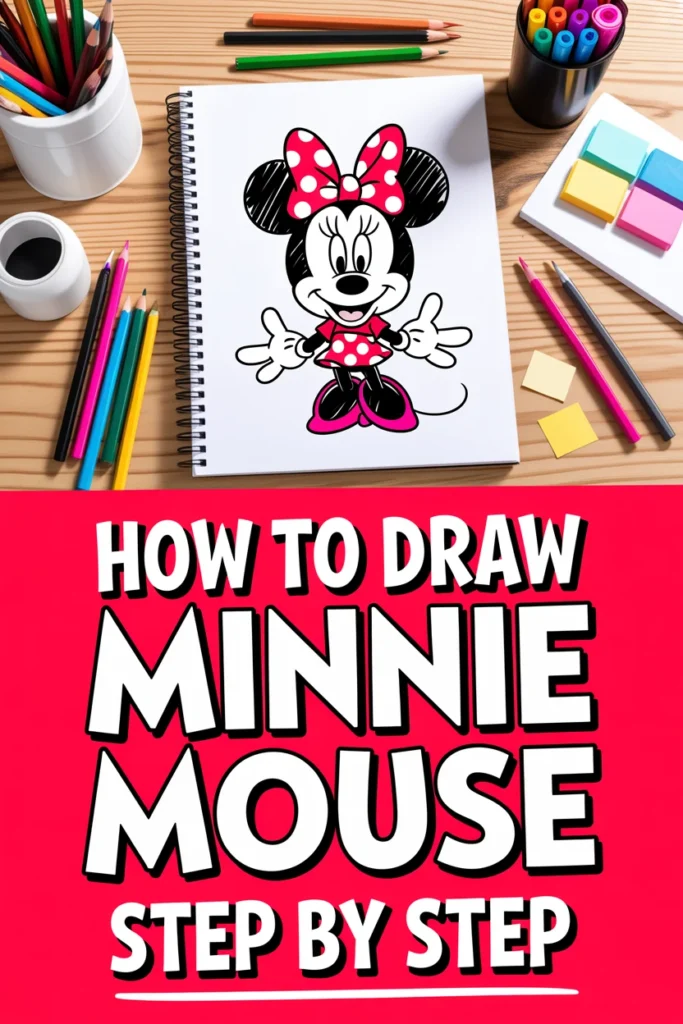
This guide will walk you through creating your very own Minnie Mouse, from initial sketches to final details.
You’ll learn to break down her recognizable features into simple shapes, building confidence with each line.
- Time needed: 30-60 minutes (depending on detail and experience)
- Difficulty: Beginner
- What you’ll need: Pencil, eraser, paper, optional: black fine-liner, coloring tools
Step-by-Step Instructions
Step 1: Start with the Head Circle
Begin by drawing a perfect circle in the center of your page. This will form the main part of Minnie’s head.
Don’t press too hard; keep your lines light and loose at this stage. You’ll be refining them later.
Next, draw a vertical line straight down the middle of the circle. Then, add a horizontal line across the center, creating a cross.
Pro Tip: Light, confident strokes are key here. Think of these as guides, not permanent lines. You can always erase and adjust.
Draw a second horizontal line about one-third of the way up from the bottom of the circle. This line will help position Minnie’s snout.
Step 2: Add the Snout and Ears
For Minnie’s snout, draw an oval shape that overlaps the lower half of the main head circle.
The top of this oval should rest on the second horizontal guideline you drew.
Make sure the snout oval is centered on the vertical guideline.
Now, let’s add those iconic ears. Draw two large, perfect circles on either side of the head, overlapping the top section.
These ear circles should be roughly two-thirds the size of the main head circle.
Ensure they are positioned symmetrically and slightly angled outward.
Step 3: Outline the Face and Features
Refine the shape of Minnie’s head by gently curving the lines where the snout meets the main head circle.
Erase any overlapping guide lines within the snout and head that are no longer needed.
Now, for her eyes. Draw two small, elongated ovals above the snout, sitting on the central horizontal guideline.
These ovals should be spaced apart, with a small gap in the middle.
Inside each eye oval, draw a smaller circle for the pupil, positioned slightly towards the center.
Add tiny highlights within the pupils – two small circles, one larger than the other, to give them life.
For her nose, draw a rounded oval at the bottom of the snout, centered on the vertical guideline.
It should be slightly larger than her pupils.
Below the nose, draw a small, curved line for her mouth, often depicted as a gentle smile.
Add a tiny U-shape just below the mouth for her tongue.
Step 4: Draw Minnie’s Signature Bow
Minnie’s bow is a defining feature. Start by drawing a small, flattened oval in the center, just above her head, between the ears.
From this central oval, draw two large, puffy, rounded shapes extending outwards, one on each side.
These shapes should resemble puffy clouds or rounded triangles, creating the loops of the bow.
Add a few gentle curved lines within each bow loop to suggest folds and texture.
Ensure the bow sits gracefully atop her head, framing her ears.
Step 5: Sketch the Body and Dress Outline
Below Minnie’s head, draw a smaller, slightly elongated oval for her torso.
This oval should be narrower at the top and slightly wider at the bottom.
Connect the head to the torso with two short, curved lines for her neck.
For her iconic dress, draw a bell-like shape flaring out from the bottom of her torso.
This skirt should have a gentle curve at the hem, suggesting movement.
Add a small, curved line at the waist to define the top of the dress.
Step 6: Add Arms, Legs, and Shoes
Now, let’s give Minnie some limbs. For her arms, draw two curved lines extending from the upper sides of her torso.
Her arms are typically slender. At the end of each arm, draw a simple, rounded shape for her gloved hands.
Minnie often poses with her hands on her hips or in a welcoming gesture.
For her legs, draw two short, slightly tapered shapes extending from beneath her dress.
These should be relatively short and stumpy, characteristic of her design.
At the bottom of each leg, draw her oversized, high-heeled shoes.
These shoes are large and rounded, with a distinct heel at the back.
Make sure the shoes have a bit of personality, perhaps with a slight tilt.
Step 7: Detail and Ink Your Minnie
Now that you have the basic structure, it’s time to refine your drawing.
Go over all your desired lines with a darker pencil or a fine-liner pen.
Pay attention to smooth curves and clean edges.
Erase all the remaining pencil guidelines that you no longer need.
Add small details like eyelashes to her eyes, tiny dimples on her cheeks if she’s smiling broadly, and the polka dots on her bow and dress.
Remember that Minnie’s polka dots are evenly spaced and perfectly round.
Pro Tip: When inking, try to use a steady, continuous hand motion. If you make a mistake, don’t worry! That’s what erasers are for, or you can even embrace it as part of your unique style.
Step 8: Bring Minnie to Life with Color
Minnie’s classic colors are instantly recognizable. Her face is a light peach or cream color.
Her ears, nose, and pupils are black.
Her bow and dress are usually red with white polka dots.
Her shoes are yellow, and her gloves are white.
Carefully color within your inked lines, striving for even coverage.
Adding a light shadow under her chin or around her limbs can give your drawing more depth.
Experiment with different shades of red for her dress to add subtle highlights and shadows.
Common Mistakes to Avoid
Incorrect Proportions
One frequent pitfall is making Minnie’s head too small or too large in relation to her body.
Her head is quite large compared to her petite body, and her ears are nearly as big as her head itself.
Always start with simple shapes and use them as a guide to maintain these crucial proportions.
Stiff or Lifeless Poses
Sometimes, drawings can appear rigid or static. Minnie is known for her cheerful and dynamic personality.
Avoid drawing her with perfectly straight lines or symmetrical limbs.
Introduce subtle curves and a slight tilt to her head or body to convey movement and expressiveness.
Over-detailing Too Early
Jumping straight into intricate details like eyelashes or polka dots before establishing the main form can lead to frustration.
Build your drawing in layers: start with large, basic shapes, then refine the outlines, and only then add the smaller features.
This systematic approach helps you correct errors easily at earlier stages.
Inconsistent Polka Dots
Minnie’s polka dots are iconic, but they need to be consistent in size and spacing.
Avoid drawing dots that are too varied in size or haphazardly placed.
Take your time to space them out evenly on her bow and dress for that classic, polished look.
Troubleshooting
My Lines Look Shaky
If your lines appear wobbly, it often means you’re pressing too hard or drawing too slowly.
Try sketching with lighter, faster strokes from your shoulder, not just your wrist, to create smoother curves.
Practice drawing continuous circles and ovals repeatedly on a separate sheet to build muscle memory.
Minnie’s Face Looks Unbalanced
An unbalanced face usually stems from inaccurate initial guidelines.
Ensure your central vertical and horizontal lines are perfectly aligned and evenly spaced.
Use these guides to place the eyes, nose, and mouth symmetrically, measuring distances if necessary.
I Can’t Get the Bow Right
The bow can be tricky due to its puffy, rounded nature. If it looks flat, focus on the central knot and imagine it as a 3D object.
Draw the two main loops as if they are slightly inflated, adding gentle curves for folds.
Reference images of Minnie’s bow can be very helpful for capturing its distinct shape.
Key Takeaways
- Always begin with light, basic shapes to establish proportions and structure.
- Use guidelines to ensure symmetry and proper placement of features.
- Build your drawing in layers, moving from large forms to smaller details.
- Embrace curves and dynamic lines to give Minnie a lively, expressive feel.
- Practice makes perfect; don’t be afraid to erase and refine your work.
- Pay attention to Minnie’s classic color scheme for an authentic finish.
Frequently Asked Questions
Can absolute beginners really draw Minnie Mouse?
Absolutely! This guide is specifically designed for beginners, breaking down Minnie into manageable steps.
Starting with simple shapes like circles and ovals makes the process approachable and fun for artists of all levels.
What if I don’t have special art supplies?
No problem at all. You can easily draw Minnie Mouse with just a regular pencil, an eraser, and any paper you have on hand.
While coloring tools enhance the final look, they are not strictly necessary for learning the drawing technique.
How can I make my Minnie drawing unique?
Once you master the basic design, feel free to experiment with different poses, expressions, or even outfits.
You can change the angle of her head, give her a different accessory, or try drawing her in various activities.
Is it okay to trace Minnie Mouse first?
Tracing can be a fantastic learning tool, especially for beginners.
It helps you understand proportions and muscle memory for specific curves.
Use tracing as a stepping stone, then try drawing her freehand, applying what you’ve learned.
Our Top Recommended Finds
- Sketchbook with medium-weight paper: Provides a dedicated space for practice and holds pencil lines well.
- Set of drawing pencils (HB, 2B, 4B): Offers varying lead hardness for light sketches and darker outlines.
- Kneaded eraser: Excellent for lifting pencil marks gently without damaging the paper or smudging.
Your Artistic Adventure Begins Now
You’ve just created your very own Minnie Mouse, a character loved by millions worldwide.
This journey into drawing classic animation is just the beginning of what you can achieve.
Why not try drawing Mickey Mouse next, applying the same foundational techniques?
Keep practicing, keep exploring, and most importantly, keep having fun with your art!
& Painting
No rigid rules or pretension. Just practical guides, medium comparisons, and encouraging tips to help you enjoy the drawing & painting process.