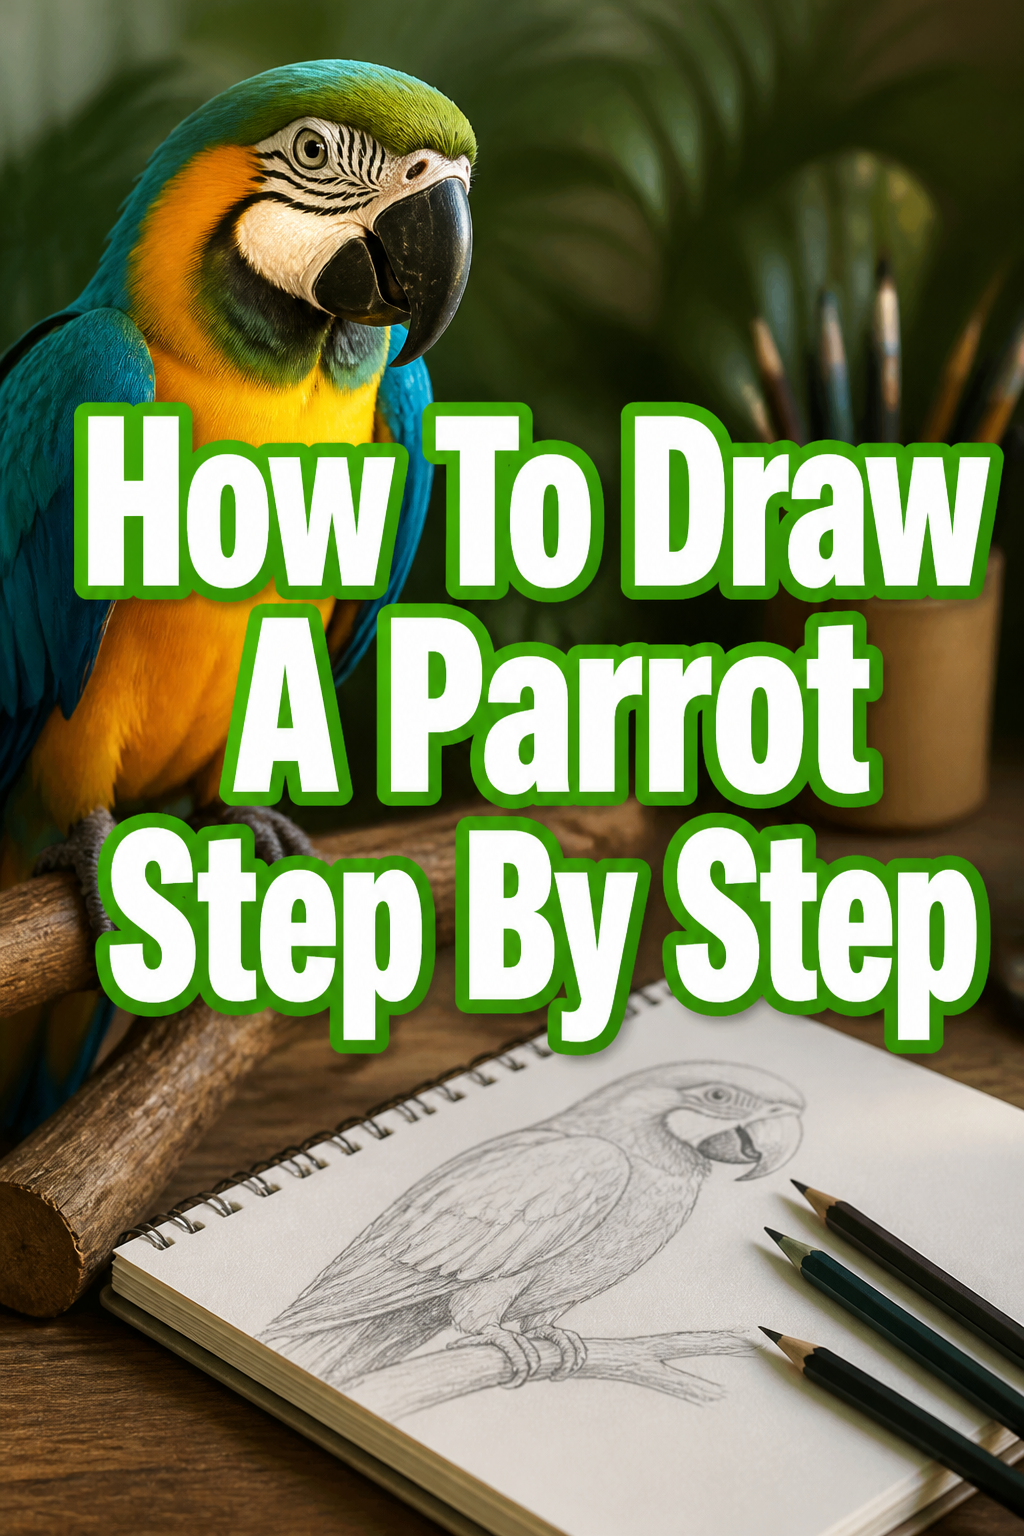
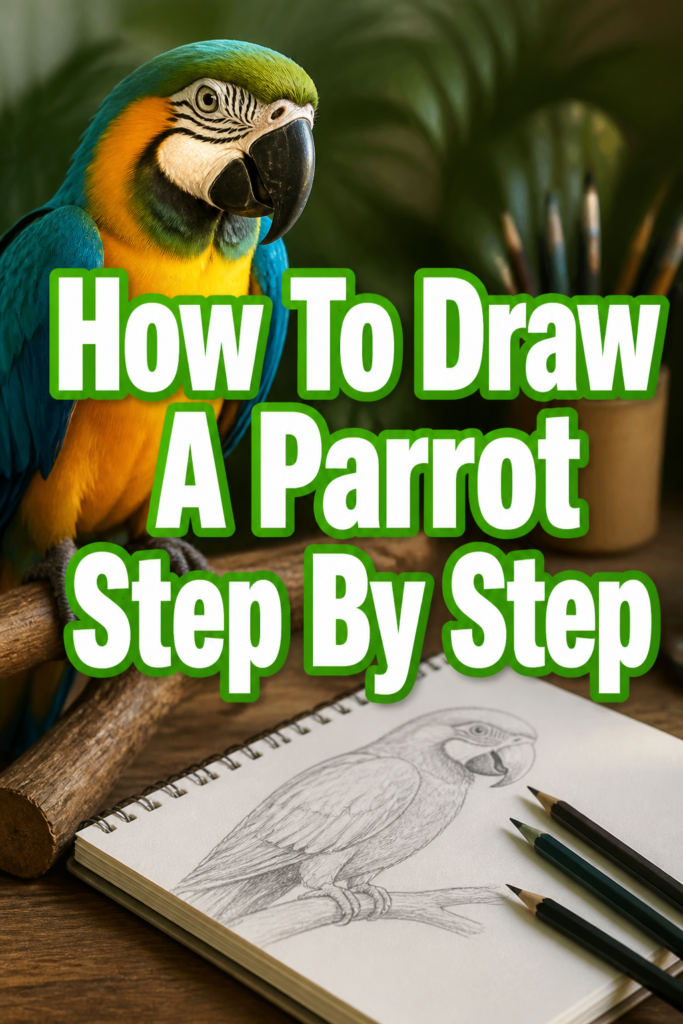
🦜 How To Draw A Parrot Step By Step

& Painting
No rigid rules or pretension. Just practical guides, medium comparisons, and encouraging tips to help you enjoy the drawing & painting process.
I remember the first time I tried to draw a Macaw during a summer trip to a tropical conservatory.
My initial sketch looked more like a lumpy potato with a carrot stuck on the front than a majestic bird.
After years of practicing wildlife illustration and teaching art workshops, I have refined a method that makes capturing these colorful creatures simple for anyone.
Quick Overview
This guide will take you from a blank page to a finished, vibrant parrot illustration using basic geometric shapes.
- Time needed: 45 to 60 minutes
- Difficulty: Beginner
- What you’ll need: Drawing paper, HB and 2B pencils, a kneaded eraser, and a set of colored pencils or markers.
Step-by-Step Instructions
Step 1: Map Out the Basic Proportions
Begin by drawing a small, light circle near the top of your paper to represent the head.
Leave plenty of room below it for the body and the long tail feathers that parrots are known for.
Sketch a larger, tilted oval overlapping the bottom of the head circle to form the chest and back.
Think of this oval as an egg shape that is leaning slightly to one side to give the bird a natural posture.
Connect the head and the body with two short, curved lines to create a thick, sturdy neck.
Pro Tip: Use a very light touch with your pencil during this stage so you can easily erase these “skeleton” lines later.
Step 2: Define the Iconic Beak Shape
Identify the center point of your head circle and move slightly to the left or right depending on which way your bird is facing.
Draw a large, hooked shape for the upper mandible that starts near the middle of the head and curves downward.
The beak should look like a powerful hook, as parrots use them as a “third hand” for climbing and cracking nuts.
Add the lower mandible by drawing a smaller, scooped shape tucked underneath the upper hook.
Include the cere, which is the small fleshy patch at the very top of the beak where the nostrils are located.
Step 3: Position the Eye and Face Mask
Place a small, dark circle for the eye just behind the base of the upper beak.
Parrots have very intelligent, expressive eyes, so leave a tiny white “highlight” dot inside the pupil to make it look alive.
Outline the “mask” or the patch of bare skin that many parrots, like Macaws, have around their eyes.
This area often features tiny rows of feathers or wrinkles, which you can suggest with a few light, dotted lines.
Ensure the eye is not too high on the head; it should be roughly level with the top of the beak’s curve.
Step 4: Shape the Wings and Shoulders
Start at the top of the body oval and draw a long, curved line that follows the side of the body.
The wing should look like a long teardrop shape that rests against the bird’s side when it is perched.
Layer the wing by drawing a second line slightly inside the first to indicate where the different groups of feathers overlap.
The “shoulder” of the wing should be rounded and sit firmly against the upper part of the chest oval.
Pro Tip: Don’t draw every single feather yet; focus on the overall shape of the wing “shield” first.
Step 5: Add the Long Tail Feathers
Extend two or three long, tapering shapes from the bottom of the body oval.
Parrot tails vary by species, but a long, elegant tail is a classic look for a tropical bird.
Vary the lengths of these feathers so they don’t look like a single flat block of color.
The central feathers are usually the longest, with the outer feathers getting progressively shorter.
Curve the tips of the feathers slightly to give the impression of weight and movement.
Step 6: Sketch the Zygodactyl Feet
Draw two thick legs emerging from the bottom of the body, partially hidden by the belly feathers.
Parrots have “zygodactyl” feet, which means they have two toes pointing forward and two toes pointing backward.
Wrap the toes around a simple horizontal line or a textured branch to give the bird a place to stand.
Add sharp, curved claws at the end of each toe to show how the bird grips its perch.
The feet should look strong and fleshy, not thin like a sparrow’s feet.
Step 7: Detail the Feather Texture
Go back over the body and wings with short, rhythmic strokes to suggest the texture of soft feathers.
On the wings, use longer, more structured lines to show the primary and secondary flight feathers.
Avoid drawing a “scallop” pattern, which can look cartoonish; instead, use staggered U-shapes or simple flicks of the pencil.
Soften the transition between the head and the neck by adding very fine, hair-like feather details.
Pro Tip: Look at a reference photo to see how the feathers change direction around the neck and chest.
Step 8: Finalize the Outlines and Shading
Darken the lines you want to keep using a 2B pencil or a fine-liner pen.
Erase the original circles and ovals that you used to build the skeleton of the bird.
Add some light shading under the wing, on the belly, and under the beak to give the parrot a three-dimensional look.
The darkest areas will usually be where the wing meets the body and under the tail.
Step 9: Bring it to Life with Color
Select a palette of bright reds, yellows, blues, or greens depending on the species you are drawing.
Apply the lightest colors first as a base layer over the entire body.
Layer darker shades on top to create depth and shadows within the feathers.
For a Macaw look, use a bright scarlet for the head and body, and a vibrant cobalt blue for the wings.
Common Mistakes to Avoid
Making the Beak Too Small
One of the most frequent errors is drawing a beak that looks like a small chicken beak.
Parrots have massive mandibles that are often as large as their entire skull.
If the beak looks too small, the bird will lose its characteristic “parrot” appearance and look like a generic songbird.
Stiff or Straight Tail Feathers
Beginners often draw the tail feathers as perfectly straight lines coming off the body.
In reality, feathers are flexible and respond to gravity and the bird’s movement.
Adding a slight bend or “flow” to the tail makes the drawing look much more organic and professional.
Ignoring the Eye Placement
Placing the eye too close to the top of the head makes the bird look flat and unnatural.
The eye should be nestled back from the beak and positioned in the middle of the head’s height.
Always check the distance between the eye and the back of the head to ensure the skull looks large enough to hold a brain.
Troubleshooting
The Bird Looks Too “Chunky”
If your parrot looks a bit too round or bloated, check the connection between the neck and the body.
Often, making the neck slightly longer or the body oval a bit more slender will fix this issue.
You can also use shading on the sides of the belly to “carve” out a slimmer shape.
The Feet Look Like They Are Floating
This usually happens when the toes aren’t properly wrapped around the branch.
Make sure the “back” toes are visible behind the branch and the “front” toes curve over the top of it.
Adding a small shadow where the foot meets the wood will help ground the bird in the scene.
The Colors Look Flat and Dull
Flat color happens when you only use one shade for an entire section of the bird.
Try mixing two or three different shades of the same color to create highlights and shadows.
For example, use a light green for the tops of the feathers and a dark forest green for the gaps between them.
Key Takeaways
- Always start with light geometric shapes like circles and ovals to establish the correct proportions.
- The beak is the focal point of the drawing, so spend extra time getting the hook and the lower mandible right.
- Use zygodactyl toe placement (two forward, two back) to make the bird look anatomically correct.
- Layer your colors from light to dark to build depth and realism in the plumage.
- Keep your pencil strokes in the direction of feather growth to enhance the texture.
- Don’t forget the tiny white highlight in the eye to give your parrot a spark of life.
Frequently Asked Questions
What is the easiest parrot species to draw?
The Budgie (or Parakeet) is often the easiest because of its small size and simple color patterns.
They have shorter tails and more rounded features, which makes them less intimidating for beginners than a large Macaw.
Once you master the Budgie, you can easily scale up those same techniques for larger birds.
How do I make the feathers look shiny?
To create a “sheen” on the feathers, leave small areas of the paper white or use a very light version of your main color.
This mimics the way sunlight reflects off the waxy surface of the bird’s plumage.
Using a white gel pen for tiny highlights at the very end can also create a beautiful glossy effect.
Should I use markers or colored pencils?
Colored pencils are generally better for beginners because they allow for more control and easier blending.
Markers can provide very vibrant colors, but they are harder to fix if you make a mistake.
Many artists use markers for the base layer and then add fine details with colored pencils on top.
How do I draw the parrot in flight?
Drawing a parrot in flight requires changing the body oval to a more horizontal position and extending the wings wide.
The wings will look like two large fans on either side of the body, with the individual feathers spread out like fingers.
It is best to master the perched parrot first before moving on to the complex anatomy of flight.
Our Top Recommended Finds
- Strathmore 400 Series Sketch Pad: A high-quality paper that handles erasing and layering without tearing.
- Prismacolor Premier Colored Pencils: These have a soft, wax-based core that is perfect for blending the bright colors of a parrot.
- Tombow Mono Zero Eraser: An ultra-fine eraser that lets you pick out tiny feather highlights or clean up small areas around the eye.
Mastering Your Tropical Art
Now that you have the basic structure of a parrot down, you can experiment with different poses and species.
Try drawing a Cockatoo with its impressive crest or a small, round Lovebird for a different challenge.
The more you observe these birds in photos or at the zoo, the more your brain will recognize the subtle curves of their anatomy.
Pick up your pencil and start sketching another bird today to keep your creative momentum going.
& Painting
No rigid rules or pretension. Just practical guides, medium comparisons, and encouraging tips to help you enjoy the drawing & painting process.