🎨 How To Draw A Face Easy Step By Step
Learning to draw a face might seem daunting at first glance.
Many people feel intimidated by the complex curves and proportions.
But with the right approach, breaking it down into simple steps makes it very achievable, even for beginners. I’ve guided countless students through these exact techniques, and you’ll be amazed at your progress.
Quick Overview
This guide will walk you through the fundamental steps to construct a realistic-looking face from scratch. You’ll learn how to establish basic proportions and place features accurately.
- Time needed: 30-60 minutes for a detailed first attempt, less for quick sketches.
- Difficulty: Beginner
- What you’ll need: Pencil (HB or 2B), eraser, paper, a ruler (optional but helpful).
Step-by-Step Instructions
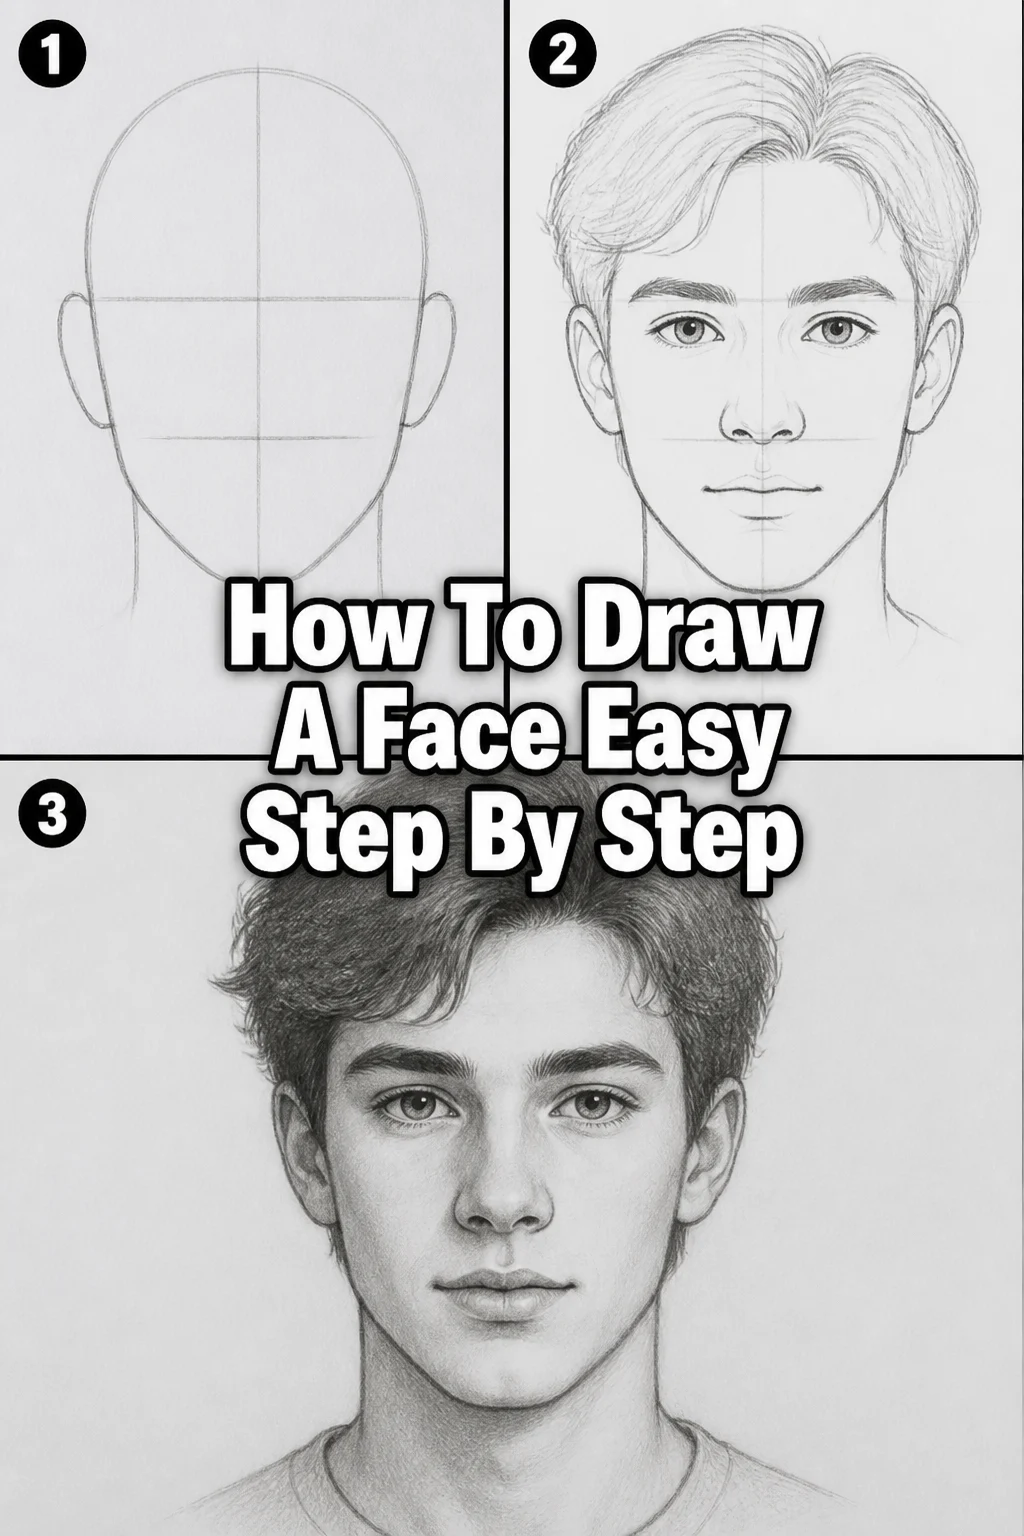
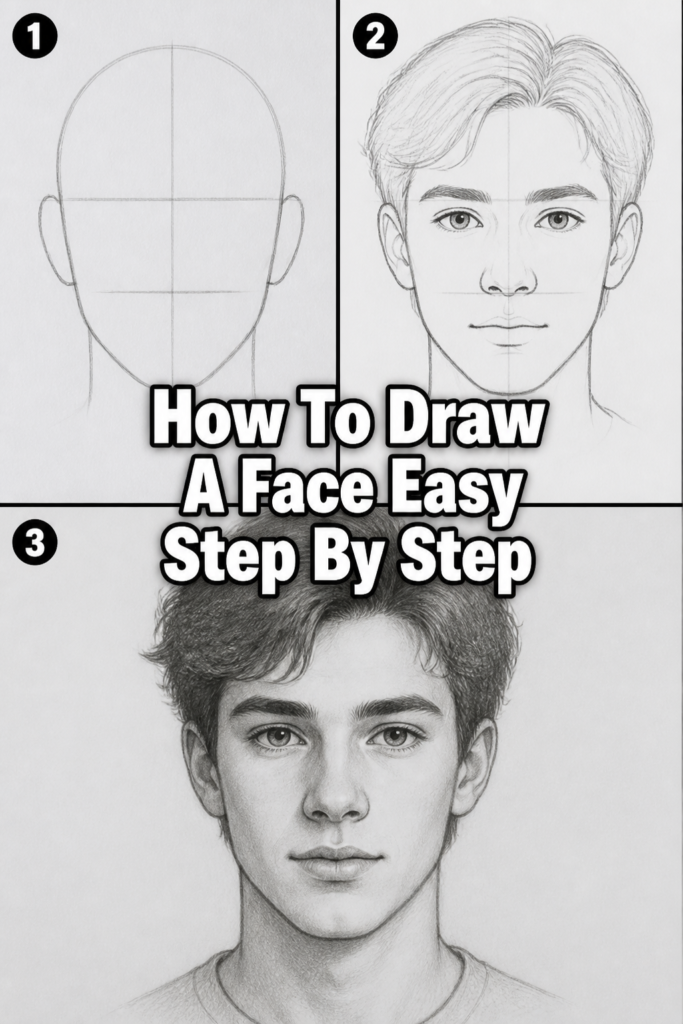
Step 1: Start with the Basic Head Shape
Begin by drawing a simple circle on your paper. This circle will form the top part of the skull.
Don’t worry about making it perfectly round; a slightly irregular circle is fine. This initial shape is just a guide for your head’s overall structure.
Below the circle, draw a line extending downwards from the center. This will be your guideline for the chin.
From the bottom of the circle, measure roughly the same distance downwards again. This point will be where the chin rests.
Pro Tip: Hold your pencil loosely and use light, feathery strokes. You’ll be erasing these initial lines later, so keep them faint.
Step 2: Define the Jawline and Chin
Now, connect the sides of your initial circle to the chin point you just marked.
Draw two curved lines, one from each side of the circle, tapering inwards to meet at the chin. These lines create the jawline.
Think of the shape of an egg, but slightly flatter on the sides. The overall form should resemble an inverted egg or an oval.
Adjust these lines until you achieve a pleasing and balanced head shape.
Step 3: Draw the Center Guidelines
Once your basic head shape is established, draw a vertical line down the exact center of the face.
This central line helps you ensure symmetry for all the features. It runs from the top of the skull right down to the chin.
Next, draw a horizontal line across the middle of the circle you initially drew. This line is crucial for placing the eyes.
These two lines divide the face into quadrants, making feature placement much easier.
Pro Tip: Use a ruler for these initial guidelines if you struggle with keeping them straight. Precision here pays off later.
Step 4: Place the Eyes
The horizontal line you just drew is the eye line. The eyes will sit directly on this line.
A good rule of thumb is that the space between the eyes is roughly the width of one eye.
Imagine five equal segments across the eye line: eye, space, eye, space, eye. The two eyes you draw will occupy the second and fourth segments.
Start with simple almond or oval shapes for the eyes. Don’t add pupils or irises yet; just focus on their overall shape and placement.
Step 5: Position the Nose
To find the nose line, divide the bottom half of the face (from the eye line to the chin) into two equal sections.
The nose will sit on the upper of these two dividing lines. This is where the bottom of the nose will rest.
The width of the nose typically aligns with the inner corners of the eyes. Draw two faint vertical lines down from the inner corners of the eyes to mark the width.
Sketch a simple, soft shape for the nose, perhaps a small circle for the tip and two smaller curves for the nostrils. Keep it light.
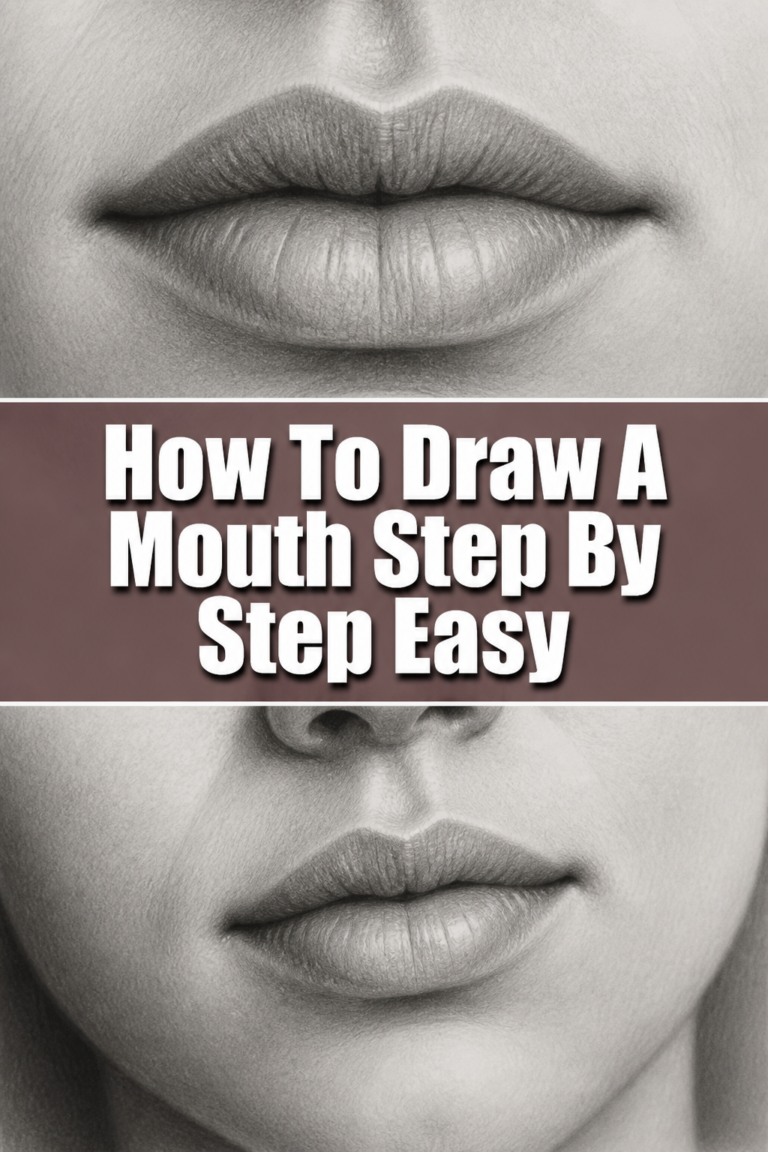
Step 6: Locate the Mouth
Now, divide the remaining space between the nose line and the chin into two equal sections.
The mouth will be positioned on the upper of these two lines. This line marks the center point of the lips where they meet.
The width of the mouth usually extends from the pupils of the eyes. Draw faint vertical lines down from the pupils to guide the corners of the mouth.
Sketch a simple curved line for the mouth, then add soft shapes for the upper and lower lips. Keep the expression neutral for now.
Pro Tip: The space between the nose and mouth is often called the philtrum. Pay attention to this small but important area.
Step 7: Add the Ears
The ears are generally placed between the eye line and the nose line.
Draw two horizontal lines: one from the top of the eye line and one from the bottom of the nose line. The ears will fit within these boundaries.
Sketch the basic shape of the ears on either side of the head. They usually have a slightly curved, C-like shape.
Ensure they are symmetrical in size and placement on both sides of the head.
Step 8: Draw the Hairline and Hair
The hairline typically starts at the top of the initial circle you drew, or slightly above it, depending on the person.
Draw a curved line to establish the hairline. This line defines where the hair begins on the forehead.
Now, sketch the overall volume and shape of the hair. Don’t draw individual strands initially.
Think of the hair as a mass or a helmet sitting on the skull, adding volume beyond the head shape. Consider the hairstyle you want to depict.
Step 9: Refine Features and Erase Guidelines
Once all your features are in place, start refining them. Add details to the eyes, like the iris and pupil, and perhaps some eyelashes.
Refine the shape of the nose, adding subtle shading to give it form. Give more definition to the lips.
Carefully erase all the initial guidelines you drew (the circle, the center lines, and the measurement lines).
Use an eraser gently to avoid smudging your refined drawing. Your face should now stand on its own.
Pro Tip: Step back from your drawing frequently. This helps you spot imbalances or areas that need adjustment that you might miss up close.
Common Mistakes to Avoid
Drawing Features Too High or Too Low
A very common error for beginners is misplacing the eyes, nose, or mouth. This can make the face look stretched or squashed. Always rely on your guidelines to ensure correct proportions. Double-check your measurements before committing to darker lines.
Making the Face Too Flat or Too Wide
Beginning with a simple circle is good, but many forget to add the jawline properly. A flat or overly wide face often results from not tapering the jawline enough towards the chin. Remember the egg shape, which has a distinct narrowing at the bottom.
Lack of Symmetry
Without a strong central guideline, features can easily become lopsided. Eyes might be at different heights, or the nose might lean to one side. Always use your vertical center line as a constant reference point to maintain balance in your drawing.
Drawing Hair as a Flat Cap
Hair isn’t a solid helmet sitting directly on the skull. It has volume and texture. When drawing hair, remember to add space between the hairline and the top of the head to give it a natural, voluminous appearance. Think about the flow and direction of the hair.
Troubleshooting
My Face Looks Unbalanced/Lopsided
If your face appears unbalanced, revisit your central vertical guideline. Ensure it’s truly centered and straight. Then, check each feature against it. Are the eyes equidistant from the center line? Is the nose centered? Often, a slight adjustment to one feature can bring the whole face back into balance. Try flipping your drawing upside down or viewing it in a mirror; this can reveal hidden imbalances.
Features Are Too Small or Too Large for the Head
This usually indicates a problem with your initial proportion guidelines. Go back to your horizontal lines for eyes, nose, and mouth. Did you divide the face correctly into thirds for the main features? Remember the ‘five eyes’ rule for eye spacing and the alignment of the nose and mouth with eye features. Redraw these faint guidelines to correct the scale.
The Face Lacks Dimension and Looks Flat
A flat-looking face means you’re likely drawing only the outlines. To add dimension, you need to think about form and subtle shading. Even without full shading, varying line weight can help. Use slightly darker lines for areas that recede or are in shadow, and lighter lines for highlights. Consider where light would hit the face and where shadows would fall, even if just lightly suggested.
Key Takeaways
- Always start with basic shapes and light guidelines.
- Proportions are key; use your center lines and measuring techniques.
- Place features systematically: eyes, nose, mouth, then ears.
- Refine your drawing by gradually adding details and erasing guides.
- Practice regularly; consistency improves your skill over time.
- Don’t be afraid to make mistakes; they are part of the learning process.
Frequently Asked Questions
How do I make my faces look more realistic?
Realism comes from accurate proportions, subtle shading, and understanding anatomy. Focus on observing real faces or reference photos. Pay attention to the nuanced curves, shadows, and how light interacts with the face. Practice drawing different angles and expressions.
Should I draw masculine or feminine faces differently?
Yes, there are general differences. Masculine faces often have stronger, more angular jawlines, more pronounced brow ridges, and sometimes wider noses. Feminine faces tend to have softer curves, a narrower jaw, and larger eyes relative to the face. However, these are generalizations, and individual variation is huge.
What if my lines aren’t perfectly straight or my circles aren’t perfect?
Don’t worry about perfection, especially at the beginning. Drawing is about observation and practice. Your initial sketch lines are guides; they don’t need to be flawless. Focus on getting the proportions and placement right. Your hand will become steadier with more practice.
How can I draw different facial expressions?
Expressions largely come from the eyes, eyebrows, and mouth. To draw different expressions, study how these features change with various emotions. For example, raised eyebrows and a wide smile for happiness, or furrowed brows and downturned lips for sadness. Practice exaggerating these features slightly.
Our Top Recommended Finds
- Good Quality Sketch Pencils: A set with varying lead hardness (HB, 2B, 4B, 6B) allows for different line weights and shading.
- Kneaded Eraser: This type of eraser is excellent for lifting graphite gently without smudging and can be molded into fine points for precision.
- Smooth Drawing Paper: Paper with a slightly textured but smooth surface (like Bristol board or good sketch paper) allows pencils to glide easily and holds graphite well.
Your Artistic Journey Starts Now
You’ve taken the first exciting step in learning to draw a face.
This guide provides a solid foundation, but the real magic happens with consistent practice.
Try drawing faces from different angles, experiment with expressions, or even try drawing faces of people you know.
Keep your pencil moving and enjoy the process of bringing faces to life on paper. What will you draw next?