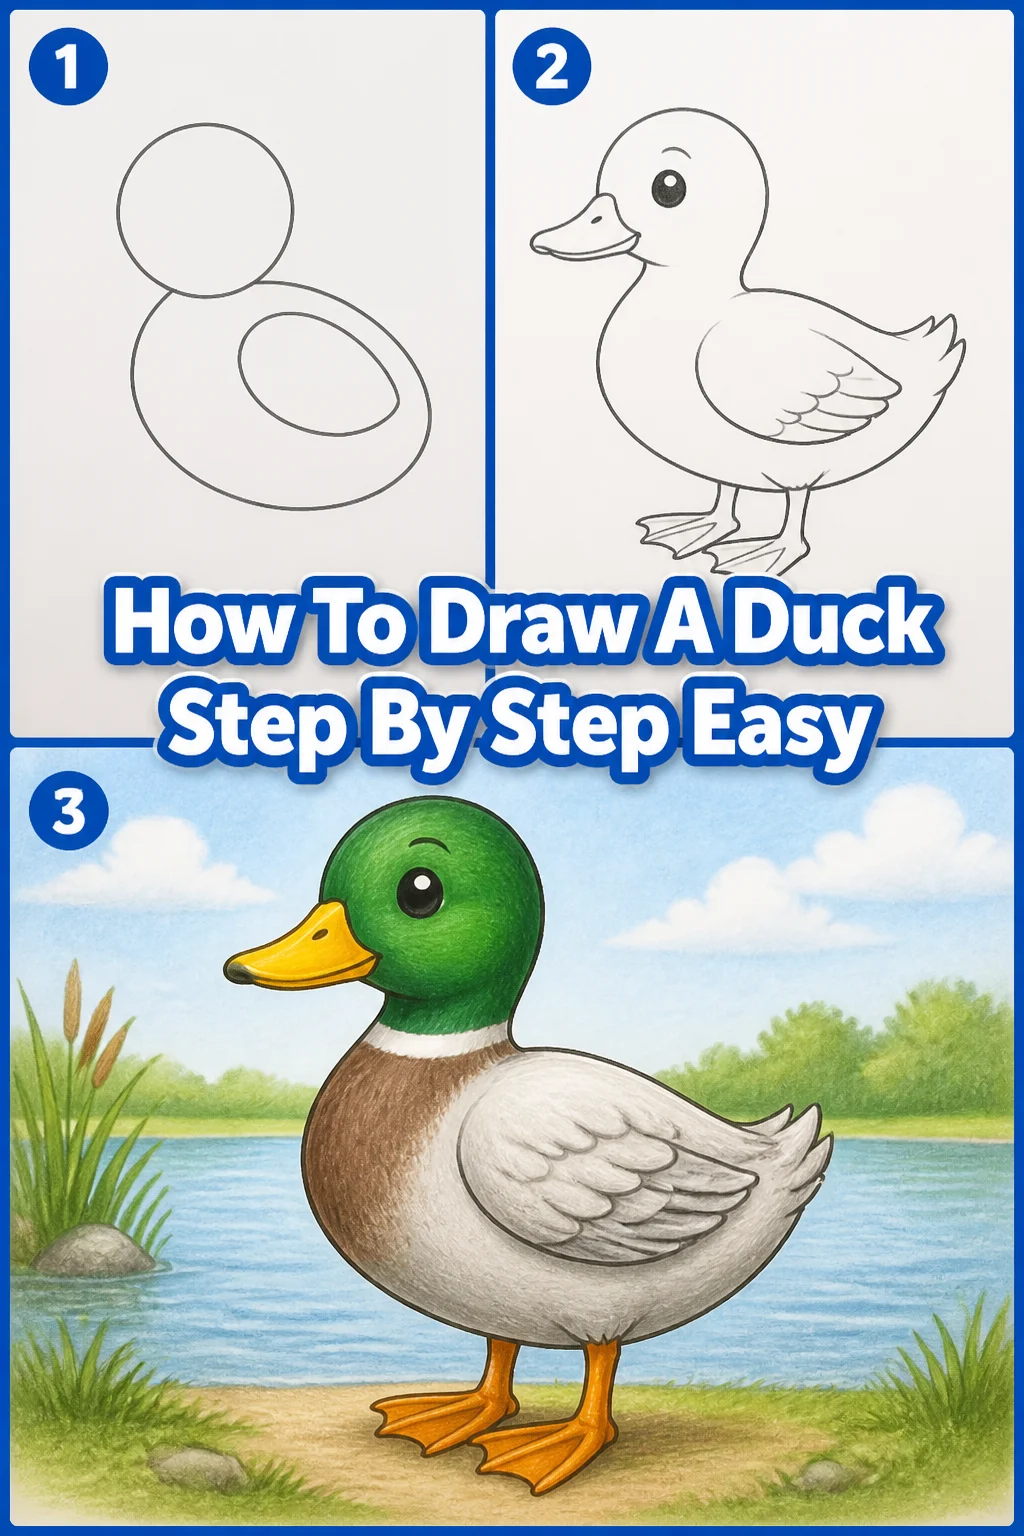
How To Draw A Duck Step By Step Easy
Drawing can feel intimidating when you first pick up a pencil.
But what if I told you that creating something charming, like a cheerful duck, is entirely within your reach?
Having guided countless aspiring artists, I’ve seen firsthand how breaking down complex images into simple shapes transforms frustration into fun.
Quick Overview
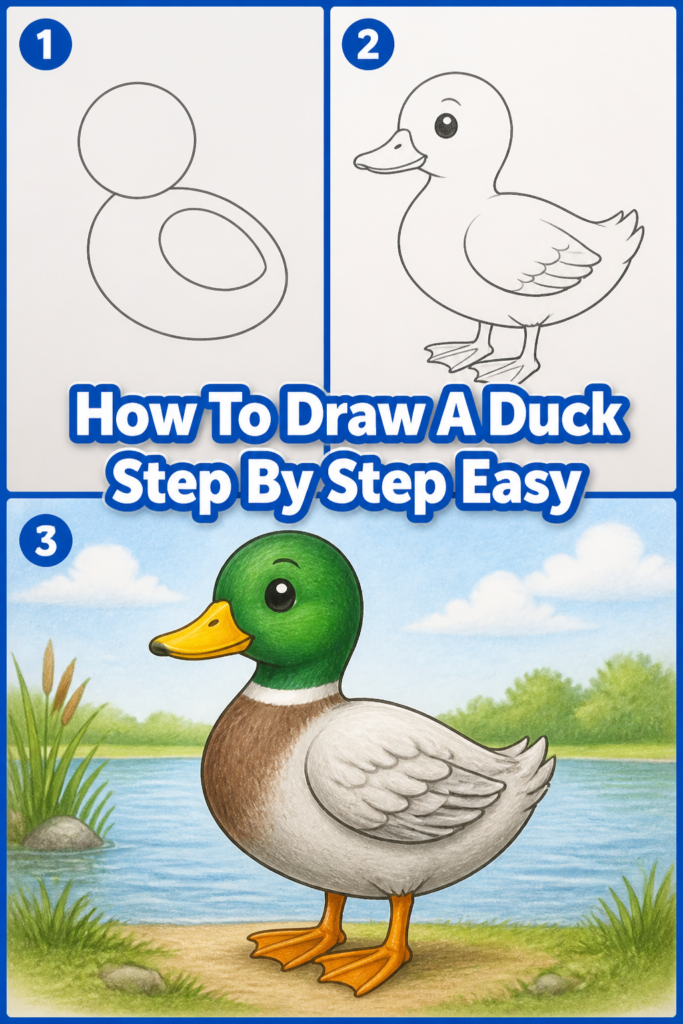
This guide will walk you through the process of drawing a delightful duck, transforming basic shapes into a recognizable and charming creature.
You’ll finish with a complete drawing, ready to bring more of your artistic visions to life.
- Time needed: 30-45 minutes
- Difficulty: Beginner
- What you’ll need: Pencil (HB or 2B recommended), paper, eraser (kneaded eraser is great), optional fine-tip pen for outlining.
Step-by-Step Instructions
Step 1: Lay Down Your Basic Shapes
Every great drawing begins with simple foundations. We’ll start with two primary ovals to establish the duck’s body and head.
Draw a large, slightly elongated oval in the center of your paper. This will be the main body of your duck.
Place a smaller, more circular oval above and slightly to the left of the body oval. This will form the duck’s head.
Make sure to draw these shapes very lightly. These are just guide lines that you will erase later, so they should barely be visible.
Pro Tip: Use your entire arm to draw these initial ovals, not just your wrist. This creates smoother, more confident lines and helps avoid stiff, angular shapes. Don’t press too hard; think of it as “sketching” the shapes onto the paper.
Step 2: Connect the Head and Body with a Neck
Now that you have the head and body established, it’s time to give your duck a neck. This step brings the two separate shapes together.
Sketch two gentle, curving lines that connect the bottom of the head oval to the top of the body oval.
One line should curve from the back of the head down to the back of the body, forming the back of the neck.
The other line should curve from the front underside of the head down to the front of the body, creating the chest and throat area.
Observe how these lines create a graceful, natural curve, giving the duck its characteristic posture.
Step 3: Shape the Beak
The beak is one of the most distinctive features of a duck. We’ll add this next, giving your duck its unique profile.
Extend two short, slightly angled lines from the front of the head oval. These lines should diverge slightly as they move forward.
Connect these two lines with a gentle curve at the end, forming the rounded tip of the beak.
Add a small, subtle curve underneath the main beak shape to define the lower part of the beak, giving it dimension.
Think of the beak as a flattened, elongated “U” shape attached to the head.
Step 4: Add the Eye
The eye brings your duck to life, giving it personality and focus.
Draw a small circle or oval near the upper front part of the head, above where the beak begins.
Place a smaller, darker dot or solid circle inside the first circle to create the pupil.
You can add a tiny unshaded spot within the pupil to suggest a highlight, making the eye appear shiny and alive.
The placement of the eye can greatly influence your duck’s expression, so experiment slightly until it looks just right.
Step 5: Define the Wings and Tail
Now we’ll add the characteristic shapes of the duck’s wings and tail, making it look ready to paddle or waddle.
Draw a large, soft curve within the upper half of the body oval to suggest the folded wing.
This curve should start near the middle of the back and gently sweep downwards towards the middle of the body.
Extend a small, slightly fanned-out shape from the back of the body oval to create the tail.
The tail typically points slightly upwards and backwards, giving a sense of movement.
Keep these shapes simple and flowing; we are still working on the basic structure.
Pro Tip: Look at reference photos of ducks to understand the natural curve of their wings and the slight upward tilt of their tails. This observation will help your drawing feel more authentic.
Step 6: Sketch the Legs and Webbed Feet
Ducks have distinct legs and webbed feet, essential for swimming and walking. We’ll add these next.
Draw two short, slightly angled lines extending downwards from the bottom of the body, slightly towards the back.
These lines represent the upper part of the legs.
Attach the webbed feet to the end of these leg lines.
Each foot consists of three main toes connected by webbing. Sketch a slightly flattened “M” or “W” shape for each foot, showing the webbing between the toes.
Remember that ducks often have their legs tucked slightly under their body when floating, so don’t make them too long if you’re drawing a swimming duck.
Step 7: Refine Your Lines and Erase Guides
With all the basic elements in place, it’s time to clean up your drawing and make your duck truly shine.
Go over your preferred lines with a slightly firmer hand or a darker pencil, making them more defined.
Smooth out any jagged edges or awkward connections, ensuring all the parts flow together naturally.
Carefully erase all the initial light guide lines you drew in Step 1 and any other construction lines that are no longer needed.
This step reveals the clean, finished outline of your duck.
Step 8: Add Feather Details and Texture
Details bring your duck to life, adding texture and realism. Don’t overdo it; subtle touches are often most effective.
Sketch a few short, overlapping curved lines on the wing and tail to suggest individual feathers.
Add a small nostril line on the beak, just above the curve of the lower beak.
You can also add a few subtle ripples around the duck’s body if you imagine it floating on water.
These small additions make a big difference in the final appearance.
Step 9: Introduce Basic Shading (Optional)
Shading adds depth and dimension, making your duck appear less flat and more three-dimensional.
Decide on a light source. Imagine where the light is coming from (e.g., from the top left).
Apply light pencil strokes to the areas that would be in shadow, such as the underside of the body, beneath the head, or the inner parts of the wing.
Use a lighter touch for highlights, leaving some areas untouched to catch the imaginary light.
Practice varying your pencil pressure to create different shades of gray.
Pro Tip: For smooth shading, try holding your pencil at an angle, using the side of the lead rather than the tip. This creates softer, broader strokes. You can also use a blending stump or even your finger to smooth out graphite.
Step 10: Final Review and Enhancements
Take a step back and look at your completed duck. This final review helps you catch any last adjustments.
Check for any areas that might need a bit more definition or a touch more erasing.
Consider adding a simple background element, like a few blades of grass or a water line, to give your duck a context.
You can also go over the darkest lines with a slightly darker pencil (like a 4B) or a fine-tip pen to make them pop.
Celebrate your creation! You’ve successfully drawn a duck.
Common Mistakes to Avoid
Disproportionate Body Parts
A common pitfall is making the head too small or too large for the body, or the neck too long or too short. This can make your duck look awkward.
To correct this, always start with those initial light guide shapes. Step back frequently to check the overall balance and scale of your drawing before committing to darker lines.
Stiff, Angular Lines
Many beginners tend to draw with short, choppy, and straight lines, resulting in a very stiff-looking duck. Ducks are made of soft curves and fluid forms.
Practice drawing with your whole arm, making long, sweeping motions. Embrace the natural curves of the duck’s body, neck, and beak. Loosen up your grip on the pencil.
Ignoring Guide Lines
Sometimes artists get eager and skip the initial light sketching phase, trying to draw perfect lines from the start. This often leads to frustration and a messy drawing.
Always start with very light guide lines. These are your safety net. They allow you to experiment with placement and proportion without damaging your paper. Only commit to darker lines once you are satisfied with the underlying structure.
Rushed Details
Jumping straight to feathers or eye details before the main form is solid can make your duck look busy and unrefined. Details should enhance, not define, the form.
Work from general to specific. Establish the overall shape first, then add bigger features, and only then move to smaller details like feathers or texture. This layering approach builds a strong foundation.
Troubleshooting
My Duck Looks Flat and Lifeless
If your duck lacks dimension, it might be due to a lack of shading or uniform line weight. A flat drawing doesn’t have a sense of light and shadow.
Try adding some basic shading, even just light pencil strokes, to the underside of the duck or areas that would naturally be in shadow. Vary your line weight by pressing harder on lines facing away from the light source and lighter on lines facing it.
My Lines Are Messy and Uneven
Messy lines often come from pressing too hard on your initial sketches or trying to draw a perfect line in one go. This can make your drawing look hesitant.
Practice drawing very lightly with multiple, overlapping strokes for your initial shapes. This allows you to find the right curve before committing. Use a good quality eraser to clean up stray marks once you’ve chosen your final lines.
I Can’t Get the Beak Shape Right
The duck’s beak can be tricky because it’s both rounded and somewhat flattened. It’s easy to make it too pointed or too wide.
Think of the beak as a simple, slightly rounded wedge or a flattened “U” shape attached to the head. Break it down into two lines that diverge from the head and then connect with a gentle curve. Observing real duck beaks from various angles can greatly help.
Key Takeaways
- Always begin with light, basic shapes to establish proportion and placement.
- Use smooth, flowing curves for a natural and graceful duck appearance.
- Don’t be afraid to use an eraser; it’s an essential tool for refining your drawing.
- Build your drawing from general forms to specific details, step by step.
- Practice light shading to add depth and make your duck look more three-dimensional.
- Observe real ducks or reference photos to understand their unique characteristics.
Frequently Asked Questions
What kind of pencil should I use for drawing?
For beginners, an HB or 2B graphite pencil is ideal. HB is great for lighter guide lines and general sketching, while a 2B offers a slightly darker line for defining your final drawing and light shading. A kneaded eraser is also highly recommended as it lifts graphite without smudging.
How can I make my duck drawing more unique?
Once you’re comfortable with the basic form, experiment with different poses (swimming, standing, preening), add details like water droplets or reflections, or even give your duck a little hat or accessories. Varying feather patterns or adding a simple background can also personalize your artwork.
Is this guide suitable for children?
Absolutely! The step-by-step approach, starting with simple shapes, is very accessible for children. Encourage them to draw lightly and not worry about perfection. The focus should be on having fun and building confidence in their drawing abilities.
How can I improve my drawing skills faster?
Consistent practice is key. Try to draw a little bit every day, even if it’s just for 15 minutes. Draw from observation (real objects or photos), experiment with different subjects, and don’t be afraid to make mistakes. Each drawing, perfect or not, is a learning experience.
Our Top Recommended Finds
- Sketchbook with Quality Paper: A good sketchbook with paper that can handle erasing and light shading will make your drawing experience much more enjoyable and prevent bleed-through.
- Graphite Pencil Set: A set with varying hardness (e.g., 2H, HB, 2B, 4B) allows you to achieve a wider range of tones, from very light guide lines to rich, dark shadows.
- Kneaded Eraser: Unlike traditional rubber erasers, a kneaded eraser can be molded to a point for precise erasing and lifts graphite without leaving eraser dust or damaging the paper surface.
Embrace Your Inner Artist Today
You’ve just taken a fantastic step in your creative journey by drawing a duck.
This simple act of creation builds confidence and helps you see the world with a fresh perspective.
Don’t stop here. Consider trying another animal, perhaps a graceful swan or a playful cat, using the same step-by-step approach.
Keep practicing, keep observing, and most importantly, keep enjoying the process of bringing your imagination to life on paper.