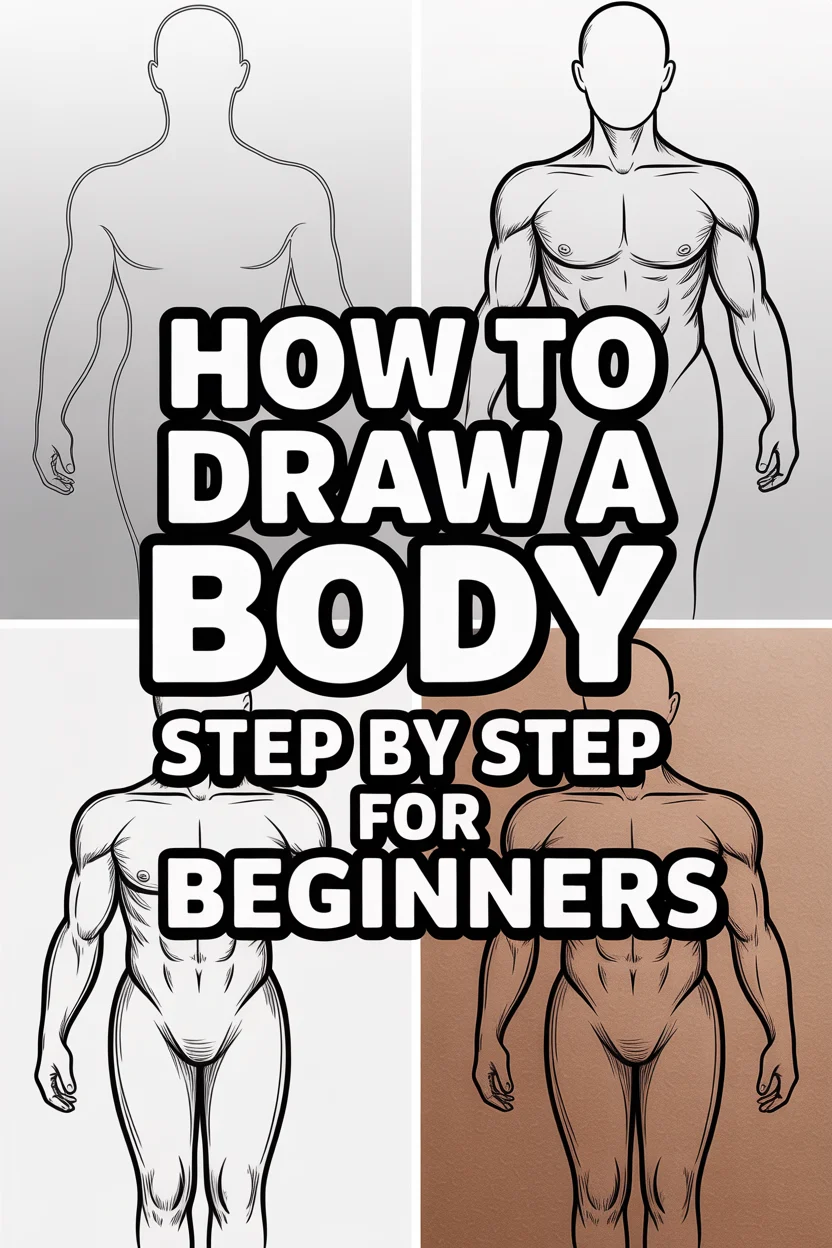
🎨 How To Draw A Body Step By Step For Beginners
Learning to draw the human body can feel incredibly daunting at first.
I remember staring at blank pages, feeling overwhelmed by complex anatomy and proportions.
This guide will break down the process into simple, manageable steps, building your confidence from the ground up.
Quick Overview
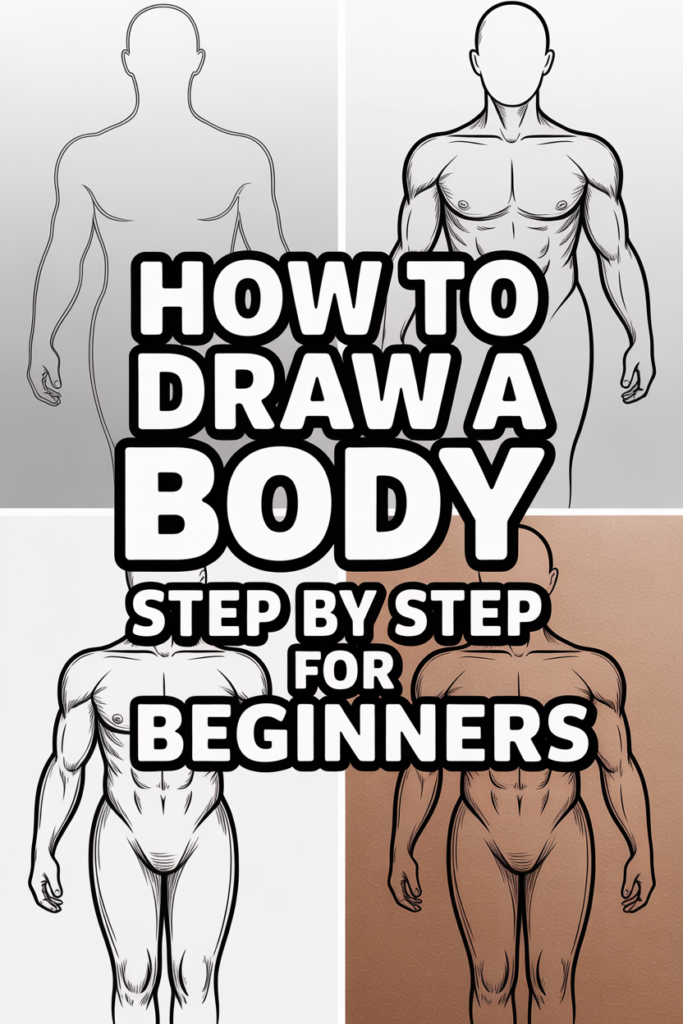
This guide will walk you through the fundamentals of constructing a human body, focusing on simplified shapes and proportions.
You’ll learn to see the body not as an intimidating whole, but as a series of connected forms.
- Time needed: 1-2 hours for the initial practice, ongoing for mastery
- Difficulty: Beginner
- What you’ll need: Pencil, eraser, paper
Step-by-Step Instructions
Step 1: Gather Your Tools and Warm Up
Before you begin, make sure you have a comfortable drawing setup. Good lighting and a clear workspace are essential for focus.
Grab your pencil, a reliable eraser, and a stack of paper. You’ll want plenty of room to experiment without fear.
Pro Tip: Do a quick warm-up by drawing circles, squares, and straight lines for five minutes. This loosens your hand and gets your brain ready to draw.
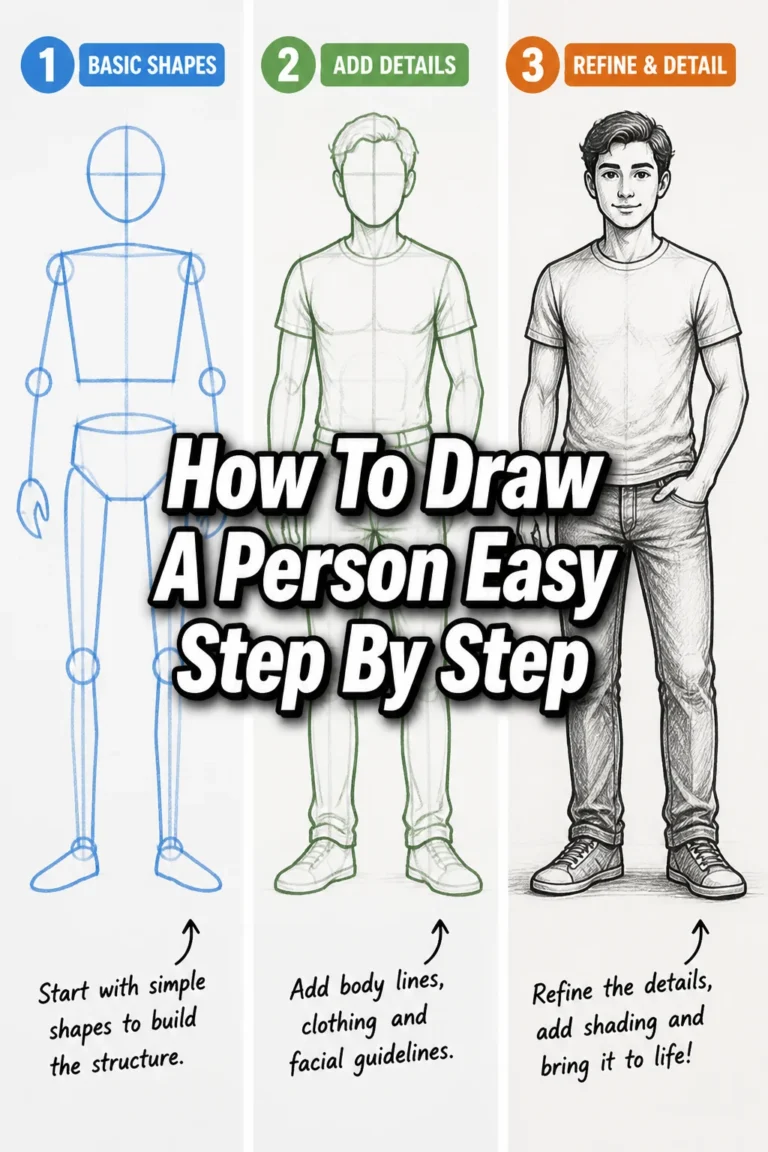
Step 2: Establish the Head and Central Line
Start by drawing a simple oval for the head at the top of your page. Don’t worry about perfect realism yet; this is just a placeholder.
Next, draw a light, vertical line extending downwards from the center of the head. This is your central axis, crucial for balance and symmetry.
This line will guide the spine and ensure your figure stands upright. Keep it very light, as it’s a construction line.
Step 3: Block Out the Torso with Simple Shapes
Below the head, draw two primary shapes for the torso. A slightly wider, inverted trapezoid or square shape works well for the rib cage.
Underneath that, draw a smaller, narrower shape for the pelvis, like an inverted rounded triangle or a simple box.
Leave a small gap between these two shapes to represent the waist, where the body bends. This separation allows for natural movement.
Pro Tip: Think of these shapes as building blocks. They don’t need to be perfect, just approximations of volume and placement. Focus on their relative sizes and positions.
Step 4: Map Out the Limbs with Stick Lines
Now, connect the torso to the limbs using simple stick lines. From the sides of the rib cage, draw lines for the upper arms.
From the sides of the pelvis, draw lines for the upper legs. These lines represent the bones of the limbs.
Add small circles for joints: shoulders, elbows, wrists, hips, knees, and ankles. These circles indicate points of rotation and flexibility.
Step 5: Define Proportions and Joint Placement
This is where proportions become important, even in a simplified way. A common guideline is that the body is roughly 7-8 heads tall.
Use your initial head oval as a measuring unit. The crotch usually falls around the halfway point of the entire figure.
The elbows often align with the waist, and the wrists with the crotch area. Adjust your stick lines and joint circles to reflect these general guidelines.
Step 6: Flesh Out the Limbs with Basic Forms
Now, transform your stick limbs into more volumetric shapes. Use cylinders or slightly tapered ovals for the upper arms and forearms.
Do the same for the upper legs and lower legs. Think of these as simple pipes or tubes, giving mass to your figure.
Connect these cylindrical forms smoothly over the joint circles you drew earlier. This starts to build a sense of muscle and bone.
Pro Tip: When drawing these forms, consider the natural taper of limbs. Arms and legs are generally thicker at the top and narrow slightly towards the wrists and ankles.
Step 7: Connect the Forms and Refine the Silhouette
Begin to smooth out the connections between your head, torso shapes, and limb forms. Erase any overlapping construction lines you no longer need.
Start to define the curves of the body. Think about the shoulders connecting to the neck, the waist curving inward, and the hips flaring out slightly.
Look at your drawing and imagine the overall outline, the silhouette. Does it look balanced and natural, even in this simplified stage?
Step 8: Add Basic Anatomical Cues
With your basic structure in place, you can start to hint at major anatomical landmarks. Lightly suggest collarbones across the upper chest.
Indicate the curve of the rib cage and the subtle indentations of the abdomen. Add a slight curve for the spine if the back is visible.
For legs, suggest the curve of the quadriceps and calves. These small details begin to bring your simplified figure to life.
Step 9: Detail Hands, Feet, and Basic Face
For hands and feet, start with very simple shapes. A rough mitten shape for the hand and a wedge for the foot is perfectly fine for beginners.
You can add basic lines to suggest fingers and toes later. For the face, place simple guidelines for eyes, nose, and mouth.
These details are often complex, so keep them extremely simplified. The goal is to complete the overall figure.
Step 10: Clean Up and Finalize Your Lines
Take your eraser and lighten all your initial construction lines. Then, go over your preferred final lines with a slightly firmer hand.
Make your outline clearer and more confident. You can refine curves and smooth out any jagged edges.
Step back and observe your completed figure. This practice builds your eye for form and proportion over time.
Common Mistakes to Avoid
Ignoring Proportions
Many beginners rush to draw details without establishing correct proportions first. This often leads to figures with unusually long limbs or tiny heads.
Always start by mapping out the head height and using it as a unit of measure for the rest of the body. Take time to check your limb lengths against the torso.
Drawing Stiff, Symmetrical Figures
A common pitfall is drawing figures that look rigid, like mannequins, with perfectly symmetrical limbs. Real bodies are rarely perfectly symmetrical and often have a slight natural curve or weight shift.
Introduce a slight “S” curve to the spine or shift the hips slightly to one side. This adds dynamism and makes your figure appear more alive and natural.
Focusing on Details Too Soon
It’s tempting to jump straight to drawing eyes, fingers, or intricate clothing. However, doing so before the underlying structure is sound can result in a figure that looks “off,” even if the details are well-drawn.
Always build from general to specific. Establish the overall form, proportions, and pose first. Details come last, layered onto a strong foundation.
Pressing Too Hard with Initial Lines
Using a heavy hand for your initial sketch lines makes them difficult to erase completely later. This can leave distracting smudges and muddy your final drawing.
Start with very light, almost feathery lines for all your construction and guide marks. As you become more confident in a line, you can darken it.
Troubleshooting
My Figure Looks Stiff and Lifeless
If your drawing feels too rigid, try introducing a slight “contrapposto” pose. This means shifting the weight to one leg, causing the hips and shoulders to tilt in opposite directions.
Experiment with drawing a curved central axis instead of a perfectly straight one. Even a subtle curve can add a lot of natural flow and movement to your figure.
My Proportions Feel Wrong
Proportion issues are very common. Use your head unit as a consistent measuring tool. Visually compare the length of the torso to the legs, or the upper arm to the forearm.
Don’t be afraid to use reference images. Observe how real human bodies are proportioned. Practice drawing simple stick figures over photos to train your eye.
I Can’t Get the Limbs to Connect Smoothly
If your limbs look disjointed, focus on the joint areas. Ensure your connecting cylinders or ovals flow smoothly over the joint circles.
Think of the muscles and skin stretching over the bones. Avoid sharp angles at joints unless intentionally depicting a very angular pose.
Key Takeaways
- Always start with basic shapes and a central axis to establish your figure’s foundation.
- Use the head as a consistent unit of measurement to maintain correct proportions throughout the body.
- Build your figure from general forms (torso, limbs) before adding specific details like hands or facial features.
- Practice drawing light, erasable construction lines to allow for easy adjustments and refinements.
- Introduce dynamic poses and subtle curves to prevent your figures from appearing stiff or unnatural.
- Consistent practice and observation of real-world anatomy are crucial for improvement.
Frequently Asked Questions
How can I make my poses more dynamic?
To create more dynamic poses, focus on the “line of action.” This is an imaginary curve that runs through the main thrust of the body. Instead of a straight spine, think about an “S” curve or a strong diagonal. Exaggerating this line slightly can add energy and movement.
Should I use reference photos?
Absolutely! Using reference photos is highly recommended, especially for beginners. They help you observe real anatomy, proportions, and how muscles and skin behave in different poses. You can trace over them initially to understand forms, then try to draw them freehand.
What’s the best way to practice proportions?
A great way to practice proportions is to draw multiple quick stick figures on a single page, focusing only on the head height and the placement of major joints. Don’t worry about details. This repetitive exercise trains your eye to estimate distances and relationships quickly.
How long does it take to get good at drawing bodies?
Learning to draw bodies is a journey, not a destination. Consistent practice is key. With dedicated effort, you can see noticeable improvement in a few months. Mastery, however, takes years of study and continuous drawing. Enjoy the process of learning and growing!
Our Top Recommended Finds
- Good Quality Sketch Pencils (HB, 2B, 4B): These offer a range of hardness for light sketching to darker lines, making your workflow smoother.
- Kneaded Eraser: Unlike standard erasers, a kneaded eraser lifts graphite without damaging paper and can be molded for precise erasing.
- Large Sketchbook (9×12 inches or larger): Gives you ample space to draw full figures without feeling cramped, encouraging larger, more confident strokes.
Your Creative Journey Begins Today
You’ve taken the first brave steps into understanding human anatomy through drawing. This guide provides a solid foundation, but the real learning comes from doing.
Don’t be afraid of imperfect lines or drawings that don’t quite match your vision. Every stroke is a lesson, every sketch a step forward.
Keep practicing, keep observing, and consider exploring topics like gesture drawing or specific anatomical studies next. Grab your pencil and start creating your next figure right now!