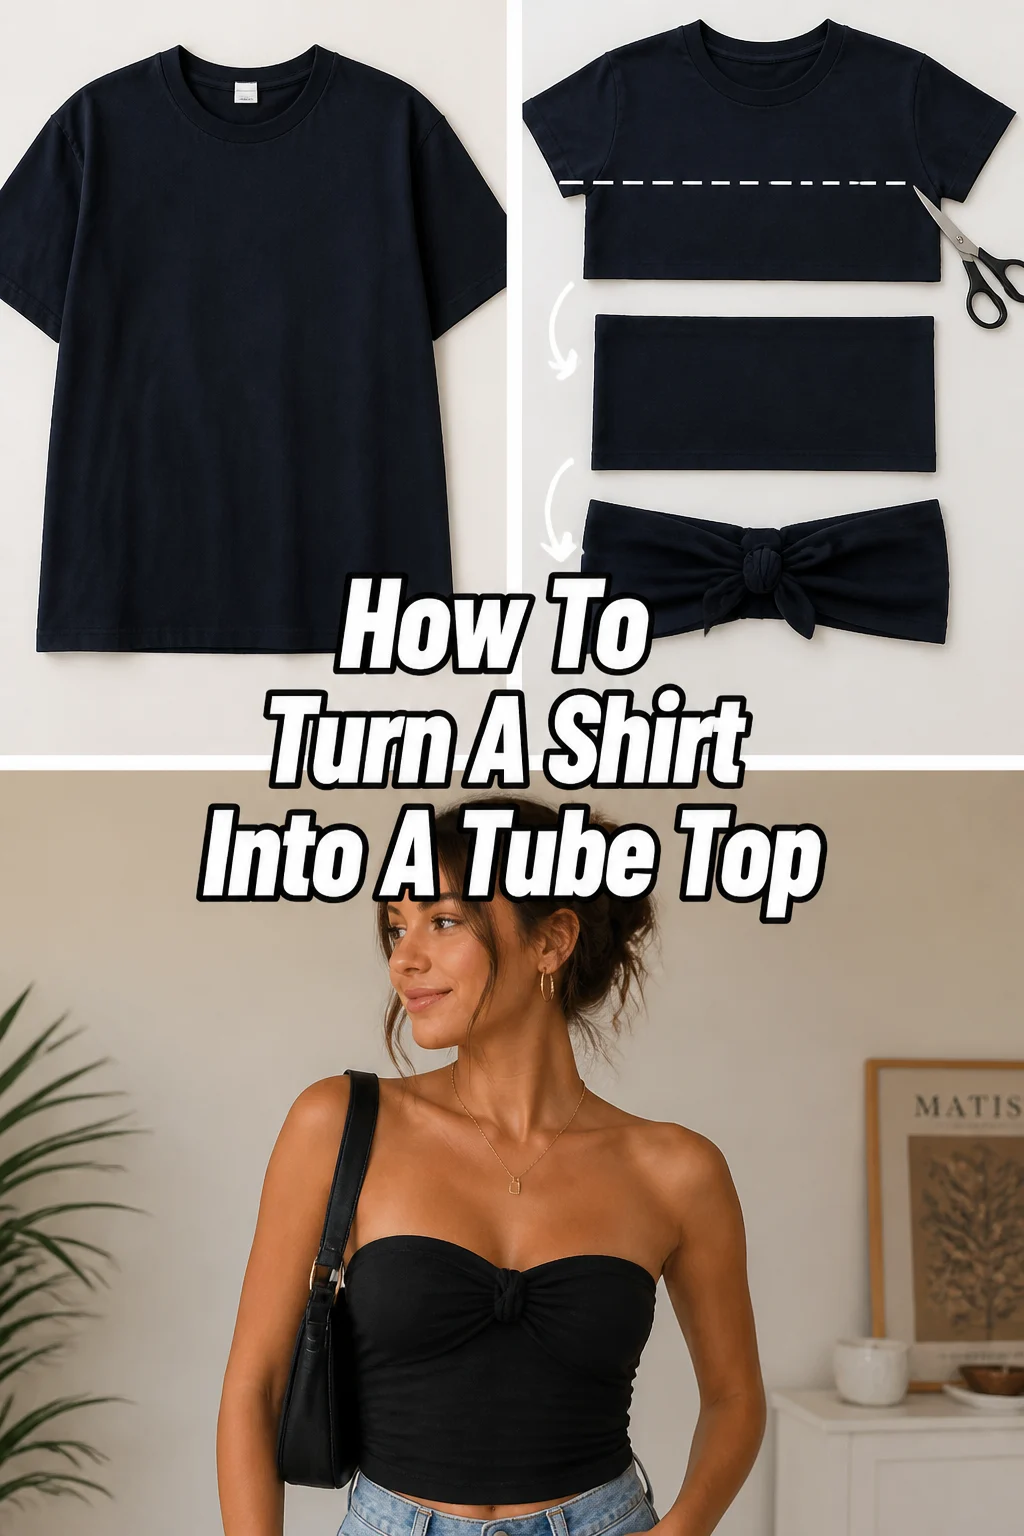
✂️ How To Turn A Shirt Into A Tube Top
Transforming an old shirt into a stylish tube top is a fantastic way to refresh your wardrobe. It’s a creative project that combines fashion with sustainability, giving new life to forgotten garments. I once needed a specific top for a beach day and whipped one up in minutes, which sparked my love for this simple DIY.
This guide shares everything I learned, ensuring you can confidently create your own custom tube top.
Quick Overview
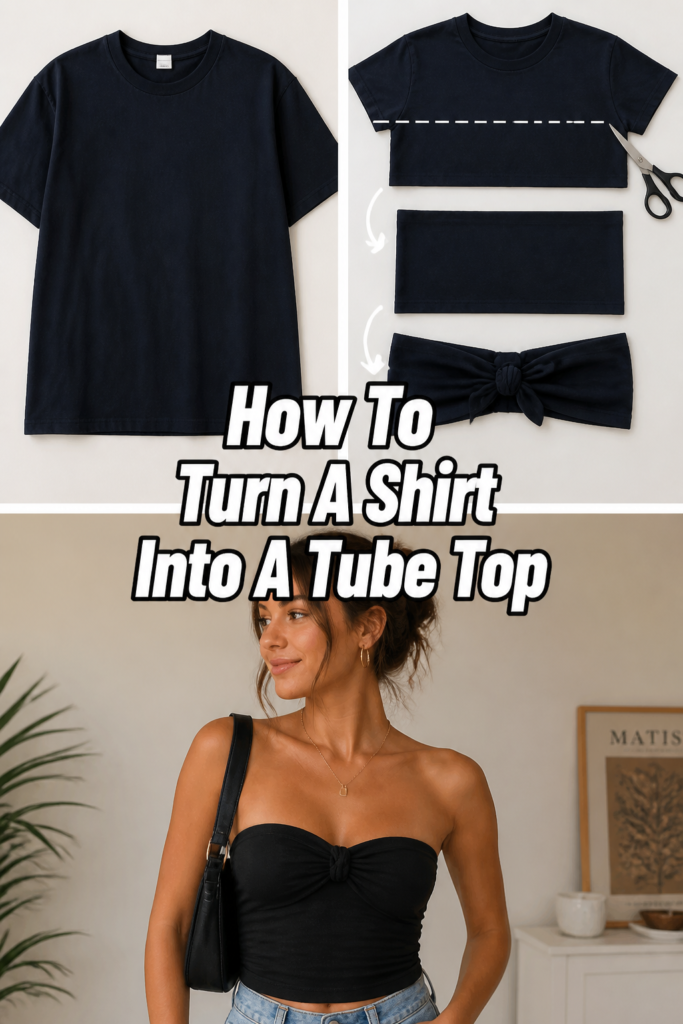
This project will empower you to repurpose a favorite tee into a chic, comfortable tube top. You’ll learn how to measure, cut, and secure your fabric for a perfect fit. Get ready to embrace your inner fashion designer and craft a unique piece.
Time needed: 30-60 minutes (no-sew), 60-90 minutes (with basic sewing)
Difficulty: Beginner
What you’ll need: An old t-shirt, scissors, measuring tape, fabric marker or chalk, safety pins or fabric glue.
Step-by-Step Instructions
Step 1: Choose Your Perfect Shirt
The foundation of a great tube top is the right shirt. Select a t-shirt made from a stretchy, comfortable fabric like cotton, jersey, or a blend. Avoid stiff materials as they won’t drape well or stay up without significant alterations.
Consider the shirt’s existing width; a wider shirt offers more gathering or a looser fit, while a snugger one will provide a more fitted silhouette. Look for shirts that are slightly oversized for a comfortable, non-constricting feel.
Step 2: Prepare Your Workstation
Clear a flat, well-lit surface, like a table or clean floor, to lay out your shirt. This ensures accurate measurements and precise cuts. Gather all your tools before you begin, so everything is within easy reach.
Having your scissors, measuring tape, and marking tools ready prevents interruptions. A smooth, even surface is crucial for preventing wrinkles or distortions in the fabric while you work.
Pro Tip: Iron your shirt before starting. A smooth, wrinkle-free fabric is much easier to measure and cut precisely, leading to a neater final product.
Step 3: Determine Your Desired Length
Measure from your underarms down to where you want the tube top to end. This determines the overall length of your new garment. Remember to add about 1-2 inches for hemming at the top and bottom if you plan to finish the edges.
Hold the measuring tape against your body to visualize the ideal length. Consider whether you want a cropped look, a standard top, or something longer that reaches your waist or hips.
Step 4: Mark Your Cutting Lines
Lay your chosen shirt flat and smooth it out completely, removing any wrinkles. Using your fabric marker or tailor’s chalk, mark a straight line across the shirt at your desired length, starting from the bottom hem. This will be the new bottom edge of your tube top.
Next, mark another line across the shirt, just below the armpits, or exactly where you want the top edge of your tube top to sit. Ensure this line is straight and parallel to the bottom line. Double-check your measurements from step 3 to confirm accuracy.
Step 5: Make Your Cuts
With your lines clearly marked, carefully cut along both the top and bottom lines you drew. Use sharp fabric scissors for clean, precise edges. Take your time to ensure the cuts are as straight as possible.
Cutting through both layers of the shirt simultaneously ensures symmetry. Remember to discard the sleeves and the upper part of the shirt, keeping only the main body section.
Step 6: Hem the Top Edge (No-Sew Options)
To prevent fraying and create a neat finish, secure the raw top edge of your newly cut fabric. For a no-sew approach, you have a few excellent options.
One popular method is to use fabric glue; fold down the raw edge by about half an inch to an inch, apply a thin line of glue, and press firmly. Another option is fusible web tape; place it along the folded edge, then iron it according to the product instructions for a strong bond.
You can also create a simple rolled hem by folding the edge over twice and securing it with small, discreet safety pins placed on the inside. This offers flexibility and a quick fix. Each method provides a clean, finished look without needing a sewing machine.
Step 7: Hem the Bottom Edge (Optional No-Sew)
While the bottom edge of your shirt already has a finished hem, you might want to adjust it if you cut it shorter. If you trimmed the original hem, you can finish this new raw edge using the same no-sew methods from Step 6.
Fold the raw bottom edge up by about half an inch to an inch and secure it with fabric glue or fusible web tape. This creates a cohesive and polished look for your entire tube top. If you kept the original hem, simply skip this step.
Step 8: Add Elastic or Extra Security (Optional)
For a more secure fit, especially if your fabric isn’t extremely stretchy, consider adding elastic to the top edge. If you used fabric glue or fusible web for the hem, you can carefully create a small casing by folding over the top edge a bit wider. Then, thread a piece of elastic through this casing.
Measure the elastic to be slightly snug around your bust for a secure hold. If sewing, create a channel and stitch it in. For a no-sew alternative, you can also use safety pins to attach elastic directly to the inside of the top hem, ensuring it’s hidden.
Step 9: Try On and Adjust
Once your tube top is assembled, try it on to check the fit and length. Stand in front of a mirror and assess how it sits. Does it feel comfortable? Is it secure?
If it feels too loose, you can gently gather the sides or add more elastic. If it’s too long, you can always trim a little more from the bottom. Make any minor adjustments now to ensure your tube top is perfect.
Step 10: Style Your New Creation
Now for the fun part: style your brand-new tube top! Pair it with high-waisted shorts, skirts, or jeans for a casual look. Layer it under an open button-down shirt or a denim jacket for added flair.
Experiment with accessories like statement necklaces or scarves to personalize your outfit. Your repurposed tube top is a versatile piece ready for many occasions. Enjoy your unique, handmade fashion statement.
Common Mistakes to Avoid
Cutting Too Short
Many beginners get excited and cut the shirt much shorter than intended. This often results in a tube top that’s too revealing or uncomfortable, and once cut, you can’t add fabric back.
Always measure twice and cut once. It’s better to cut a little longer and then trim it down later, rather than ending up with a piece that’s unusable. Account for any hemming you plan to do.
Not Accounting for Fabric Stretch
Different fabrics have varying degrees of stretch. If you choose a shirt with minimal stretch, cutting it to your exact body measurements might make the tube top too tight and difficult to put on.
Always factor in the fabric’s elasticity. For very stretchy fabrics, you might even cut it slightly smaller to ensure a snug fit. For less stretchy materials, ensure you leave enough room for comfort and movement.
Uneven Cuts
Rushing through the cutting process can lead to jagged or uneven edges. These imperfections become very noticeable, especially at the top and bottom hems, making the tube top look unprofessional.
Take your time when cutting, using sharp scissors and following your marked lines precisely. A steady hand and a flat surface are your best friends here. Smooth, even cuts are key to a polished finish.
Forgetting to Secure the Top Edge
Leaving the top raw edge unfinished is a common oversight. This results in fraying fabric, an untidy appearance, and often causes the tube top to roll down or lose its shape over time.
Always finish the top edge, whether by sewing a hem, using fabric glue, or applying fusible web. This step is crucial for both durability and aesthetics, ensuring your tube top stays looking great.
Troubleshooting
Tube Top Keeps Falling Down
If your tube top constantly slides down, the most likely culprit is insufficient elastic or a lack of snugness. The fabric might not be stretchy enough, or your top hem isn’t secure.
To fix this, consider adding a thin strip of elastic to the inside of the top hem. You can create a small casing and thread elastic through it, or simply stitch elastic directly to the inside. Alternatively, use double-sided fashion tape for a temporary hold.
Edges Are Fraying
Fraying edges indicate that the raw seams were not properly finished. This can happen if fabric glue didn’t hold or if a hem wasn’t secured tightly enough.
Reapply fabric glue or fusible web tape to the problematic edges, ensuring strong adhesion. If possible, consider a simple hand stitch to reinforce the hem. For future projects, ensure you’re using enough adhesive or a wider hem.
Tube Top Doesn’t Fit Right
A tube top that feels too loose or too tight often comes down to inaccurate initial measurements. It might also be that the fabric’s stretch was misjudged.
If it’s too loose, you can take in the side seams by hand stitching or applying fabric glue along the inside edges to narrow the garment. If it’s too tight, unfortunately, there’s little you can do besides trying a different, larger shirt. Always test the fit before making permanent modifications.
Key Takeaways
Choose the Right Fabric: Always pick stretchy materials like jersey or cotton blends for comfort and fit.
Measure Accurately: Precision in measuring length and marking cut lines prevents mistakes and ensures a great fit.
Finish Edges Properly: Securing raw edges with glue, fusible web, or sewing prevents fraying and creates a polished look.
Consider Elastic: Adding elastic to the top hem provides extra security and helps the tube top stay in place.
Personalize Your Style: This DIY project encourages creativity and allows you to customize a top to your exact preferences.
Embrace Sustainability: Repurposing old shirts reduces waste and gives new life to forgotten clothing items.
Frequently Asked Questions
Can I use any type of shirt for this project?
While you can technically cut any shirt, highly stretchy fabrics like jersey, cotton blends, or ribbed materials work best. Stiff fabrics like denim or non-stretch cotton will likely not stay up without significant alterations, such as adding a zipper or extensive elastic. Focus on comfort and flexibility.
What if I don’t have fabric glue or a sewing machine?
No problem at all! You can still create a fantastic no-sew tube top. Use fusible web tape, which is activated by an iron, to create strong, durable hems. Alternatively, small, discreet safety pins placed on the inside of a folded hem can secure the edges effectively.
How do I wash my new tube top?
How you wash your tube top depends on how you finished the edges. If you used fabric glue or fusible web, check the product instructions for washing recommendations, as some might require gentle cycles or hand washing. If you sewed the hems, you can typically wash it according to the original shirt’s care label.
Can I make a tube top reversible?
Making a tube top reversible is a wonderful idea for versatility! You would need two shirts of similar size and fabric type. After cutting both, you would essentially layer them, sewing or gluing the top and bottom hems together, and then turning them right side out. This creates a double-layered, reversible garment.
Our Top Recommended Finds
Sharp Fabric Scissors: Invest in a good pair of fabric scissors. They make all the difference in achieving clean, straight cuts without fraying the edges.
Fabric Glue (Washable): A reliable, washable fabric glue offers a strong, no-sew bond for hems. Look for brands specifically designed for clothing.
Measuring Tape & Tailor’s Chalk: These tools are essential for accurate measurements and clear markings, ensuring your cuts are precise and your fit is perfect.
Your Next Style Adventure Awaits
You’ve now mastered the art of transforming a simple shirt into a chic tube top. This project isn’t just about creating a new garment; it’s about unlocking your creative potential and embracing sustainable fashion. Each stitch or glued hem represents a step towards a more personalized and eco-conscious wardrobe.
Don’t let those old shirts gather dust in your closet any longer. Grab your tools, pick a favorite tee, and embark on your next DIY fashion adventure today. The possibilities for customization are endless, and your unique style is waiting to shine.