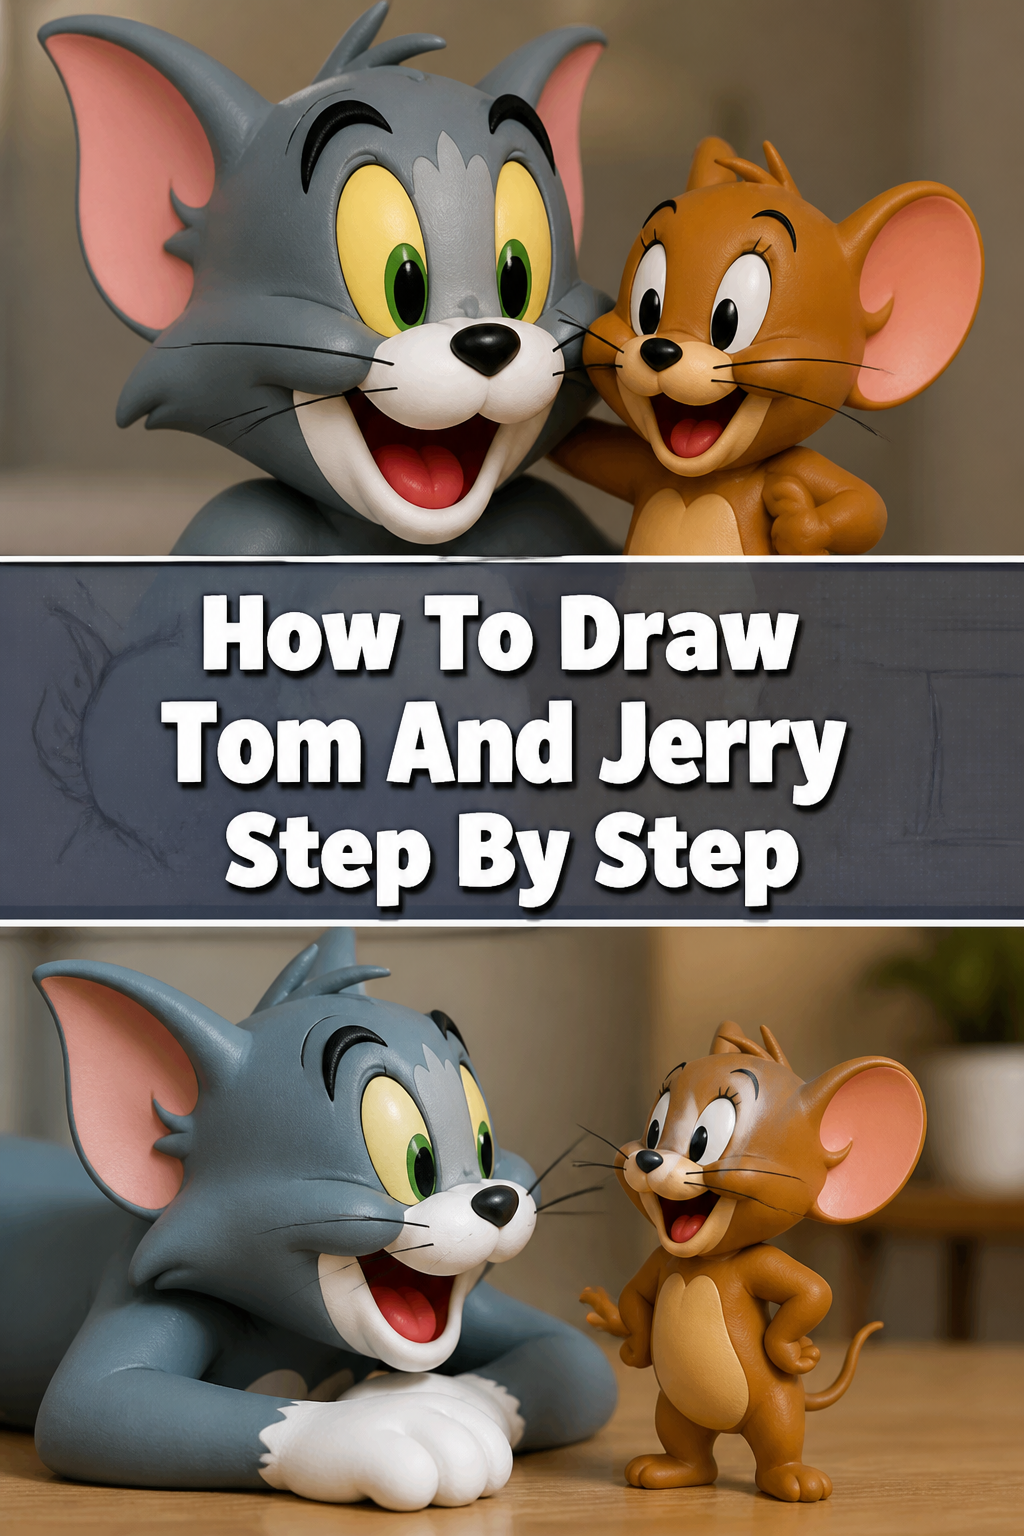
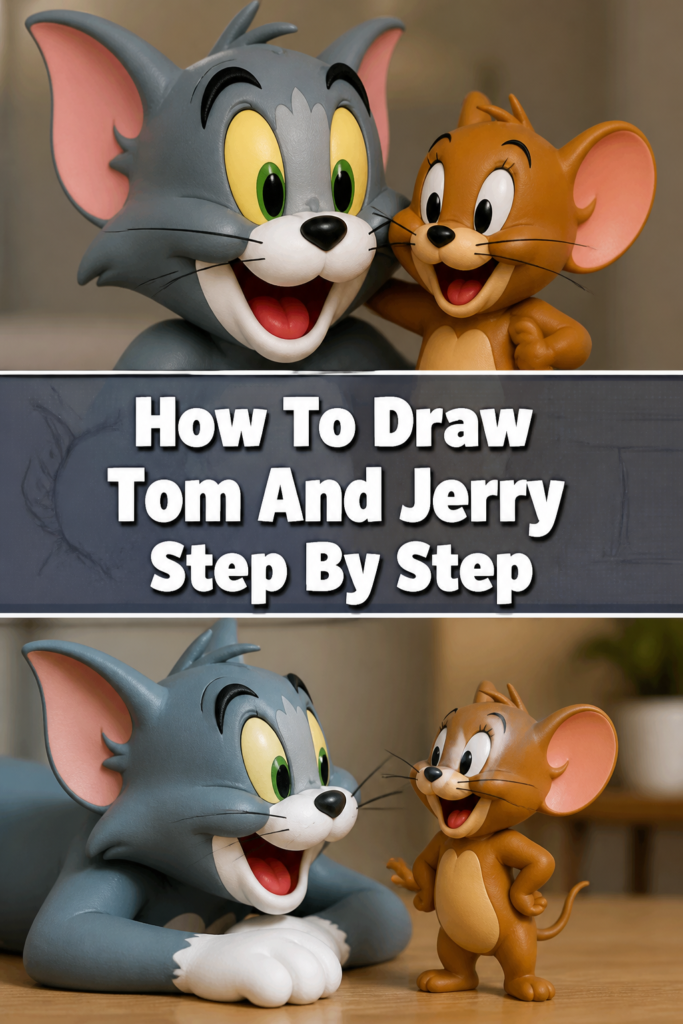
💡 How To Draw Tom And Jerry Step By Step

& Painting
No rigid rules or pretension. Just practical guides, medium comparisons, and encouraging tips to help you enjoy the drawing & painting process.
Remember those Saturday mornings glued to the TV, laughing at Tom’s endless pursuit of Jerry?
I certainly do; those classic cartoons sparked my own interest in drawing.
This guide will help you bring those beloved characters to life on paper, just as I learned to do years ago.
Quick Overview
By following these steps, you’ll create your own rendition of Tom and Jerry, capturing their iconic mischief.
We’ll break down their distinct features into simple, manageable shapes.
- Time needed: 60-90 minutes
- Difficulty: Intermediate
- What you’ll need: Pencil (HB, 2B), eraser, paper, optional: black fine-liner, colored pencils/markers
Step-by-Step Instructions
Step 1: Sketch the Basic Shapes for Tom
Begin by lightly sketching the foundational shapes for Tom. Think of his head as a large oval, slightly wider at the top.
Draw a smaller, more elongated oval below and to the left for his body, connecting it to the head with a curved line for his neck.
Add a guideline down the center of his head and another across, slightly below the halfway mark, to help with facial placement.
Pro Tip: Keep your initial sketches very light. These are just guides that you’ll erase later, so don’t press too hard with your pencil.
Step 2: Outline Tom’s Features and Limbs
Refine Tom’s head shape, making his cheeks slightly wider and adding small bumps for his ears on top of the head oval.
Sketch his snout as a small, rounded rectangle protruding from the lower part of his face. His eyes are large ovals positioned on either side of the vertical guideline, above the horizontal one.
Draw two curved lines for his arms extending from the upper body, and two smaller, thicker shapes for his legs and feet at the bottom.
Step 3: Add Tom’s Details
Detail Tom’s face by adding his small, triangular nose at the end of his snout, and a wide, mischievous smile stretching across his face.
Place his pupils within the eyes and draw his distinct eyebrows, often furrowed or raised. Add small tufts of fur inside his ears.
Flesh out his paws with simple rounded shapes, and give him a long, thin, curved tail extending from his lower back.
Step 4: Sketch the Basic Shapes for Jerry
Start Jerry’s head with a small, almost perfect circle. Below it, draw a slightly larger, elongated oval for his body.
Connect these two shapes with a short, curved line for his neck. These initial shapes establish his overall proportion.
Place a vertical guideline down the center of his head and a horizontal one across the middle for facial symmetry.
Step 5: Outline Jerry’s Features and Limbs
Shape Jerry’s head more definitively, giving him small, rounded cheeks and two large, circular ears on top.
Draw his snout as a small, rounded bump at the lower front of his face. His eyes are two large, expressive ovals positioned on either side of the vertical guideline.
Add thin, stick-like lines for his arms and legs, ending in small, rounded paws.
Pro Tip: Jerry is much smaller and rounder than Tom. Pay attention to the size difference between the two characters if you’re drawing them together.
Step 6: Add Jerry’s Details
Give Jerry his signature smile, a wide curve that often shows his two front teeth. His nose is a tiny, dark oval at the tip of his snout.
Draw his pupils within his eyes and add small, expressive eyebrows. Detail his ears with inner lines to give them depth.
Refine his paws, making them slightly more defined, and draw his long, thin, curved tail, often appearing playful.
Step 7: Refine and Clean Up
Go over your entire drawing with a slightly darker pencil or fine-liner. Smooth out any jagged lines and solidify the outlines of both characters.
Erase all the initial light sketch lines and guidelines that are no longer needed. This step makes your drawing crisp and clean.
Add any final small details, like whiskers for Jerry or a few fur lines on Tom’s body, to enhance their texture.
Step 8: Ink and Color (Optional)
Carefully trace over all your refined pencil lines with a black fine-liner pen. Ensure all lines are smooth and consistent.
Erase any remaining pencil marks after the ink has dried completely to prevent smudging.
Color Tom using shades of blue-gray for his fur, a lighter color for his belly and mouth area, and pink for his nose and inner ears. Color Jerry with shades of brown-orange, a lighter belly, and pink for his nose, inner ears, and tail.
Common Mistakes to Avoid
Disproportionate Heads and Bodies
Many beginners make the mistake of drawing heads too large or too small for the body, or vice versa. This can make the characters look off-balance and less recognizable.
Always start with basic shapes and compare their sizes to each other before adding details. Use light lines to easily adjust proportions.
Lack of Expressive Eyes
Tom and Jerry are known for their incredibly expressive faces, especially their eyes. Drawing generic circles without considering their emotions can make the characters feel lifeless.
Pay close attention to the shape and placement of their pupils and eyebrows to convey the mischief, fear, or anger that defines their personalities.
Stiff Poses
The duo is always in motion, whether running, chasing, or reacting comically. Drawing them in stiff, static poses doesn’t capture their dynamic nature.
Think about the action they’re performing. Use curved lines for limbs and bodies to suggest movement and energy, even in a still drawing.
Neglecting Tail Placement
The tails of Tom and Jerry are almost characters in themselves, often conveying emotion or adding to the comedy. Forgetting them or placing them awkwardly can detract from the drawing.
Ensure tails follow a natural curve that reflects the character’s pose and personality, whether it’s a swish of anger or a curl of surprise.
Troubleshooting
My Lines Look Shaky
Shaky lines often result from drawing too slowly or holding your pencil too tightly. This can make your characters look fuzzy or unpolished.
Try to draw with your whole arm rather than just your wrist, using confident, fluid strokes. Practice drawing long, smooth curves on a separate sheet of paper to build muscle memory.
Characters Don’t Look Like Tom and Jerry
If your drawing doesn’t quite resemble the iconic duo, it’s usually an issue with proportions or key features. Small deviations can significantly alter recognition.
Go back to the basic shapes and compare them strictly to reference images. Pay close attention to the unique snout, ear, and eye shapes that define each character.
Difficulty with Symmetry
Achieving symmetry, especially with faces, can be challenging. One eye might be higher than the other, or one side of the face might be wider.
Use your initial vertical and horizontal guidelines diligently. Flip your paper over and look at your drawing in a mirror; this often reveals asymmetry you missed.
Key Takeaways
- Start with basic shapes: Ovals and circles form the foundation for both Tom and Jerry.
- Use light lines initially: This allows for easy corrections and refinements as you build your drawing.
- Focus on expressive features: Their eyes, mouths, and body language are key to capturing their personalities.
- Pay attention to proportions: The relative sizes of heads, bodies, and limbs are crucial for recognition.
- Refine and clean up: Erasing guidelines and solidifying lines makes your final drawing crisp.
- Practice regularly: Drawing is a skill that improves with consistent effort and observation.
Frequently Asked Questions
Can I draw them in different poses?
Absolutely! Once you master their basic forms, try sketching them in various action poses. Look at screenshots from the cartoons for inspiration on dynamic movement and expressions.
What if my drawing doesn’t look perfect the first time?
That’s completely normal! Drawing is a skill that develops over time. Don’t be discouraged by initial attempts. Focus on learning from each drawing and enjoying the process.
Should I use a ruler for the guidelines?
While a ruler can ensure straight lines, freehand guidelines are often preferred in drawing to maintain a more organic feel. The goal is to develop a steady hand and eye for proportion without relying on tools.
Is it better to draw Tom or Jerry first?
It doesn’t strictly matter, but many artists prefer to draw the larger character (Tom) first to establish the overall scale, then add the smaller character (Jerry) in relation to him. This helps maintain consistent sizing.
Our Top Recommended Finds
- Sketching Pencils Set: A good range of HB, 2B, 4B pencils gives you versatility for light sketches and darker outlines.
- Kneaded Eraser: Perfect for lifting pencil marks without damaging the paper, and it won’t leave eraser dust.
- Fine-liner Pens: A set of black fine-liners in various tip sizes (e.g., 0.1, 0.3, 0.5mm) helps create clean, professional outlines.
Your Next Artistic Adventure Awaits
You’ve just taken a fantastic step into the world of cartooning by drawing Tom and Jerry.
This journey of creativity is just beginning, and every line you draw builds your skill and confidence.
Keep practicing, perhaps trying other classic cartoon characters, and watch your artistic abilities grow with each new sketch.
& Painting
No rigid rules or pretension. Just practical guides, medium comparisons, and encouraging tips to help you enjoy the drawing & painting process.