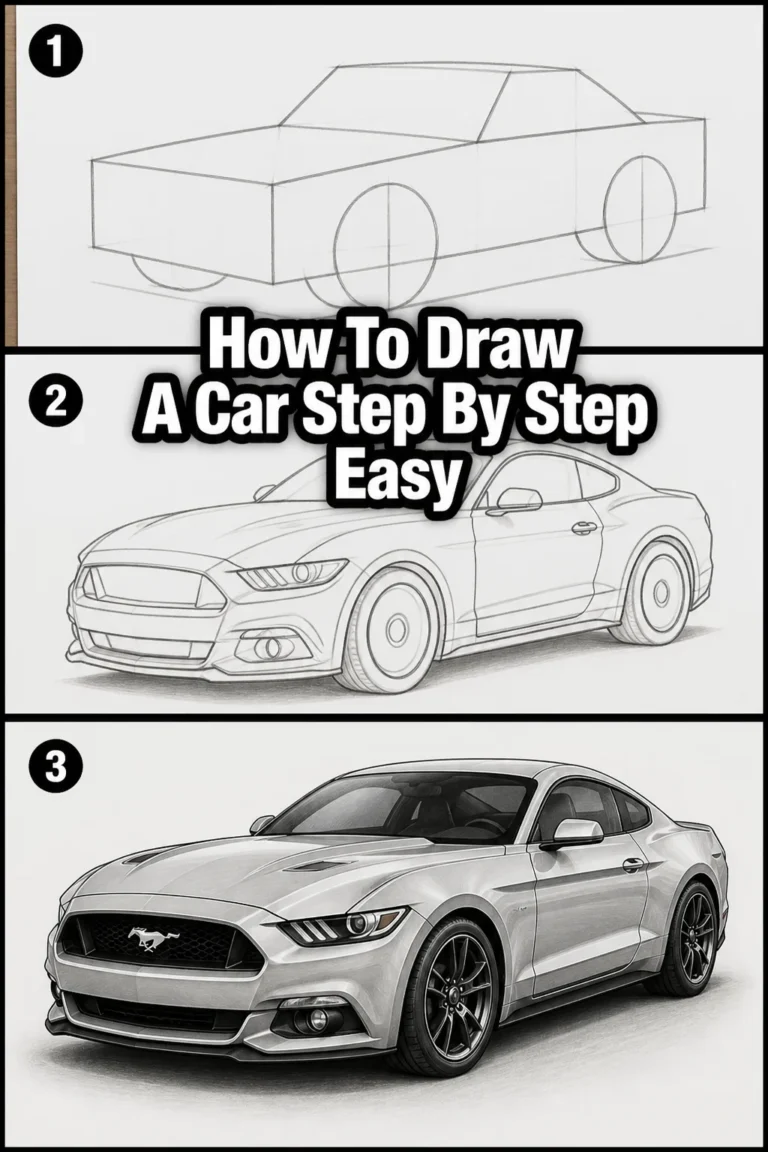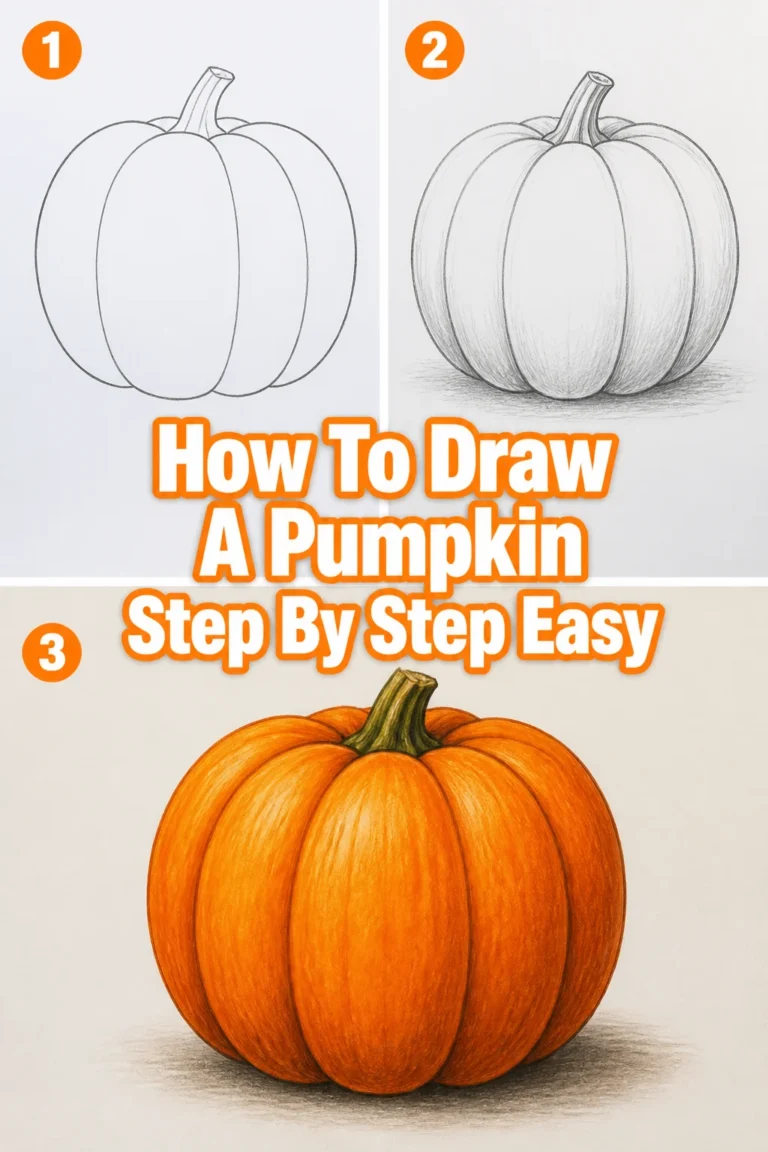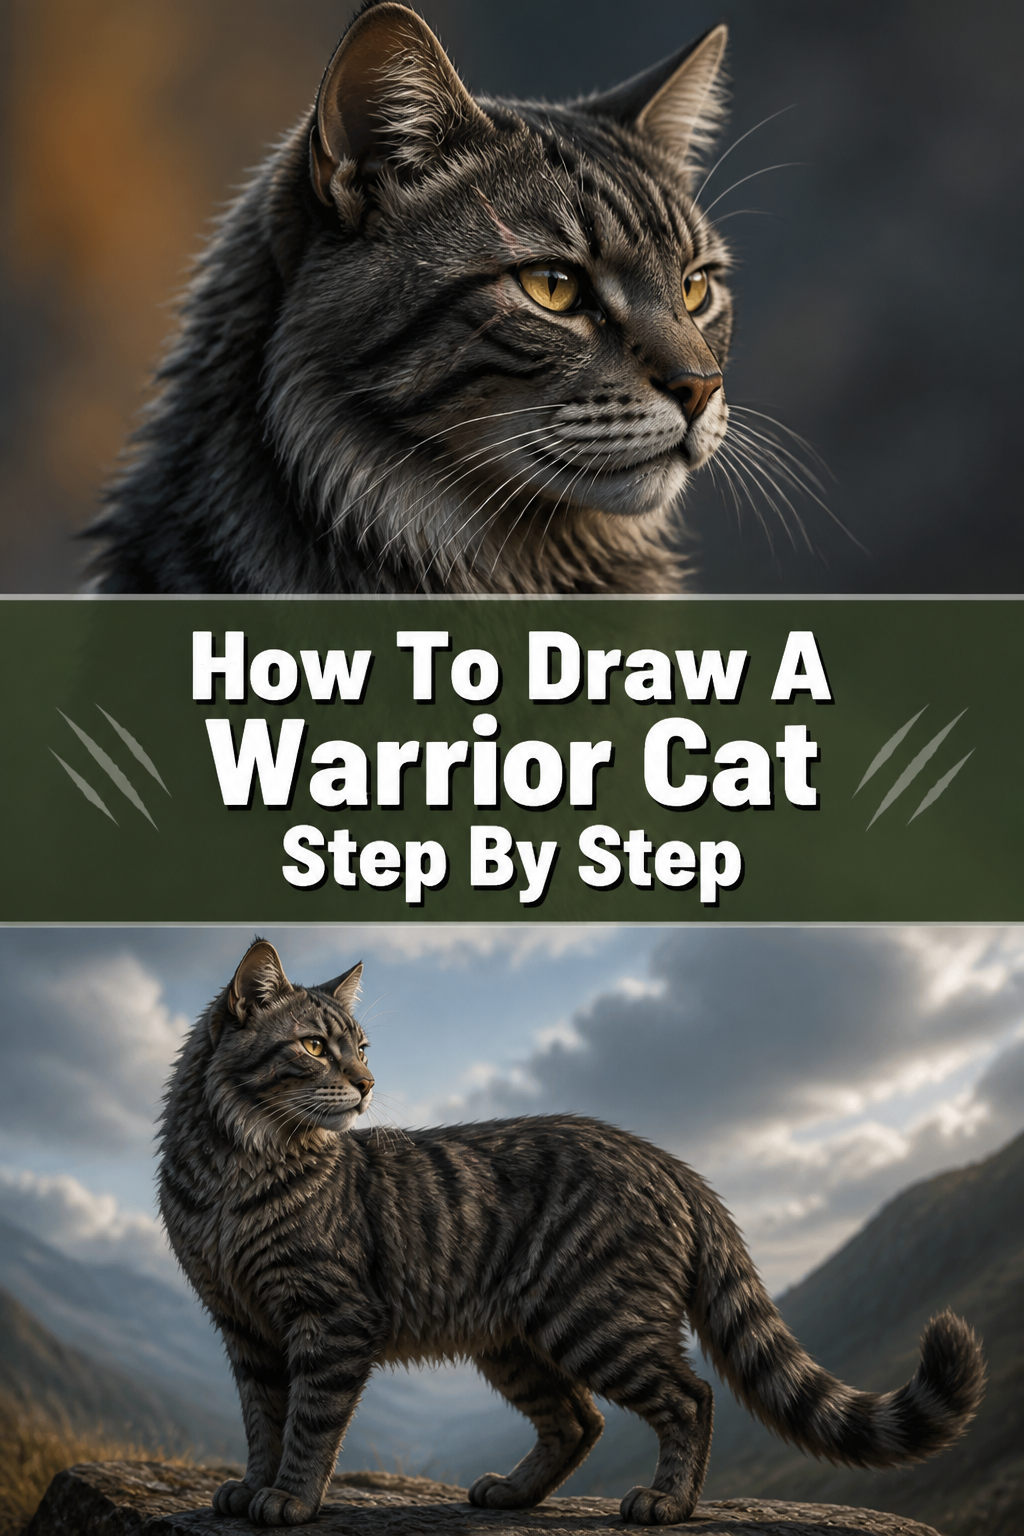
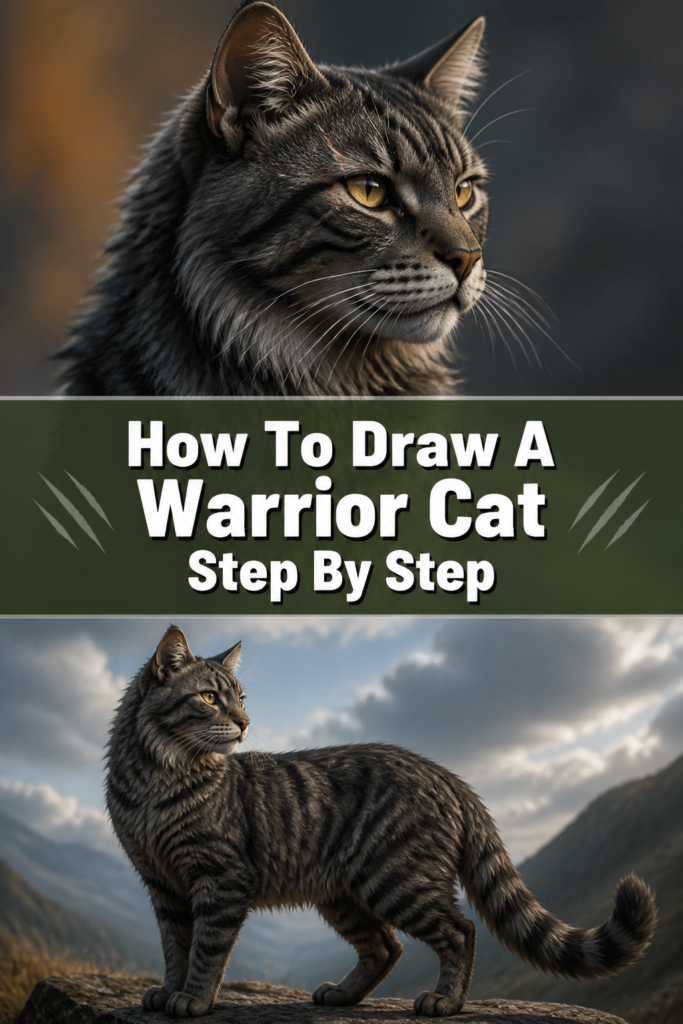
🐾 How To Draw A Warrior Cat Step By Step

& Painting
No rigid rules or pretension. Just practical guides, medium comparisons, and encouraging tips to help you enjoy the drawing & painting process.
Drawing a warrior cat can feel like a big adventure. I remember struggling with cat anatomy myself, wanting my drawings to perfectly capture the spirit of my favorite characters. It took practice, patience, and breaking things down into manageable steps.
This guide will share exactly what I learned, helping you create fierce and noble feline warriors. You’ll soon be bringing your own Clan cats to life on paper.
Quick Overview
This guide will walk you through the entire process of drawing a warrior cat, from initial sketches to adding personal touches. You’ll gain confidence in your artistic skills and create a dynamic feline portrait.
- Time needed: 45-90 minutes (depending on detail and experience)
- Difficulty: Intermediate
- What you’ll need: Pencil (HB, 2B recommended), eraser (kneaded and regular), paper, optional fineliner, optional colored pencils.
Step-by-Step Instructions
Step 1: Gather Your Tools and Set Up
Prepare your drawing space before you begin. A clear, well-lit area will help you focus on your artwork.
Ensure all your tools are within easy reach. This prevents interruptions once you get into your creative flow.
Pro Tip: Have a few reference images of real cats or existing warrior cat art handy. This helps with understanding anatomy and stylistic choices.
Step 2: Start with Basic Shapes
Begin by lightly sketching the fundamental forms of your cat. Think of simple shapes like circles and ovals.
Draw a medium-sized oval for the main body. Place another slightly smaller circle above it for the head.
Connect the head and body with two curved lines to form the neck. This establishes the cat’s general posture.
Step 3: Refine the Head and Face
Now, let’s shape the head more precisely. Carve out a muzzle from the bottom of the head circle.
Add two triangular shapes for the ears on top of the head. Position them slightly to the sides.
Sketch in guidelines for the eyes, nose, and mouth. A horizontal line for the eyes and a vertical line down the center helps with symmetry.
Pro Tip: Warrior cats often have expressive, slightly larger eyes. Experiment with different eye shapes to convey emotion.
Step 4: Develop the Body and Limbs
Extend the body oval to define the chest and haunches. Think about the natural curve of a cat’s spine.
Draw two more ovals for the upper front legs, extending from the chest. Add smaller ovals for the lower legs and paws.
Repeat this for the back legs, ensuring they look strong and ready for action. Sketch a long, curved line for the tail, giving it a natural flow.
Step 5: Add Fur Details and Character
Begin to draw the outlines of the fur. Use short, flicking lines to suggest fur texture along the body and tail.
Give your warrior cat unique features. Add scars, tattered ears, or tufts of fur to convey their history and personality.
Sketch in whiskers around the muzzle. Remember that whiskers are important sensory organs for cats.
Step 6: Outline and Clean Up
Carefully go over your sketch with a darker pencil or a fineliner. Choose the lines that best define your warrior cat.
Once your outline is complete, use your eraser to gently remove all the initial construction lines. This makes your drawing look clean and professional.
Ensure all the important details are clear and crisp. Pay attention to the eyes and expression.
Pro Tip: Use varying line weights when outlining. Thicker lines can define the main silhouette, while thinner lines work for internal details like fur tufts.
Step 7: Bring It to Life with Color
Decide on your warrior cat’s pelt colors. Consider their Clan and personality when making choices.
Apply your base colors evenly across the cat’s body. Think about a main color and any markings.
Start adding shading to give your cat depth. Imagine a light source and shade the areas that would be in shadow.
Step 8: Final Touches and Review
Add highlights to areas where the light would hit most intensely. This brings out the texture of the fur and adds sparkle to the eyes.
Review your drawing from a distance. Look for any areas that need slight adjustments or further detailing.
Consider adding a simple background element, like grass or a rock, to ground your warrior cat in their environment.
Common Mistakes to Avoid
Stiff Poses
Many new artists draw cats in very rigid, unnatural positions. This makes the warrior cat look lifeless and less dynamic. Cats are incredibly flexible creatures, and their poses should reflect this fluidity.
Instead, start by sketching action lines or gesture lines before adding any body shapes. Think about how a cat would move or rest naturally. Use curved lines for the spine and limbs to suggest movement and grace.
Disproportionate Features
Sometimes the head might be too big for the body, or the legs might be too short. This can make the cat look awkward or cartoonish when you’re aiming for a more realistic style. It disrupts the overall balance of the drawing.
Always begin with basic shapes to establish proportions. Compare the size of the head to the body, and the length of the legs to the torso. Using reference photos can greatly help in understanding correct feline proportions.
Flat Fur Texture
Drawing fur as solid blocks of color or uniform lines makes the cat look two-dimensional. It lacks depth and the natural softness of a cat’s coat. The fur doesn’t seem to follow the contours of the body.
Instead, use short, varied strokes that follow the direction of the cat’s underlying muscles. Layer your fur strokes, building up texture and showing the flow of the coat. Use lighter pressure for highlights and heavier pressure for shadows.
Ignoring Anatomy
It’s easy to forget that a cat has bones and muscles beneath its fur. Drawing a cat as a simple tube with limbs attached leads to an unrealistic and unconvincing appearance. The limbs might bend in strange ways.
Take time to study basic feline anatomy. Understand where the joints are and how the muscles bulge and contract. Even a simplified drawing benefits from an understanding of the underlying structure.
Troubleshooting
My Cat Looks Unnatural
If your drawing feels stiff or not quite right, it often comes down to proportions and pose. An unnatural look usually stems from a lack of dynamic lines.
Go back to basics: use simple shapes and gesture lines to block out your cat. Don’t be afraid to exaggerate curves slightly to suggest movement. Refer to real cat photos for natural poses and limb positioning.
Struggling with Paws/Eyes
These small details can be surprisingly challenging to get right. Paws can look like blobs, and eyes might lack expression. This is a very common hurdle for many artists.
For paws, break them down into simple rounded rectangles for the main pad and smaller ovals for the toes. Practice drawing them from different angles. For eyes, focus on the shape of the iris and pupil, and add a small highlight to give them life.
My Drawing Lacks Depth
A flat drawing often means you’re not utilizing shading or line weight effectively. Everything might appear to be on the same plane, without any sense of form.
Experiment with different pencil pressures or fineliner thicknesses. Use darker, thicker lines for areas in shadow or closer to the viewer. Add subtle shading to define muscle groups and create a sense of three-dimensionality.
Key Takeaways
- Start with basic shapes and construction lines: This builds a solid foundation for your warrior cat.
- Use references frequently: Real cat photos and existing art help with anatomy and style.
- Focus on expressing personality: Scars, fur tufts, and eye expressions bring your cat to life.
- Practice makes perfect: Don’t be discouraged by initial attempts; consistent effort yields results.
- Experiment with line weight and shading: These techniques add depth and professionalism to your drawings.
- Have fun and enjoy the process: Drawing should be an enjoyable creative outlet.
Frequently Asked Questions
What kind of pencil should I use?
For sketching, an HB pencil is great for light construction lines. A 2B or 4B pencil is excellent for darker lines and shading. You might also want a harder pencil like 2H for very light guides.
How do I make my cat look like a specific Warrior Cat?
Study their official descriptions and fan art for key features. Pay attention to their specific fur patterns, eye color, and any unique markings or scars they might have from their stories. Integrate these details into your drawing.
Should I use reference photos?
Absolutely! Reference photos are invaluable. They help you understand real cat anatomy, different poses, and fur textures. Even experienced artists use references regularly to improve their work.
How can I make my poses more dynamic?
Start with a strong “line of action” that conveys movement or energy. Think about the cat’s spine and how it curves. Exaggerate the natural flexibility of cats and try sketching quick gestures to capture motion before adding details.
Our Top Recommended Finds
- Sketchbook with good quality paper: A smooth surface helps pencils glide easily and erases cleanly. Look for paper that can handle multiple layers.
- Set of drawing pencils (HB, 2B, 4B, 6B): This range allows for varied line weights and effective shading. It provides versatility for different parts of your drawing.
- Kneaded eraser: Perfect for lifting graphite gently without smudging. It can also be molded into a point for precise erasing.
Your Journey as a Warrior Cat Artist Begins Now
You’ve taken the first brave step into drawing the incredible world of Warrior Cats. Remember that every great artist started exactly where you are now. Each stroke of your pencil is a step forward in your artistic journey.
Don’t be afraid to experiment with different poses, expressions, and even create your own original warrior cat characters. The Clans are waiting for your unique vision. Pick up your pencil and start drawing today!
& Painting
No rigid rules or pretension. Just practical guides, medium comparisons, and encouraging tips to help you enjoy the drawing & painting process.