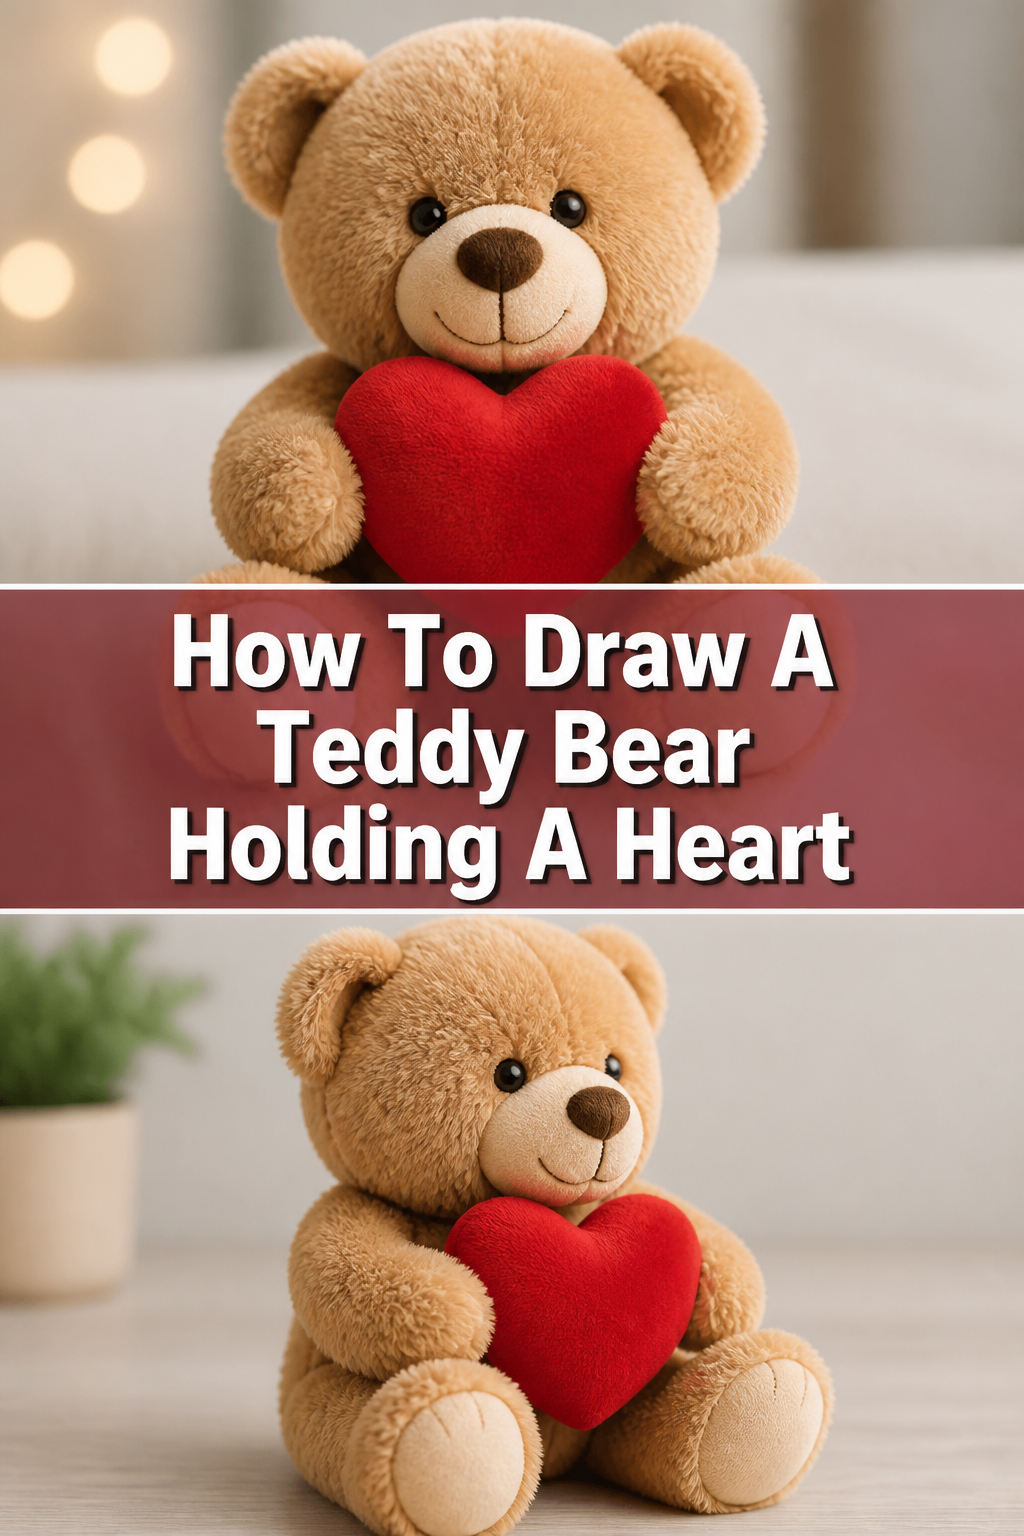
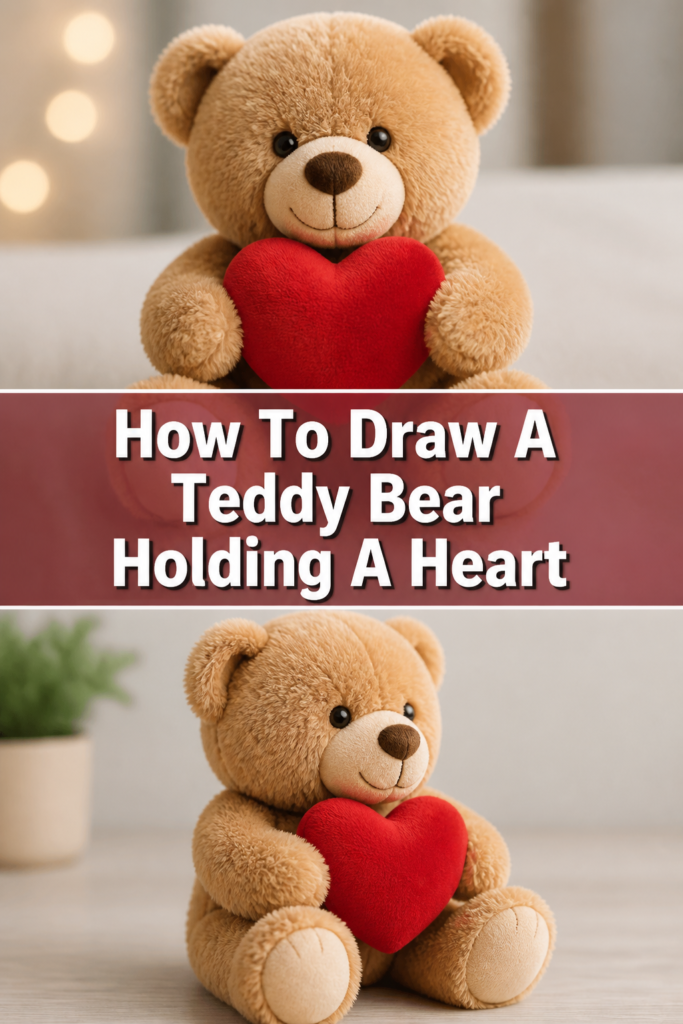
🐻 How To Draw A Teddy Bear Holding A Heart

& Painting
No rigid rules or pretension. Just practical guides, medium comparisons, and encouraging tips to help you enjoy the drawing & painting process.
There’s something uniquely comforting about a teddy bear, especially one holding a heart.
I remember drawing one for a friend’s birthday years ago, and the joy it brought them was truly heartwarming.
This guide will show you exactly how to create your own adorable teddy bear, step by gentle step, drawing on years of practice and a love for simple, expressive art.
Quick Overview
You’re about to create a charming illustration that’s perfect for gifts or just brightening your day.
This guide breaks down the process into manageable steps, ensuring a delightful outcome.
- Time needed: 45-75 minutes (depending on detail and coloring)
- Difficulty: Beginner
- What you’ll need: Pencil (HB recommended), eraser, paper, optional: black fine-liner pen, colored pencils or crayons
Step-by-Step Instructions
Step 1: Sketch the Head and Body
Begin by lightly sketching the basic forms for your teddy bear. Think of these as the foundational building blocks for your drawing.
Draw a medium-sized oval for the head. This doesn’t need to be perfectly symmetrical, just a light guide for now.
Below the head, sketch a slightly larger, rounded shape for the body. An elongated oval or a soft bean shape works wonderfully here.
Make sure there’s a small gap between the head and body. This will create a more natural neck area later, allowing for a gentle curve.
Pro Tip: Hold your pencil loosely and sketch with your whole arm, not just your wrist. This creates smoother, lighter lines that are easy to erase, preventing deep indentations on your paper.
Step 2: Position the Snout and Ears
Now, let’s give our bear some character by adding its facial features.
Draw a smaller oval or a soft ‘U’ shape in the lower half of the head for the snout. This will be where the nose and mouth sit.
For the ears, sketch two rounded “C” shapes on either side of the top of the head. Position them slightly above the midpoint of the head.
Ensure the ears are roughly the same size and height. They should look like they are attached to the head, not floating above it.
Step 3: Lay Out the Limbs
Next, we’ll give our teddy bear its arms and legs.
For the arms, draw two elongated, curved shapes extending from the upper sides of the body. These should bend slightly inwards, as if preparing to hold something.
The arms should reach down to roughly the middle of the body. Keep them relatively thick and rounded, like a classic teddy bear’s limbs.
For the legs, sketch two wider, curved shapes extending from the lower sides of the body. They should point slightly outwards, giving the bear a stable, seated appearance.
Ensure the legs are a bit shorter and stouter than the arms. This adds to the cute, cuddly look of a teddy bear.
Step 4: Form the Heart
This is where the special element comes in – the heart.
Draw a classic heart shape positioned centrally between the bear’s hands. The top curves of the heart should just touch the bottom of the bear’s snout.
The bottom point of the heart should extend slightly below where the hands will meet. Adjust the size so it feels proportionate to your bear.
Make sure the heart looks like it’s being gently held. You can achieve this by having the bear’s arms slightly overlap the edges of the heart.
Pro Tip: To make the heart look more natural, don’t draw it perfectly flat. Give it a slight tilt or a subtle curve, suggesting it has a bit of volume.
Step 5: Define the Paws and Feet
Let’s refine the ends of the limbs to look like soft paws.
At the end of each arm, draw a rounded, slightly flattened oval for the paw. These should gently curve around the sides of the heart.
For the feet, sketch larger, more elongated ovals at the end of each leg. They should appear to be resting on the ground or extended forward.
You can add small, subtle lines on the paws and feet to suggest paw pads or stitched details. Three small, curved lines often work well.
Step 6: Outline the Facial Features
Now, let’s bring our teddy bear’s face to life.
Inside the snout oval, draw a small, inverted triangle for the nose. Round off the corners of the triangle to make it soft.
From the bottom point of the nose, draw a short vertical line, then two small, curved lines extending outwards and upwards to form a gentle smile.
For the eyes, place two small, dark circles or ovals above the snout. Position them symmetrically and slightly apart.
You can add tiny white circles within the eyes for highlights, giving them a sparkle. This makes the bear look more engaging and alive.
Step 7: Refine the Bear’s Outline and Add Texture
This step is about cleaning up your lines and adding that classic teddy bear texture.
Go over all your light sketch lines with a slightly firmer hand, choosing the best lines to form the final shape of your bear and heart.
Instead of drawing perfectly smooth lines, use short, slightly wavy or jagged strokes along the edges of the bear’s body, head, and limbs.
This technique creates the illusion of soft fur. Don’t overdo it; just a hint of texture is enough to suggest fluffiness.
Make sure the outline of the heart remains smooth and distinct from the bear’s fur.
Step 8: Erase Guide Lines and Clean Up
It’s time to make your drawing look polished and complete.
Carefully erase all the initial light sketch lines that are no longer needed. Remove any overlapping lines or construction guides.
Take your time with this step to avoid smudging your main drawing. A kneaded eraser can be very helpful here.
Look at your drawing from a small distance to spot any areas that need tidying up. Ensure all lines are clear and intentional.
Step 9: Ink and Color (Optional)
To make your teddy bear truly pop, consider inking and adding color.
If you choose to ink, carefully trace over your final pencil lines with a black fine-liner pen. Varying the line thickness slightly can add depth.
Once the ink is completely dry, erase any remaining pencil lines underneath. This leaves you with a crisp, clean outline.
Now, add color! Choose warm, soft tones for the bear, such as browns, tans, or even light grays. Use a vibrant red or pink for the heart.
Consider adding subtle shading to give your bear more dimension. Darken areas under the chin, inside the ears, and where the limbs meet the body.
Common Mistakes to Avoid
Proportions are Off
A common pitfall is making the head too large or too small compared to the body, or drawing limbs that are either too short and stubby or too long and gangly.
This can make your bear look awkward instead of cuddly. Always start with very light, basic shapes and compare their sizes before adding details.
Use your pencil to measure distances if needed, holding it up to your sketch. This helps keep everything balanced and harmonious.
Stiff Poses
Sometimes, beginners draw characters with very straight, rigid lines, making the teddy bear look inanimate or uncomfortable.
Teddy bears are soft and cuddly, so their posture should reflect that. Avoid perfectly straight lines for limbs and body.
Instead, use gentle curves for all parts of the bear. Even a slight bend in the arms or a subtle tilt to the head can add immense warmth and character.
Messy Lines
Having too many overlapping, dark sketch lines can make your final drawing look unclear and difficult to clean up.
Always start with the lightest possible pressure when sketching your initial shapes. These lines are guides, not final outlines.
Only apply more pressure or use a darker pencil when you’re confident in your chosen lines. This makes the erasing process much simpler and cleaner.
Flat Heart
Drawing the heart as a perfectly flat, two-dimensional shape can make it seem less integrated with the bear.
To give the heart a sense of volume and make it appear like a real object the bear is holding, add subtle curves or a slight overlap.
Imagine it has a front and back. A small shadow or a slight tilt can also suggest it’s a three-dimensional item rather than just a flat symbol.
Troubleshooting
My Lines Look Wobbly
If your lines appear shaky or uneven, it’s a common sign of drawing too slowly or using only your wrist.
Try to draw with your whole arm, making quicker, more confident strokes. Practice drawing circles and ovals repeatedly on a separate sheet of paper without lifting your pencil.
This exercise builds muscle memory and improves fluidity. Remember to keep your lines light initially, so wobbles are easy to correct.
Can’t Get the Symmetry Right
Achieving perfect symmetry can be challenging, especially for beginners. Don’t worry about perfection; a little asymmetry can add charm.
However, if it’s significantly off, try drawing a light vertical guideline down the center of your bear’s head and body. Use this line to help place features evenly on both sides.
Another trick is to hold your drawing up to a mirror or flip it upside down. Imperfections often become more obvious, helping you make corrections.
It Doesn’t Look Like a Bear
If your drawing isn’t quite resembling a teddy bear, focus on its defining features: the roundness, small rounded ears, stout limbs, and a distinct snout.
Compare your drawing to reference images of teddy bears. Pay attention to how the different shapes connect and overlap.
Sometimes, simply adjusting the size of the ears or making the body rounder can make a significant difference in the overall bear-like appearance.
Key Takeaways
- Start with light, basic geometric shapes to build your foundation.
- Use gentle curves for all parts of the bear to convey softness and cuddliness.
- Pay close attention to proportions to ensure a balanced and appealing character.
- Add details like fur texture and facial features gradually, refining as you go.
- Don’t be afraid to erase and adjust; it’s a natural part of the drawing process.
- Practice regularly to improve your line control and confidence.
Frequently Asked Questions
What if I’m not good at drawing circles?
Many people find drawing perfect circles difficult. Instead of trying for perfection, focus on sketching light ovals and gradually refining them. Practice drawing ‘ghost circles’ in the air before touching your pencil to paper. Repetition will improve your hand control over time.
How do I make the fur look soft?
To create a soft fur effect, use short, slightly overlapping, and often slightly wavy lines along the edges of the bear’s outline. Avoid harsh, straight lines. You can also add very light, short strokes within the bear’s body, following the contours, to suggest texture without overdoing it.
Can I draw the teddy bear in a different pose?
Absolutely! Once you’re comfortable with the basic structure outlined here, you can experiment. Try changing the position of the arms, legs, or head. The core principles of using basic shapes and maintaining proportions will still apply, allowing for endless creative variations.
What kind of pencil should I use for sketching?
For initial sketching, an HB pencil is an excellent choice as it’s versatile – not too hard, not too soft. If you want lighter lines, an H or 2H pencil works well. For darker lines and shading, a B or 2B pencil is ideal. For beginners, starting with one good HB pencil is perfectly sufficient.
Our Top Recommended Finds
- Sketchbook: A spiral-bound sketchbook with medium-weight paper is perfect for practicing and keeping your creations organized. Look for one that lies flat.
- Graphite Pencil Set: A small set of graphite pencils (e.g., HB, 2B, 4B) offers a range of hardness for sketching, outlining, and shading.
- Kneaded Eraser: Unlike a standard rubber eraser, a kneaded eraser lifts graphite without damaging the paper, making it ideal for cleaning up light sketch lines.
Your Heartfelt Creation Awaits!
You’ve now walked through every step to create a truly special drawing.
Drawing a teddy bear holding a heart is more than just putting lines on paper; it’s about creating a symbol of warmth and affection.
Why not try drawing another bear with a different expression, or add a background to your current masterpiece? Perhaps a little bow tie for your bear?
Pick up your pencil right now and let your creativity flow. The world needs more heartfelt art, and you’re just the person to create it!
& Painting
No rigid rules or pretension. Just practical guides, medium comparisons, and encouraging tips to help you enjoy the drawing & painting process.