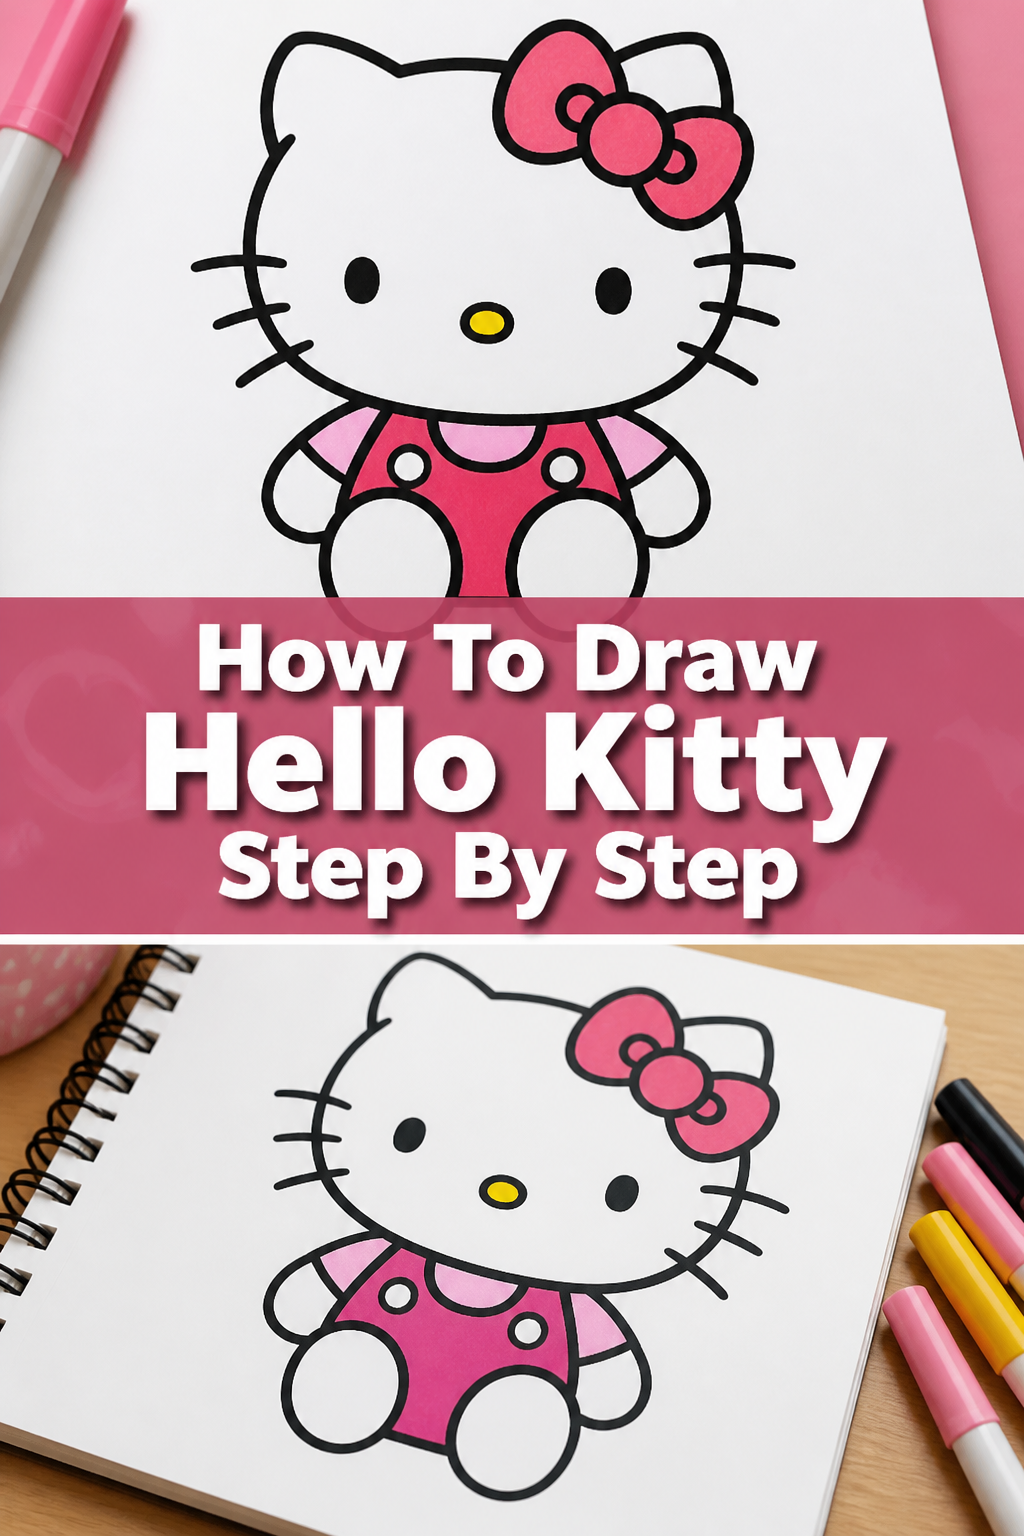
🎨 How To Draw Hello Kitty Step By Step

& Painting
No rigid rules or pretension. Just practical guides, medium comparisons, and encouraging tips to help you enjoy the drawing & painting process.
I have spent years teaching basic character illustration to beginners of all ages.
Hello Kitty is one of my favorite subjects because her design relies on simple geometric shapes that anyone can master.
Drawing her correctly is all about understanding proportions rather than complex shading or anatomy.
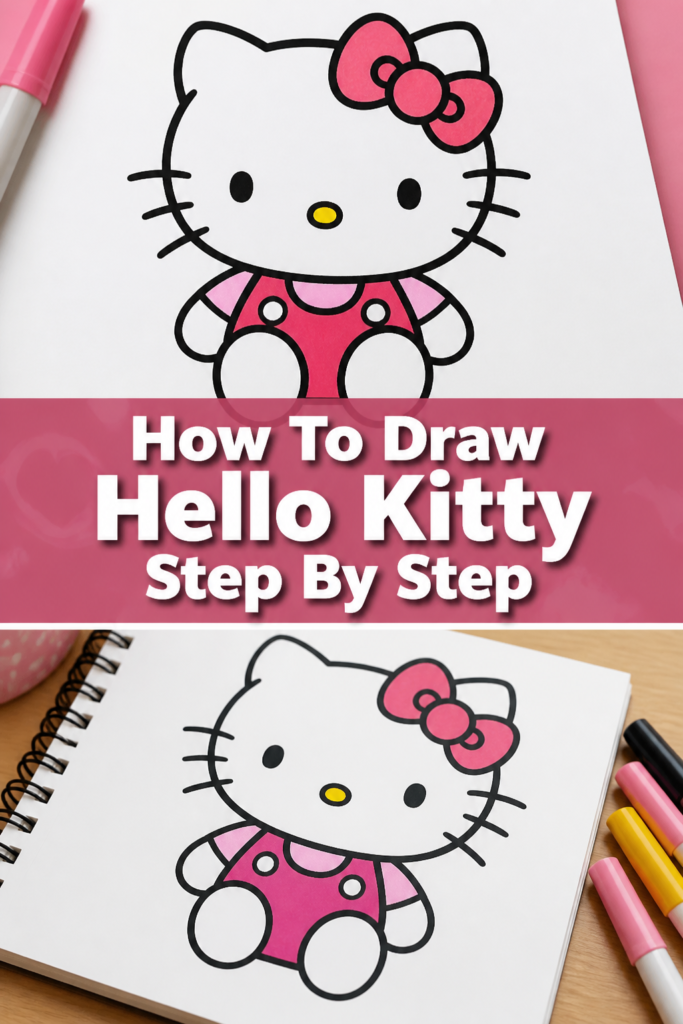
Quick Overview
This guide will walk you through the process of creating a classic Hello Kitty illustration from scratch.
- Time needed: 15 to 20 minutes
- Difficulty: Beginner
- What you’ll need: Drawing paper, an HB pencil, a good eraser, a black fine-liner pen, and colored markers (red and yellow).
Step-by-Step Instructions
Step 1: Sketch the Head Shape
Start by drawing a large, horizontal oval in the center of your paper.
Hello Kitty’s head is not a perfect circle; it is wider than it is tall, which gives her that iconic “squashed” look.
Keep your pencil strokes very light during this phase so you can easily erase mistakes later.
Imagine the oval is a soft loaf of bread or a slightly flattened balloon.
Ensure there is plenty of room at the top of the oval for her ears and bow.
Pro Tip: Draw the oval with your whole arm rather than just your wrist to get a smoother, more even curve.
Step 2: Add the Triangle Ears
Place two small triangles at the top corners of the oval head.
The ears should be slightly rounded at the tips rather than sharp points.
Position them so they sit at about the “10 o’clock” and “2 o’clock” positions if the head were a clock face.
Don’t make them too tall; they should look like small nubs peeking out from the head.
Check that they are symmetrical in size and distance from the center of the head.
Step 3: Draw the Signature Bow
Locate the ear on the right side of the paper (Hello Kitty’s left ear).
Draw a small circle right at the base of that ear where it meets the head.
Next, draw two larger ovals or “petals” extending out from the sides of that small circle.
Angle the side ovals slightly upward to give the bow a cheerful, puffy appearance.
The bow should partially overlap the ear and the top of the head shape.
Pro Tip: Think of the bow as three separate pieces: a center button and two side pillows.
Step 4: Map Out the Face
Find the horizontal center line of the head oval.
Place the eyes slightly below this center line to make her look younger and cuter.
The eyes are two simple, solid black ovals that are spaced quite far apart.
Leave a generous amount of space between the eyes for the nose.
If the eyes are too close together, she won’t look like the character we know and love.
Step 5: Add the Small Oval Nose
Draw a small, horizontal oval directly between the eyes, but slightly lower than the eye level.
The nose should be smaller than the eyes and perfectly centered.
Remember that Hello Kitty does not have a mouth.
This lack of a mouth is a key part of her design, allowing people to project their own emotions onto her.
Keep the nose shape clean and simple without any extra lines or nostrils.
Step 6: Sketch the Whiskers
Draw three straight lines on each side of her face.
These lines should be slightly tilted and spaced evenly apart.
Start them near the outer edge of the face, but don’t let them touch the eyes.
The middle whisker is usually horizontal, while the top one tilts up and the bottom one tilts down.
Make sure the whiskers on the left match the length and angle of the whiskers on the right.
Pro Tip: Keep the whiskers short; if they are too long, she might start to look more like a realistic cat than a cartoon.
Step 7: Create the Body Shape
Draw a shape directly under the head that looks like a small bell or a rounded “A” frame.
The body should be significantly smaller and narrower than the head.
Connect the top of this shape to the bottom center of the head oval.
This will serve as her outfit, which is usually a simple jumper or dress.
Keep the bottom of the body rounded to maintain the soft aesthetic of the character.
Step 8: Add the Arms and Feet
Sketch two small, tube-like shapes on either side of the body for the arms.
Hello Kitty’s arms don’t have defined elbows or wrists; they look like little sausages.
Draw two simple ovals at the bottom of the body for her feet.
The feet should point slightly outward to give her a stable, cute stance.
Avoid drawing fingers or toes, as her paws are always depicted as smooth and rounded.
Step 9: Outline and Clean Up
Trace over your final pencil lines with a black fine-liner or marker.
Once the ink is dry, use your eraser to remove all the underlying pencil marks and guide lines.
Focus on making your ink lines bold and consistent in thickness.
This “clean” look is a hallmark of the Sanrio art style.
Check for any gaps in your lines and close them up to make coloring easier.
Step 10: Color Your Drawing
Fill the bow with a bright, vibrant red color.
Color the nose with a soft, sunny yellow.
Leave the rest of her face and body white, as she is a white cat.
Choose a color for her outfit, like blue or pink, if you want to add more variety.
You can also add a small shadow on the ground beneath her feet to make her look like she is standing on a surface.
Pro Tip: Use a white gel pen to add a tiny highlight to the bow for a “shiny” plastic look.
Common Mistakes to Avoid
Making the Head Too Round
Many people default to drawing a perfect circle for the head.
This makes Hello Kitty look off-model and loses the cute, heavy-set feel of her face.
Always aim for a wide oval that looks slightly compressed from top to bottom.
Placing the Eyes Too High
High eye placement can make the character look older or more aggressive.
Her eyes should be level with her nose or just slightly above it.
Keeping the facial features low on the head is a classic “kawaii” design trick that maximizes cuteness.
Overcomplicating the Bow
It is tempting to add folds or ribbons to the bow to make it look realistic.
Hello Kitty’s design is based on minimalism and flat shapes.
Stick to the three-circle formula to ensure she stays true to her original 1974 design.
Troubleshooting
The Face Looks Lopsided
If one eye looks higher than the other, try drawing a very light horizontal guide line across the face before placing the eyes.
You can also turn your paper upside down to see the drawing from a fresh perspective.
This often reveals symmetry errors that your eyes have become used to seeing.
The Lines Are Shaky
Shaky lines usually happen when you draw too slowly or hold the pencil too tightly.
Try “ghosting” your lines by moving your hand in the motion of the stroke without touching the paper first.
Then, commit to the line with a single, confident, and quick motion.
The Character Looks Too Tall
Hello Kitty is roughly “two heads tall,” meaning her body should be about the same height as her head.
If she looks too lanky, shorten the body and make the arms and legs stumpier.
Compact proportions are the secret to her charming and huggable appearance.
Key Takeaways
- The head is a horizontal oval, not a circle.
- Facial features should be placed low on the face for maximum cuteness.
- The bow always sits on her left side (your right side when looking at her).
- Keep lines bold, thick, and consistent for a professional look.
- Avoid adding a mouth, as it is a core part of her character design.
- Use a “two heads tall” proportion to keep her looking like the original version.
Frequently Asked Questions
Why does Hello Kitty have no mouth?
The designers at Sanrio wanted people to be able to project their own feelings onto her.
If you are happy, she looks happy; if you are sad, she seems to emphasize with you.
This design choice makes her a universal friend to everyone regardless of their mood.
What color should her nose be?
Her nose is almost always yellow in official artwork.
Using a bright yellow creates a nice contrast with her white fur and red bow.
Sometimes in special themed art, the colors might change, but yellow is the classic choice.
Can I draw her with different outfits?
Yes, Hello Kitty is known for her massive wardrobe and various costumes.
As long as you keep the head shape and facial features the same, you can dress her in anything.
Common outfits include overalls, kimonos, or even superhero costumes.
What is the best pen for outlining?
A felt-tip fine-liner with a size 0.5 or 0.8 nib works best for this style.
You want a pen that provides a solid, dark black line without bleeding into the paper.
Waterproof ink is also a good idea if you plan on coloring with markers afterward.
Our Top Recommended Finds
- Sakura Pigma Micron Pens: These are excellent for creating the clean, archival-quality black outlines required for character art.
- Canson XL Series Marker Paper: This paper is very smooth, which prevents your markers from bleeding and keeps your lines looking sharp.
- Kneaded Eraser: This tool allows you to lighten your pencil sketches without damaging the paper surface before you ink.
Refining Your Artistic Skills Today
Now that you have mastered the basics of Hello Kitty, you can try drawing her friends like My Melody or Keroppi.
The same principles of using simple shapes and specific proportions apply to almost all Sanrio characters.
Grab a fresh sheet of paper and try drawing her in a different pose, perhaps holding an apple or sitting down.
Consistent practice is the only way to improve your hand-eye coordination and line confidence.
Share your finished artwork with a friend or family member to celebrate your progress as an artist.
& Painting
No rigid rules or pretension. Just practical guides, medium comparisons, and encouraging tips to help you enjoy the drawing & painting process.