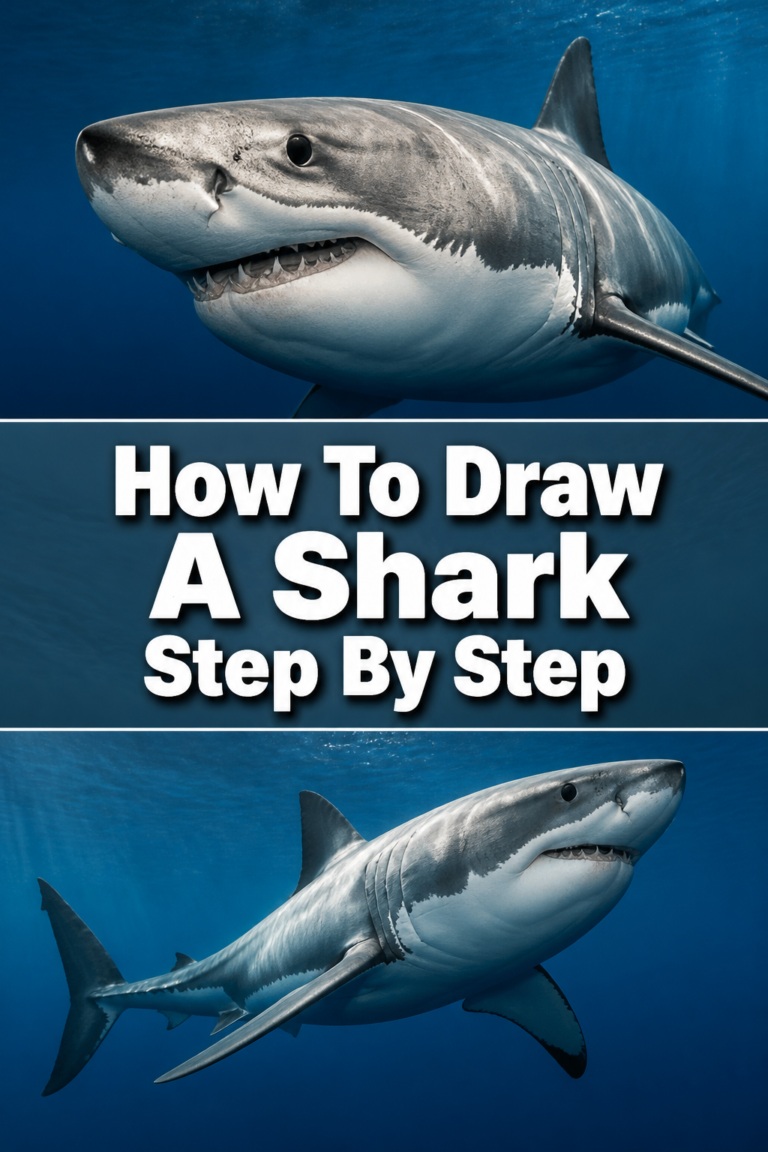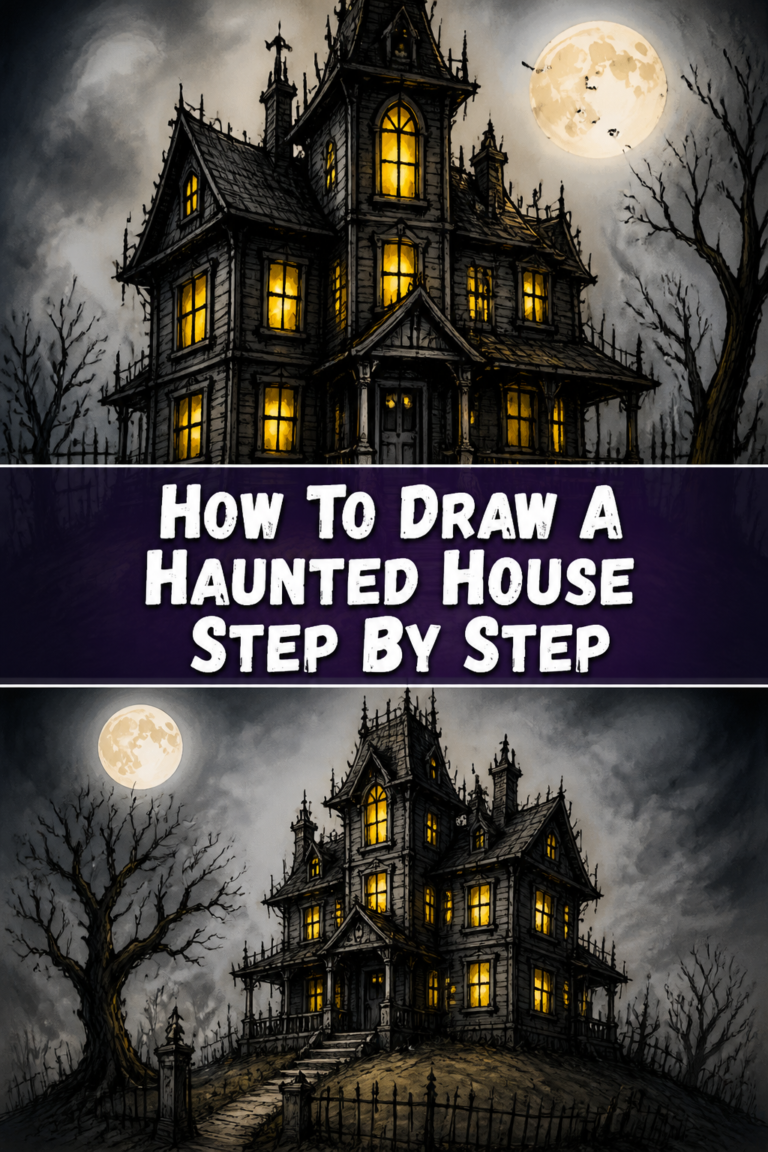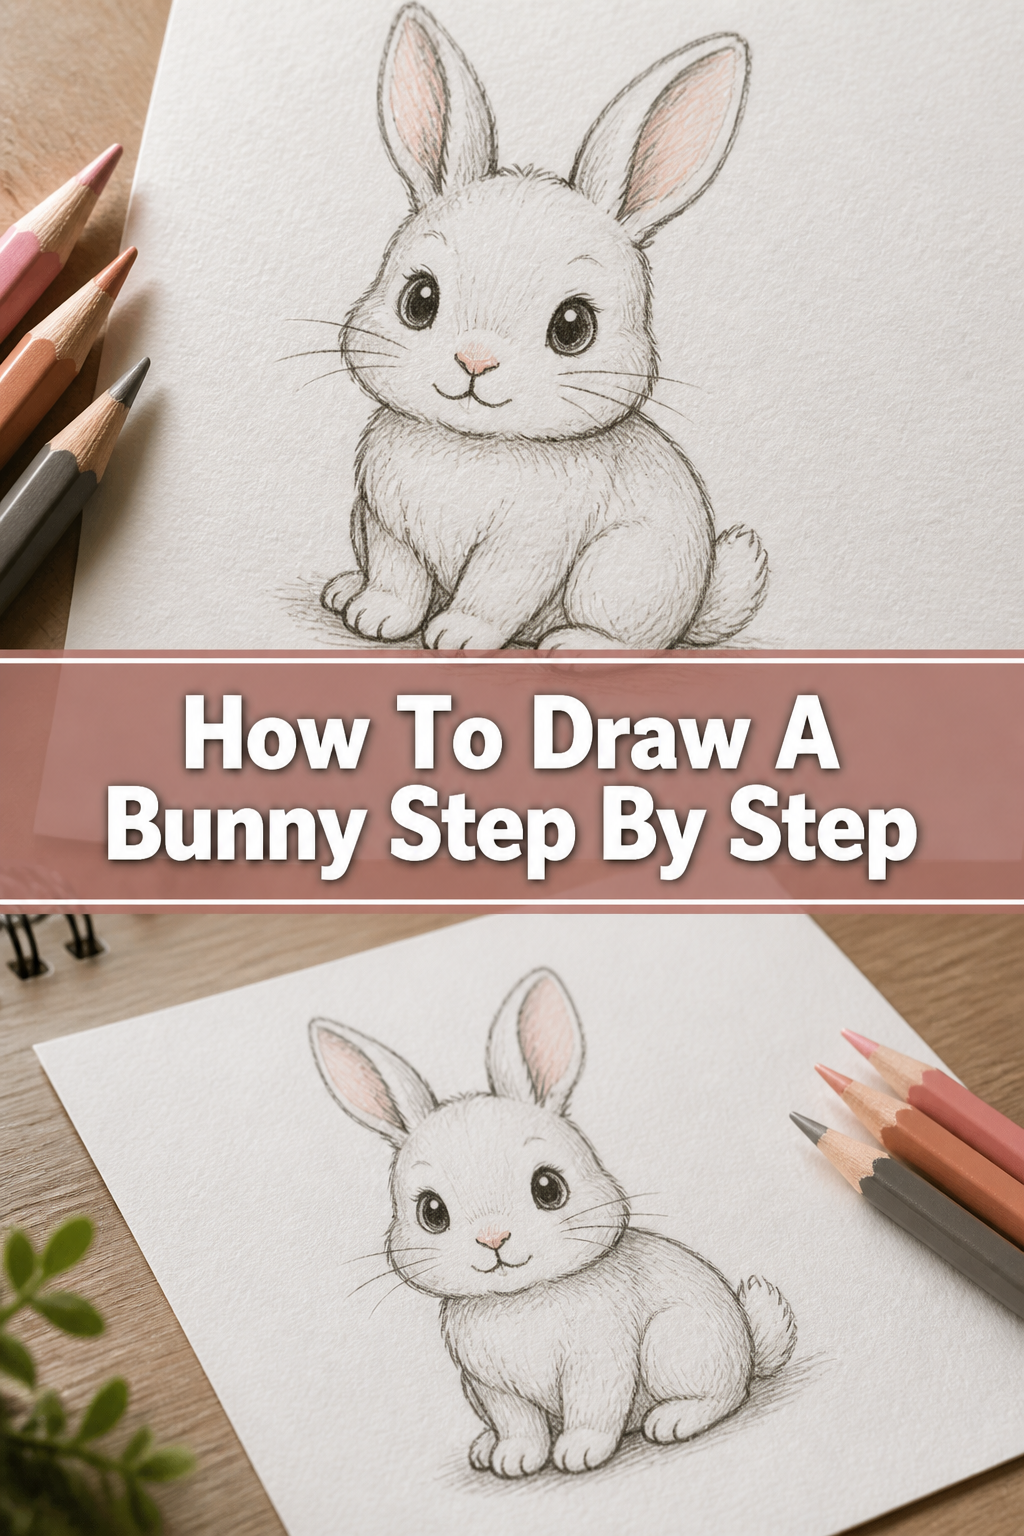
🐰 How To Draw A Bunny Step By Step

& Painting
No rigid rules or pretension. Just practical guides, medium comparisons, and encouraging tips to help you enjoy the drawing & painting process.
Grab your favorite pencil and clear a small space on your desk or kitchen table.
I have spent years teaching aspiring artists how to translate the soft, rounded features of woodland creatures into simple shapes that anyone can master.
This guide uses a proven sketching method that I developed while working with beginner illustrators who were afraid of making mistakes on a blank page.
Quick Overview
Before you start your artistic journey, let’s look at what you can expect from this drawing session.
- Time needed: 20 to 30 minutes
- Difficulty: Beginner
- What you’ll need: Drawing paper, an HB pencil, a soft eraser, and a fine-liner pen.
Step-by-Step Instructions
Step 1: Sketch the Head Shape
Start by drawing a light, tilted oval near the top third of your paper.
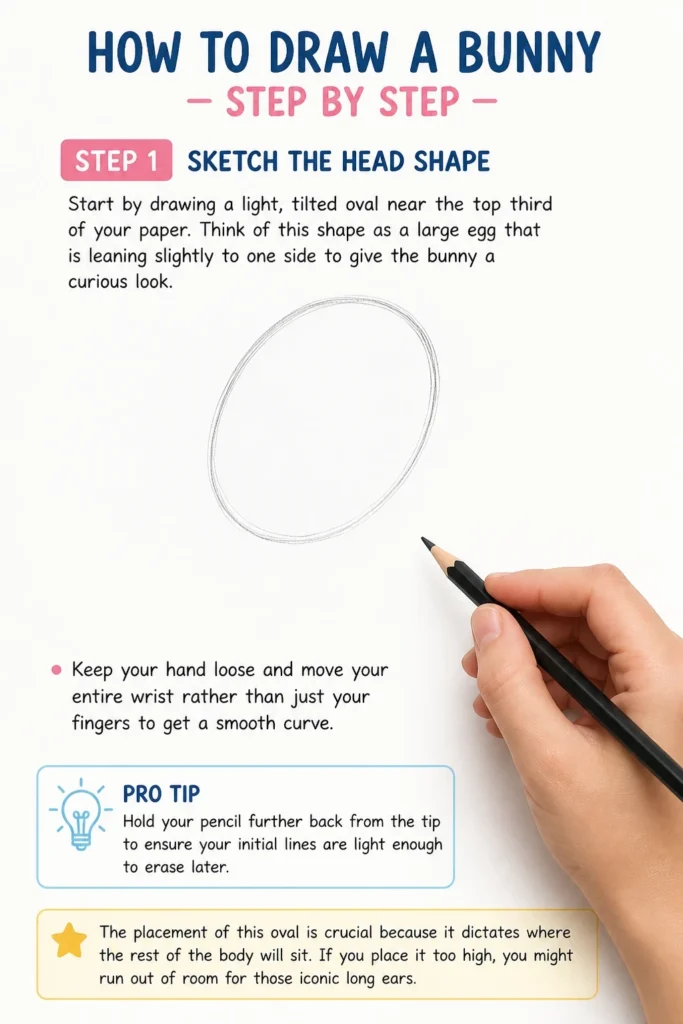
Think of this shape as a large egg that is leaning slightly to one side to give the bunny a curious look.
Keep your hand loose and move your entire wrist rather than just your fingers to get a smooth curve.
Pro Tip: Hold your pencil further back from the tip to ensure your initial lines are light enough to erase later.
The placement of this oval is crucial because it dictates where the rest of the body will sit.
If you place it too high, you might run out of room for those iconic long ears.
Step 2: Add the Body Oval
Draw a second, larger oval that overlaps slightly with the bottom of the head.
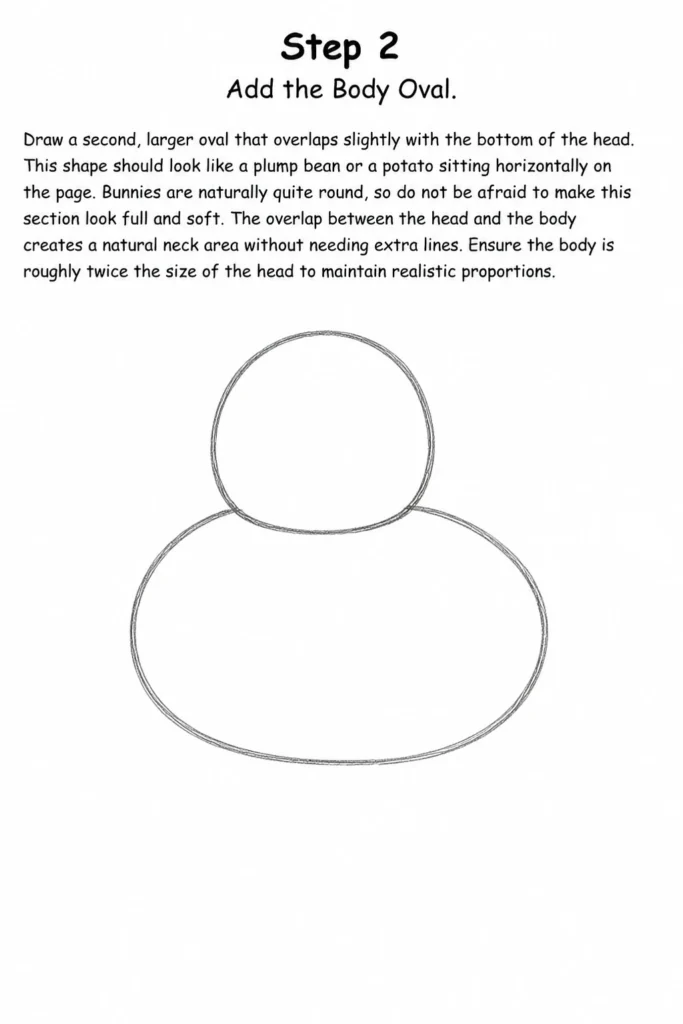
This shape should look like a plump bean or a potato sitting horizontally on the page.
Bunnies are naturally quite round, so do not be afraid to make this section look full and soft.
The overlap between the head and the body creates a natural neck area without needing extra lines.
Ensure the body is roughly twice the size of the head to maintain realistic proportions.
Step 3: Map Out the Long Ears
Position two long, narrow “U” shapes at the very top of the head oval.
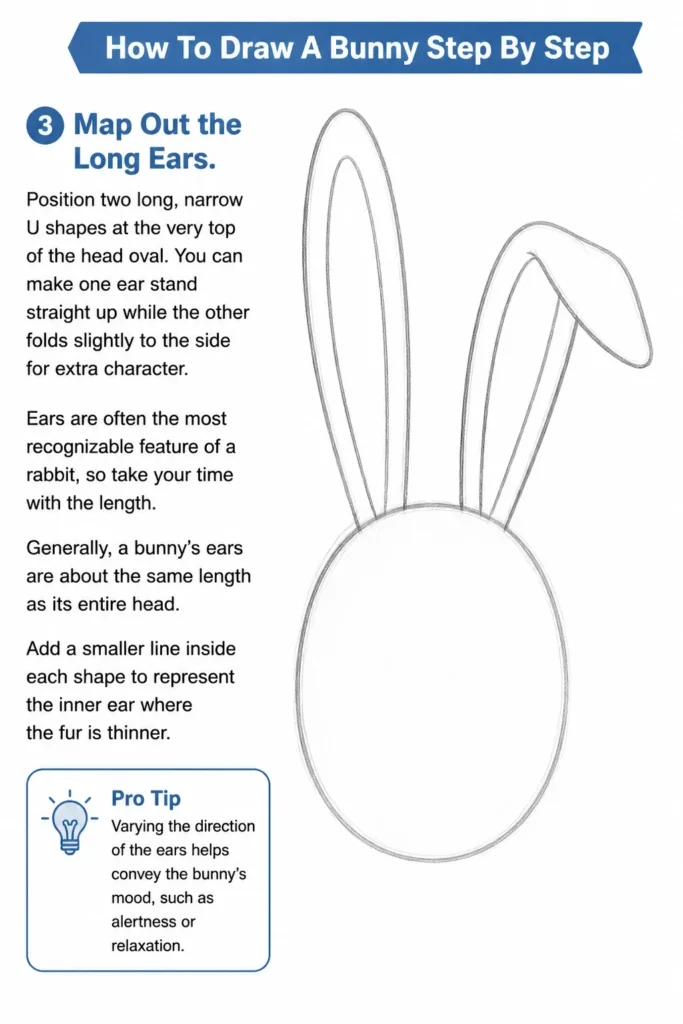
You can make one ear stand straight up while the other folds slightly to the side for extra character.
Ears are often the most recognizable feature of a rabbit, so take your time with the length.
Generally, a bunny’s ears are about the same length as its entire head.
Add a smaller line inside each shape to represent the inner ear where the fur is thinner.
Pro Tip: Varying the direction of the ears helps convey the bunny’s mood, such as alertness or relaxation.
Step 4: Create the Back Leg and Foot
Sketch a large, curved line on the back half of the body oval to represent the powerful haunch.
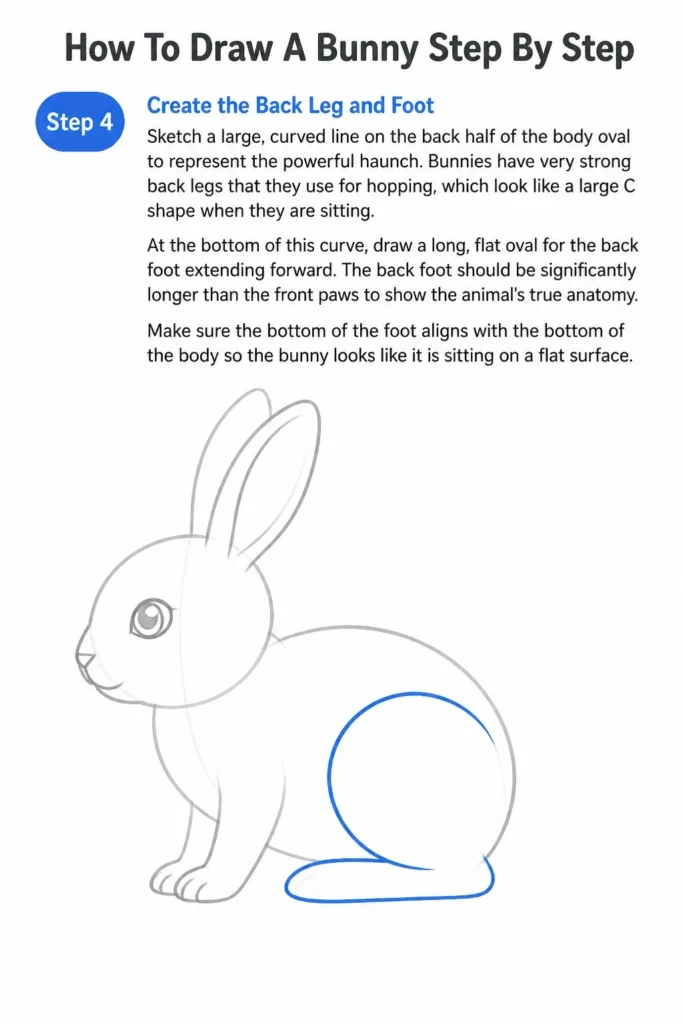
Bunnies have very strong back legs that they use for hopping, which look like a large “C” shape when they are sitting.
At the bottom of this curve, draw a long, flat oval for the back foot extending forward.
The back foot should be significantly longer than the front paws to show the animal’s true anatomy.
Make sure the bottom of the foot aligns with the bottom of the body so the bunny looks like it is sitting on a flat surface.
Step 5: Add the Front Paws
Place two small, vertical ovals near the front of the body, just below the head.
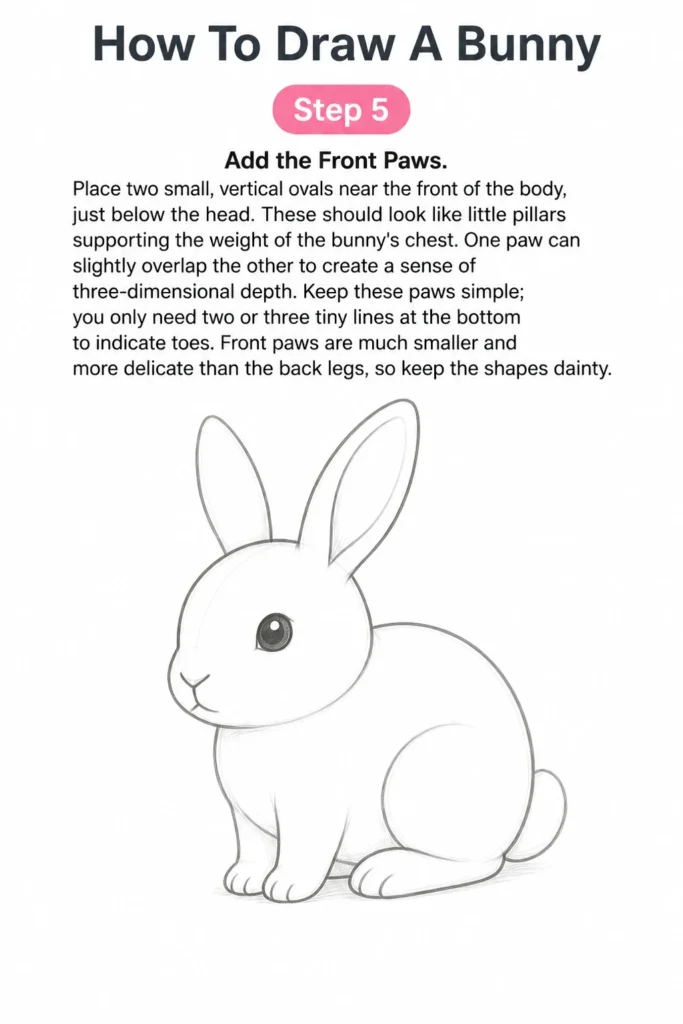
These should look like little pillars supporting the weight of the bunny’s chest.
One paw can slightly overlap the other to create a sense of three-dimensional depth.
Keep these paws simple; you only need two or three tiny lines at the bottom to indicate toes.
Front paws are much smaller and more delicate than the back legs, so keep the shapes dainty.
Step 6: Detail the Facial Features
Mark a small “Y” shape in the lower center of the head oval to create the nose and mouth.
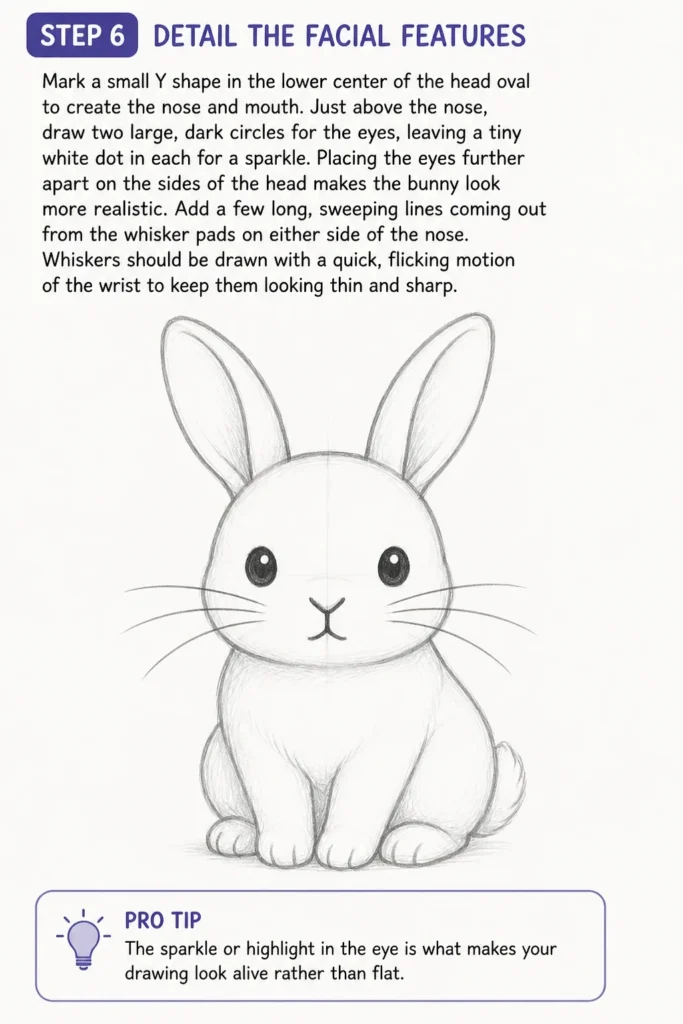
Just above the nose, draw two large, dark circles for the eyes, leaving a tiny white dot in each for a “sparkle.”
Placing the eyes further apart on the sides of the head makes the bunny look more realistic.
Add a few long, sweeping lines coming out from the whisker pads on either side of the nose.
Whiskers should be drawn with a quick, flicking motion of the wrist to keep them looking thin and sharp.
Pro Tip: The “sparkle” or highlight in the eye is what makes your drawing look alive rather than flat.
Step 7: Draw the Fluffy Tail
Attach a small, cloud-like shape to the very back of the body oval.
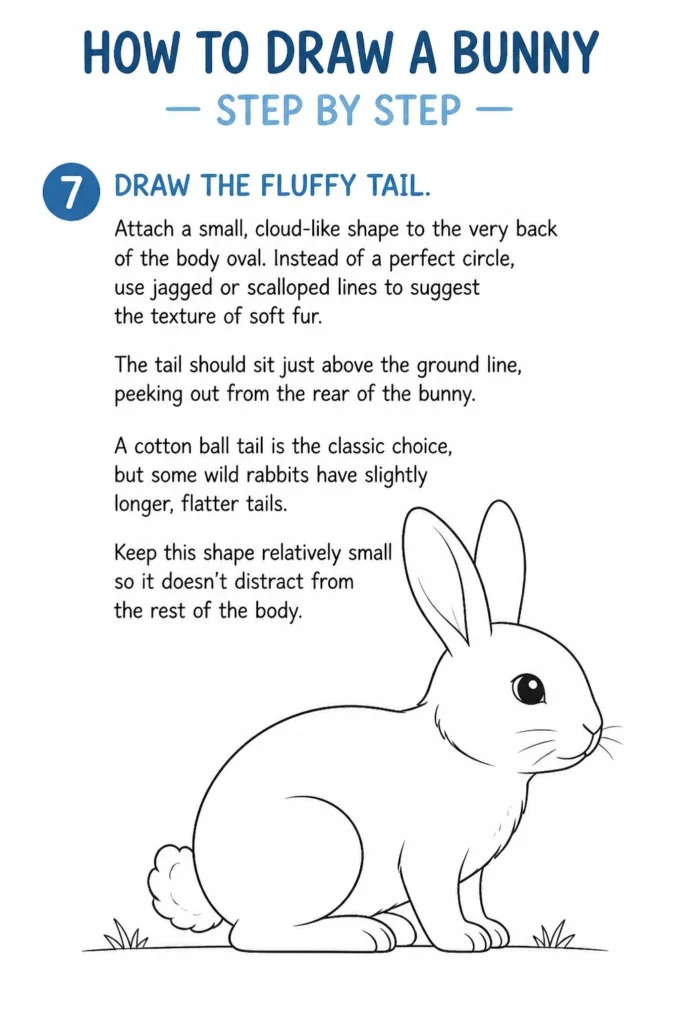
Instead of a perfect circle, use jagged or scalloped lines to suggest the texture of soft fur.
The tail should sit just above the ground line, peeking out from the rear of the bunny.
A “cotton ball” tail is the classic choice, but some wild rabbits have slightly longer, flatter tails.
Keep this shape relatively small so it doesn’t distract from the rest of the body.
Step 8: Refine and Texture the Fur
Go over your main outlines with a slightly darker pencil or a fine-liner pen.
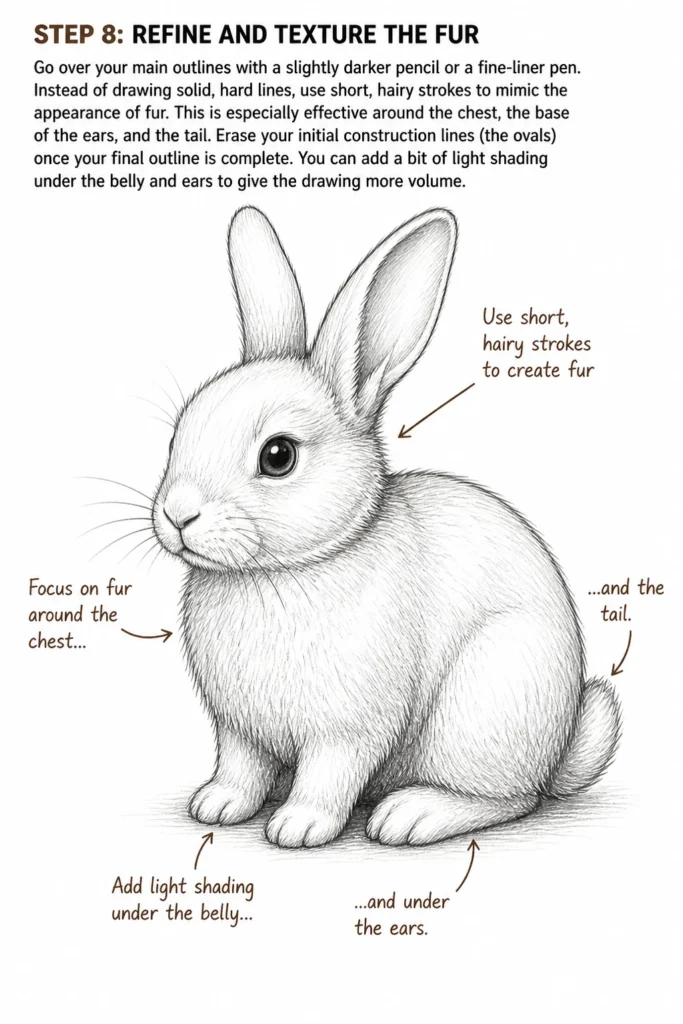
Instead of drawing solid, hard lines, use short, “hairy” strokes to mimic the appearance of fur.
This is especially effective around the chest, the base of the ears, and the tail.
Erase your initial construction lines (the ovals) once your final outline is complete.
You can add a bit of light shading under the belly and ears to give the drawing more volume.
Common Mistakes to Avoid
Pressing Too Hard Initially
Many beginners push their pencil deep into the paper during the first few steps. This creates permanent grooves that remain visible even after you try to erase them. Always start with “ghost lines” that are barely visible to the naked eye.
If you find yourself gripping the pencil tightly, stop and shake out your hand. A relaxed grip leads to more natural, fluid shapes and a much cleaner final product.
Making the Ears Too Small
Small ears often make a bunny look more like a mouse or a hamster. Rabbits are defined by their oversized ears, which they use to regulate body temperature and listen for predators.
If your drawing feels “off,” check the ear-to-head ratio. Extending the ears just a half-inch can often transform a generic rodent into a recognizable bunny.
Ignoring the Ground Plane
A common error is drawing the feet at different heights, which makes the bunny look like it is falling over. Even in a simple sketch, you want to imagine a flat floor beneath your character.
Before you draw the feet, you can lightly sketch a horizontal line to act as your floor. This ensures all the points of contact—the belly, the front paws, and the back foot—sit on the same level.
Troubleshooting
The Bunny Looks Stiff or Robotic
This usually happens when your lines are too straight or your shapes are too symmetrical. Animals are made of soft curves and organic irregularities that vary from one side to the other.
To fix this, try tilting the head at a sharper angle or making one ear flop forward. Adding a slight curve to the spine area can also give the impression of a living, breathing creature.
The Eyes Look Scary or Unnatural
If the eyes are too small or lack a highlight, they can end up looking like dark, empty holes. This often creates a “creepy” effect rather than a cute one.
Make the eyes slightly larger and ensure you leave that small white dot for the reflection of light. You can also add a tiny curved line above the eye to act as a soft eyelid or brow.
The Fur Looks Messy Instead of Fluffy
Beginners often draw long, chaotic scribbles when trying to represent fur. This can quickly clutter the drawing and hide the beautiful shapes you worked hard to create.
Instead of covering the whole body in lines, only add fur textures where the body curves or where two parts meet. A few well-placed “flicks” on the chest and tail are usually enough to suggest a coat of fur.
Key Takeaways
- Start with basic ovals to establish the proportions of the head and body before adding any details.
- Use light pressure during the initial stages so you can easily remove construction lines later.
- Focus on the ears as they are the primary feature that gives a bunny its specific character and personality.
- Add a highlight in the eyes to instantly bring your drawing to life and make it look expressive.
- Embrace short strokes for the final outline to simulate the look of soft fur rather than smooth skin.
- Keep the back leg large to reflect the actual anatomy of a rabbit, which relies on strong hindquarters.
Frequently Asked Questions
What kind of pencil is best for a beginner?
An HB pencil is the best all-around choice because it is neither too hard nor too soft. It allows you to draw light lines for sketching and darker lines for shading without needing to switch tools. As you progress, you might want to try a 2B pencil for darker, softer shadows.
How do I make the bunny look like it is hopping?
To show movement, stretch the body oval into a longer, more diagonal shape. Extend the back legs fully behind the body and tuck the front paws forward. Adding a few small “dust” lines behind the back feet can also help suggest speed and action.
Can I use markers to color my bunny?
Yes, markers are a great way to add vibrant color to your illustration. If you plan to use markers, make sure you use a waterproof fine-liner for your outlines so the ink doesn’t smudge. Apply your lightest colors first and layer the darker shades on top to create depth in the fur.
How do I draw a bunny from the front?
When drawing from the front, the body oval will be hidden behind the head oval. You will see both eyes clearly on either side of the nose, and the front paws will be centered directly under the chin. The ears should be placed symmetrically on top of the head for a balanced look.
Our Top Recommended Finds
- Strathmore 400 Series Drawing Pad: This paper has a nice “tooth” or texture that grabs the graphite well and stands up to heavy erasing.
- Prismacolor Kneaded Eraser: These erasers can be molded into tiny points to lift pencil marks from small areas like the eyes or whiskers without smudging.
- Sakura Pigma Micron Pens: These fine-liners use archival ink that won’t bleed when you color over them with markers or watercolors.
Expand Your Artistic Horizons
Now that you have mastered the basic bunny, you can try adding a background to your scene. Think about drawing a few simple carrots, a patch of tall grass, or even a cozy burrow in the hillside.
Drawing is a skill that improves every single time you put pencil to paper. Try drawing five more bunnies today, each with a different ear position or facial expression to see how much personality you can capture.
Once you feel confident with rabbits, you might enjoy trying your hand at other garden visitors like squirrels or small birds. The same “basic shapes” method you learned today works for almost every animal in the kingdom.
& Painting
No rigid rules or pretension. Just practical guides, medium comparisons, and encouraging tips to help you enjoy the drawing & painting process.