🐰 How To Draw A Bunny Step By Step Easy
Remember those childhood drawings of bunnies?
I used to fill notebooks with them, always trying to capture that perfect fluffy tail.
This guide comes from years of sketching, designed to make drawing a cute bunny simple and fun for everyone.
Quick Overview
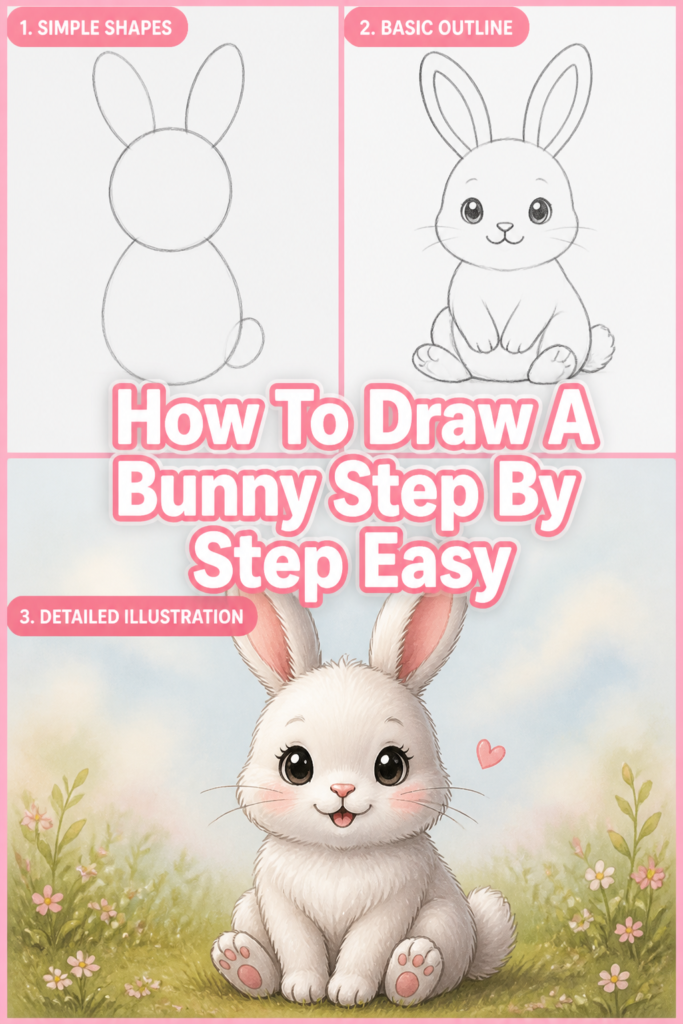
By following these steps, you’ll create an adorable bunny drawing you can be proud of.
We’ll start with basic shapes and build up to details, making the process straightforward for any beginner.
- Time needed: 20-30 minutes
- Difficulty: Beginner
- What you’ll need: Pencil, eraser, paper, and a willingness to have fun!
Step-by-Step Instructions
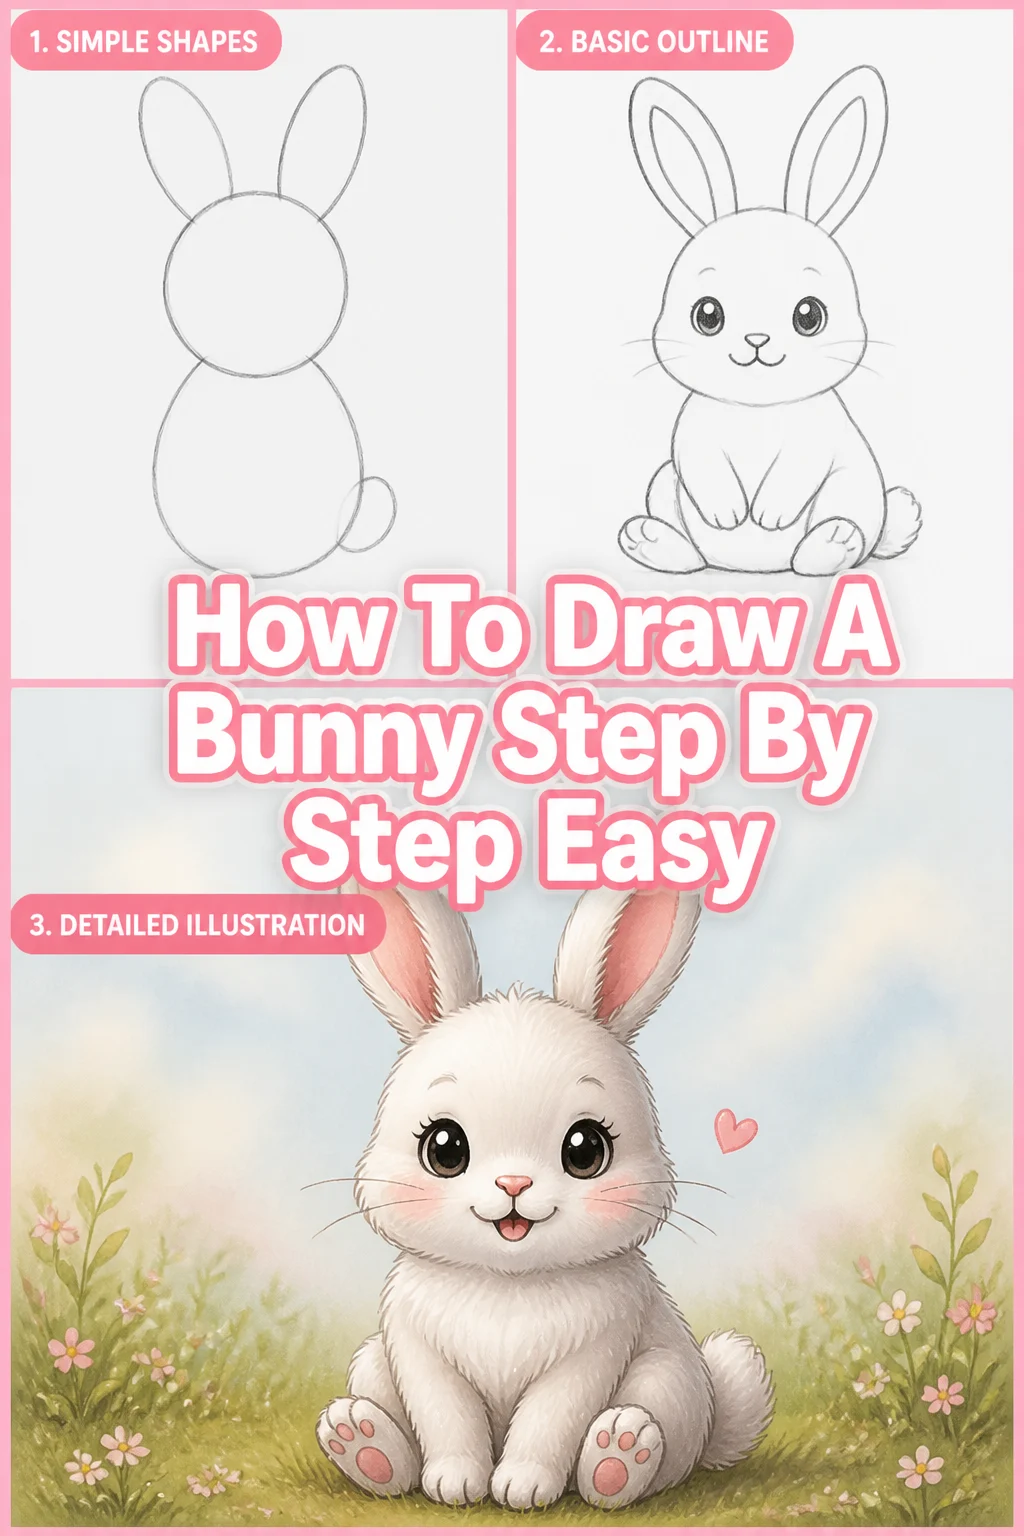
Step 1: Sketch the Basic Shapes for the Body
First, let’s draw the foundation of your bunny.
Lightly sketch a medium-sized oval for the bunny’s body. This doesn’t need to be perfect; it’s just a guide.
Above and slightly overlapping the body oval, draw a smaller circle for the head. Think of it like a snowman, but with an oval for the base.
Pro Tip: Keep your lines very light in this initial stage. These are just “construction lines” that you’ll erase later, so don’t press down hard with your pencil.
Step 2: Connect the Head and Body
Now, let’s blend these two shapes together to form the bunny’s neck and back.
Draw two gentle, curved lines connecting the bottom of the head circle to the top of the body oval.
One line will curve from the back of the head down to the body, forming the back.
The other will curve from the front of the head to the body, creating the chest area.
Step 3: Add the Long, Expressive Ears
Bunnies are known for their ears, so let’s add them next.
From the top of the head circle, draw two long, slightly curved oval shapes for the ears.
Make them relatively tall, extending upwards and slightly outwards from the head.
You can make one ear bend a little for a playful look.
Inside each outer ear shape, draw a slightly smaller, similar shape to represent the inner ear, leaving a small border.
Step 4: Sketch the Front Paws and Hind Legs
Let’s give our bunny some stability with its paws and legs.
For the front paws, draw two small, elongated oval shapes extending from the chest area of the body.
These should point downwards, almost like little stumps.
For the hind leg, which will be partially hidden, draw a larger, more rounded shape extending from the lower back of the body oval.
It should look like a gentle bump, suggesting the powerful leg tucked underneath.
Pro Tip: Think about the bunny’s natural posture. They often sit with their front paws close together and their hind legs tucked. This will help you place them realistically.
Step 5: Place the Face Features
Time to bring your bunny to life with its adorable face.
Lightly draw two small circles or ovals for the eyes on the upper half of the head.
They should be slightly spaced apart.
Below and between the eyes, draw a small “Y” or upside-down triangle shape for the nose.
From the bottom of the nose, draw two small, curved lines extending downwards and outwards to form the mouth.
Step 6: Refine the Outline and Add a Fluffy Tail
Now, let’s solidify your bunny’s form.
Carefully go over your light construction lines with a slightly firmer hand, choosing the best curves for the final outline.
Erase any overlapping guidelines from the initial ovals and circles that are no longer needed.
For the tail, draw a small, fluffy cloud-like shape at the back of the body, near where the hind leg begins.
Make it look soft and round.
Step 7: Add Details and Texture
This step is where your bunny really starts to shine.
Draw small lines inside the inner ear shapes to suggest depth and texture.
For the eyes, add a small highlight circle in each to make them sparkle, then fill in the rest of the eye with a darker shade.
Draw a few short, wispy lines around the nose for whiskers.
You can also add very light, short strokes along the body outline, especially around the edges, to suggest soft fur.
Step 8: Final Touches and Shading (Optional)
To give your bunny more dimension, consider some light shading.
Add soft shadows under the chin, inside the ears, and along the underside of the body and paws.
Use the side of your pencil to create smooth, graded tones.
Erase any remaining stray lines and make sure your final outline is clean and confident.
Common Mistakes to Avoid
Disproportionate Body Parts
A frequent issue is making the head too big or too small compared to the body.
This can make your bunny look unnatural or unbalanced.
Always start with simple shapes to establish proportions before adding details; step back and assess your drawing often.
Stiff Poses
Sometimes drawings can look rigid, lacking life and movement.
This often happens when artists rely too heavily on straight lines or perfectly symmetrical shapes.
Introduce gentle curves and slight asymmetries to give your bunny a more natural and dynamic feel.
Flat Features
Drawing eyes, noses, and paws without any form can make your bunny look two-dimensional.
Remember that these features have volume.
Adding subtle curves, highlights, and shadows will help them pop off the page and give your bunny depth.
Over-Complicating Fur
It’s tempting to draw every single strand of fur, but this can make your bunny look messy or hairy instead of fluffy.
Instead, use short, soft, overlapping strokes in the direction of fur growth to suggest texture.
Focus on hinting at fur rather than detailing every piece.
Troubleshooting
My bunny looks stiff/unnatural.
If your bunny appears rigid, try loosening your grip on the pencil.
Focus on drawing with your whole arm, not just your wrist, to create smoother, more organic curves.
Experiment with different poses, perhaps leaning slightly or tilting its head, to add more life.
The eyes don’t look right.
Eyes are crucial for expression. If they seem off, check their placement and size relative to the head.
Ensure they are roughly at the same height and distance apart.
Adding a small white highlight can instantly make them appear more alive and reflective.
I can’t get the fur to look soft.
Achieving soft fur texture requires a light touch and varied stroke length.
Avoid pressing hard; instead, use very short, feathery strokes that follow the bunny’s form.
Try layering these strokes lightly, building up the texture gradually rather than trying to create it all at once.
Key Takeaways
- Always start with light, basic shapes to establish proportion and structure.
- Use gentle, curved lines to create a natural and soft appearance for your bunny.
- Pay attention to the placement and shape of ears and facial features for expressiveness.
- Don’t be afraid to erase and refine your lines as you go; it’s part of the process.
- Suggest fur texture with light, short strokes rather than drawing individual hairs.
- Practice makes perfect; every drawing is a step forward in your artistic journey.
Frequently Asked Questions
What kind of pencil should I use?
For beginners, a standard HB pencil is a great all-rounder for both sketching and shading.
If you want more variety, a 2H pencil is good for light guidelines, and a 2B or 4B is excellent for darker lines and softer shading.
How do I make my bunny look unique?
Personalize your bunny by experimenting with ear positions (one up, one down), adding different expressions, or even including accessories like a tiny flower or bow.
You can also vary the body shape slightly or add unique fur patterns.
Can I use colors?
Absolutely! Once your line drawing is complete, you can add color using colored pencils, crayons, or even watercolors.
Think about natural bunny colors like browns, grays, and whites, and how light affects them.
What if my first attempt isn’t perfect?
That’s completely normal and expected!
Drawing is a skill that improves with practice, not perfection on the first try.
Focus on learning from each attempt, identify what you’d like to improve, and simply try again.
Our Top Recommended Finds
- Sketching Pencil Set: A good set with varying lead hardness (e.g., 2H-6B) offers versatility for light sketches and dark shading.
- Quality Sketchbook: A spiral-bound sketchbook with smooth, medium-weight paper provides a comfortable surface for your drawings.
- Kneaded Eraser: Unlike traditional erasers, a kneaded eraser can lift graphite without damaging the paper, perfect for lightening lines or blending.
Your Bunny Awaits: Keep Exploring!
You’ve just completed your very own bunny drawing!
Feel proud of what you’ve created and the skills you’ve developed.
Now that you’ve mastered a basic bunny, why not try drawing it in different poses, or perhaps add a carrot?
Keep practicing, keep experimenting, and let your creativity hop to new heights!