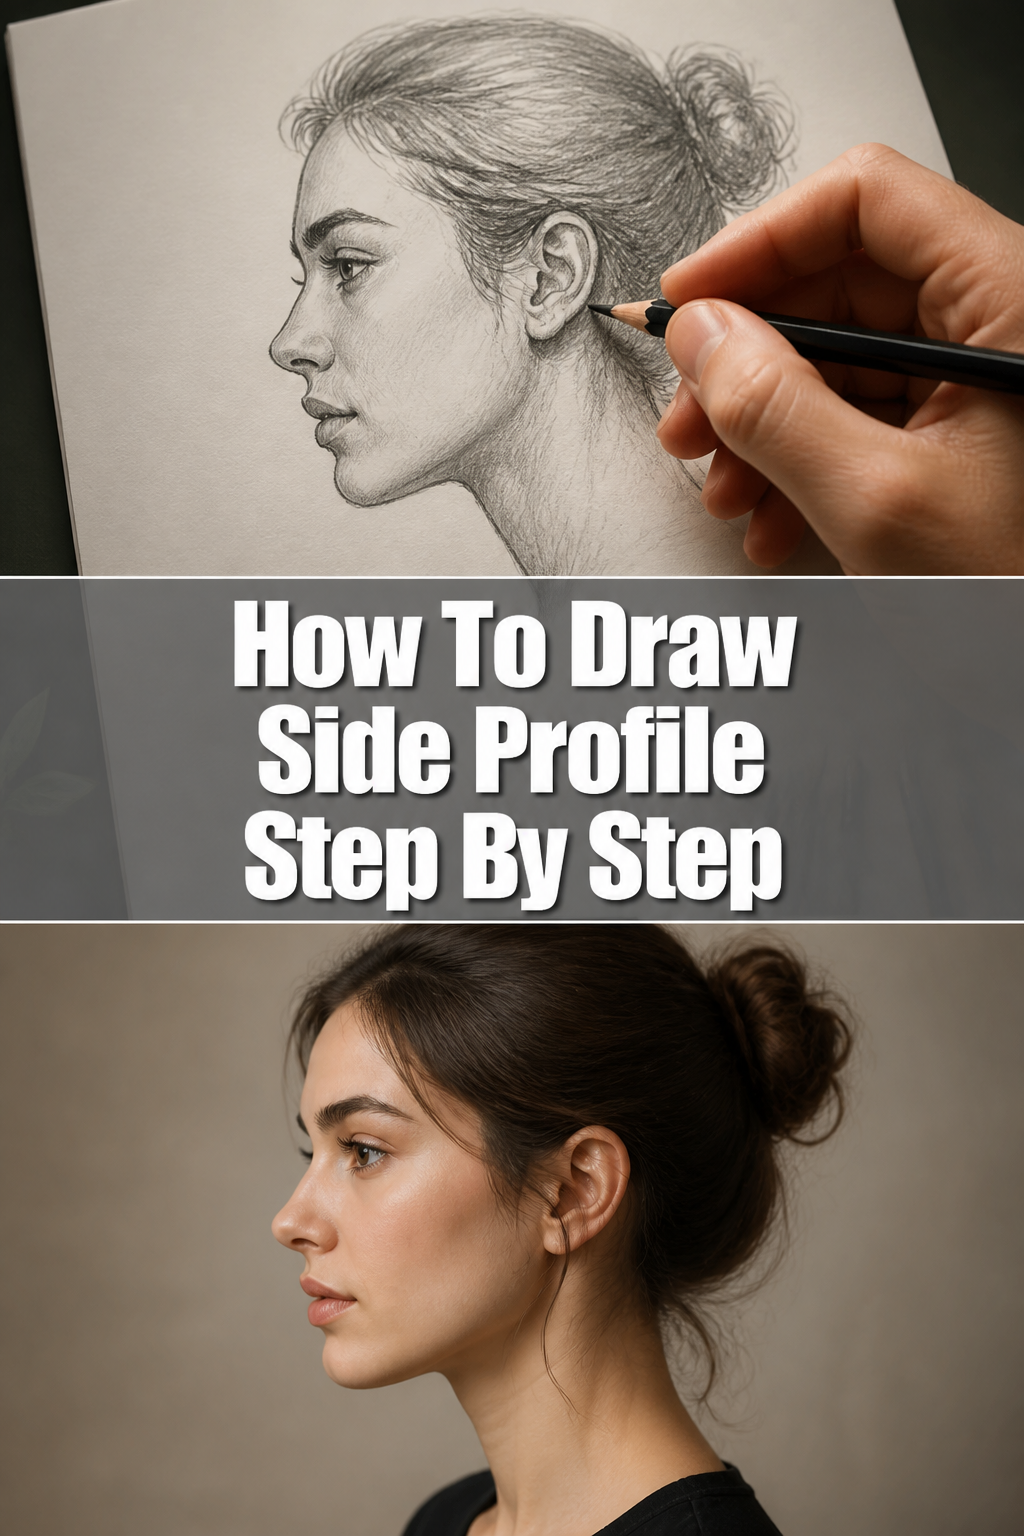
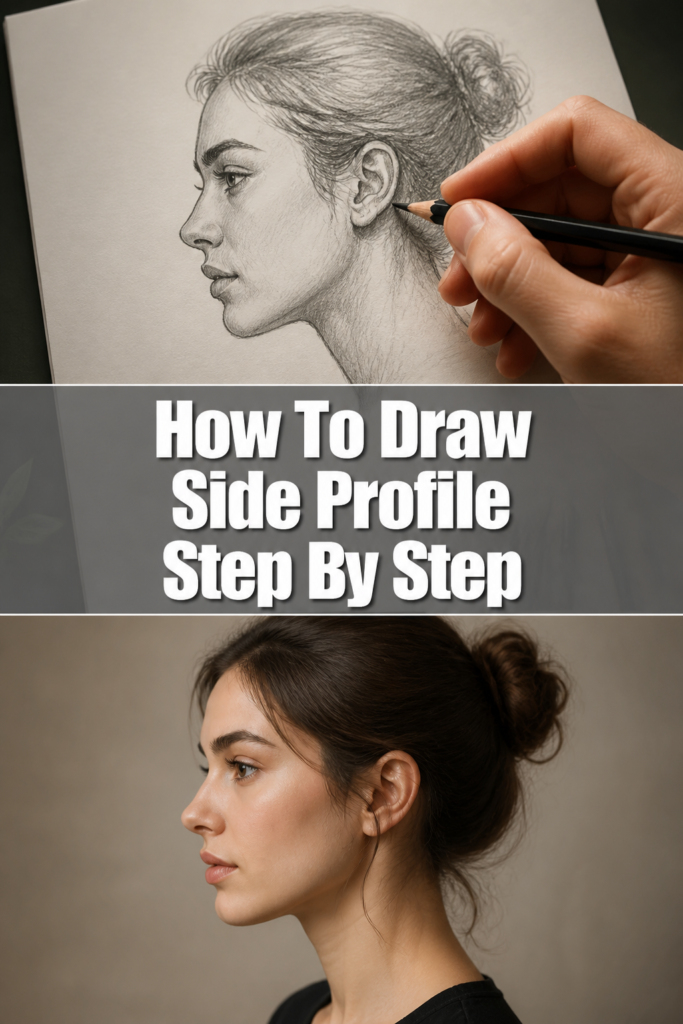
🎨 How To Draw Side Profile Step By Step

& Painting
No rigid rules or pretension. Just practical guides, medium comparisons, and encouraging tips to help you enjoy the drawing & painting process.
Capturing a person’s unique essence in a side profile can feel like a daunting task.
Many aspiring artists struggle with proportions and getting the features just right.
Through years of practice and teaching, I’ve refined a method that simplifies this complex art form into clear, manageable steps.
Quick Overview
This guide will walk you through the essential techniques to confidently draw a compelling side profile from scratch.
You’ll learn how to establish correct proportions and place features accurately, building a strong foundation for your artistic journey.
- Time needed: 45-75 minutes
- Difficulty: Beginner
- What you’ll need: Pencil (HB or 2B), paper, eraser, ruler (optional), a reference image.
Step-by-Step Instructions
Step 1: Sketch the Basic Head Shape
Begin by drawing a simple circle on your paper. This circle will represent the cranium, the largest part of the head.
Ensure it’s light and loose; this is a construction line, not a final outline.
Add a slightly curved line extending downwards from the bottom right or left of the circle. This line will form the back of the head and the beginning of the neck.
Pro Tip: Don’t press too hard. All initial lines should be very faint, allowing for easy adjustments and erasures later.
Step 2: Establish the Jawline and Chin
Determine the angle of the jaw. From the back of the head’s curved line, extend a diagonal line forward and slightly downward.
Connect this diagonal line to the bottom of your initial circle. This intersection marks the approximate location of the chin.
Refine the jawline by adding a subtle curve from the ear area (which we’ll place later) down to the chin point. The goal is a smooth transition.
Step 3: Create Essential Guidelines
Draw a vertical line straight down the middle of your initial circle, extending slightly past the chin. This is your central facial axis.
Add three horizontal lines across the head. The first should be just above the top of the circle (hairline), the second through the middle of the circle (brow line), and the third halfway between the brow line and the chin (nose base).
Include a fourth horizontal line halfway between the nose base and the chin. This marks the mouth line.
Pro Tip: These guidelines are crucial for accurate feature placement. Think of them as your architectural blueprint for the face.
Step 4: Map Out the Nose
Locate the brow line and the nose base line. The nose will fit neatly between these two horizontal guides.
Sketch a basic triangular or wedge shape for the nose, extending from the brow area down to the nose base. The tip of the nose will typically extend slightly beyond the vertical facial axis.
Refine the bridge of the nose, adding a subtle curve or straight line from the brow. Define the nostril and the underside of the nose with gentle curves.
Step 5: Position the Mouth and Chin
Use the mouth line you established earlier. The mouth will sit on or just above this line.
Draw the basic shape of the lips, ensuring they align with the general angle of the nose. The upper lip often protrudes slightly more than the lower lip in a side profile.
Define the chin’s curve, connecting it smoothly from the bottom lip area down to the point you marked in Step 2. Pay attention to the subtle indentation between the lower lip and the chin.
Step 6: Define the Eye and Brow
Place the eye directly on the brow line, slightly behind the vertical facial axis. In a side profile, you’ll mostly see the silhouette of the eye, not its full frontal shape.
Draw a simple almond or teardrop shape for the visible part of the eye, with the tear duct facing inwards.
Sketch the eyebrow arch above the eye, following the curve of the brow bone. The brow typically starts near the vertical facial axis and extends outwards.
Pro Tip: The eye socket creates a slight indentation. Remember to show this subtle curve behind the eye itself for added depth.
Step 7: Locate and Draw the Ear
Position the ear between the brow line and the nose base line. It typically sits slightly behind the vertical facial axis, aligning with the back of the jaw.
Outline the basic shape of the ear. It often resembles a ‘C’ shape with some internal curves and folds.
Connect the ear smoothly to the side of the head and the jawline. The earlobe will extend slightly below the nose base line.
Step 8: Form the Neck and Hairline
Connect the jawline to the neck. The front of the neck generally starts just behind the chin and curves gently downwards and slightly backwards.
Draw the back of the neck, extending downwards from the base of the skull. This line will usually be thicker and more muscular than the front.
Outline the hairline, starting from the top of the head and curving down towards the brow and ear. Remember that hair adds volume, so it won’t sit directly on the skull line.
Step 9: Refine and Add Details
Smooth out all your construction lines. Gently erase any unnecessary guides, leaving only the primary outlines of the face.
Add subtle details like the curve of the eyelid, the definition of the lips, and the subtle contours of the cheekbone and jaw.
Consider adding very light shading to suggest volume and depth. Shadows beneath the brow, nose, and chin can enhance realism.
Step 10: Erase Guidelines and Finish
Carefully erase all remaining construction lines, leaving only your refined drawing.
Review your profile for overall balance and proportion. Make any final minor adjustments to lines or shapes.
Reinforce the lines you want to keep with a slightly darker pencil stroke. Your side profile is now complete!
Common Mistakes to Avoid
Incorrect Proportions
One of the most frequent errors is misjudging the size or placement of features relative to each other. A nose that’s too long, an eye too far back, or a chin that’s too small can distort the entire profile.
Always double-check your guidelines and use them diligently. Measuring distances, even with your pencil, can help ensure accuracy before committing to a line.
Flat Features
A common pitfall is drawing features as if they are completely flat on the page, lacking any sense of three-dimensionality. This makes the profile look like a cut-out.
Remember that the face has curves and forms. The brow bone protrudes, the eye is set in a socket, and the lips have volume. Use subtle curves and varying line weights to suggest depth.
Ignoring the Neck
Sometimes artists focus so much on the face that the neck becomes an afterthought, appearing like a disconnected stick or a block. This creates an unnatural and unbalanced look.
The neck is an integral part of the profile. Ensure it connects smoothly and naturally to both the jawline and the back of the head, reflecting its anatomical structure and supporting the head’s weight.
Troubleshooting
“My profile looks stiff or lifeless.”
This often happens when lines are too rigid or features lack subtle curves. Faces are organic, not geometric. Try using more flowing lines instead of perfectly straight ones.
Also, consider adding a hint of personality. Even a slight tilt of the head or a nuanced curve to the lips can bring life to your drawing. Don’t be afraid to exaggerate subtle features slightly for character.
“The features don’t align properly, even with guidelines.”
Sometimes, despite using guidelines, features can still feel off-kilter. This might indicate that your initial head shape or primary guidelines were slightly askew.
Try flipping your drawing upside down or viewing it in a mirror. This technique helps you see errors you might have become accustomed to. Re-establish your main guidelines if necessary, ensuring they are perfectly horizontal and vertical.
Key Takeaways
- Always start with basic shapes like circles and lines to build your foundation.
- Utilize guidelines diligently for accurate placement of the hairline, brow, nose, and mouth.
- Focus on proportions; even slight discrepancies can alter the entire character of the profile.
- Don’t be afraid to erase and refine; the drawing process is iterative, not a single perfect stroke.
- Observe real faces to understand the subtle nuances and variations that make each profile unique.
- Practice regularly to develop your eye and hand coordination, leading to more confident and expressive drawings.
Frequently Asked Questions
What’s the best way to practice proportions effectively?
A great way to practice proportions is to draw from reference photos, paying close attention to the relationships between features. Try drawing grids over your reference images and then replicate those grids on your paper, filling in the features square by square.
Additionally, practice drawing the same profile from different angles or with slight variations in features to understand how proportions shift and adapt.
How do I make my profiles look more unique and less generic?
To add uniqueness, study individual faces. Pay attention to specific characteristics like a prominent nose, a strong jawline, or distinct lip shapes. These subtle differences are what make each person’s profile unique.
Don’t be afraid to deviate slightly from “ideal” proportions to capture an individual’s specific traits. Exaggerate them gently if you’re aiming for a more stylized look.
Should I always use a reference image when drawing a side profile?
While not strictly necessary every time, using reference images, especially when starting out, is highly recommended. References help you understand anatomy, proportions, and how light interacts with forms.
As you gain experience, you’ll build a mental library of facial structures, allowing you to draw from imagination more confidently. However, even experienced artists often refer back to references for specific details or inspiration.
Our Top Recommended Finds
- Strathmore 400 Series Drawing Pad: A versatile, medium-surface paper that holds pencil well and withstands erasing, perfect for practice.
- Faber-Castell Polychromos Artists’ Pencils Set: Offers a range of hardness for sketching, shading, and detail work, providing excellent control.
- Kneaded Eraser: Essential for lifting graphite lightly without damaging the paper, allowing for subtle corrections and highlights.
Your Side Profile Journey Begins Now
You now have a solid framework for approaching side profile drawings.
Remember that drawing is a skill honed through consistent practice and keen observation.
Take these steps, apply them, and don’t hesitate to experiment with different faces and expressions. Grab your tools and start creating your next captivating side profile today!
& Painting
No rigid rules or pretension. Just practical guides, medium comparisons, and encouraging tips to help you enjoy the drawing & painting process.