⭐ How To Draw A Star Step By Step

& Painting
No rigid rules or pretension. Just practical guides, medium comparisons, and encouraging tips to help you enjoy the drawing & painting process.
Remember doodling stars in your notebooks as a child? It’s a simple shape, yet capturing its perfect symmetry can sometimes feel tricky. I’ve spent countless hours sketching, and I’ve found a method that makes drawing a balanced, beautiful star incredibly easy. This guide will walk you through each motion, ensuring your stars shine brightly.
You’ll discover the secrets to creating stars that look professionally drawn, even if you’re just starting out. Trust me, with these steps, you’ll be amazed at what you can create.
Quick Overview
This guide will empower you to draw a classic five-pointed star with confidence and precision. You’ll learn the fundamental techniques to achieve a symmetrical and aesthetically pleasing result every time.
- Time needed: 10-15 minutes (for your first few attempts)
- Difficulty: Beginner
- What you’ll need: Pencil, paper, eraser, optional ruler
Step-by-Step Instructions
Step 1: Gather Your Tools and Find Your Center
Before you begin, set up a comfortable workspace with good lighting. Having the right tools at hand makes the process smoother and more enjoyable. A good quality pencil, paper, and an eraser are your best friends here.
Lightly mark a small dot in the center of your drawing area. This point will serve as the invisible anchor for your star, helping you maintain overall balance. Don’t press too hard; this mark is just a guide and will be erased later.
Pro Tip: Use an HB pencil for initial sketches. Its medium hardness allows for clear lines that are still easy to erase if you make a mistake.
Step 2: Draw a Top Point Guide
From your center dot, lightly draw a vertical line straight upwards. This line doesn’t need to be long, just enough to indicate the highest point of your star. Think of it as the tip of the uppermost point.
This initial line establishes the star’s orientation and helps you visualize its vertical axis. It ensures your star won’t appear lopsided from the start.
Step 3: Sketch Two Angled Lines Downward
Now, from the top point you just established, draw two light lines angling downwards and outwards. These lines should diverge, creating the upper two sides of your star. Imagine they are forming the top part of an inverted ‘V’ shape.
Aim for roughly equal angles on both sides to maintain symmetry. These lines will eventually connect to other points, so keep them light and flowing.
Step 4: Create the Horizontal Base Points
Visualize where the two lower points of your star will sit, roughly level with each other. Draw two light, short horizontal lines or dots to mark these positions. These points should be lower than your center dot and spaced out symmetrically from the vertical axis.
These base points define the width of your star and provide crucial anchor points for the next set of lines. They complete the “arms” of your star.
Pro Tip: If using a ruler, you can measure equal distances from your central vertical line to ensure these two points are perfectly symmetrical. This helps achieve a balanced look.
Step 5: Connect and Form the Lower V-Shape
From the end of each of your angled lines (from Step 3), draw new lines downwards to connect to the horizontal base points you just marked (from Step 4). These new lines will begin to form the sides of the star’s lower body.
You should now see the distinct outline of the two upper points of your star, and the beginning of the two lower points. The shape is starting to emerge clearly.
Step 6: Complete the Star’s Outline
Connect the two horizontal base points you made in Step 4 with a single, upward-angling line to meet at a new bottom point. Then, connect this bottom point back up to the other horizontal base point. This forms the final two sides and the lowest point of your star.
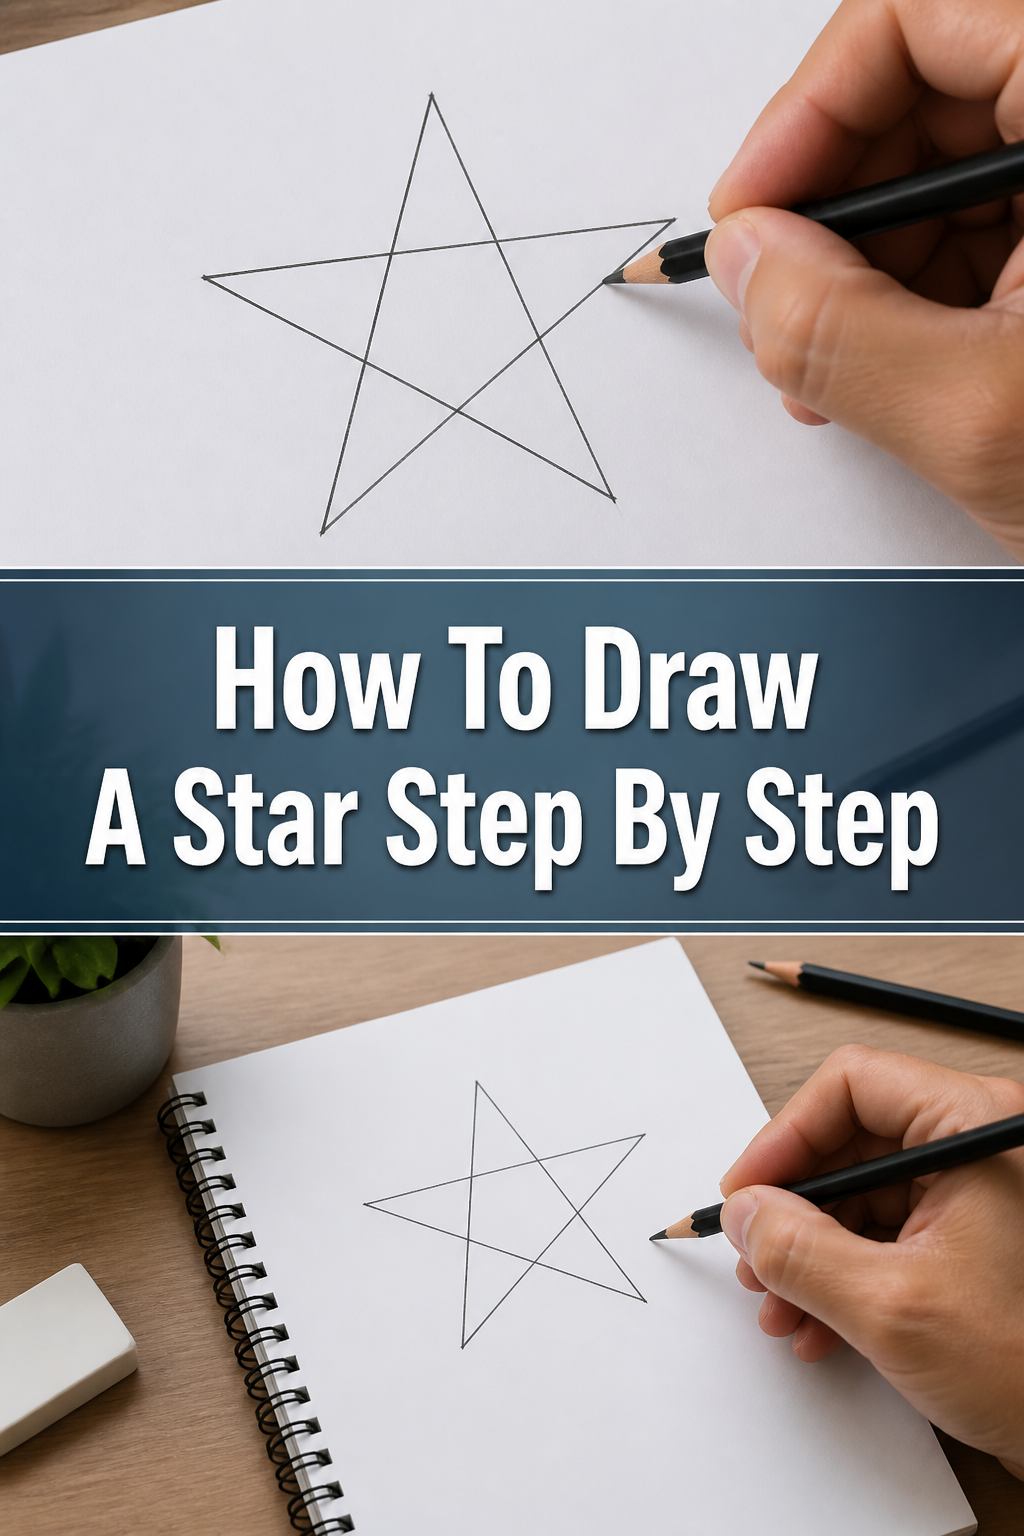
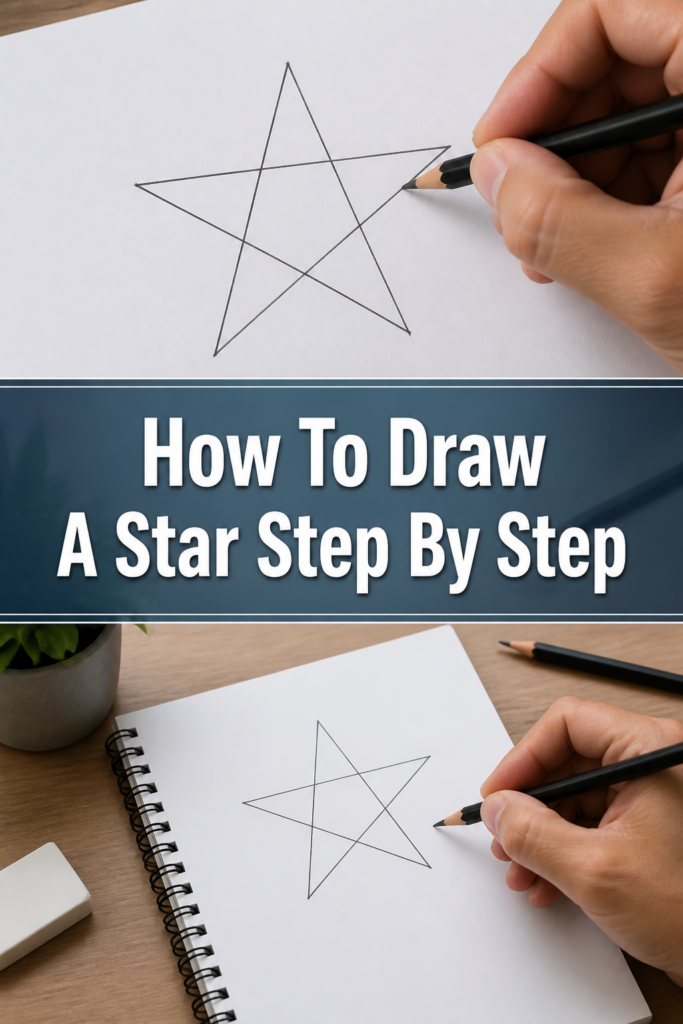
You should now have a complete five-pointed star outline. All the points should be connected, forming a closed shape.
Step 7: Refine and Darken Your Lines
Once you are happy with the light sketch, go over your lines with a slightly firmer hand. Darken the final outline of your star, making the edges crisp and clear. This is where your star truly comes to life.
Carefully erase all the initial guide marks, including the center dot and any construction lines that are no longer needed. This cleanup gives your star a polished, professional finish.
Step 8: Add Optional Details (Shading or Embellishments)
To give your star more dimension, consider adding some light shading. You can shade one side of each point to suggest light coming from a particular direction. This adds depth and visual interest.
Experiment with different techniques like cross-hatching or stippling. You might also add small sparkles or a glow effect around your star to make it truly stand out.
Common Mistakes to Avoid
Uneven Points
A common pitfall is drawing points that are not uniform in length or angle. This can make the star look lopsided or unbalanced, detracting from its classic symmetry. To correct this, always use your initial guide points and lines to ensure all points extend to roughly the same distance from the center and have similar angles. Take your time with the initial sketch.
Overly Dark Initial Lines
Pressing too hard with your pencil during the initial sketching phase is another frequent mistake. This leaves deep indentations on the paper that are difficult to erase completely, even if the line was incorrect. Always start with the lightest touch possible, making your guide lines barely visible. This allows for easy corrections without damaging your paper.
Lack of a Central Reference Point
Neglecting to establish a clear central reference point or top guide line can lead to a star that drifts on the page or lacks a cohesive structure. Without a central anchor, it’s challenging to ensure all points are properly aligned. Always begin with a light center dot and a top guide line to orient your drawing. This foundation is crucial for symmetry.
Rushing the Process
Trying to draw the star too quickly often results in jagged lines and imprecise points. Drawing is a process that benefits from patience and careful observation. Take your time with each step, focusing on the accuracy of your lines and the symmetry of your points. Slowing down will yield much better results and a more satisfying finished product.
Troubleshooting
My Star Looks Lopsided
If your star appears uneven, the issue likely stems from inconsistent angles or point lengths. Go back to your initial guide lines. Ensure your top point is truly vertical from your center dot. Check that the angles of the two upper lines are symmetrical. Use a ruler to help measure distances from the central axis to your horizontal base points. Practice drawing very light construction lines first, then refine.
I Can’t Erase My Guide Lines Completely
This happens when you press too hard during your initial sketch. For future drawings, use a lighter touch with an HB pencil for all guide lines. If the lines are already too deep, try using a kneaded eraser, which can lift graphite more effectively without smudging or damaging the paper. Gently dab the eraser rather than rubbing vigorously.
My Lines Are Wobbly or Not Straight
Wobbly lines are often a sign of drawing too slowly, hesitating, or using an uncomfortable grip. Try to draw your lines with a single, confident stroke, guiding your hand from your shoulder rather than just your wrist. Practice drawing straight lines on a separate piece of paper to build muscle memory. You can also use a ruler for the initial guide lines until your freehand improves.
Key Takeaways
- Always start with light guide marks, including a central point and a top reference line, to ensure symmetry.
- Break down the star into smaller, manageable lines rather than trying to draw it in one go.
- Use an HB pencil for initial sketches, allowing for easy erasing and refinement.
- Practice drawing symmetrical angles and consistent line lengths for a balanced appearance.
- Don’t be afraid to erase and redraw; perfection comes with practice and patience.
- Refine your outline by darkening only the final, desired lines after all guides are in place.
Frequently Asked Questions
What’s the easiest way to ensure my star is symmetrical?
The easiest way to ensure symmetry is by starting with a clear central point and a vertical guide line for the top point. Then, visualize or lightly mark your remaining points in relation to this center, ensuring equal distances and angles. Using a ruler for initial measurements can be very helpful for beginners until your eye for proportion develops.
Can I draw a star without a ruler?
Absolutely! While a ruler can aid in precision, especially for beginners, drawing a star freehand is a great way to develop your eye-hand coordination. The key is to draw very light guide lines first, focusing on visual balance. With practice, you’ll be able to sketch symmetrical stars purely by feel and observation.
How can I make my star look three-dimensional?
To add a 3D effect, you can use shading techniques. Imagine a light source and shade the sides of the star’s points that would be in shadow. You can also draw an internal line parallel to each outer edge, creating a faceted look, then shade those internal planes. Experiment with darker tones in the deeper folds and lighter tones on the exposed surfaces.
What if my star still looks wonky after several attempts?
Don’t get discouraged! Drawing is a skill that improves with consistent practice. Try focusing on one aspect at a time, like getting the angles right, before moving to another. You might also try tracing a star first to get a feel for the shape, then attempting it freehand. Patience and persistence are your greatest tools.
Our Top Recommended Finds
- Staedtler Mars Lumograph Pencils: A set of high-quality graphite pencils in various hardnesses, perfect for both light sketching and dark finishing lines.
- Kneaded Eraser: Essential for lifting graphite cleanly without smudging or leaving eraser dust, preserving your paper’s integrity.
- Strathmore Drawing Paper: A smooth, durable paper surface that handles multiple erasures well and allows for crisp, clean lines.
Let Your Creativity Shine
You’ve now got all the tools and knowledge to draw a beautiful, symmetrical star. This simple shape is a fundamental building block in many artistic endeavors, from celestial scenes to decorative patterns. Don’t stop here; let this be just the beginning of your drawing journey.
Take out your pencil and paper right now. Create a whole galaxy of stars, each one a testament to your growing skill. What other shapes will you master next? The possibilities are as endless as the night sky.
& Painting
No rigid rules or pretension. Just practical guides, medium comparisons, and encouraging tips to help you enjoy the drawing & painting process.