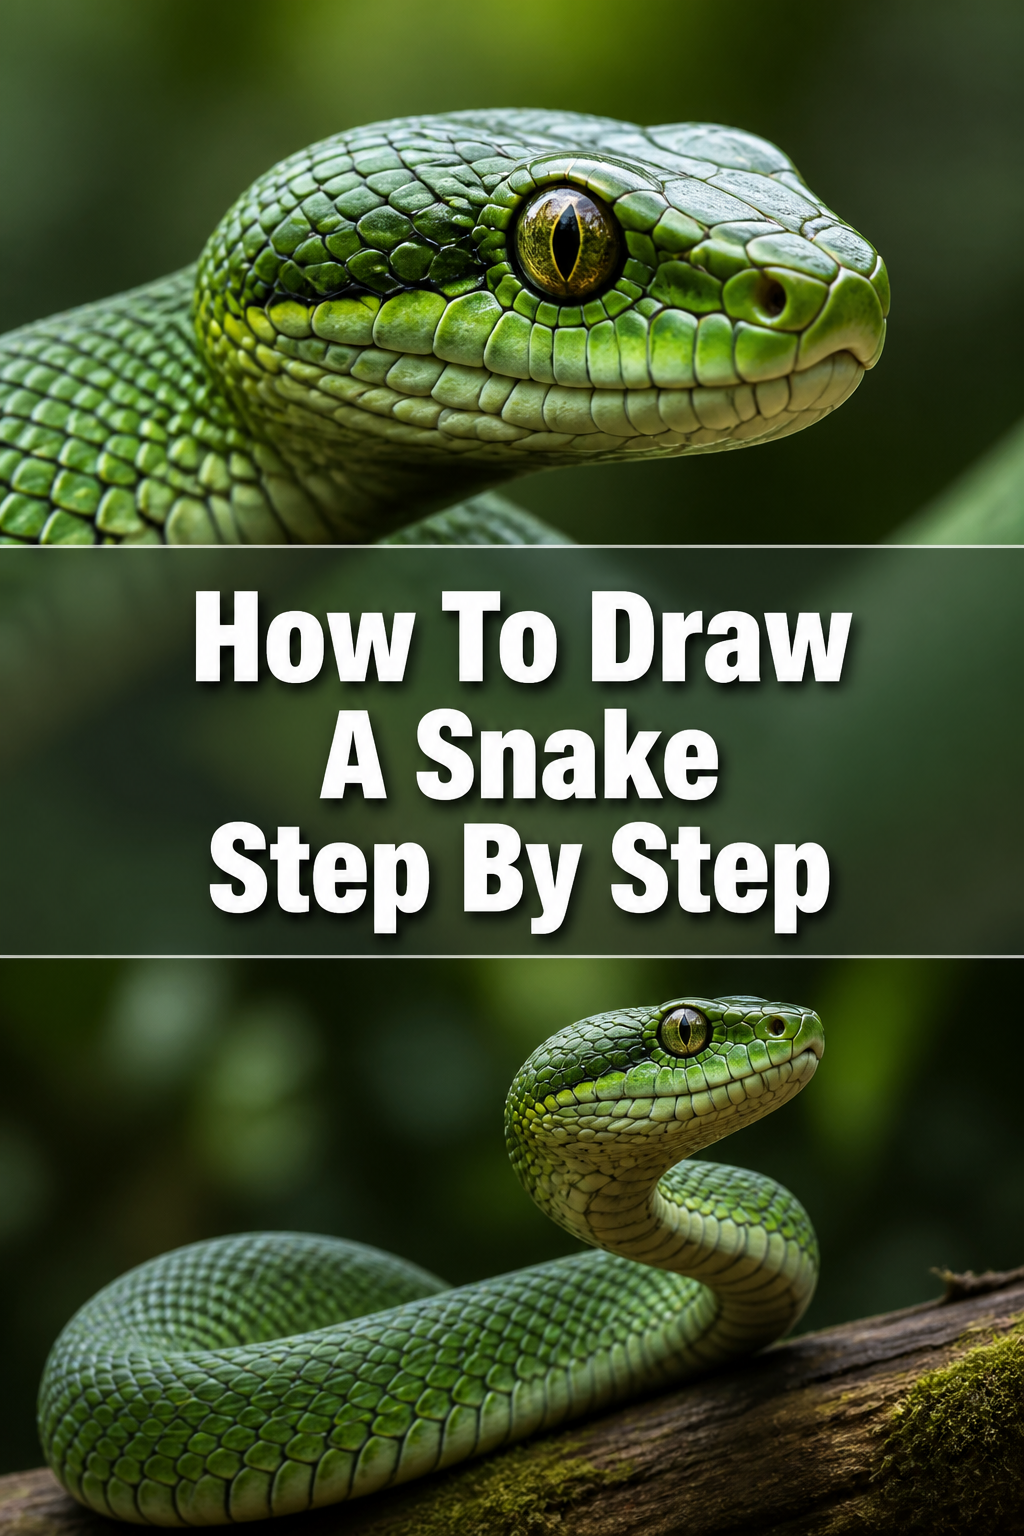
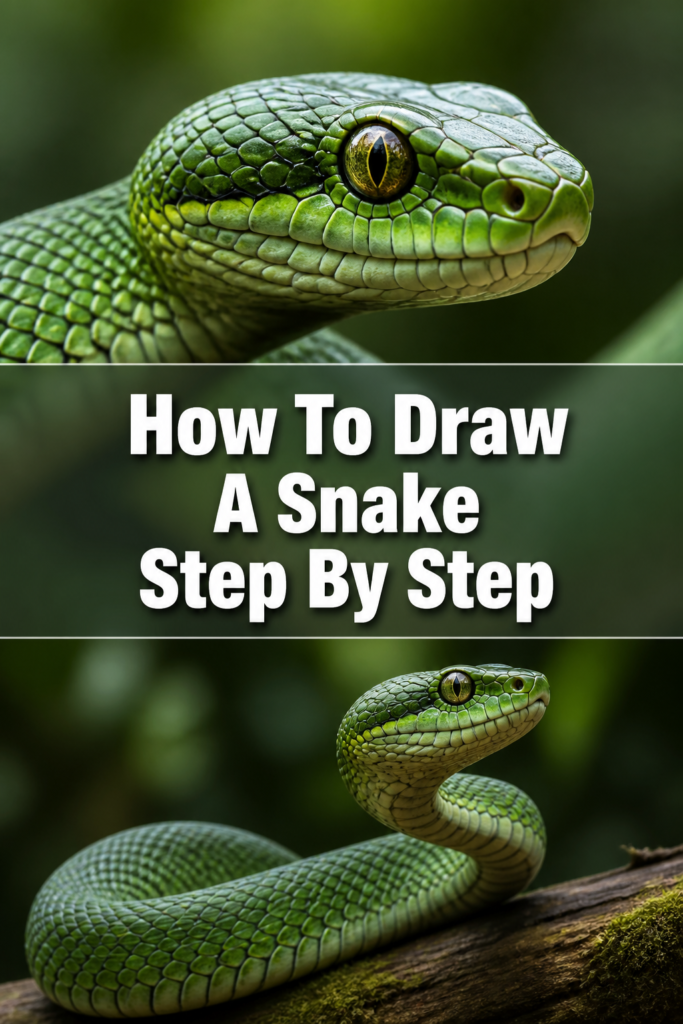
🐍 How To Draw A Snake Step By Step

& Painting
No rigid rules or pretension. Just practical guides, medium comparisons, and encouraging tips to help you enjoy the drawing & painting process.
I have spent countless hours in my studio trying to capture the perfect curve of a serpent’s spine.
During my early years as an illustrator, I realized that snakes are not just long tubes, but complex sequences of muscle and rhythm.
This guide comes from my personal sketchbook and years of teaching students how to see the underlying geometry in nature.
Quick Overview
In this guide, you will learn how to transform a simple line into a realistic, three-dimensional snake with texture and depth.
- Time needed: 45 to 60 minutes
- Difficulty: Beginner to Intermediate
- What you’ll need: Graphite pencils (HB and 2B), a kneaded eraser, smooth drawing paper, and a blending stump.
Step-by-Step Instructions
Step 1: Sketch the Action Line
The foundation of any good animal drawing is the line of action, which dictates the movement of the entire body.
Draw a long, flowing “S” shape or a series of loops across your paper using very light pressure.
Imagine the snake is moving through tall grass and let your hand move fluidly without overthinking the placement.
Keep this line faint because it is merely a skeleton that you will eventually erase or draw over.
Pro Tip: Avoid making the curves too tight or sharp, as a snake’s body moves in wide, graceful arcs to maintain its momentum.
Step 2: Define the Head Shape
The head of a snake is often the most expressive part and sets the tone for the entire piece.
Place a small oval or a rounded diamond shape at the very beginning of your action line.
Observe that many snakes have a distinct “neck” area where the head is slightly wider than the body immediately behind it.
Sketch a faint horizontal line through the middle of the head to help you place the eyes and nostrils later on.
Step 3: Build the Body Volume
Now you need to turn your single line into a three-dimensional cylinder that has actual weight.
Draw two parallel lines on either side of your initial action line, following the curves exactly.
Ensure the width of the body stays consistent through the middle section before you start to narrow it toward the end.
Think of the body as a flexible garden hose that maintains its thickness even as it bends and twists across the ground.
Pro Tip: When the body overlaps itself, make sure the line that is “on top” is continuous, while the line “behind” stops and starts to create an illusion of depth.
Step 4: Taper the Tail
A common mistake is ending the snake abruptly, which makes it look unfinished or broken.
Begin to gradually narrow the distance between your two body lines as you reach the final third of the drawing.
Bring the lines together into a sharp, elegant point at the very tip of the tail.
Check the transition to make sure it looks natural and smooth rather than a sudden pinch in the body.
Step 5: Detail the Facial Features
This is where your snake starts to take on a personality, whether it is a gentle garter snake or a striking cobra.
Add small, slightly protruding circles on the sides of the head for the eyes, making sure they sit just above the midline.
Mark two tiny dots at the front of the snout for the nostrils and a small slit at the tip of the mouth for the tongue.
Draw a thin line for the mouth that follows the curve of the head, extending back past the eyes to show the wide jaw structure.
Step 6: Map the Scale Patterns
Scales can be intimidating, but the secret is to treat them as a grid rather than drawing every single one individually.
Sketch light diagonal lines across the body in one direction, then cross them with diagonal lines in the opposite direction.
Follow the curve of the body with these lines so they wrap around the “cylinder” you created in Step 3.
Notice how the diamond shapes created by this grid naturally look like a snake’s skin without requiring hours of tedious detail.
Pro Tip: Scales on the head are usually larger and more plate-like, while scales on the body are smaller and more numerous.
Step 7: Apply Shading for Realism
Shading is what separates a flat cartoon from a realistic illustration that looks like it could slither off the page.
Identify your light source and apply darker tones to the side of the body that is furthest away from that light.
Darken the areas where the body overlaps itself to create “drop shadows” that push the lower sections into the background.
Use a blending stump or your finger to soften the transitions between light and dark, giving the skin a smooth, muscular appearance.
Add a tiny white highlight on the eye and along the top of the body to suggest a shiny, wet, or iridescent texture.
Common Mistakes to Avoid
The Uniform Sausage Effect
Many beginners draw the snake with the exact same thickness from the head to the tip of the tail.
Real snakes have a distinct anatomy where the head, mid-section, and tail all have different widths.
Always ensure your tail tapers slowly and your head has a slight bulge to accommodate the jaw muscles.
Ignoring the Underbelly
Snakes have specialized scales on their bellies called ventral scales that look like wide horizontal bands.
If you only draw the diamond-patterned scales, the snake will look like it is made of fabric rather than a living creature.
Make sure to show a bit of the flat underbelly where the snake’s body twists or turns toward the viewer.
Flat Perspective
It is easy to draw a snake that looks like a flat ribbon lying on a table.
To fix this, you must use cross-contour lines that wrap around the body to show its roundness.
Think about the snake as a 3D object in space rather than a 2D shape on a piece of paper.
Troubleshooting
The Body Looks Stiff and Robotic
This usually happens when your initial action line is too geometric or lacks variety in its curves.
Try drawing the “S” curve again, but this time, use your entire arm to move the pencil instead of just your wrist.
Loosen your grip on the pencil and allow the lines to be messy at first to find the most natural flow.
The Scales Look Messy
If your scale grid looks like a chaotic mess, you are likely making the lines too dark or too far apart.
Keep the grid lines extremely light and only darken the “corners” where the scales overlap.
You do not need to draw every scale; often, just suggesting the texture in the shaded areas is enough to trick the eye.
Key Takeaways
- Start with a fluid action line to establish the movement and rhythm of the snake.
- Build a cylindrical body around the action line to give the creature three-dimensional mass.
- Ensure the tail tapers gradually to a fine point for a realistic silhouette.
- Use a diagonal grid to suggest scales instead of drawing each one individually.
- Apply consistent shading and highlights to create the illusion of shiny, muscular skin.
- Pay close attention to the head shape and eye placement to give your drawing character.
Frequently Asked Questions
How do I draw a snake coiled up?
Drawing a coil requires thinking in layers where each circle of the body sits on top of the one below it.
Start by drawing several overlapping ovals and then use your eraser to remove the lines that should be hidden from view.
Focus heavily on the shadows between the coils to show where one part of the body is pressing against another.
What is the best way to draw a snake’s tongue?
The tongue should emerge from a small notch in the center of the upper lip and should always be forked at the end.
Keep the lines for the tongue very thin and slightly curved to suggest it is flicking through the air.
Adding a tiny bit of red or pink color can make this feature stand out as a focal point of the drawing.
How do I make the skin look shiny?
Shiny skin is achieved through high contrast between your darkest shadows and your brightest highlights.
Leave small patches of the white paper completely untouched by pencil along the “peak” of the snake’s back.
This creates the appearance of light reflecting off a smooth, glossy surface like scales.
Our Top Recommended Finds
- Kneaded Rubber Eraser: This tool is essential for lifting graphite to create highlights without damaging the paper surface.
- Set of Blending Stumps: These help you create smooth gradients in the snake’s body, making the transition from light to shadow look professional.
- Smooth Bristol Board: The flat surface of this paper allows for much finer detail when you are drawing intricate scale patterns.
Mastering Your Reptilian Art
Drawing a snake is an excellent way to practice your understanding of form, texture, and movement.
Once you feel comfortable with the basic structure, try looking at photos of different species like pythons or vipers to see how their shapes vary.
You can apply these same techniques to draw dragons, eels, or even the flowing fabric of a character’s clothing.
Grab your sketchbook today and try drawing three different snakes using three different action lines.
The more you practice these fluid shapes, the more natural and lifelike your artwork will become.
& Painting
No rigid rules or pretension. Just practical guides, medium comparisons, and encouraging tips to help you enjoy the drawing & painting process.