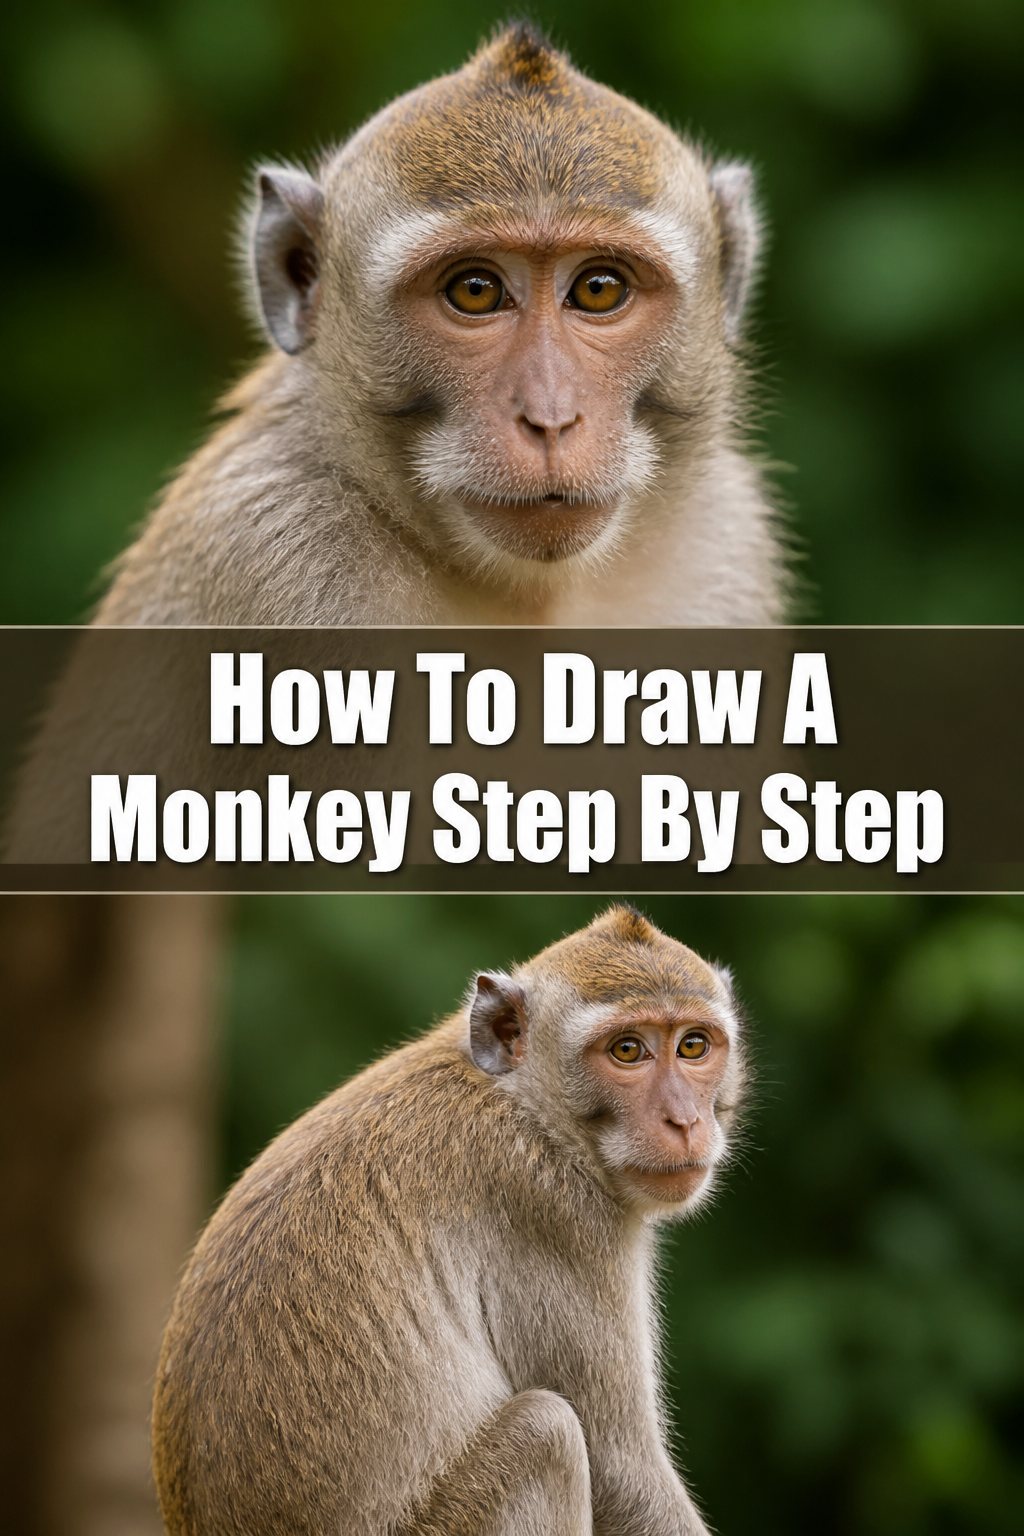
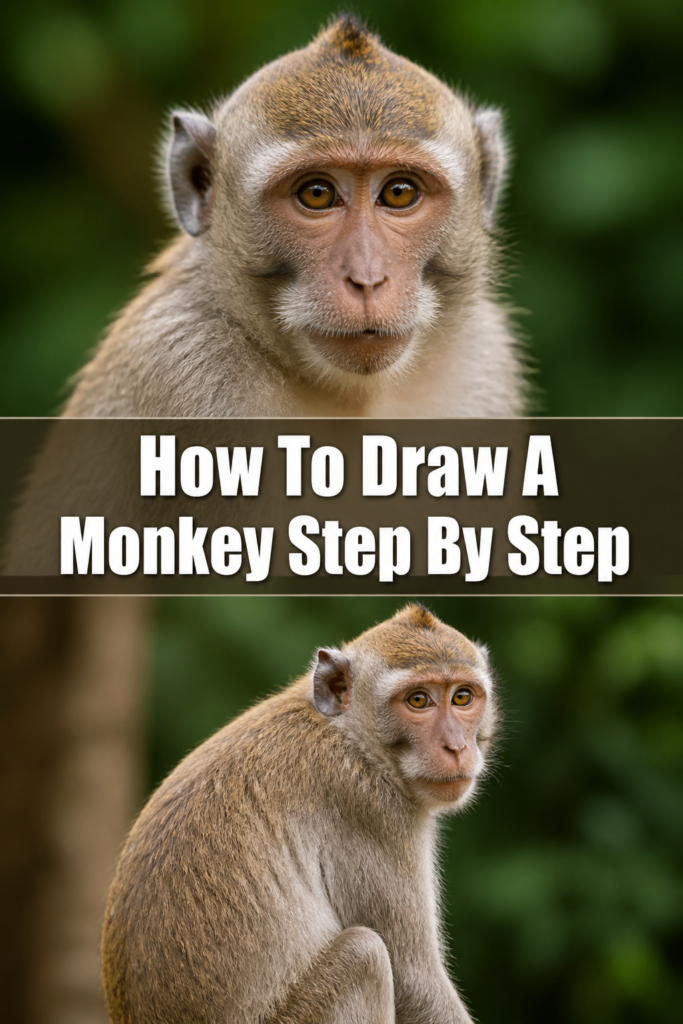
🐒 How To Draw A Monkey Step By Step

& Painting
No rigid rules or pretension. Just practical guides, medium comparisons, and encouraging tips to help you enjoy the drawing & painting process.
Learning to draw can feel intimidating, especially when tackling animals with unique features.
But what if I told you that with a structured approach, drawing a charming monkey is well within your reach?
Having guided countless aspiring artists, I’ve refined a method that breaks down complex forms into simple, manageable steps, ensuring success from your very first sketch.
Quick Overview
This guide will take you through the process of drawing a delightful monkey, starting from basic shapes and progressing to detailed textures.
You’ll learn to capture their playful essence and create a drawing you’ll be proud of.
- Time needed: 45-75 minutes
- Difficulty: Beginner
- What you’ll need: Pencil (HB and 2B recommended), paper, eraser (kneaded is ideal), and optional: a reference photo of a monkey.
Step-by-Step Instructions
Step 1: Lay Down the Basic Shapes for the Head and Body
Begin by sketching two primary ovals. The first, for the head, should be a slightly elongated oval, tilted just a bit.
Place a larger, more rounded oval below and slightly overlapping the head oval; this will form the monkey’s main body.
Think of these as the skeleton of your drawing, establishing the overall proportion and pose.
Pro Tip: Draw these initial shapes very lightly. They are merely guides, and you’ll erase them later. Pressing too hard will leave indentations on your paper.
Step 2: Connect the Shapes and Outline the Limbs
Now, gently connect the head oval to the body oval with two curved lines, forming the neck. Monkeys have relatively short, strong necks.
For the limbs, sketch simple stick figures or very thin ovals extending from the body. Indicate where the elbows, knees, hands, and feet will be.
Remember that monkeys often have long, slender limbs relative to their bodies, perfect for swinging and climbing.
Step 3: Refine the Head and Face Features
Focus on the head oval. Draw a smaller, rounded “muzzle” shape on the lower front part of the head, protruding slightly.
Place two small circles for the eyes, positioned about halfway down the head oval and on either side of the muzzle.
Add two C-shaped curves for the ears, placed on the upper sides of the head, slightly above the eye line.
- Define the brow ridge above the eyes.
- Sketch a small, inverted triangle for the nose within the muzzle shape.
- Draw a gentle curve for the mouth, often showing a slight smile or a neutral expression.
Step 4: Build Out the Limbs and Add a Tail
Using your stick figure guides, draw thicker, more organic shapes around them to form the actual limbs.
Think about the muscles and joints. The upper arms and thighs will be slightly thicker, tapering towards the hands and feet.
For the hands and feet, sketch rounded shapes with simple indications for fingers and toes; don’t worry about extreme detail yet.
Now, add the tail. Most monkeys have long, expressive tails. Draw a curved line extending from the lower back of the body, thickening slightly at the base and tapering to a point.
Step 5: Detail the Hands, Feet, and Fur
Return to the hands and feet. Refine the fingers and toes, adding small knuckles and defining their individual shapes.
Monkeys have grasping hands and feet, so show a slight curl or bend in the digits.
Begin to add texture to the monkey’s body by drawing short, choppy lines along the contours to suggest fur.
Vary the direction of your lines to follow the natural flow of the fur, especially around the face, limbs, and tail.
Pro Tip: Pay attention to the fur direction. On the head, it might radiate outwards, while on the limbs, it generally flows downwards. This adds realism.
Step 6: Erase Guidelines and Clean Up Your Drawing
Once you’re happy with your outline and basic details, use your eraser to carefully remove all the initial light guide shapes (the ovals and stick figures).
Go over your main lines, darkening them slightly where necessary to make your monkey stand out.
This step transforms your collection of lines into a cohesive drawing.
Step 7: Introduce Shading and Final Touches
Now, it’s time to bring your monkey to life with shading. Using your 2B pencil, lightly shade areas that would naturally be in shadow.
Think about where light might be coming from. Areas under the chin, inside the ears, under the limbs, and along the underside of the tail will generally be darker.
Use short, feathery strokes to mimic fur texture while shading. Add a little darker shading around the eyes and inside the nose for depth.
- Darken the pupils of the eyes, leaving a tiny white highlight to make them sparkle.
- Add a few individual strands of fur around the edges to give a soft, natural look.
- Refine any contours or details that need a final touch.
Common Mistakes to Avoid
Disproportionate Limbs
One common pitfall is drawing limbs that are either too short and stubby or excessively long and gangly, making the monkey look unnatural.
Monkeys have a distinct limb-to-body ratio. Always start with light guide lines to establish the length before building out the form.
Regularly compare the length of the arms to the body, and the legs to the body, ensuring they look balanced for a climbing animal.
Stiff or Static Poses
Many beginners draw animals in very rigid, symmetrical poses, which can make them appear lifeless.
Monkeys are dynamic creatures. Try to introduce a slight curve to the spine or an asymmetry in the limb positions even in a resting pose.
Think about the line of action – an imaginary curve that runs through the main body of your subject, conveying movement and energy.
Flat Fur Texture
Simply scribbling lines can result in fur that looks flat or like static pattern, rather than soft and flowing.
The key to realistic fur is varying the length, direction, and pressure of your strokes.
Observe how fur clusters and follows the underlying musculature, using shorter, denser strokes for darker areas and longer, lighter strokes for highlights.
Ignoring the Facial Expression
A monkey’s face is highly expressive. Neglecting the subtle details around the eyes, nose, and mouth can result in a blank or generic look.
Pay close attention to the placement and shape of the eyes, the slight furrow of the brow, and the curve of the mouth.
Even a neutral expression should convey a sense of alertness or personality.
Troubleshooting
My Monkey Looks Too Stiff
If your monkey appears rigid, it’s often due to drawing straight lines where curves should be, or making all limbs perfectly symmetrical.
Try introducing more organic, flowing lines from the very first step. Sketch a gentle curve for the spine, and ensure the limbs have natural bends at the joints.
Don’t be afraid to make one arm slightly higher or one leg bent differently than the other; this adds dynamism.
The Fur Doesn’t Look Natural
Achieving realistic fur takes practice. If your fur looks like a pattern rather than texture, you might be using too uniform a stroke.
Vary your pencil pressure, making some strokes darker and others lighter. Crucially, ensure your fur lines follow the contours of the monkey’s body.
Imagine the fur growing out from the skin; it will flow differently on the chest compared to the limbs or tail.
I Can’t Get the Eyes Right
The eyes are often considered the “windows to the soul” of an animal, and getting them right can be challenging.
Ensure the eyes are correctly positioned and proportioned to the head. They should be roughly equidistant from the center line of the face.
Remember to include a small highlight in the pupil to give them life, and use subtle shading around the eyes to create depth, making them recede or protrude naturally.
Key Takeaways
- Always start with light, basic geometric shapes to establish proportion and pose.
- Build out the forms gradually, refining details in successive layers.
- Pay close attention to the natural curves and flow of the monkey’s anatomy, especially the limbs and spine.
- Use varying line pressure and direction to create convincing fur texture.
- Shading adds depth and realism; identify light sources to guide your shadow placement.
- Practice observation by studying real monkey photos to understand their unique features and expressions.
Frequently Asked Questions
What kind of pencil should I use?
An HB pencil is excellent for initial light sketching and outlining, as it’s easily erasable. A 2B or 4B pencil is ideal for darker lines, shading, and adding depth, as it creates richer, softer tones.
Having both allows for a greater range of values in your drawing.
How do I make my monkey look more realistic?
Realism comes from careful observation and attention to detail. Study reference photos to understand muscle structure, fur patterns, and facial expressions.
Focus on varying your line weight, adding subtle shading, and ensuring proportions are accurate. Don’t rush the detailing process.
Can I use colors for my monkey drawing?
Absolutely! Once you’re comfortable with the basic graphite drawing, you can add color using colored pencils, markers, or even paints.
Start with light layers and build up the colors gradually, paying attention to the monkey’s natural coloration and how light affects it.
How do I practice effectively?
Consistent practice is key. Try sketching monkeys in different poses, from various angles, and focusing on different species to understand their unique characteristics.
Don’t be afraid to make mistakes; each drawing is a learning opportunity. Keep a sketchbook and draw regularly.
Our Top Recommended Finds
- Artist’s Sketchbook (9×12 inches): A good quality, acid-free sketchbook provides a reliable surface for your drawings and helps you track your progress.
- Graphite Pencil Set (HB, 2B, 4B, 6B): A set of varying hardness pencils allows you to achieve a wide range of tones, from light guidelines to deep shadows.
- Kneaded Eraser: Unlike standard erasers, a kneaded eraser lifts graphite without smudging or damaging the paper, and you can mold it for precise erasing.
Embark on Your Artistic Journey Today
Drawing a monkey is a rewarding experience that sharpens your observational skills and artistic confidence.
Don’t let perfection be the enemy of progress; every line you draw is a step forward in your creative journey.
Pick up your pencil right now and let your imagination bring a playful primate to life on paper!
& Painting
No rigid rules or pretension. Just practical guides, medium comparisons, and encouraging tips to help you enjoy the drawing & painting process.