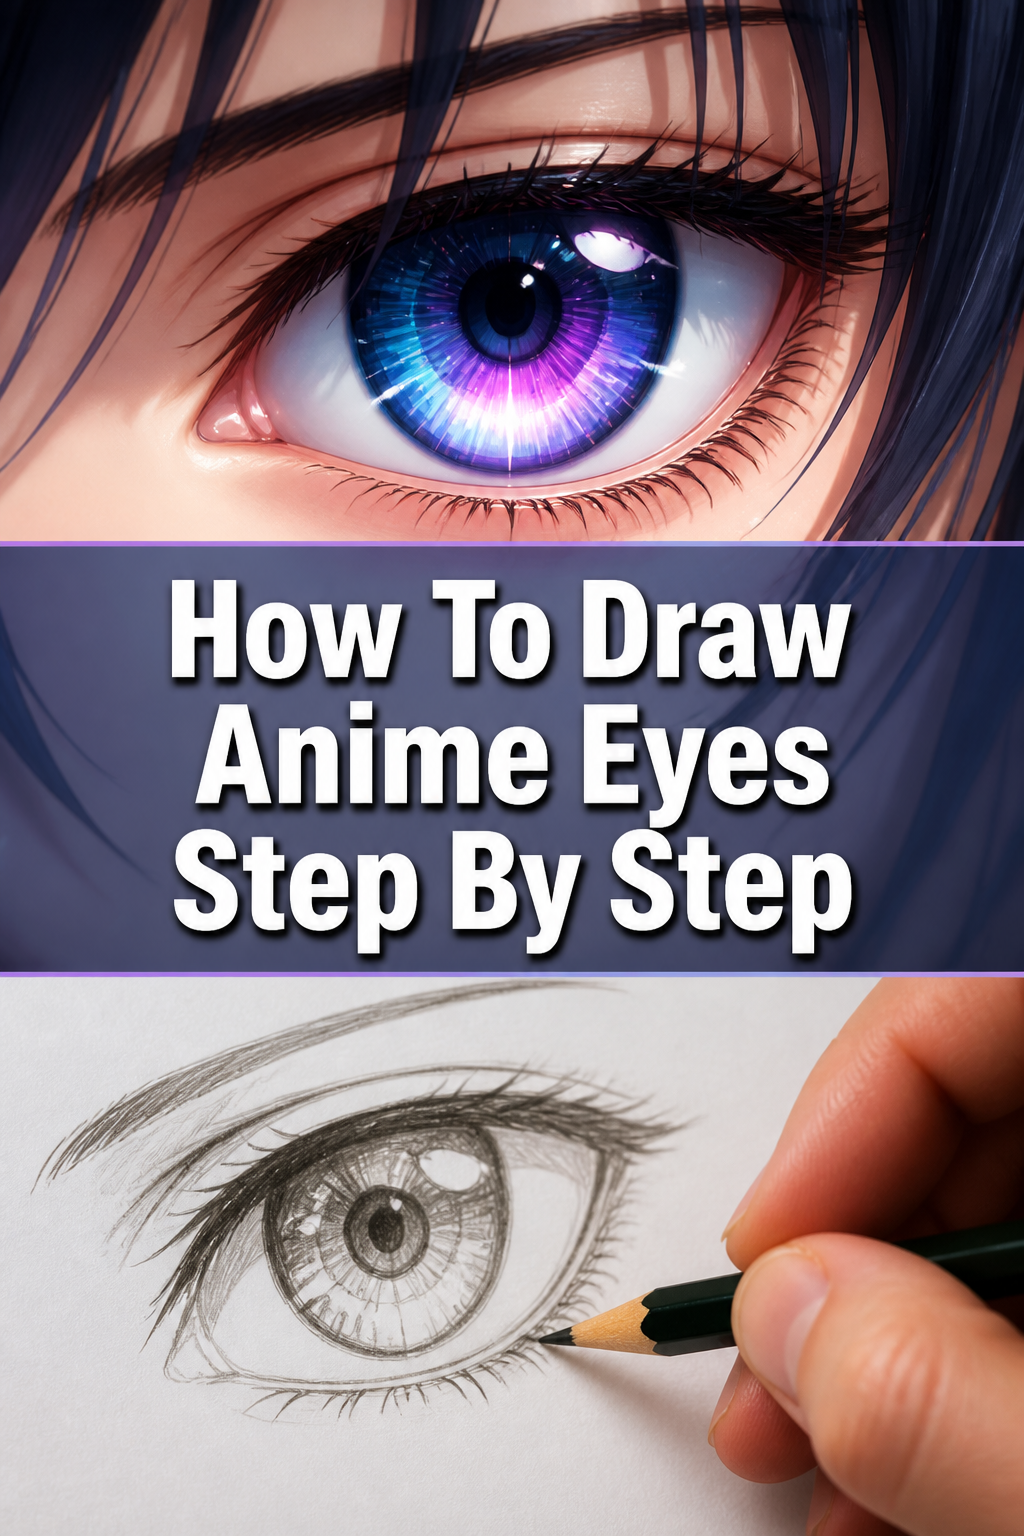
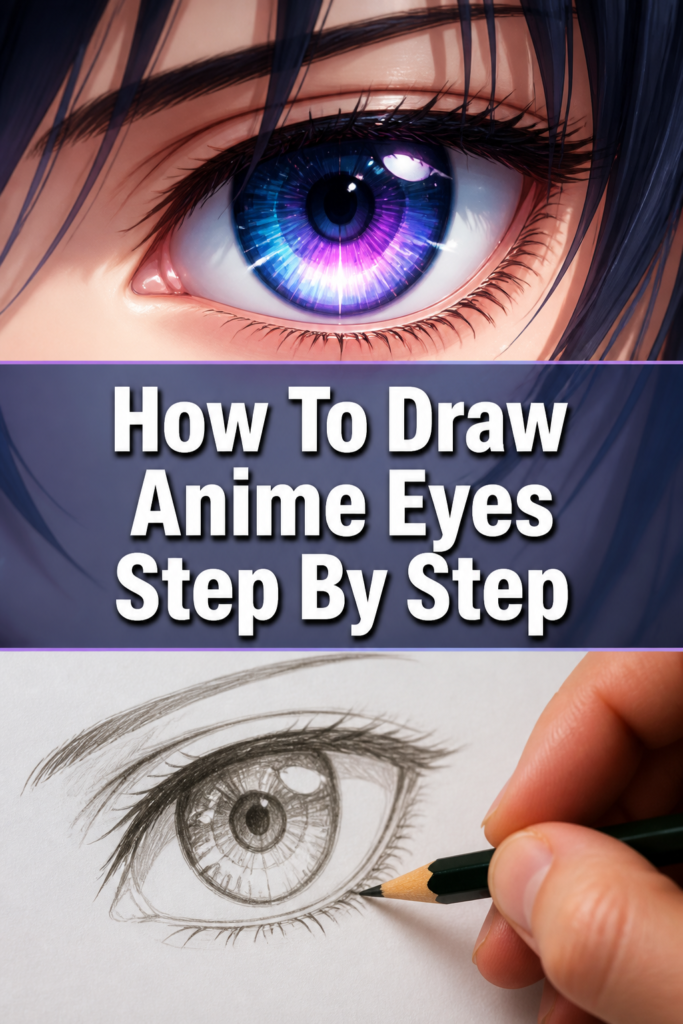
👁️ How To Draw Anime Eyes Step By Step

& Painting
No rigid rules or pretension. Just practical guides, medium comparisons, and encouraging tips to help you enjoy the drawing & painting process.
Learning to draw anime eyes can feel like a secret code.
I remember struggling for hours trying to capture that perfect sparkle and emotion.
This guide shares the techniques I learned and refined, making the process clear and enjoyable for you.
Quick Overview
By following these steps, you will master the foundational techniques for drawing expressive anime eyes.
You’ll learn how to construct their shape, add life with reflections, and tailor them to different characters.
- Time needed: 30-60 minutes for a detailed first attempt
- Difficulty: Beginner
- What you’ll need: Pencil, eraser, paper, optional fineliner
Step-by-Step Instructions
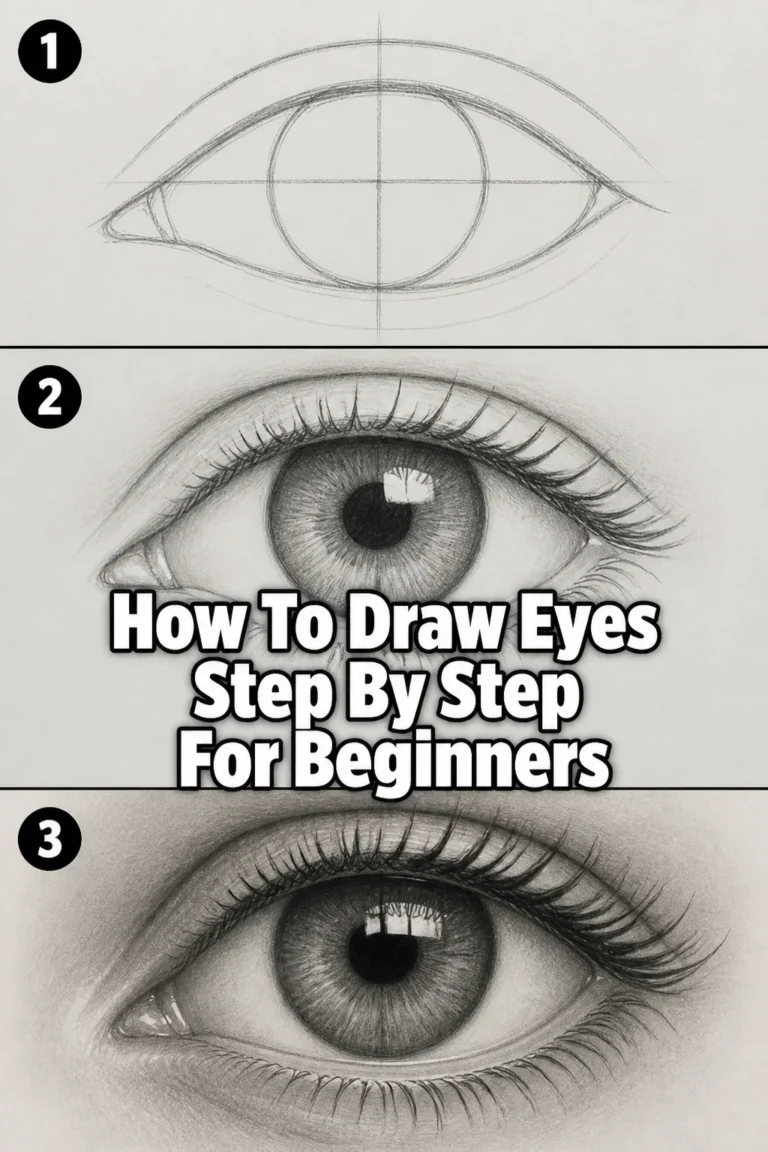
Step 1: Sketch the Basic Eye Shape
Begin by lightly drawing a horizontal guideline across your paper. This line helps ensure both eyes are level if you’re drawing a pair.
Draw a simple almond or oval shape for the main outline of the eye. Think of it as a slightly flattened curve at the top and a more rounded curve at the bottom.
The overall shape can vary; wider for more innocent looks, narrower for sharper characters.
Pro Tip: Use very light pencil strokes initially. This makes it easy to erase and adjust without leaving marks. Focus on the general flow before refining details.
Step 2: Position the Iris and Pupil
Place the iris within the eye shape. It’s usually a large circle, often partially covered by the upper eyelid.
For a neutral gaze, the top quarter to third of the iris typically disappears under the eyelid.
Draw the pupil as a smaller circle at the center of the iris. Its size can convey emotion; larger pupils often suggest surprise or fear.
Step 3: Define the Eyelids and Creases
Refine the upper eyelid line, making it slightly thicker than the initial sketch. This adds weight and depth to the eye.
Add a subtle crease above the upper eyelid. This line indicates the fold of skin and helps give the eye a more three-dimensional appearance.
The length and curve of this crease can vary based on the character’s age or expression.
Pro Tip: The distance between the upper eyelid and the crease influences the eye’s openness. A larger gap suggests a more open, alert look.
Step 4: Incorporate Reflections and Highlights
Draw the primary highlight. This is often a large, bright shape, typically an oval or a rounded rectangle, placed towards the top and side of the iris.
This highlight is crucial for giving the eye its characteristic anime sparkle and life.
Add secondary highlights. These can be smaller circles or dots, often placed opposite the main highlight or near the bottom of the iris.
These smaller reflections contribute to the eye’s wet, reflective quality.
Pro Tip: Consistency is key. Ensure all highlights within one eye, or a pair of eyes, appear to come from the same light source. This creates a cohesive look.
Step 5: Sketch the Eyelashes
Draw delicate eyelashes along the upper eyelid. Anime eyelashes are often stylized, appearing as distinct clumps rather than individual hairs.
They typically fan out from the outer corner, becoming shorter and sparser towards the inner corner.
Consider adding a few short, sparse lashes on the lower eyelid, especially for female characters or to emphasize certain expressions.
These are usually less prominent than the upper lashes.
Step 6: Add Depth with Shading
Shade the upper part of the iris. This creates a shadow cast by the upper eyelid, making the eye appear more spherical.
The darkest part of the iris is often directly under the upper eyelid.
Apply a gradient within the iris, making it lighter towards the bottom. This adds to the illusion of depth and light interaction.
Leave the highlights completely white or the lightest tone.
Pro Tip: Use a lighter touch with your pencil for softer transitions when shading the iris. Blending tools or cotton swabs can help smooth out gradients.
Step 7: Refine Line Art and Details
Darken the final lines of the eye once you are satisfied with your sketch. Use a fineliner or a darker pencil for this step.
The upper eyelid line and the outline of the pupil are usually the darkest.
Erase any remaining light sketch lines. Take care not to smudge your darkened lines.
Add tiny details like a small tear duct at the inner corner or a subtle line for the lower eyelid.
Step 8: Consider Character Variation
Adapt the eye shape for different character types. Male eyes often have less prominent eyelashes and a slightly narrower, sharper overall shape.
Female eyes frequently feature larger irises, more pronounced eyelashes, and a rounder, softer appearance.
Experiment with expressions. Slanted eyebrows, narrowed eyes, or exaggerated highlights can dramatically change the emotion conveyed.
Practice drawing eyes with happiness, sadness, anger, or surprise.
Common Mistakes to Avoid
Asymmetrical Eyes
A common pitfall is drawing eyes that don’t match in size or alignment, especially when drawing a pair. This can make a character look off-balance or unnatural.
To correct this, always start with light construction lines, like a horizontal guideline for alignment and vertical lines for width, before committing to the final shapes. Step back and view your drawing from a distance often to spot inconsistencies.
Incorrect Highlight Placement
Placing highlights randomly or without considering a light source makes eyes look flat and lifeless. The sparkle won’t feel natural.
Always decide on a consistent light source for your drawing. All highlights, within a single eye and across a pair, should emanate from that direction. This creates a coherent and vibrant look.
Flat Eyes
Drawing the iris and pupil as perfect, flat circles without any shading or depth makes the eye appear two-dimensional. Anime eyes are known for their lively, spherical quality.
Remember to shade the upper part of the iris where the upper eyelid casts a shadow. Gradually lighten the shading towards the bottom of the iris, creating a gradient that suggests a rounded surface.
Overly Detailed Eyelashes
While eyelashes add charm, drawing too many individual hairs can make them look messy or heavy. Anime eyelashes are typically stylized and grouped.
Focus on drawing eyelashes as distinct clumps or wedges that fan out, rather than trying to render every single strand. This maintains the clean, graphic look characteristic of anime.
Troubleshooting
Eyes Look Dead or Lack Emotion
If your anime eyes lack that spark, it often comes down to highlights and shading. Eyes without proper reflections can appear vacant.
Ensure you have at least one prominent highlight, leaving it completely white. Add secondary highlights for extra sparkle. Also, check your iris shading; a gradient from dark (top) to light (bottom) gives depth and life.
Difficulty Achieving Symmetry
Drawing two identical eyes can be challenging. Many artists struggle with making eyes match perfectly in size, shape, and placement.
Use construction lines extensively. Start with a horizontal line for eye level and vertical lines to mark the inner and outer corners of each eye. Lightly sketch basic shapes for both eyes simultaneously, comparing them often before adding details.
Eyes Don’t Fit the Character’s Face
Sometimes, the eyes look great in isolation but feel out of place on a character’s face. They might be too big, too small, or incorrectly spaced.
Always consider the overall head shape and facial proportions before drawing eyes. The space between the eyes is often roughly the width of one eye. Adjust eye size relative to the head to ensure they complement the character’s design.
Key Takeaways
- Always start with light, basic shapes and construction lines.
- The iris and pupil placement dictates the eye’s gaze and focus.
- Highlights are essential for giving anime eyes their characteristic life and sparkle.
- Shading the iris from dark to light creates a convincing spherical illusion.
- Eyelashes are often stylized as clumps, not individual hairs.
- Practice varying eye shapes and expressions to suit different characters.
Frequently Asked Questions
Can I draw different styles of anime eyes with these steps?
Absolutely. These foundational steps cover the core elements of anime eyes. Once you master them, you can adapt the shapes, sizes of highlights, and eyelash styles to create eyes for various anime genres and character types, from shonen to shojo.
How do I make the eyes convey specific emotions?
To convey emotion, adjust key elements. For happiness, slightly curve the lower eyelid upwards and add prominent highlights. For sadness, narrow the eyes, lower the eyebrows, and use fewer, smaller highlights. Anger often involves sharp, angular upper eyelids and narrowed pupils.
What’s the best way to practice symmetry for a pair of eyes?
The best way is to sketch both eyes simultaneously, building them up in stages. Draw the basic shape for one, then immediately draw the basic shape for the second. Repeat this for irises, highlights, and so on, constantly comparing and adjusting before moving to finer details.
Do I need special art supplies for this?
Not at all. A regular graphite pencil (HB or 2B recommended), a good eraser, and standard drawing paper are sufficient to start. As you advance, you might consider fineliners for inking or colored pencils for adding color to the iris, but they are not necessary for learning the basic technique.
Our Top Recommended Finds
- Staedtler Mars Lumograph Pencils: A good range of graphite pencils for sketching, shading, and inking.
- Faber-Castell Kneaded Eraser: Excellent for lifting graphite gently without smudging and for creating subtle highlights.
- Canson XL Mix Media Pad: Versatile paper that handles pencil, ink, and light markers well, perfect for practice.
Bring Your Characters to Life
You now have the tools and knowledge to start drawing captivating anime eyes.
Don’t just read through these steps; grab your pencil and paper right now.
The more you practice, the more natural and expressive your anime characters will become.
& Painting
No rigid rules or pretension. Just practical guides, medium comparisons, and encouraging tips to help you enjoy the drawing & painting process.