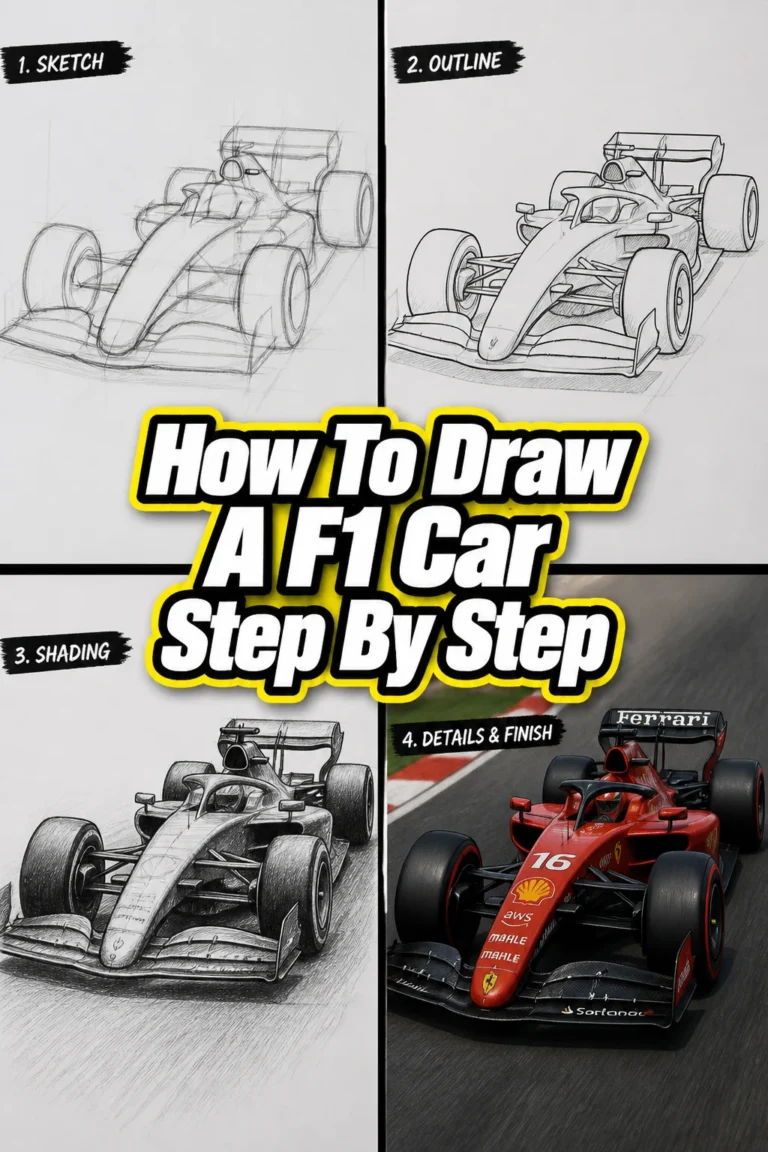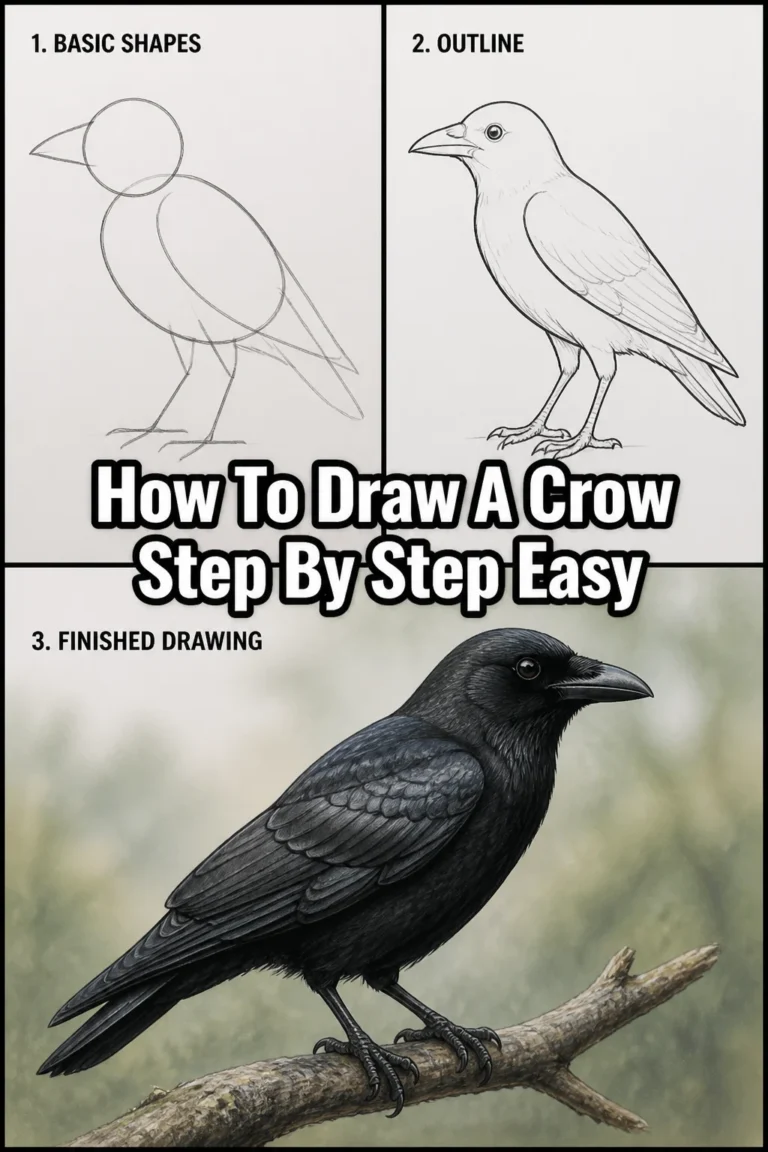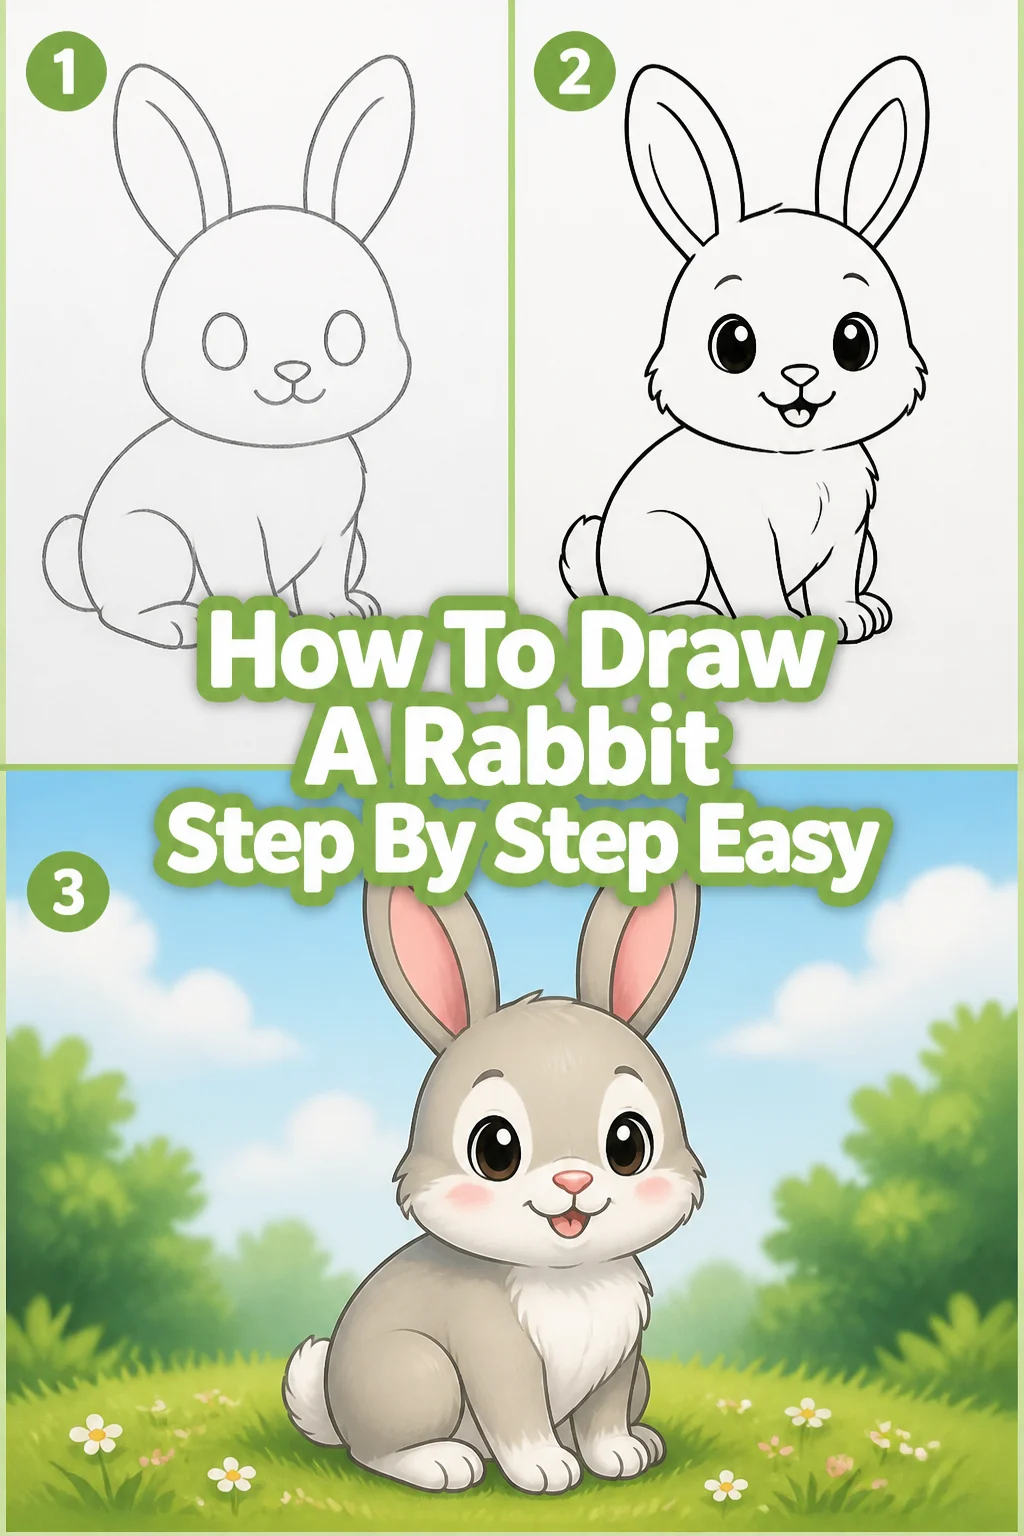
🐇 How To Draw A Rabbit Step By Step Easy
Learning to draw can feel like a big challenge at first.
But with the right guidance, anyone can create something wonderful, even a charming rabbit.
I’ve taught many beginners, and I know these simple steps will help you bring your own bunny to life on paper.
Quick Overview
This guide will walk you through creating a delightful rabbit drawing, focusing on easy shapes and clear steps. You’ll learn the fundamental techniques to build your drawing confidently.
- Time needed: 30-45 minutes
- Difficulty: Beginner
- What you’ll need: Pencil, eraser, paper, optional: colored pencils or markers
Step-by-Step Instructions
Step 1: Sketch the Basic Shapes for the Body
Begin by lightly sketching two overlapping oval shapes. These will form the main body of your rabbit.
Draw a larger, horizontal oval for the lower body. Place a smaller, slightly tilted oval above and to the left of the first for the chest and head area.
Think of these as the fundamental building blocks, just like a snowman. Keep your lines very light, as you’ll erase them later.
Pro Tip: Use a light touch with your pencil. This makes corrections much easier and prevents indentations on your paper. You can always darken lines later.
Step 2: Connect the Head and Body
Now, gently connect the two ovals to create a smooth, continuous body shape. Erase any parts of the ovals that overlap inside this new outline.
Add a small, round circle at the top of the smaller oval for the rabbit’s head. This will help define where the face will be.
Ensure the connections are curved and natural, not sharp angles. Rabbits have soft, rounded bodies.
Step 3: Draw the Ears
Rabbits are known for their distinct ears. Sketch two long, oval-like shapes extending upwards from the top of the head circle.
These ears should be slightly wider at the base and taper gently towards a rounded tip. Make them a good size, proportionate to the head.
Add a smaller, inner line within each ear to suggest depth and the inner ear structure. This simple detail makes them look more realistic.
Step 4: Position the Legs
Rabbits typically have strong hind legs and smaller front paws. Sketch two curved lines for the front legs, extending downwards from the chest area.
For the hind leg, draw a larger, curved shape emerging from the back of the larger body oval. Show a slight bend at the “knee” area.
Add simple, rounded shapes at the bottom of each leg for the paws. Don’t worry about individual toes yet.
Step 5: Add Facial Features
Time to give your rabbit some character. Lightly draw a small oval or circle for the eye on the side of the head.
Place a tiny triangle or a “Y” shape for the nose just below the center of the head. From the nose, draw two curved lines extending downwards and outwards for the mouth.
Make sure the features are aligned and centered on the face you’ve created. A well-placed eye and nose can make all the difference.
Pro Tip: Consider the rabbit’s pose. If it’s looking slightly to the side, the eye might be an almond shape, and you’d only see a portion of the far-side nostril.
Step 6: Outline and Refine Your Drawing
Now that you have all the basic elements, it’s time to refine your sketch. Go over your preferred lines with a slightly firmer hand, making them darker and clearer.
Carefully erase all the initial light sketch lines, including the overlapping ovals and circles. Smooth out any awkward angles or bumps.
Pay attention to the natural curves of the rabbit’s body, ears, and legs. This step brings your rabbit to life.
Step 7: Add Details and Texture
Give your rabbit a fluffy tail by drawing a small, fluffy puffball shape at the back of the larger body oval. Make it look soft and round.
Add small details like whiskers by drawing thin, curved lines extending from the nose area. You can also add very light, short strokes along the body outline to suggest fur texture.
Consider adding a tiny pupil to the eye for more expressiveness. These small additions enhance the overall look.
Step 8: Final Touches and Shading (Optional)
If you wish to add more depth, consider some basic shading. Lightly shade the areas that would naturally be in shadow, such as the underside of the body, inside the ears, and beneath the chin.
Use the side of your pencil for soft, even shading. You can also use a finger or a blending stump to smooth out the graphite.
Add a ground line beneath your rabbit to anchor it in space. This simple line prevents your rabbit from appearing to float.
Common Mistakes to Avoid
Making the Ears Too Small or Too Straight
Rabbit ears are a defining feature; they are long, often flexible, and can convey emotion. Drawing them too small or stiff can make your rabbit look more like a cat or dog. Focus on their length and natural curve.
Always ensure the ears are proportionate to the head and body. They should have a gentle curve and a rounded tip, not sharp points.
Ignoring Basic Shapes
Jumping straight into details without establishing the underlying forms can lead to a lopsided or unnatural-looking rabbit. Basic shapes like ovals and circles provide a solid foundation.
Always start with simple geometric forms to block out the body, head, and limbs. This ensures correct proportions and placement before you add any refined lines.
Drawing Stiff Legs
Rabbits are agile and often depicted with a sense of movement, even when sitting. Drawing their legs as straight, rigid sticks makes them look unnatural and lifeless.
Introduce gentle curves and bends to the legs, especially the hind legs. This conveys a sense of muscle and potential for movement, making your rabbit look more dynamic.
Over-Darkening Early Lines
Pressing too hard with your pencil in the initial sketching phase makes it very difficult to erase mistakes cleanly. This can leave unwanted marks and indentations on your paper.
Always start with the lightest possible lines for your initial shapes. Only darken lines once you are confident in their placement and form, during the outlining stage.
Troubleshooting
My Rabbit Looks Flat
If your rabbit appears two-dimensional or lacks depth, you might be missing some subtle curves and overlaps. Focus on making the body shapes slightly rounded and consider how parts overlap.
Try adding very light shading to the underside of the body and inside the ears. This creates an illusion of volume and makes your rabbit pop off the page.
The Proportions Seem Off
When your rabbit’s head is too big for its body, or its legs are too short, it’s a proportion issue. This often happens when you don’t use basic shapes as a guide.
Go back to Step 1 and redraw your initial ovals, paying close attention to their relative sizes. Use your pencil to measure distances if needed, comparing the head size to the body length.
My Lines Are Messy and Hairy
If your drawing has many faint, overlapping lines or looks fuzzy, it means you’re sketching with too many short, uncertain strokes. This is common when you’re unsure of the correct path.
Practice drawing long, confident strokes, even if they’re light. Trust your hand to guide the pencil in a single, flowing motion. Remember to erase excess lines in the refining stage.
Key Takeaways
- Always start with light, basic geometric shapes to build your rabbit’s structure.
- Pay close attention to the size and placement of the ears; they are a key identifier.
- Use curved lines for a natural, soft look, avoiding sharp angles on the body and limbs.
- Refine your drawing by darkening final lines and erasing initial sketch marks.
- Small details like whiskers, a fluffy tail, and gentle shading add personality and depth.
- Don’t be afraid to erase and redraw; it’s a vital part of the learning process.
Frequently Asked Questions
What kind of pencil should I use?
A standard HB graphite pencil is excellent for beginners, as it’s versatile for both sketching and light shading. You might also find a 2B pencil useful for darker lines and shadows.
How do I make the fur look realistic?
For a realistic fur texture, use short, light, overlapping strokes in the direction the fur grows. Avoid drawing individual hairs; instead, suggest clumps and overall softness.
Can I draw a rabbit in a different pose?
Absolutely! Once you master the basic standing or sitting pose, experiment by changing the angle of the ovals in Step 1. Observe real rabbits or photos to understand how their bodies shift.
What if my drawing doesn’t look perfect?
That’s perfectly normal and part of the learning journey. Every drawing is a step towards improvement. Focus on enjoying the process and celebrating your progress, not just the final outcome.
Our Top Recommended Finds
- Sketchbook with Quality Paper: A good sketchbook prevents bleed-through and holds graphite well, making your drawings look crisp.
- Kneaded Eraser: This type of eraser is gentle on paper, lifts graphite cleanly, and can be molded into fine points for precise erasing.
- Drawing Pencils Set: A set with varying lead hardness (e.g., 2H, HB, 2B, 4B) allows for a wider range of shading and line weights.
Your Creative Journey Awaits
Drawing a rabbit is a wonderful way to begin your artistic adventure. Each line you draw builds confidence and skill.
Don’t let any hesitation hold you back. Pick up your pencil and paper right now.
Embrace the process, enjoy the creation, and watch as your very own rabbit appears on the page.