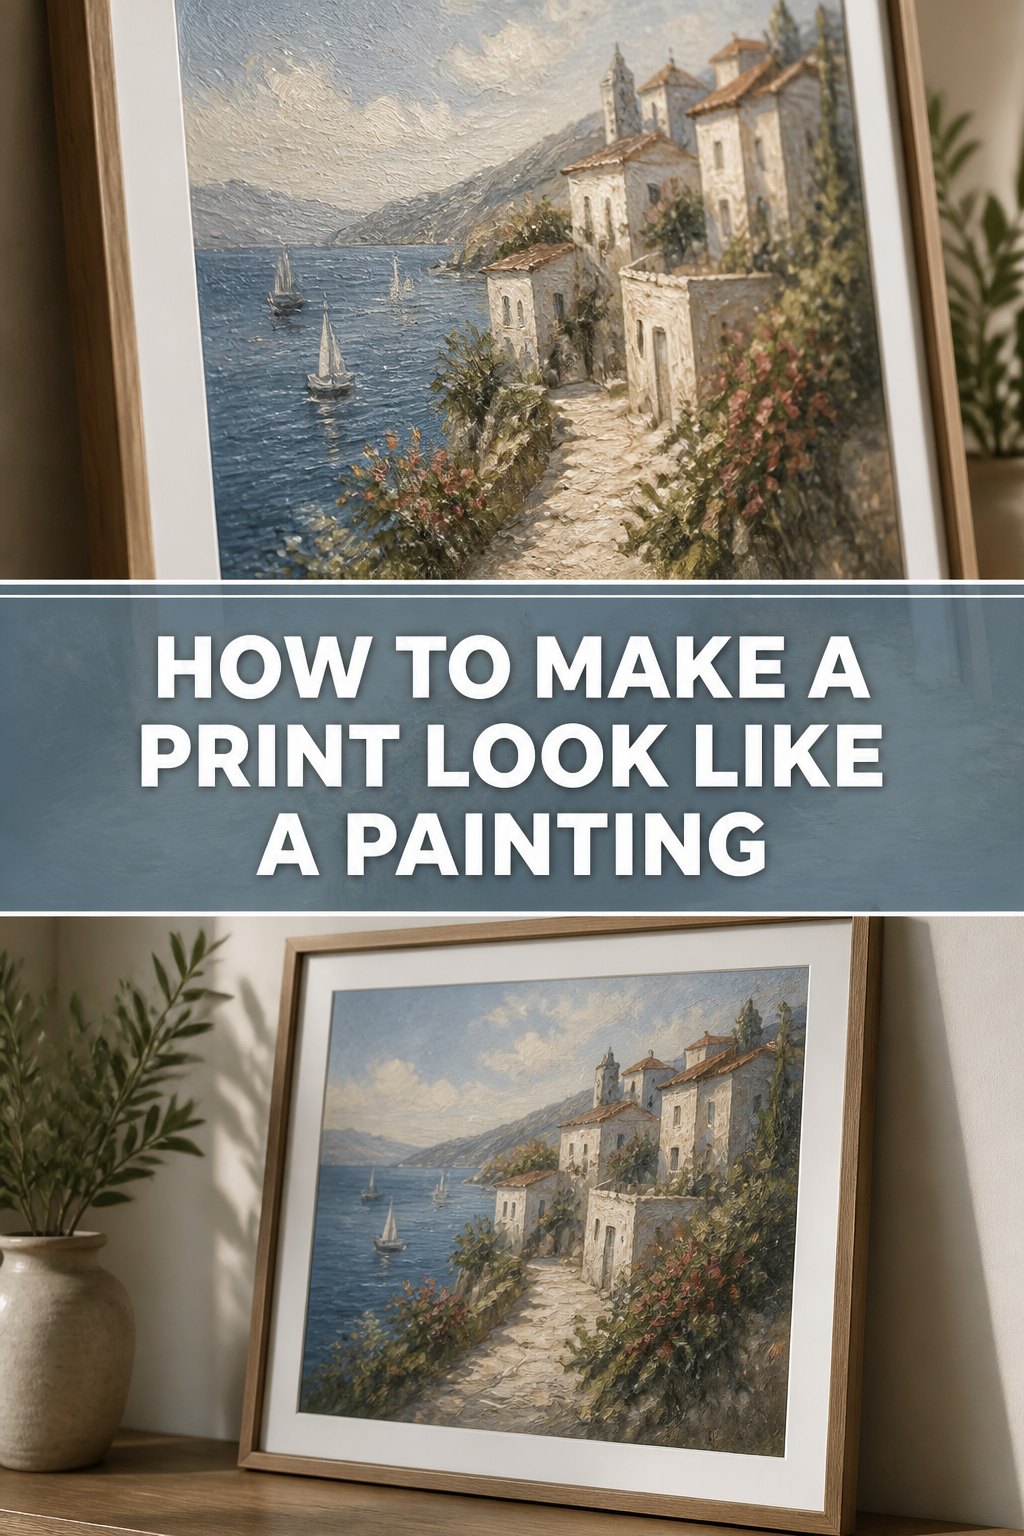
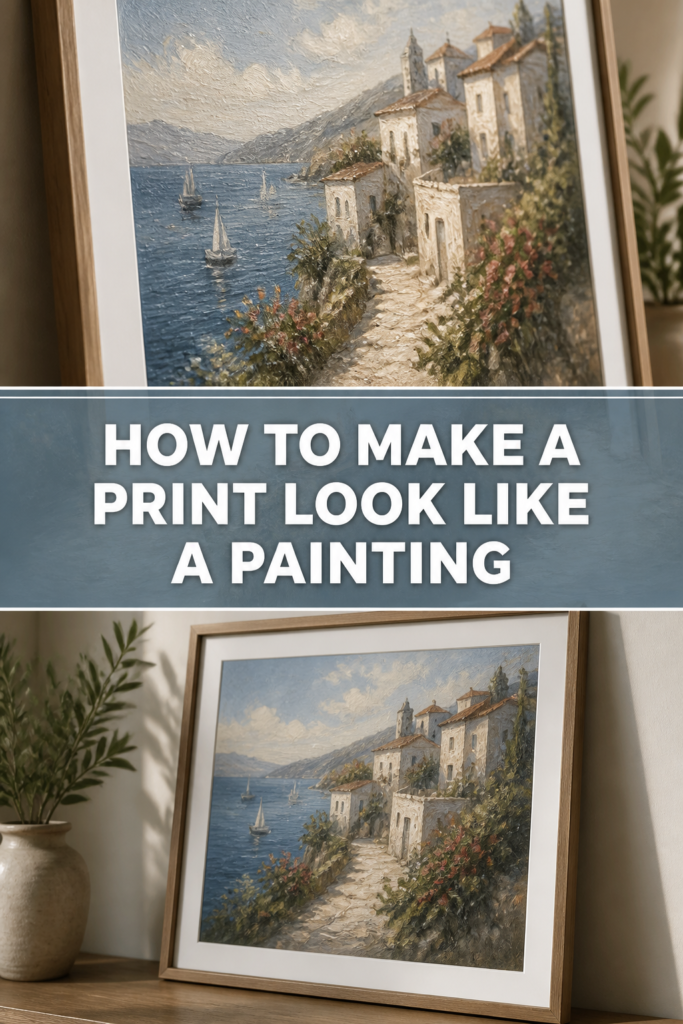
⭐ How To Make A Print Look Like A Painting

& Painting
No rigid rules or pretension. Just practical guides, medium comparisons, and encouraging tips to help you enjoy the drawing & painting process.
I remember the first time I tried to pass off a $10 poster as an original oil painting in my living room.
I had spent years admiring the thick, heavy textures of museum pieces but couldn’t afford the four-figure price tags.
By experimenting with different gels and application techniques, I discovered that anyone can add professional-grade depth to a flat image with just a few basic tools.
Quick Overview
This process transforms a flat, digital image into a tactile piece of art that catches the light just like a real canvas. You will learn how to mimic the physical characteristics of oil and acrylic paints using clear mediums.
- Time needed: 45 minutes of active work (plus 24 hours for drying)
- Difficulty: Beginner
- What you’ll need: A high-quality print, clear acrylic gel medium (gloss or matte), various paintbrushes, a foam plate, and a sturdy mounting board.
Step-by-Step Instructions
Step 1: Choose a High-Quality Print
Select an image that already features visible brushstrokes or artistic textures in its design.
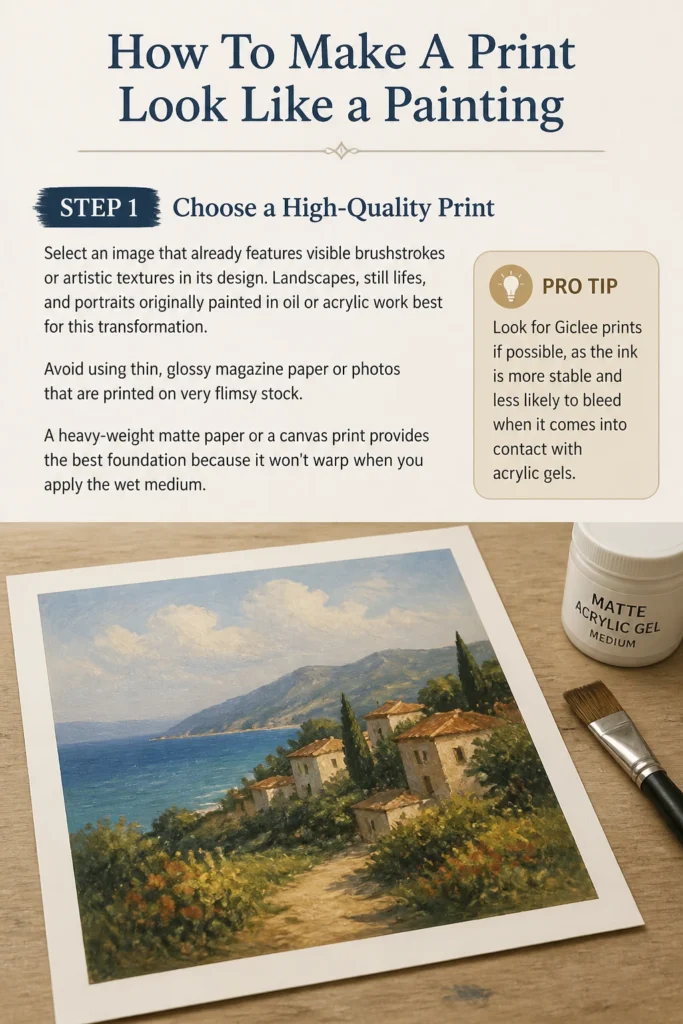
Landscapes, still lifes, and portraits originally painted in oil or acrylic work best for this transformation.
Avoid using thin, glossy magazine paper or photos that are printed on very flimsy stock.
A heavy-weight matte paper or a canvas print provides the best foundation because it won’t warp when you apply the wet medium.
Pro Tip: Look for “Giclee” prints if possible, as the ink is more stable and less likely to bleed when it comes into contact with acrylic gels.
Step 2: Mount the Print to a Rigid Surface
Secure your print to a piece of foam core, hardboard, or a wooden panel before you start adding texture.
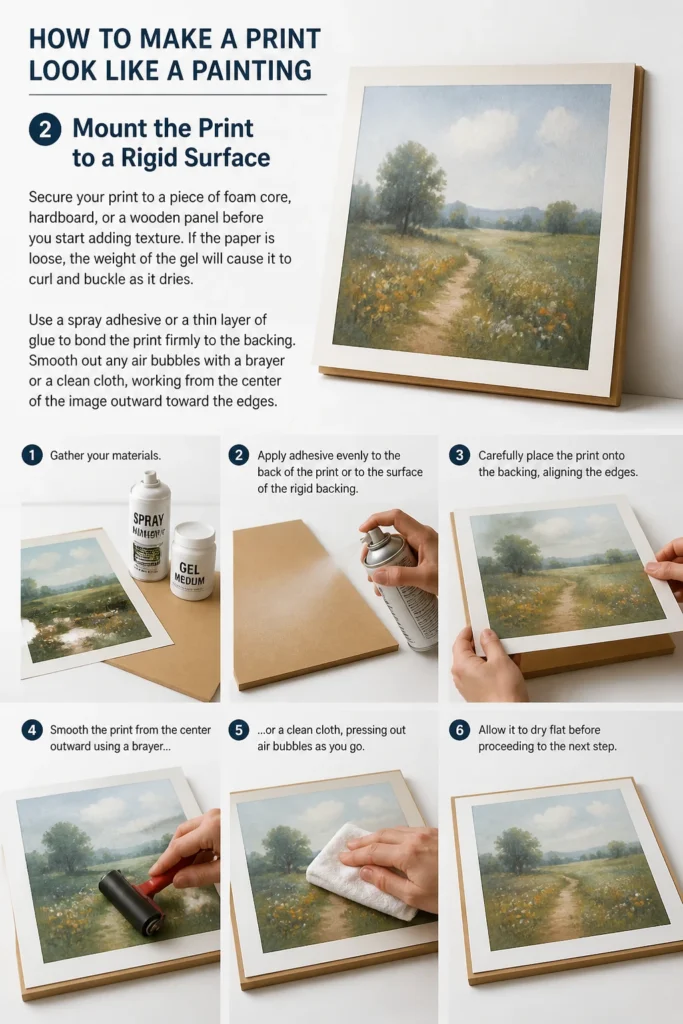
If the paper is loose, the weight of the gel will cause it to curl and buckle as it dries.
Use a spray adhesive or a thin layer of glue to bond the print firmly to the backing.
Smooth out any air bubbles with a brayer or a clean cloth, working from the center of the image outward toward the edges.
Step 3: Select Your Texture Medium
Purchase a clear acrylic gel medium from a local craft or art supply store.
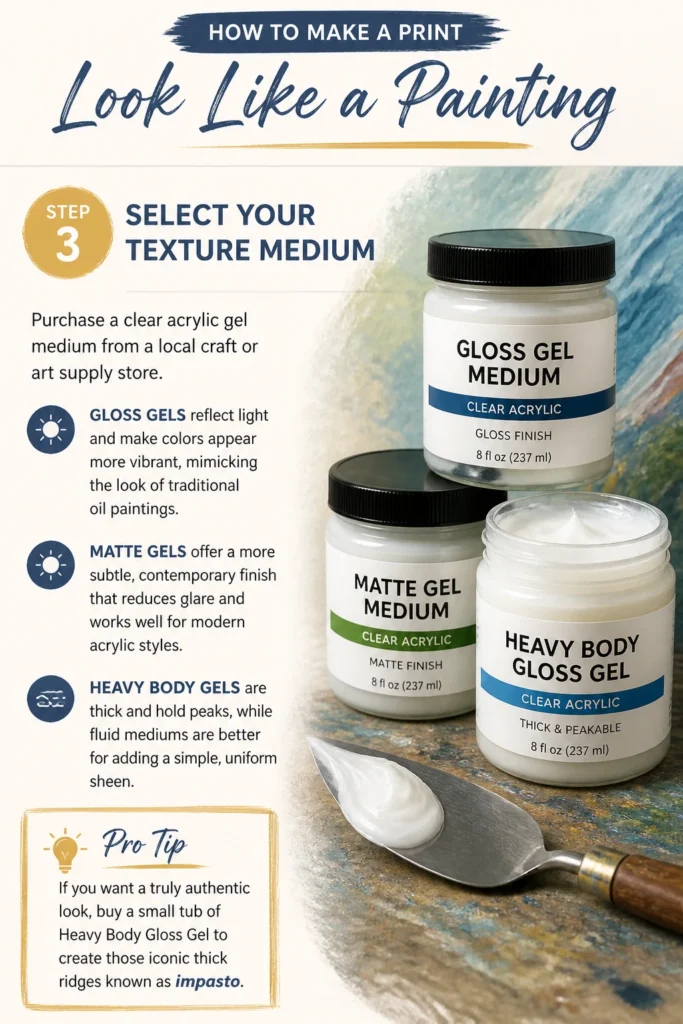
Gloss gels reflect light and make colors appear more vibrant, mimicking the look of traditional oil paintings.
Matte gels offer a more subtle, contemporary finish that reduces glare and works well for modern acrylic styles.
Heavy body gels are thick and hold peaks, while fluid mediums are better for adding a simple, uniform sheen.
Pro Tip: If you want a truly authentic look, buy a small tub of “Heavy Body Gloss Gel” to create those iconic thick ridges known as impasto.
Step 4: Analyze the Original Artwork
Study the print closely to identify the direction of the “invisible” brushstrokes within the image.
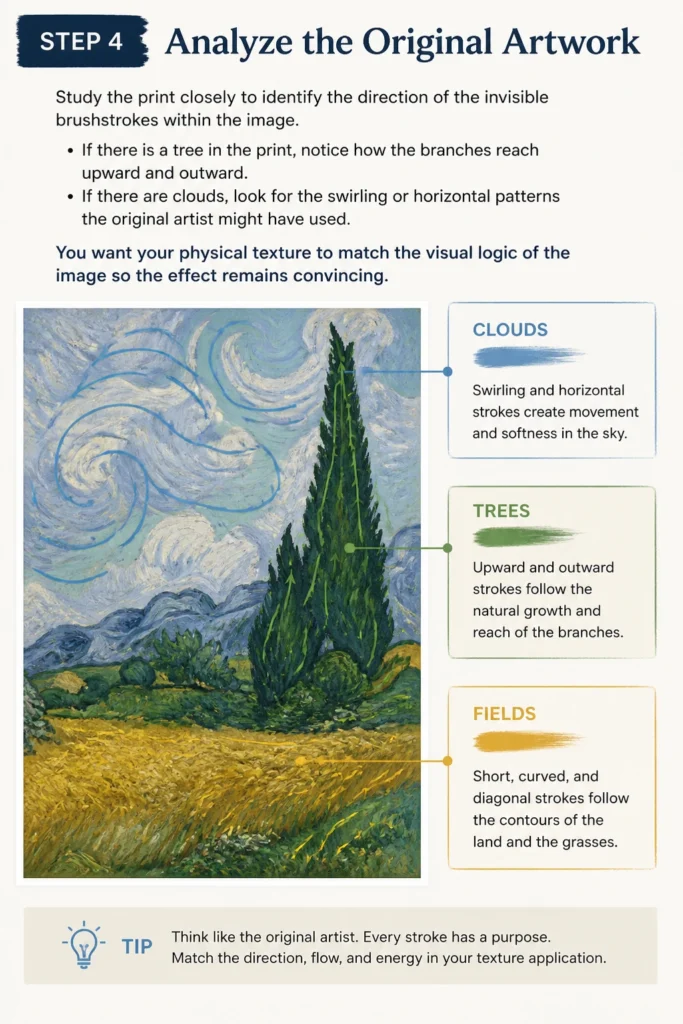
If there is a tree in the print, notice how the branches reach upward and outward.
If there are clouds, look for the swirling or horizontal patterns the original artist might have used.
You want your physical texture to match the visual logic of the image so the effect remains convincing.
Step 5: Apply the First Layer of Gel
Dip a dry brush into your gel medium and begin applying it directly onto the print.
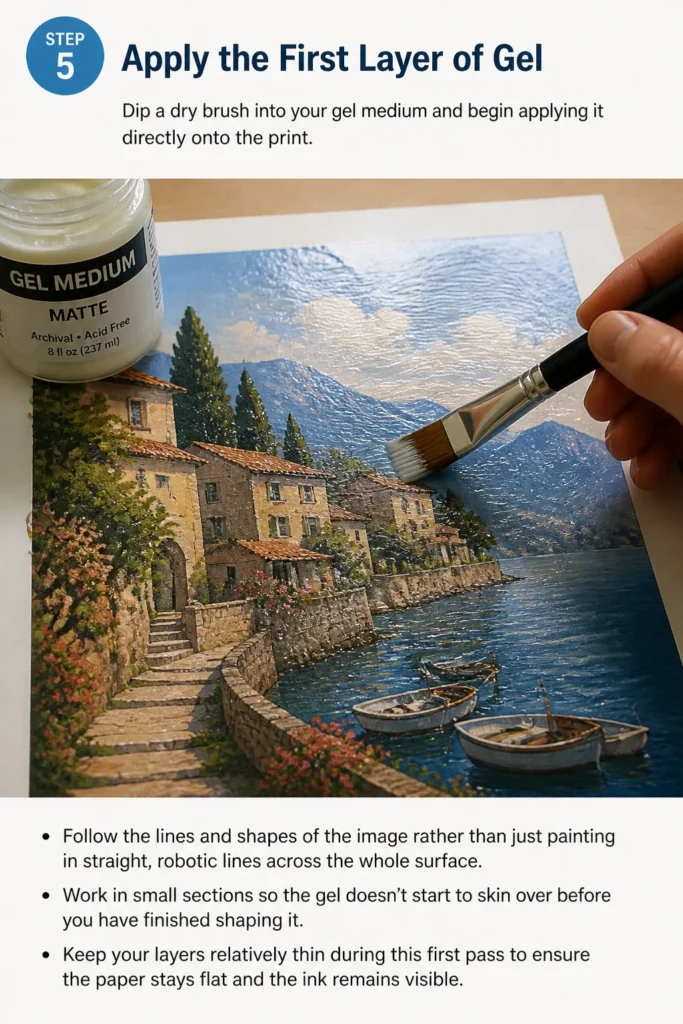
Follow the lines and shapes of the image rather than just painting in straight, robotic lines across the whole surface.
Work in small sections so the gel doesn’t start to “skin over” before you have finished shaping it.
Keep your layers relatively thin during this first pass to ensure the paper stays flat and the ink remains visible.
Step 6: Create Physical Texture and Depth
Load more gel onto your brush to create thicker ridges in the areas where the original artist would have applied the most paint.
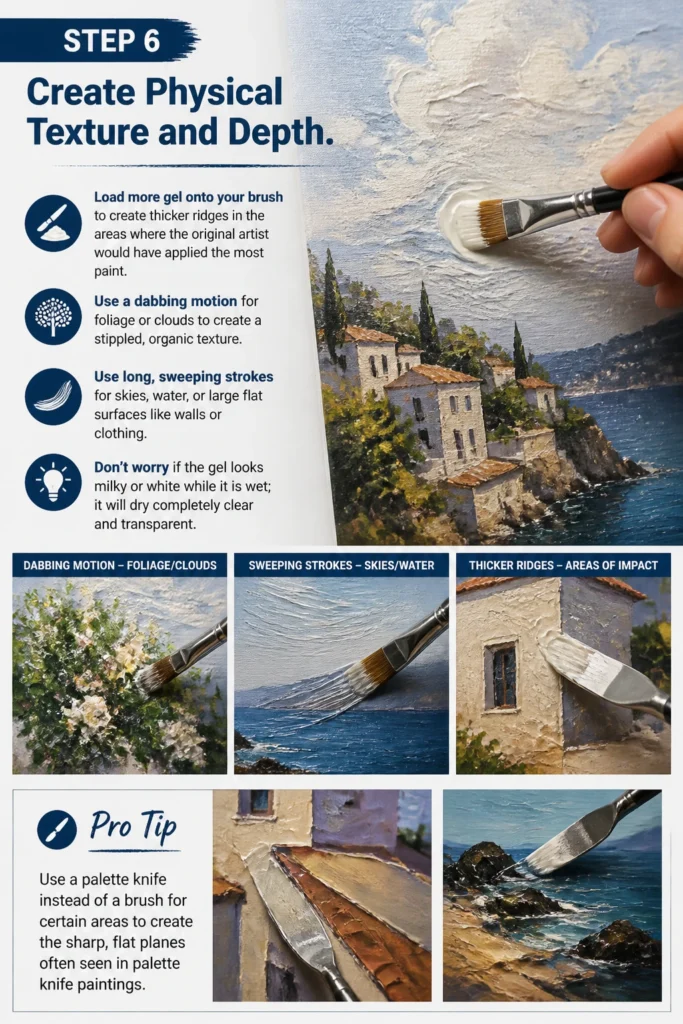
Use a dabbing motion for foliage or clouds to create a stippled, organic texture.
Use long, sweeping strokes for skies, water, or large flat surfaces like walls or clothing.
Don’t worry if the gel looks milky or white while it is wet; it will dry completely clear and transparent.
Pro Tip: Use a palette knife instead of a brush for certain areas to create the sharp, flat planes often seen in palette knife paintings.
Step 7: Add Specific Highlights
Focus on the brightest parts of the image, such as the crest of a wave or the glint in an eye.
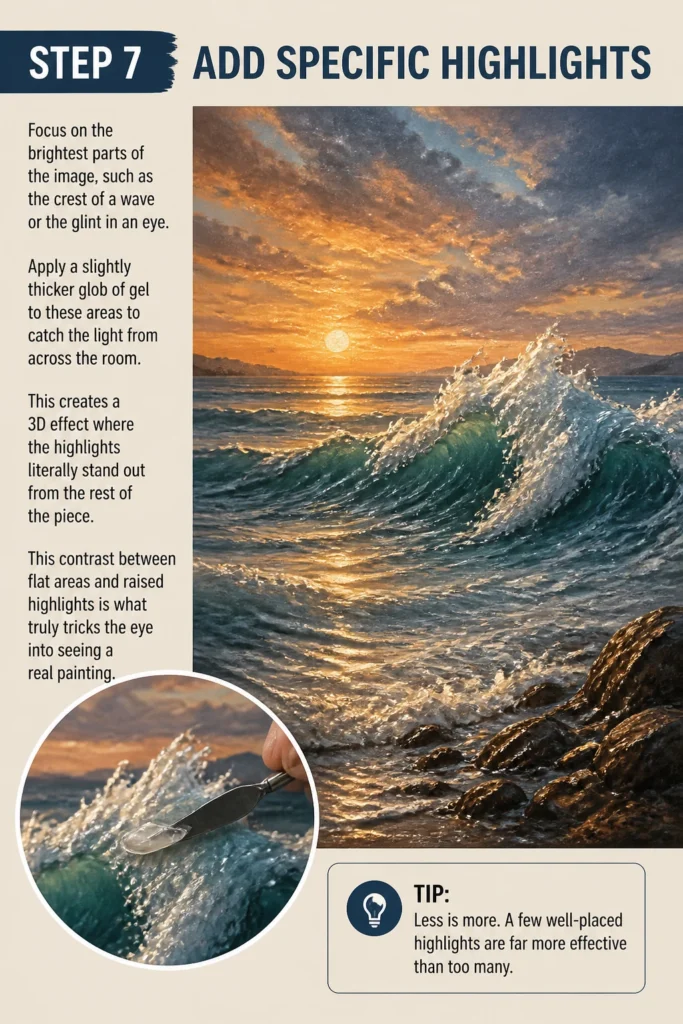
Apply a slightly thicker “glob” of gel to these areas to catch the light from across the room.
This creates a 3D effect where the highlights literally stand out from the rest of the piece.
This contrast between flat areas and raised highlights is what truly tricks the eye into seeing a real painting.
Step 8: Allow the Piece to Cure
Place the artwork on a flat, level surface in a dust-free room to dry.
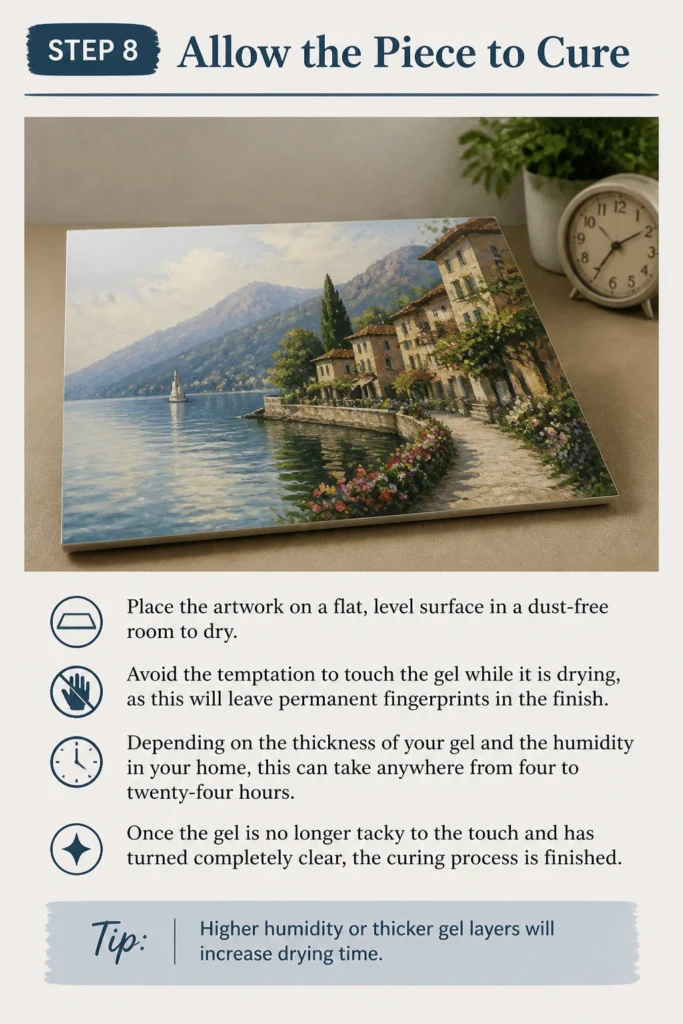
Avoid the temptation to touch the gel while it is drying, as this will leave permanent fingerprints in the finish.
Depending on the thickness of your gel and the humidity in your home, this can take anywhere from four to twenty-four hours.
Once the gel is no longer tacky to the touch and has turned completely clear, the curing process is finished.
Step 9: Frame Without Glass
Install your finished piece into a frame without the glass or acrylic cover.
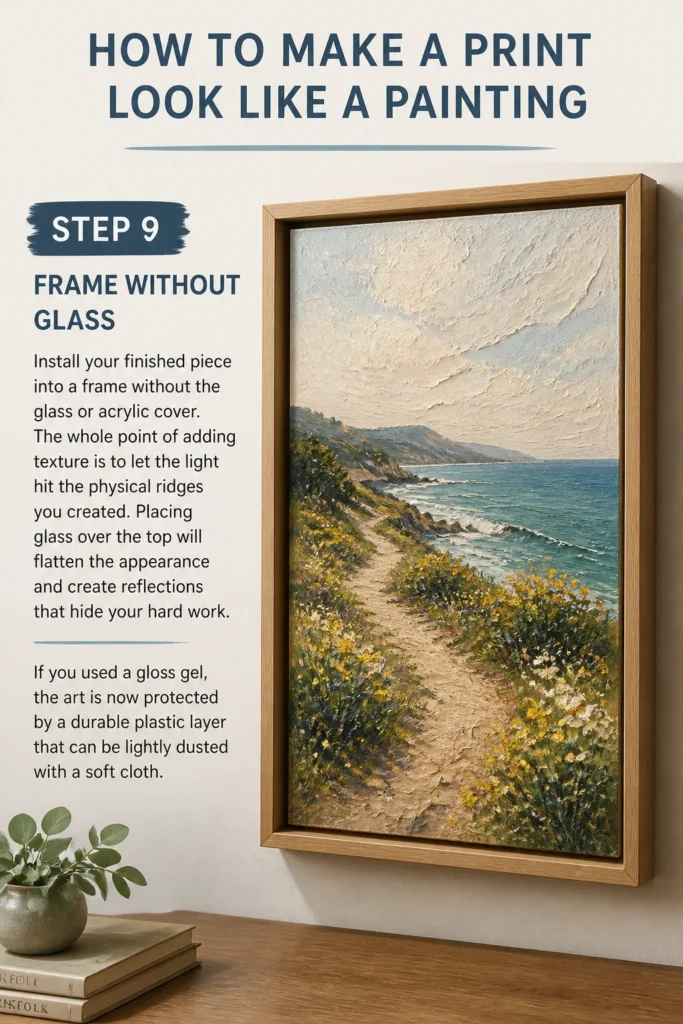
The whole point of adding texture is to let the light hit the physical ridges you created.
Placing glass over the top will flatten the appearance and create reflections that hide your hard work.
If you used a gloss gel, the art is now protected by a durable plastic layer that can be lightly dusted with a soft cloth.
Common Mistakes to Avoid
Using Too Much Gel on Thin Paper
If you apply a thick layer of heavy gel to a standard piece of printer paper or a cheap poster, the moisture will soak through immediately. This causes the paper to expand and warp, creating permanent waves that no frame can fix. Always use a mounted print or heavy cardstock to provide the structural integrity needed for the medium.
Ignoring the Subject Matter
Randomly slapping gel across a print in a uniform pattern is a quick way to make it look like a cheap DIY project. If your brushstrokes go horizontally across a portrait of a person standing vertically, the light will hit the texture in a way that feels “off.” Always let the shapes in the image dictate the movement of your hand.
Using Dirty Brushes
Even a tiny amount of leftover colored paint on your brush can tint the clear gel and ruin your print. Since the gel is transparent, it will pick up any debris, dust, or old pigment and trap it forever against the image. Use brand-new brushes or ensure your current ones are meticulously cleaned and dried before starting.
Troubleshooting
The Gel Looks Cloudy Even After Drying
If your gel still looks white or hazy after 24 hours, it is likely that the layer was applied too thick or the room is too cold. Acrylic mediums need a certain temperature to “film” correctly and turn clear. Move the piece to a warmer, drier area and give it another day; usually, the cloudiness will vanish as the moisture fully evaporates.
The Paper is Bubbling Up
Bubbles usually mean the adhesive used to mount the print to the backing board has failed. You can sometimes fix this by taking a very fine needle, poking a tiny hole in the bubble, and pressing the air out. If the gel is still wet, try to gently smooth the bubble toward the nearest edge using a flat tool.
The Brushstrokes Look Too “Spiky”
If the gel dried with sharp, needle-like peaks that look unnatural, you likely used a gel that was too thick for the brush type. You can gently sand down these sharp points with very fine-grit sandpaper once the gel is 100% cured. After sanding, wipe away the dust and apply a very thin, watery layer of gel to restore the shine.
Key Takeaways
- Mounting is mandatory: Never apply wet gel to a loose, thin print or it will curl.
- Follow the art: Use the existing lines in the image to guide your brush movements for a realistic look.
- Texture equals value: Thick impasto highlights in bright areas create the most convincing illusion of a real painting.
- Ditch the glass: Show off the physical texture by framing the piece openly.
- Patience pays off: Let the medium dry completely clear before handling or framing the artwork.
Frequently Asked Questions
Can I use Mod Podge for this technique?
While you can use Mod Podge, it is generally thinner and more prone to showing visible “streaks” rather than intentional brushstrokes. Professional acrylic gel mediums are designed to hold their shape better and offer a much more “artistic” finish. Mod Podge is great for sealing, but gel medium is better for creating 3D texture.
Will this work on a photo of my family?
Yes, but you should be very careful with the texture application on faces. Heavy texture on a nose or cheek can look like a scar or a blemish once the light hits it. Stick to very light, smooth strokes on skin and save the heavy texture for clothing, hair, and the background.
Does the ink on the print ever smear?
Most modern inkjet and laser prints are quite stable, but some cheap home-printed images might bleed. It is always a good idea to test a tiny corner of the print with a dab of gel before coating the entire thing. If you are worried about bleeding, you can spray the print with a clear acrylic sealer and let it dry before starting with the gel.
Is it possible to do this on a canvas print?
This is actually the best surface for this project because the canvas won’t warp or buckle. Adding gel to a canvas print is the standard way “enhanced” or “hand-touched” prints are made in high-end furniture stores. It fills in the weave of the canvas and makes the image look like it was painted from scratch.
Our Top Recommended Finds
- Liquitex Professional Gloss Heavy Body Gel: This is the gold standard for creating thick, permanent texture that stays clear.
- Hog Hair Brushes: The stiff bristles of hog hair leave beautiful, visible paths in the gel that look exactly like oil paint strokes.
- 3M Super 77 Multipurpose Spray Adhesive: This is excellent for mounting your prints to boards without causing the paper to ripple.
Transform Your Space With Custom Art
Now that you know the secret to turning a simple print into a textured masterpiece, you can fill your home with art that looks expensive. Start with a small, simple landscape to get a feel for how the gel behaves under your brush.
Once you master the basic sweeping strokes, try experimenting with different tools like sponges or even old credit cards to create unique patterns. You might also consider adding a few dabs of actual gold leaf or metallic paint over the gel for an even more luxurious finish.
Take a look at your current wall decor and pick one piece that could use a little more life. There is no better time than today to grab a brush and start adding some dimension to your world.
& Painting
No rigid rules or pretension. Just practical guides, medium comparisons, and encouraging tips to help you enjoy the drawing & painting process.