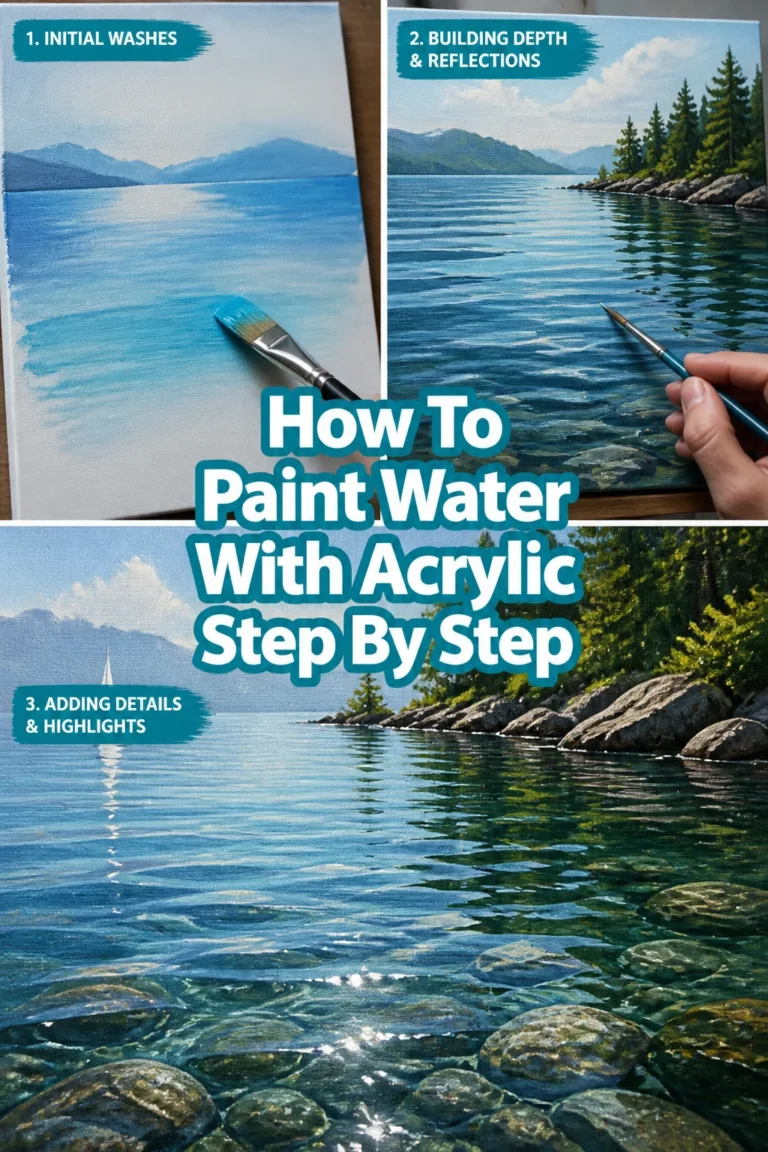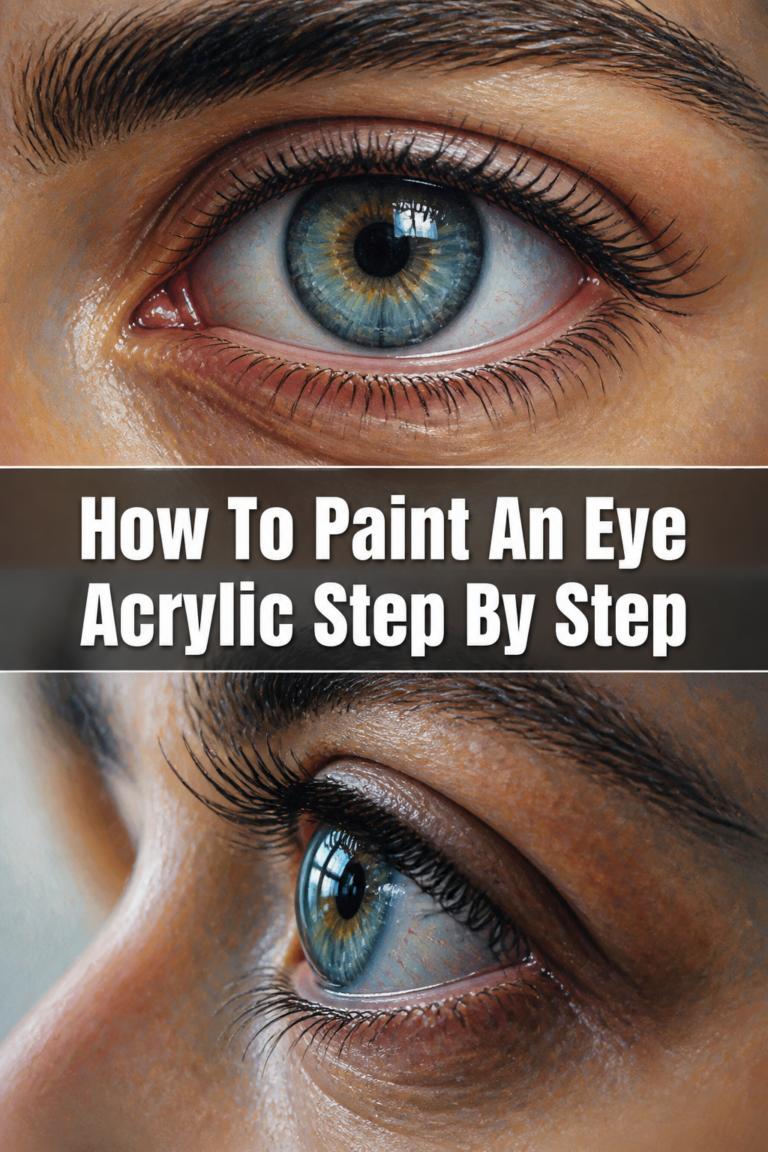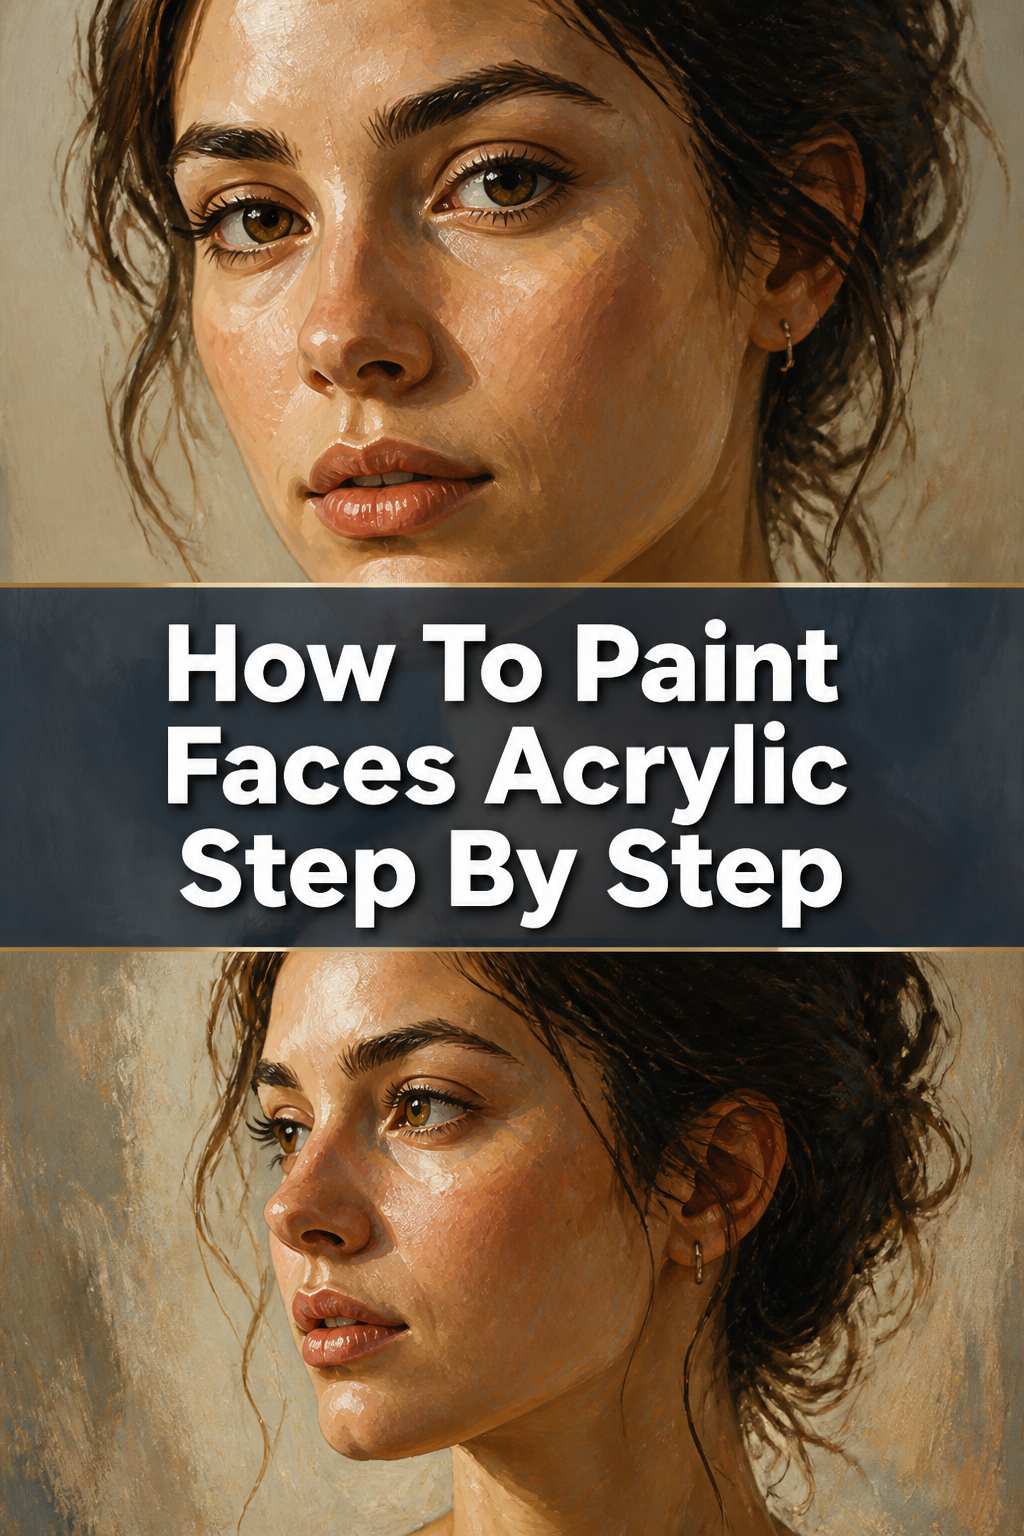
🎨 How To Paint Faces Acrylic Step By Step

& Painting
No rigid rules or pretension. Just practical guides, medium comparisons, and encouraging tips to help you enjoy the drawing & painting process.
I remember the first time I tried to paint a portrait; the skin looked like gray clay and the eyes were floating in different directions.
It took me years of messy canvases to realize that painting faces is less about “talent” and more about following a logical sequence of layers.
This guide comes from a decade of trial, error, and eventually mastering the fast-drying nature of acrylics to create lifelike skin and expressions.
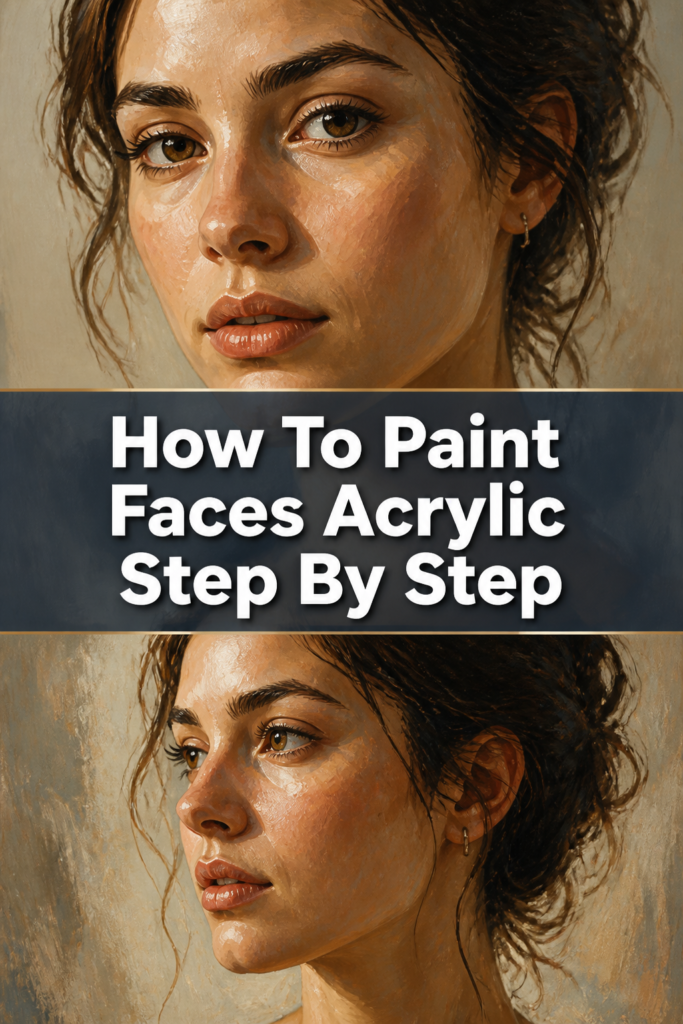
Quick Overview
Painting a face with acrylics requires patience and a solid understanding of light and shadow.
You will learn how to build a face from a flat sketch into a three-dimensional form using layering techniques.
- Time needed: 4 to 6 hours
- Difficulty: Intermediate
- What you’ll need: Acrylic paints (Titanium White, Burnt Umber, Yellow Ochre, Cadmium Red, Ultramarine Blue), synthetic brushes (round and flat), a canvas or heavy paper, and a stay-wet palette.
Step-by-Step Instructions
Step 1: Prepare Your Surface and Sketch
Start by applying a thin layer of gesso if your canvas isn’t pre-primed.
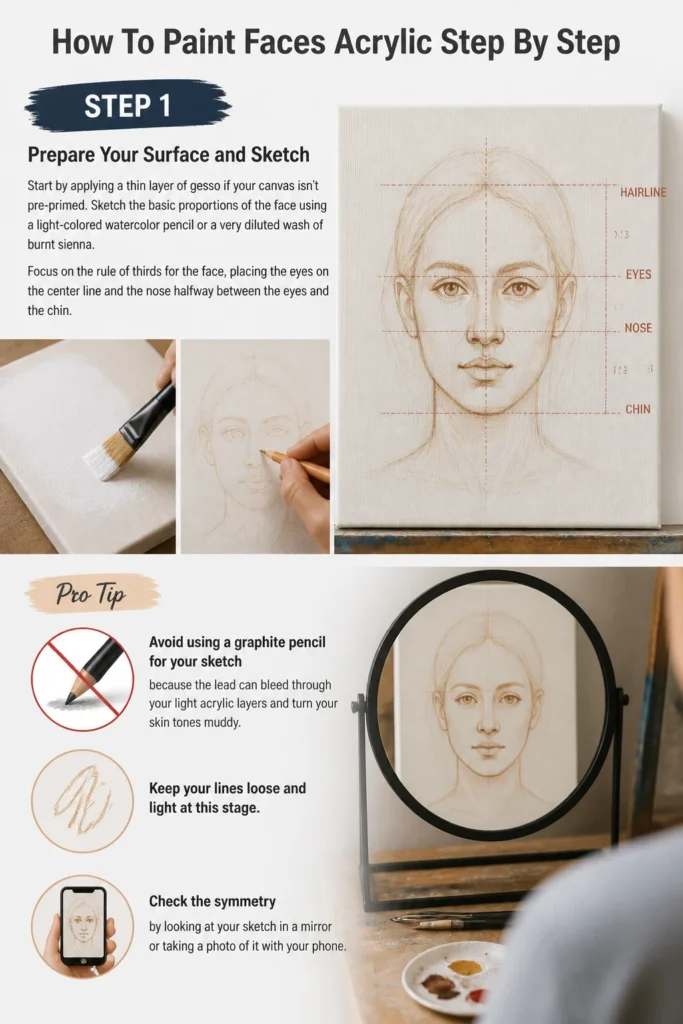
Sketch the basic proportions of the face using a light-colored watercolor pencil or a very diluted wash of burnt sienna.
Focus on the “rule of thirds” for the face, placing the eyes on the center line and the nose halfway between the eyes and the chin.
Pro Tip: Avoid using a graphite pencil for your sketch because the lead can bleed through your light acrylic layers and turn your skin tones muddy.
Keep your lines loose and light at this stage.
Check the symmetry by looking at your sketch in a mirror or taking a photo of it with your phone.
Step 2: Apply a Toned Underpainting
Cover the entire canvas with a warm, transparent wash like burnt sienna or yellow ochre.
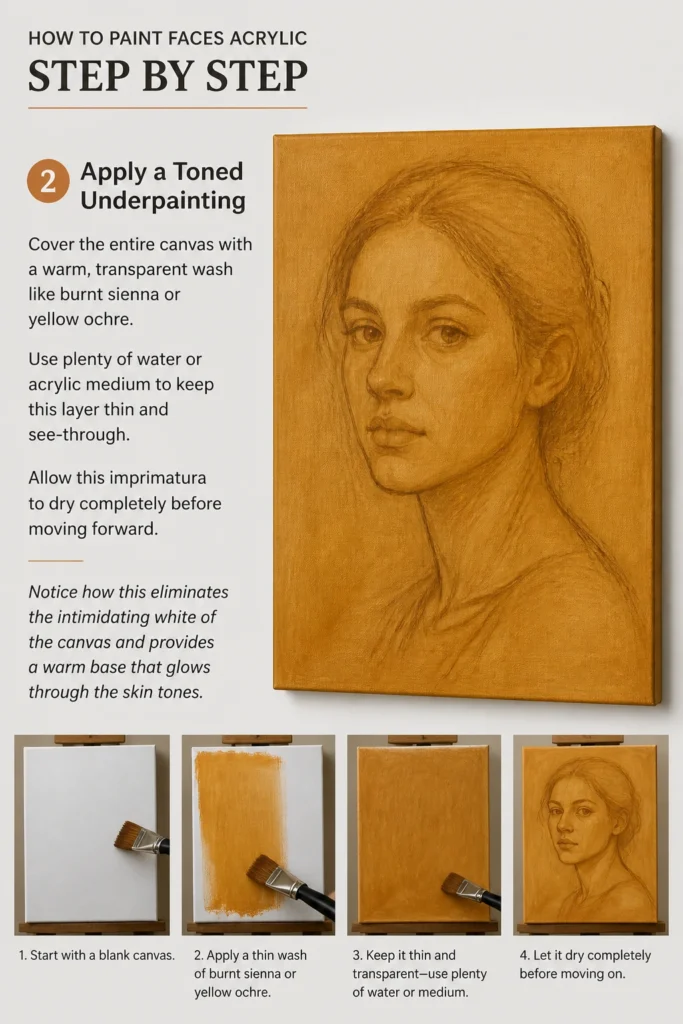
Use plenty of water or acrylic medium to keep this layer thin and see-through.
Allow this “imprimatura” to dry completely before moving forward.
Notice how this eliminates the intimidating white of the canvas and provides a warm base that glows through the skin tones.
Step 3: Map the Darkest Shadows
Identify the darkest areas of your reference photo, such as the nostrils, the line between the lips, and the shadows under the jaw.
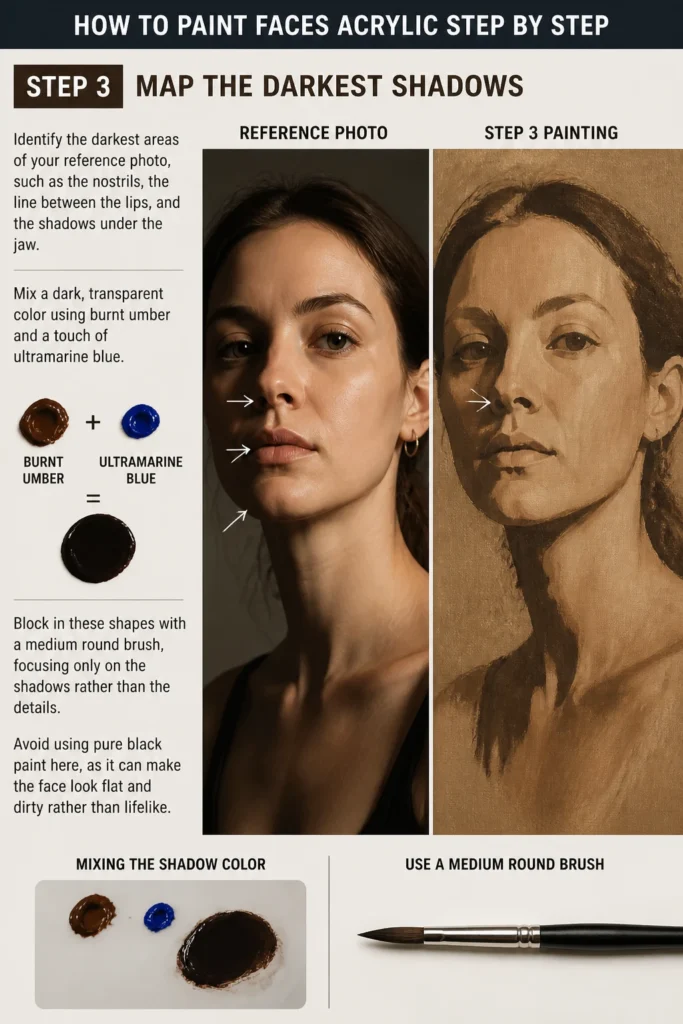
Mix a dark, transparent color using burnt umber and a touch of ultramarine blue.
Block in these shapes with a medium round brush, focusing only on the shadows rather than the details.
Avoid using pure black paint here, as it can make the face look flat and “dirty” rather than lifelike.
Step 4: Block in the Mid-Tones
Mix your primary skin tone using titanium white, yellow ochre, and a tiny bit of cadmium red.
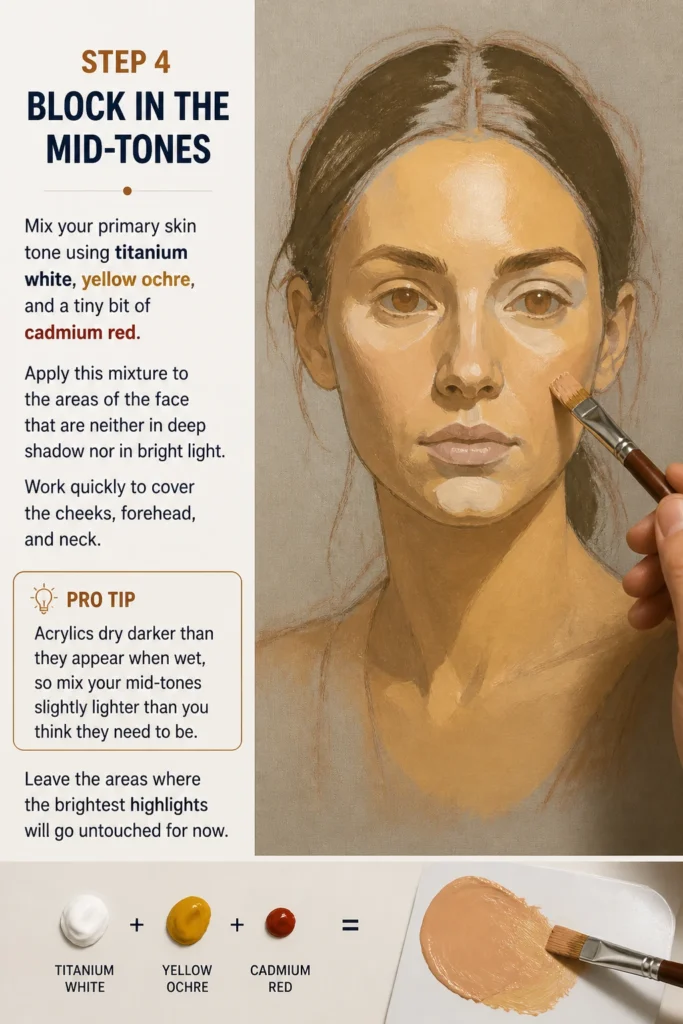
Apply this mixture to the areas of the face that are neither in deep shadow nor in bright light.
Work quickly to cover the cheeks, forehead, and neck.
Pro Tip: Acrylics dry darker than they appear when wet, so mix your mid-tones slightly lighter than you think they need to be.
Leave the areas where the brightest highlights will go untouched for now.
Step 5: Define the Features
Switch to a smaller detail brush to tackle the eyes, nose, and mouth.
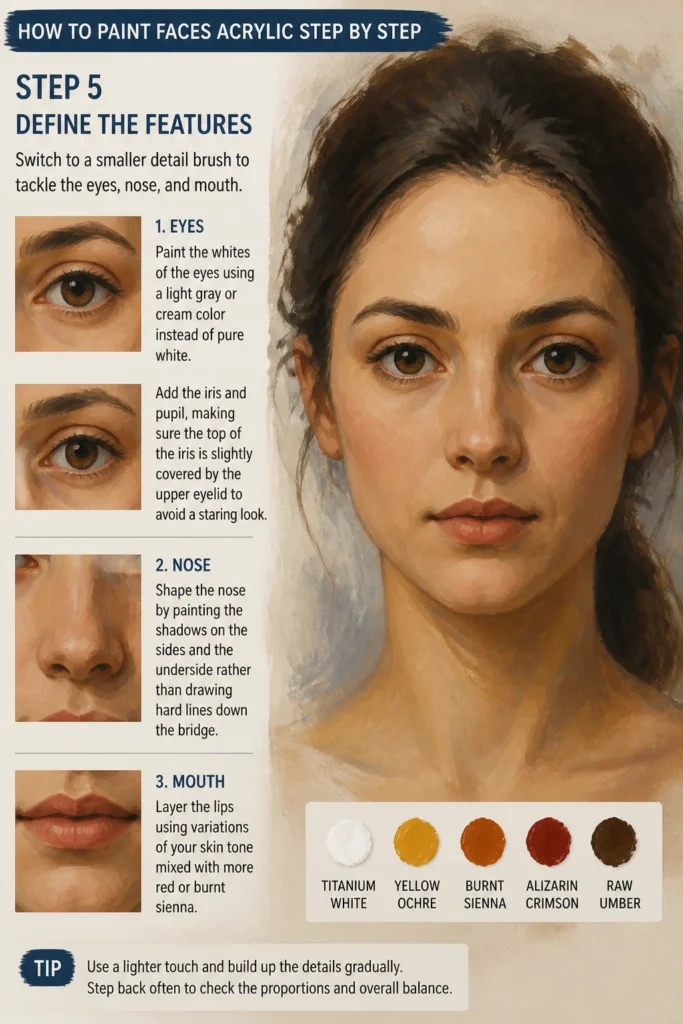
Paint the whites of the eyes using a light gray or cream color instead of pure white.
Add the iris and pupil, making sure the top of the iris is slightly covered by the upper eyelid to avoid a “staring” look.
Shape the nose by painting the shadows on the sides and the underside rather than drawing hard lines down the bridge.
Layer the lips using variations of your skin tone mixed with more red or burnt sienna.
Step 6: Build Form with Transitions
Create “bridge tones” to blend the harsh lines between your shadows and your mid-tones.
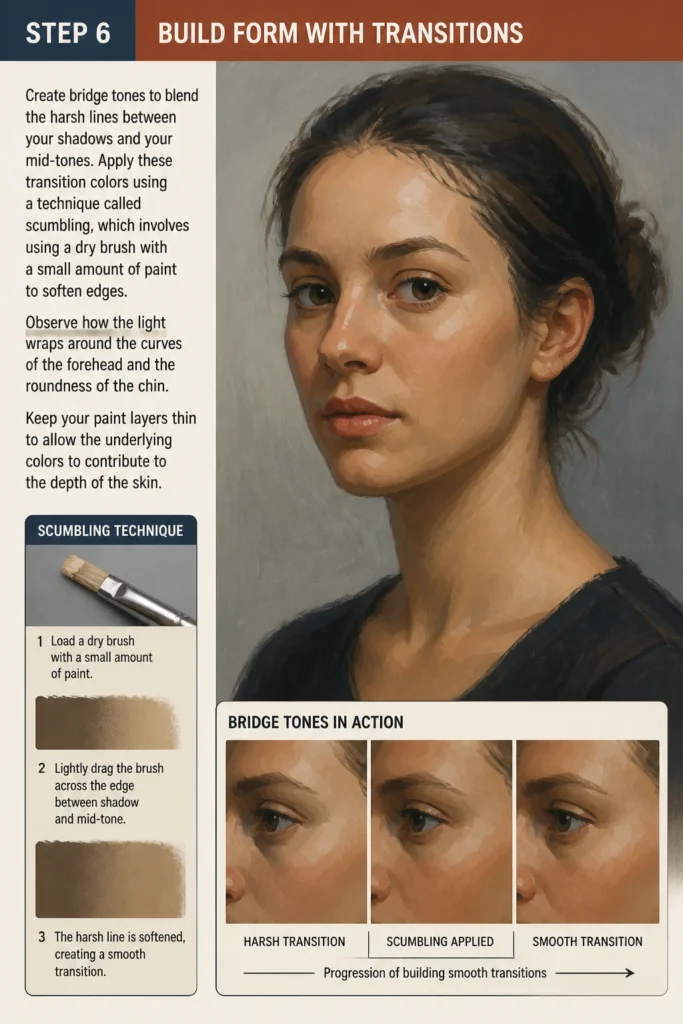
Apply these transition colors using a technique called “scumbling,” which involves using a dry brush with a small amount of paint to soften edges.
Observe how the light wraps around the curves of the forehead and the roundness of the chin.
Keep your paint layers thin to allow the underlying colors to contribute to the depth of the skin.
Step 7: Add High-Contrast Highlights
Locate the points where the light hits the face most directly, usually the tip of the nose, the brow bone, and the tops of the cheekbones.
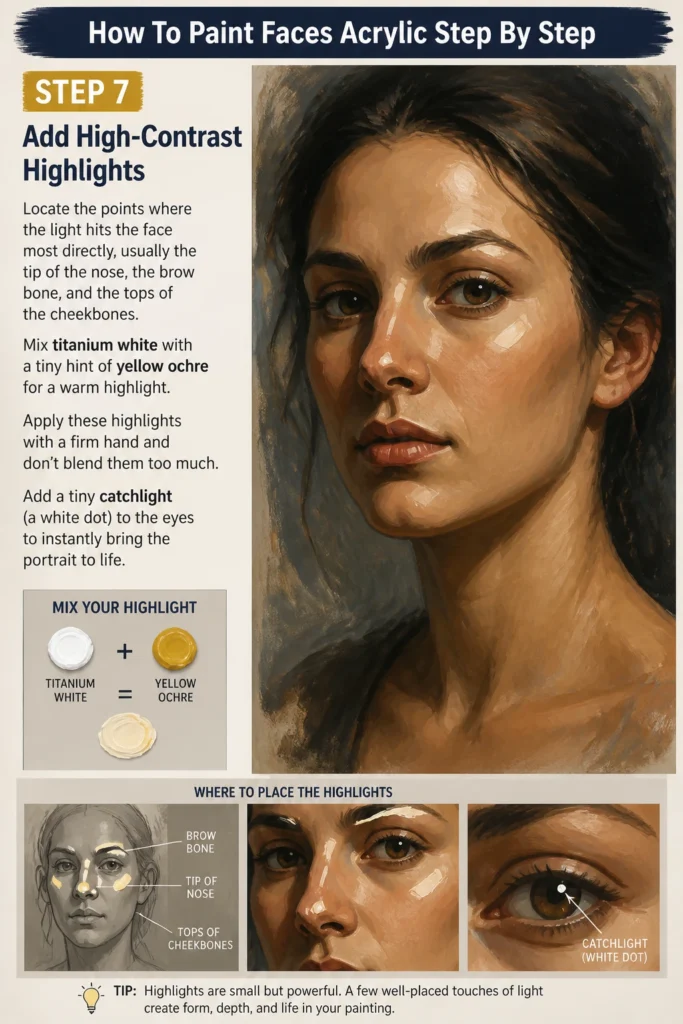
Mix titanium white with a tiny hint of yellow ochre for a warm highlight.
Apply these highlights with a firm hand and don’t blend them too much.
Add a tiny “catchlight” (a white dot) to the eyes to instantly bring the portrait to life.
Step 8: Final Glazes and Background
Use a glazing medium mixed with a tiny bit of color to adjust the overall temperature of the face.
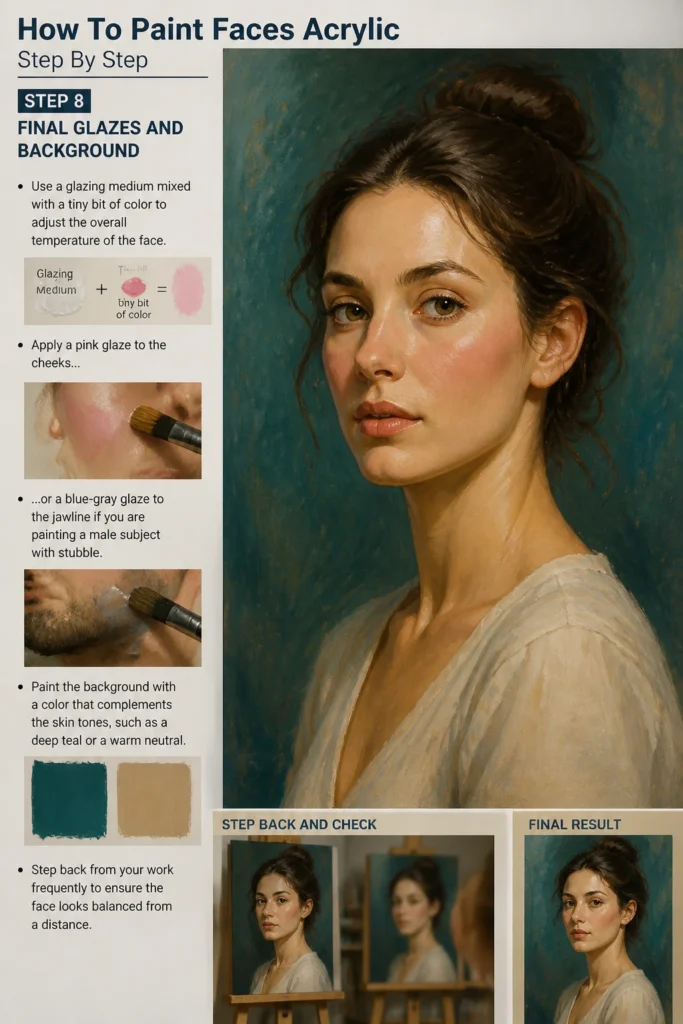
Apply a pink glaze to the cheeks or a blue-gray glaze to the jawline if you are painting a male subject with stubble.
Paint the background with a color that complements the skin tones, such as a deep teal or a warm neutral.
Step back from your work frequently to ensure the face looks balanced from a distance.
Common Mistakes to Avoid
Using Pure Black for Shadows
Many beginners reach for black paint to create shadows, but this often results in a “bruised” or dead look on the skin. Natural shadows contain reflected light and color. Try mixing browns, blues, and purples to create deep, vibrant shadows that feel part of the skin.
Painting Individual Eyelashes
Drawing every single eyelash usually makes a portrait look like a cartoon. Instead, think of the eyelashes as a dark, soft shape that defines the eyelid. You can add one or two distinct lashes at the outer corner for effect, but keep the rest subtle.
Over-Smoothing the Skin
If you blend every single brushstroke, the face can end up looking like plastic or a computer-generated image. Real skin has texture, pores, and slight color variations. Leaving some visible brushwork adds character and a “painterly” quality to your work.
Ignoring the Neck and Shoulders
A beautifully painted face can be ruined if it sits on a flat, neglected neck. The neck has complex muscles and often carries a heavy shadow from the jawline. Give the neck as much attention as the face to ensure the portrait feels grounded and realistic.
Troubleshooting
The Paint is Drying Too Fast to Blend
Acrylics dry rapidly, which makes soft transitions difficult for many artists. To fix this, use a “slow-dry” or “retarder” medium mixed into your paint. You can also lightly mist the back of your canvas with water or use a stay-wet palette to keep your piles of paint usable for hours.
The Skin Tones Look Muddy
Muddy colors usually happen when you mix too many colors together or try to blend wet paint into partially dry paint. If your colors look gray or dirty, stop and let the area dry completely. Scrape off any thick lumps and glaze over the area with a clean, transparent color to restore the vibrancy.
The Features Look Misaligned
It is easy to lose the “likeness” as you add layers of paint. If the eyes or mouth look “off,” don’t try to nudge them with tiny strokes. It is often better to paint over the feature with a mid-tone and re-sketch the placement before trying again.
Key Takeaways
- Proportions first: Always nail the sketch and basic measurements before you even touch your color.
- Layer thin to thick: Start with watery washes and move toward thicker, more opaque paint for the highlights.
- Avoid pure black: Build dark values using mixtures of brown and blue for more realistic skin shadows.
- Value over color: Getting the light and dark areas correct is more important for a likeness than the exact shade of “peach” or “tan.”
- Keep it wet: Use a stay-wet palette to prevent your custom skin tone mixes from drying out mid-session.
Frequently Asked Questions
What brushes are best for acrylic portraits?
Synthetic brushes are generally better for acrylics because they handle the heavy weight of the paint and the constant cleaning. You should have a few flat brushes for blocking in large areas and several small, pointed round brushes for the eyes, nose, and fine details.
How do I mix a basic skin tone?
A good starting point is a mix of Titanium White, Yellow Ochre, and a tiny dot of Cadmium Red. If the skin is too “pink,” add a tiny bit of green or blue to neutralize it. For darker skin tones, use Burnt Sienna and Raw Umber as your base instead of white.
Can I paint over a mistake once it dries?
Yes, that is one of the biggest advantages of acrylic paint. Once a layer is dry, it is permanent, so you can paint a completely new color right over the top. If a feature is in the wrong place, simply “erase” it with a layer of opaque background color and start that section over.
How do I make the eyes look wet and realistic?
The secret to realistic eyes is the “specular highlight.” This is the tiny, crisp white dot where the light source reflects off the moisture on the eye. Place this dot near the pupil, and make sure it overlaps both the iris and the pupil slightly for the most natural effect.
Our Top Recommended Finds
- Stay-Wet Palette: This tool uses a damp sponge and special paper to keep your acrylic paints wet for days, which is essential for the long process of portrait painting.
- Acrylic Retarder Medium: Adding a drop of this to your paint increases the “open time,” allowing you to blend skin tones smoothly like you would with oil paints.
- Synthetic Filbert Brushes: These brushes have a rounded tip that is perfect for blending the soft curves of a face without leaving harsh square edges.
Mastering the Art of the Portrait
Painting a face is a journey of seeing shapes rather than symbols.
Once you stop trying to paint “an eye” and start painting the “shadows and lights around an eye,” your work will transform.
Take these steps and apply them to a simple self-portrait today to see how the layering process works for you.
You might also want to explore color theory more deeply to understand how to make your skin tones even more vibrant.
Grab your brushes and start blocking in those first shapes right now.
& Painting
No rigid rules or pretension. Just practical guides, medium comparisons, and encouraging tips to help you enjoy the drawing & painting process.