🧵 How To Quilt As You Go For Beginners

& Painting
No rigid rules or pretension. Just practical guides, medium comparisons, and encouraging tips to help you enjoy the drawing & painting process.
Learning to quilt can feel overwhelming, especially when you think about wrestling a huge quilt through a domestic sewing machine. I remember the frustration of trying to manage all those layers, nearly giving up on quilting altogether. Then I discovered Quilt As You Go (QAYG), and it completely transformed my approach, making large projects enjoyable and manageable for anyone, even complete beginners.
Quick Overview
Quilt As You Go is a fantastic method that breaks down large quilting projects into smaller, manageable blocks. You’ll quilt each block individually and then join them together, eliminating the need to wrestle a bulky quilt sandwich through your machine. This guide will walk you through the entire process, from preparing your blocks to joining them into a beautiful finished quilt.
- Time needed: 1-2 hours per block (depending on complexity), plus joining time.
- Difficulty: Beginner
- What you’ll need: Fabric scraps, batting, backing fabric, sewing machine, rotary cutter, mat, ruler, thread, pins/clips.
Step-by-Step Instructions
Step 1: Gather Your Supplies
Before you start, collect all the necessary tools and materials. Having everything ready makes the process smoother and more enjoyable.
Select your fabrics. You’ll need a variety of scraps for the quilt top, a consistent fabric for the backing of each block, and a medium-loft batting.
Ensure your sewing machine is in good working order and threaded with a fresh needle. A walking foot is highly recommended for quilting, but not strictly essential for your first QAYG project.
Collect your rotary cutter, self-healing mat, and an acrylic ruler. These tools are crucial for accurate cutting and squaring of your blocks.
Step 2: Prepare Your Quilt Block Base
The foundation of each QAYG block is a small quilt sandwich. This is where the “quilt as you go” magic truly begins.
Cut your backing fabric into squares or rectangles of your desired finished block size, plus an extra 1/2 inch to 1 inch on all sides. For example, if you want 10-inch finished blocks, cut your backing to 10.5 or 11 inches.
Trim your batting to the same size as your backing fabric. This creates a small, manageable batting piece for each block.
Layer your backing fabric right side down, then place the batting on top. Smooth out any wrinkles to create a flat base.
Place your first piece of top fabric (often called the “starter fabric”) right side up in the center of the batting. This piece will be the foundation for your block design.
Pro Tip: For your very first QAYG project, choose a simple block design like strip piecing. This allows you to focus on the QAYG technique without getting bogged down in complex piecing patterns.
Step 3: Start Adding Fabric Strips
Now you’ll begin building your quilt block, one strip at a time, directly onto your prepared base. This technique is often called “sew and flip.”
Take your first fabric strip for the quilt top. Place it right side down along one edge of your starter fabric, aligning the raw edges.
Pin the strip in place if needed, but for short seams, you might not require pins. This is a personal preference.
Sew a 1/4-inch seam along the aligned edge, attaching the strip to the starter fabric. Make sure you are only sewing through the top fabric layers and not through the backing and batting yet.
Flip the newly sewn strip open so it lies flat, right side up, extending over the batting and backing. Press the seam flat with an iron. This is a critical step for a smooth finish.
Repeat this process, adding strips around your starter fabric, or in rows across it, depending on your block design. Each new strip is placed right side down, sewn, then flipped open and pressed.
Continue adding strips until your backing fabric and batting are completely covered. Your block top is now pieced directly onto the batting and backing.
Step 4: Quilt Your Block
This is the “quilt” part of Quilt As You Go. Each block is quilted individually before joining.
Choose your quilting design. For beginners, simple straight lines, wavy lines, or a crosshatch pattern are excellent choices. You can use a walking foot for straight lines or a free-motion quilting foot for more elaborate designs.
Start quilting your block. Stitch through all three layers (quilt top, batting, backing) following your chosen design. You can quilt along the seams, in the ditch, or create decorative patterns.
Maintain an even stitch length and tension. Avoid pulling or pushing the fabric too much, let your machine do the work. Remember, practice makes perfect!
Step 5: Trim and Square Up Your Block
Accuracy here is paramount for perfectly fitting blocks later on.
Place your quilted block on your cutting mat. Use your ruler and rotary cutter to trim the block to your desired finished size. For example, if you want 10-inch finished blocks, trim each block to exactly 10 inches square.
Ensure all sides are perfectly straight and all corners are 90 degrees. Take your time with this step, as uneven blocks will cause issues when joining.
Step 6: Prepare Blocks for Joining
There are several methods for joining QAYG blocks. For beginners, the “sash and turn” or “stitch-in-the-ditch” methods are very approachable. We’ll focus on the sash and turn method here, as it’s very forgiving.
Cut sashing strips from a coordinating fabric. These strips will cover the raw edges when you join your blocks. For a 1/2-inch finished sashing, cut your strips 1.5 inches wide.
Fold each sashing strip in half lengthwise and press, creating a neat fold. This will be the visible part of your sashing.
Step 7: Join Your Quilted Blocks
This is where your individual blocks come together to form the larger quilt top.
Take two quilted blocks. Place one sashing strip, unfolded, right side up, along the right edge of the first block. Align the raw edge of the sashing with the raw edge of the block.
Place the second block right side down on top of the sashing strip and the first block, aligning the raw edges. The sashing strip is now sandwiched between the two blocks.
Sew a 1/4-inch seam along this aligned edge, through all layers (block 1, sashing, block 2). Use a walking foot if you have one to help feed the bulk evenly.
Open up the two blocks. The sashing strip should now be attached to both. Press the seam open or towards one block.
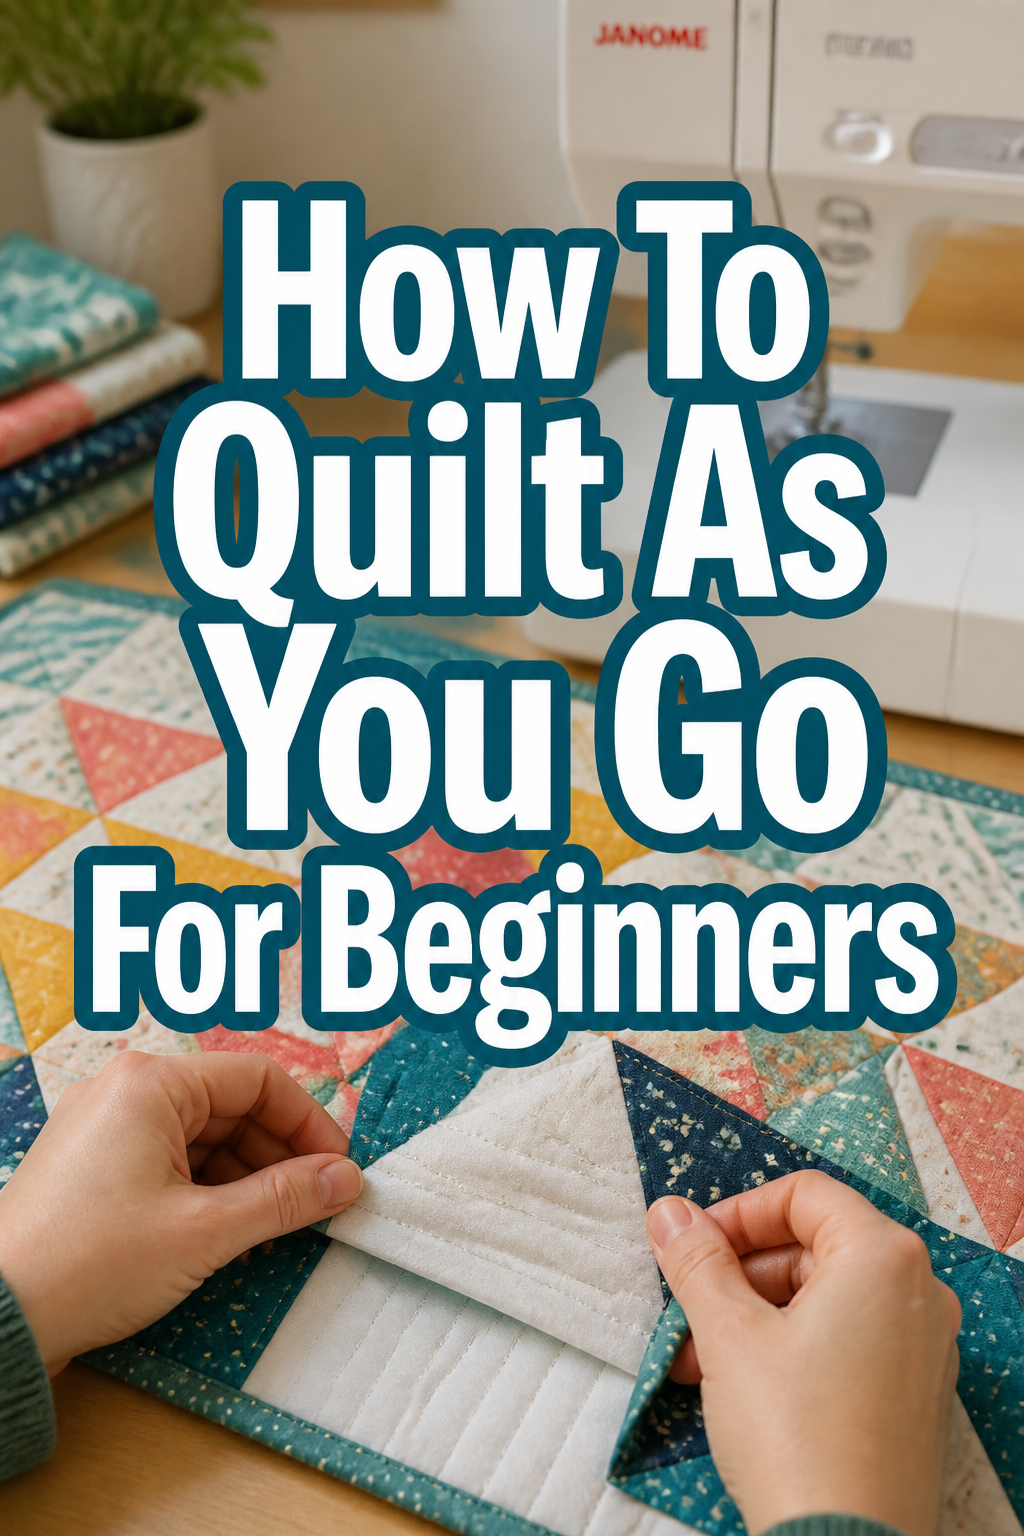
Fold the sashing strip over the raw edges, so the folded edge of the sashing covers the seam allowance on the back of the quilt. Stitch this folded edge down from the front, either by hand or machine (stitch-in-the-ditch on the front seam line, or a decorative stitch).
Repeat this process, joining blocks into rows first, then joining the rows together using the same sashing method. This builds your quilt one section at a time.
Step 8: Finish Your Quilt
Once all your blocks are joined, your quilt is nearly complete!
Trim any excess batting or backing from the outer edges of your entire quilt top. Make sure the edges are straight and even.
Add a border if desired. This can be done by sewing strips of fabric around the perimeter, just like you would on a traditional quilt.
Attach your binding. This is the final step that encases the raw edges of your quilt. Cut binding strips, sew them to the front of the quilt, then wrap them around to the back and hand or machine stitch them down.
Common Mistakes to Avoid
Uneven Seam Allowances
Inconsistent seam allowances are a common pitfall for beginners. If your seams aren’t precisely 1/4 inch, your blocks will end up different sizes, making them difficult to join accurately. Always use a 1/4-inch foot or mark your sewing machine bed to ensure consistent seams.
Skipping Pressing
Pressing is not ironing. Pressing involves lifting and placing the iron, not sliding it, to set seams. Skipping this step or pressing carelessly can result in wavy seams, distorted blocks, and a less professional-looking finish. Always press after each seam to keep your work flat and accurate.
Using the Wrong Batting
While QAYG is versatile, very thick or high-loft batting can make joining blocks difficult due to bulk. Stick to a low-to-medium loft cotton or cotton blend batting for your first projects. This will be much easier to manage at the seams.
Rushing the Trimming
Trimming and squaring up each block precisely is one of the most important steps in QAYG. If your blocks are not perfectly square and the correct size, they will not line up when you join them, leading to frustration. Take your time, use accurate tools, and double-check your measurements.
Troubleshooting
Blocks Don’t Line Up
If your blocks aren’t aligning perfectly during joining, the most likely culprits are inconsistent seam allowances or inaccurate squaring up. Go back and measure your finished blocks; if they vary, you’ll need to adjust your seam allowances or re-trim future blocks more carefully. Sometimes a slight fudge and careful pinning can help for minor discrepancies.
Wavy Seams When Joining
Wavy seams often occur when the fabric is stretched or not fed evenly through the machine. Use a walking foot if you have one, as it helps feed all layers consistently. Pin heavily along the seam line, especially with longer seams, to keep the fabric from shifting. Reduce your stitch length slightly to give more stability.
Bulk at Seams
Joining multiple layers can create bulk, especially at the intersections of sashing strips. To reduce this, you can “grade” your seam allowances by trimming the batting slightly narrower than the fabric seam allowance before folding. Pressing seams open or alternating the direction of seam allowances at intersections also helps distribute bulk more evenly.
Key Takeaways
- Quilt As You Go simplifies large quilt projects by breaking them into smaller, manageable blocks.
- Each block is a complete quilt sandwich, pieced and quilted individually before assembly.
- Accurate cutting, consistent seam allowances, and careful pressing are crucial for successful QAYG.
- A walking foot can greatly assist in smoothly quilting and joining your blocks.
- Don’t be afraid to experiment with different quilting designs on your individual blocks.
- QAYG allows for creative freedom and can make even complex designs feel achievable.
Frequently Asked Questions
Can I use any fabric scraps for Quilt As You Go?
Yes, QAYG is perfect for using up your fabric scraps! You can use a wide variety of cotton quilting fabrics. Just ensure they are all roughly the same weight to prevent distortion. Pre-washing your fabrics is a good idea to prevent future shrinking or color bleeding.
What kind of batting is best for QAYG?
A low-to-medium loft batting made of 100% cotton or a cotton/poly blend is generally recommended. These types are flexible, easy to sew through multiple layers, and create less bulk at the joining seams. Avoid very thick battings for your first projects.
Do I need a special sewing machine for Quilt As You Go?
No, you don’t need a special machine. Any standard domestic sewing machine capable of a straight stitch will work. However, a walking foot attachment is incredibly helpful for quilting through multiple layers and joining blocks evenly. It helps prevent fabric shifting and puckering.
Can I machine wash a Quilt As You Go quilt?
Absolutely! Once your QAYG quilt is complete and bound, you can machine wash it just like any other quilt. Use a gentle cycle with cold water and a mild detergent. Tumble dry on low or air dry flat to preserve its shape and longevity.
Our Top Recommended Finds
- Rotary Cutter, Mat, and Ruler Set: Essential for precise and efficient fabric cutting, which is vital for accurate QAYG blocks.
- Walking Foot for Your Sewing Machine: This attachment helps feed multiple layers of fabric evenly, making quilting and joining much smoother.
- Good Quality Cotton Thread: Using strong, lint-free thread prevents breakage and ensures durable seams and quilting stitches.
Your Quilted Journey Begins Now
You now have the tools and knowledge to embark on your first Quilt As You Go project. This method opens up a world of possibilities for creating beautiful, large quilts without the struggle of traditional quilting. Don’t let the idea of a big project intimidate you any longer.
Consider starting with a simple placemat or a small baby quilt to get comfortable with the technique. Once you master the basics, you can explore more intricate block designs or experiment with different sashing methods. Grab your supplies, pick out some cheerful fabrics, and make your first QAYG block today. The satisfaction of seeing your quilt come together, one perfectly quilted piece at a time, is truly rewarding.
& Painting
No rigid rules or pretension. Just practical guides, medium comparisons, and encouraging tips to help you enjoy the drawing & painting process.