✨ How To Draw Disney Characters Step By Step

& Painting
No rigid rules or pretension. Just practical guides, medium comparisons, and encouraging tips to help you enjoy the drawing & painting process.
Ever dreamed of bringing your favorite Disney characters to life on paper?
I remember spending countless hours as a child trying to replicate the magic, and it felt like an impossible feat at first.
This guide will break down that magic into simple, manageable steps, drawing from years of observing animation principles and practice.
Quick Overview
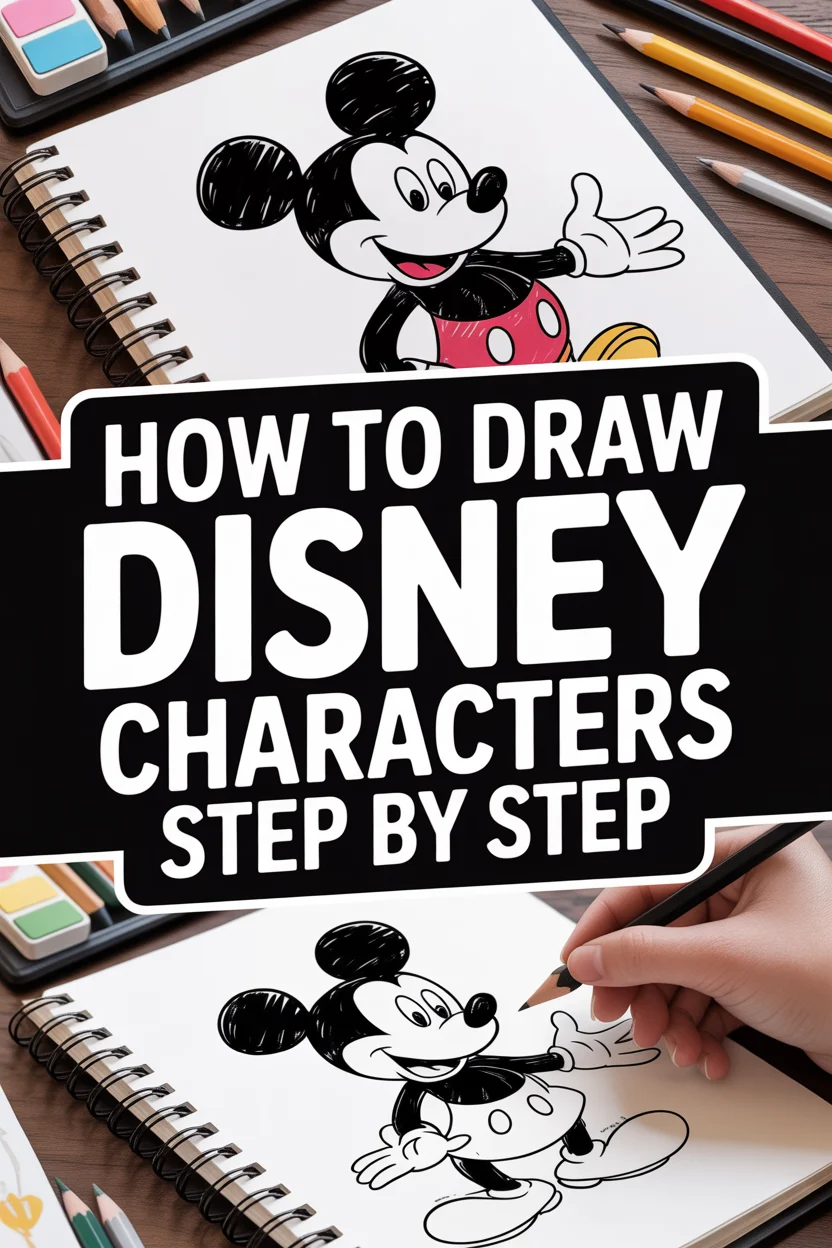
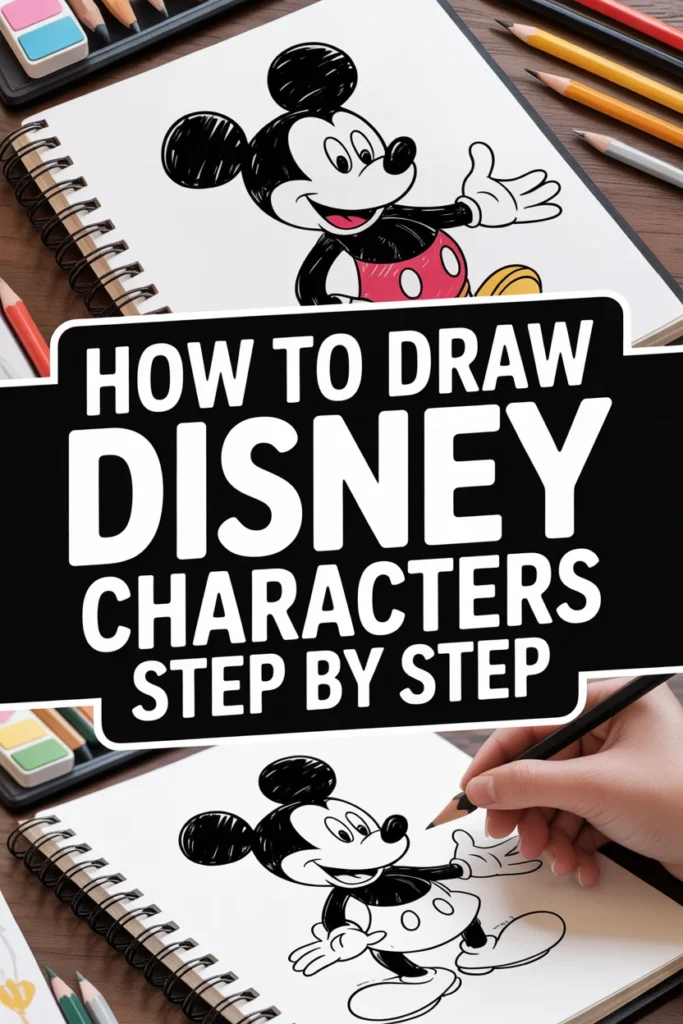
This guide will walk you through the foundational techniques to sketch and refine beloved Disney characters, from initial shapes to final details.
You’ll learn how to capture their unique charm and expressiveness, making your drawings truly magical.
- Time needed: 1-3 hours (depending on character complexity and practice)
- Difficulty: Beginner to Intermediate
- What you’ll need: Pencil (HB, 2B), eraser, paper, reference images, optional fine-liner pens
Step-by-Step Instructions
Step 1: Gather Your Tools and References
Before you even make a mark, ensure you have all your materials ready. A good quality pencil, a clean eraser, and smooth paper are essential for a pleasant drawing experience.
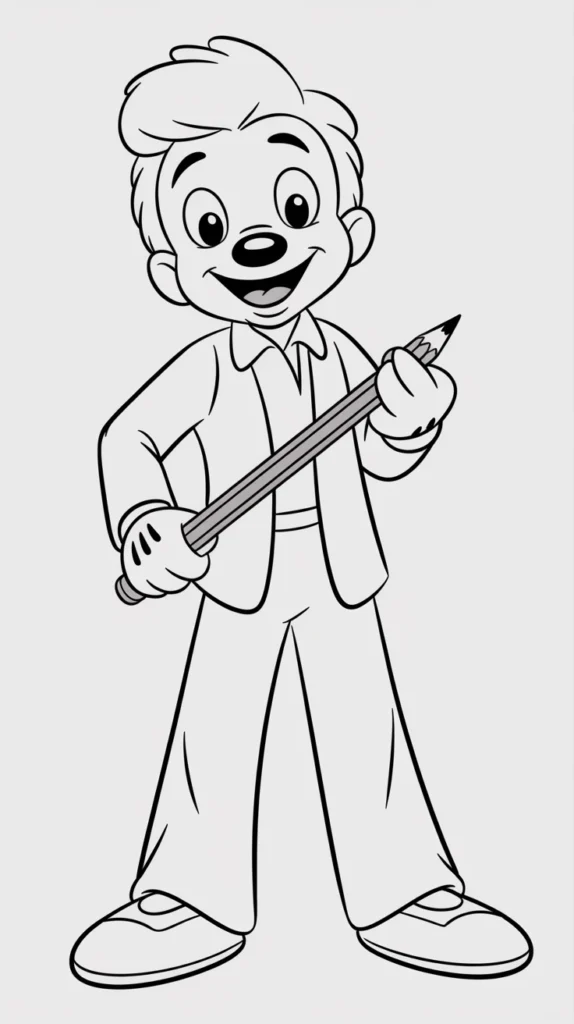
Find clear reference images of the Disney character you wish to draw. Look for multiple angles and expressions. Understanding their design from various perspectives is incredibly helpful.
Pro Tip: Don’t try to draw from memory right away. Even professional artists use references. High-quality screenshots from movies or official character sheets work best.
Step 2: Start with Basic Shapes and Construction Lines
Every complex Disney character can be broken down into simple geometric shapes. Think circles for heads, ovals for bodies, and cylinders for limbs.
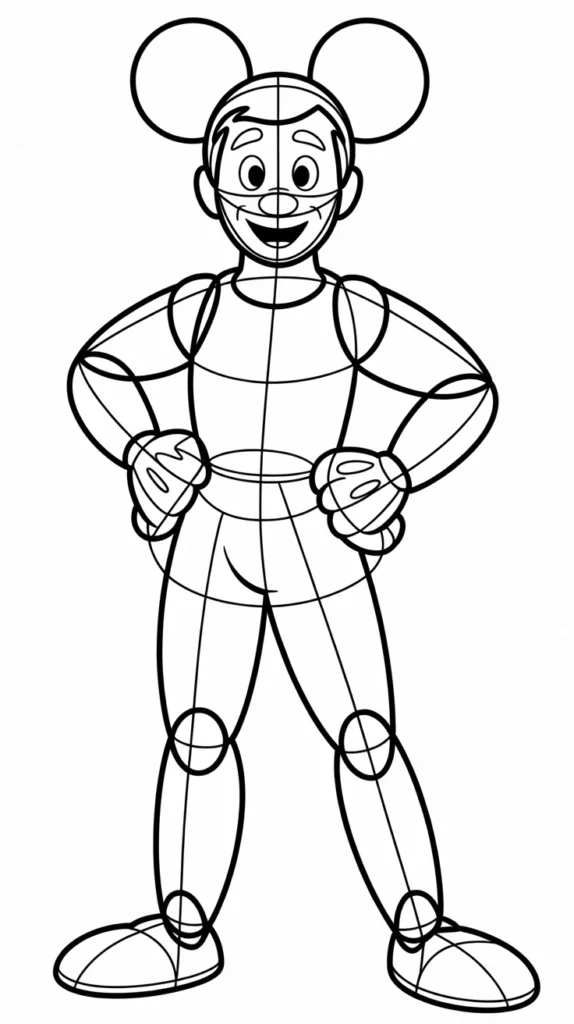
Lightly sketch these primary shapes to establish the character’s pose and proportions. These are your foundational building blocks, so keep your lines very faint and easy to erase.
Step 3: Define the Head and Facial Guidelines
The head is often the most expressive part of a Disney character. Draw a larger circle or oval for the main head shape, then add a jawline that connects to it, forming the complete head.
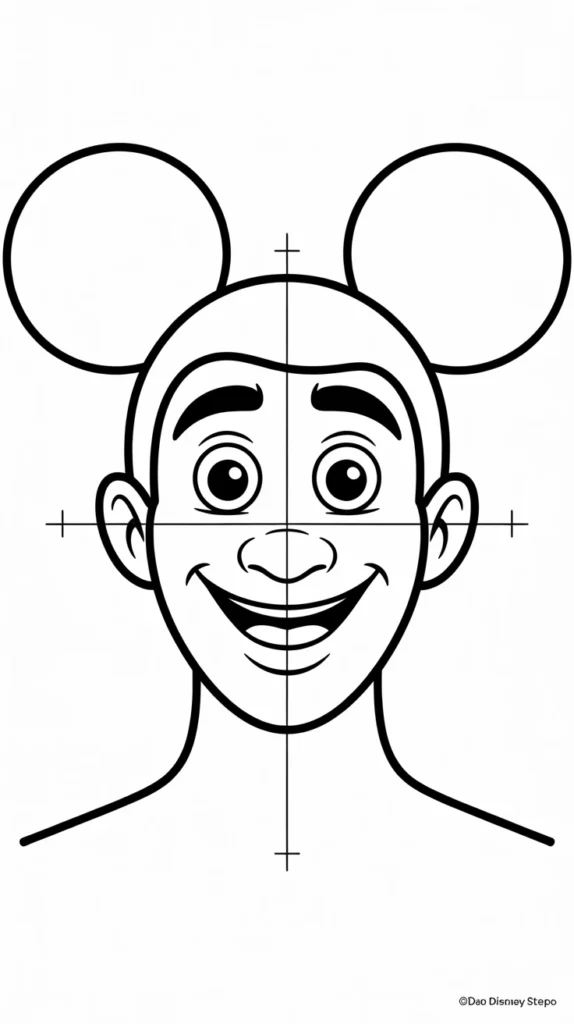
Add crosshatch guidelines for the face. A vertical line indicates the center of the face, and a horizontal line marks the eye level. These lines are crucial for placing features symmetrically.
Step 4: Sketch the Main Body and Limbs
Expand on your initial basic shapes to construct the character’s body. Connect the head to the torso with a neck shape, then define the shoulders, chest, and hips using ovals or rounded rectangles.
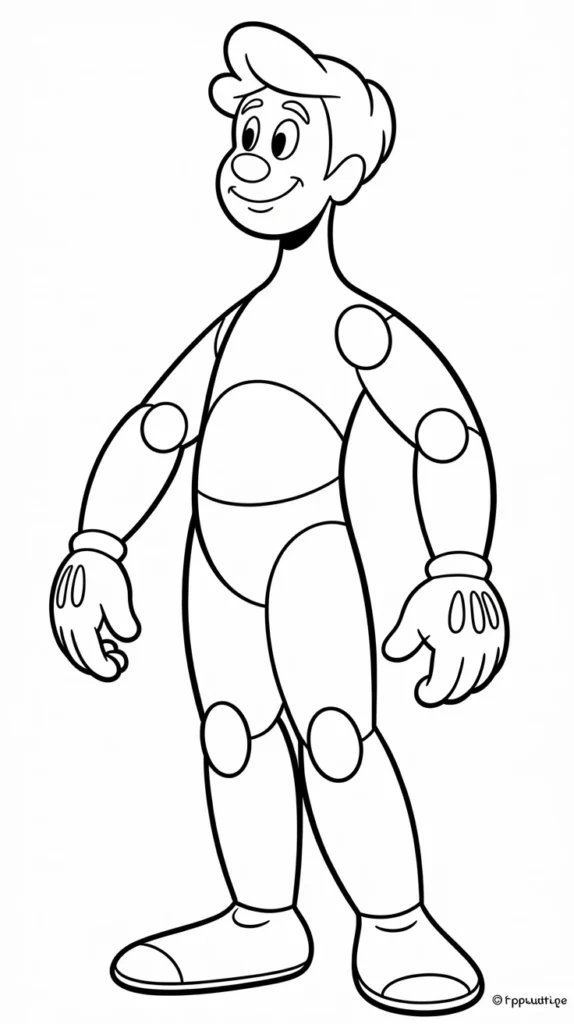
Draw the limbs using simple lines and joints, like circles for elbows and knees. This “stick figure” stage helps you check the character’s pose and balance before adding volume.
Pro Tip: Pay close attention to negative space – the space around and between the character’s body parts. It can help you accurately judge proportions and angles.
Step 5: Add Volume and Form to the Body
Now, transform your stick figure into a three-dimensional form. Draw thicker shapes around your initial limb lines to represent arms, legs, hands, and feet.
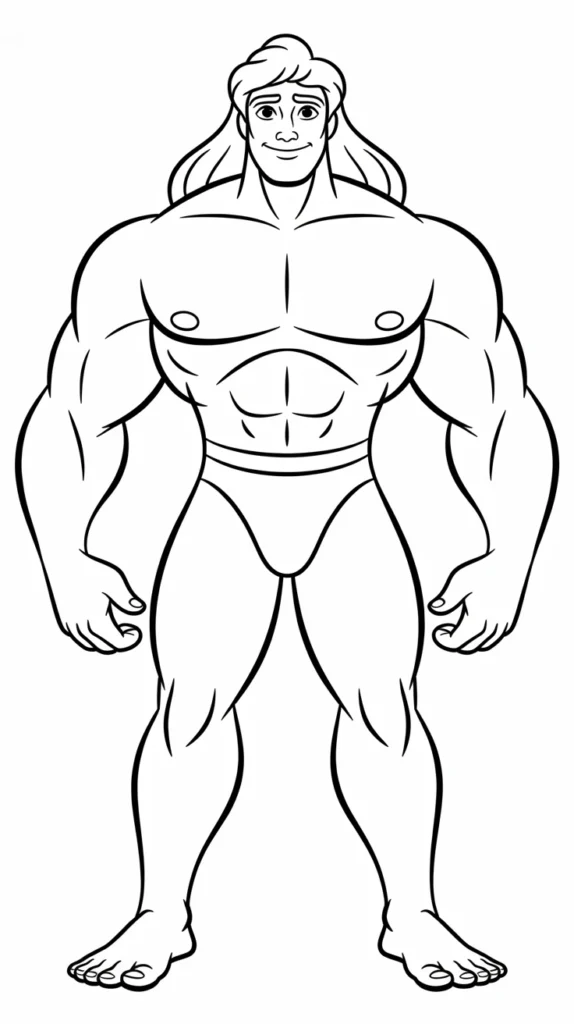
Consider the character’s specific build. Are they slender like Aurora, or more robust like Hercules? These details will influence the curves and bulk you add.
Step 6: Place Facial Features and Hair
Using your facial guidelines, carefully place the eyes, nose, and mouth. Disney characters often have exaggerated features, especially large, expressive eyes.
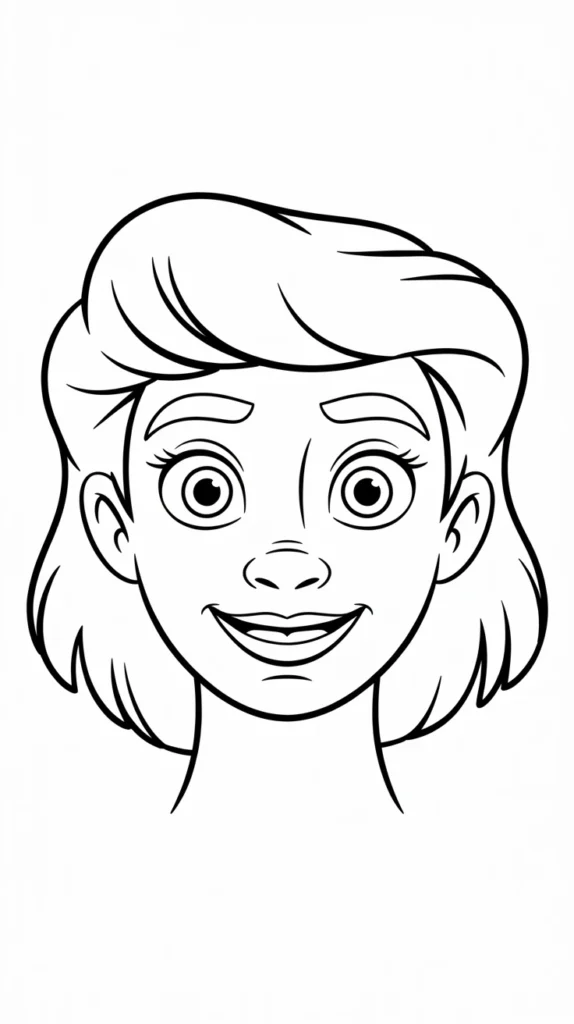
Sketch the character’s distinctive hairstyle, letting it flow naturally around the head. Remember that hair has volume and doesn’t just lie flat on the skull.
Step 7: Draw Clothing and Accessories
Outline the character’s costume over their body shape. Pay attention to how the fabric drapes and folds, indicating movement and form underneath.
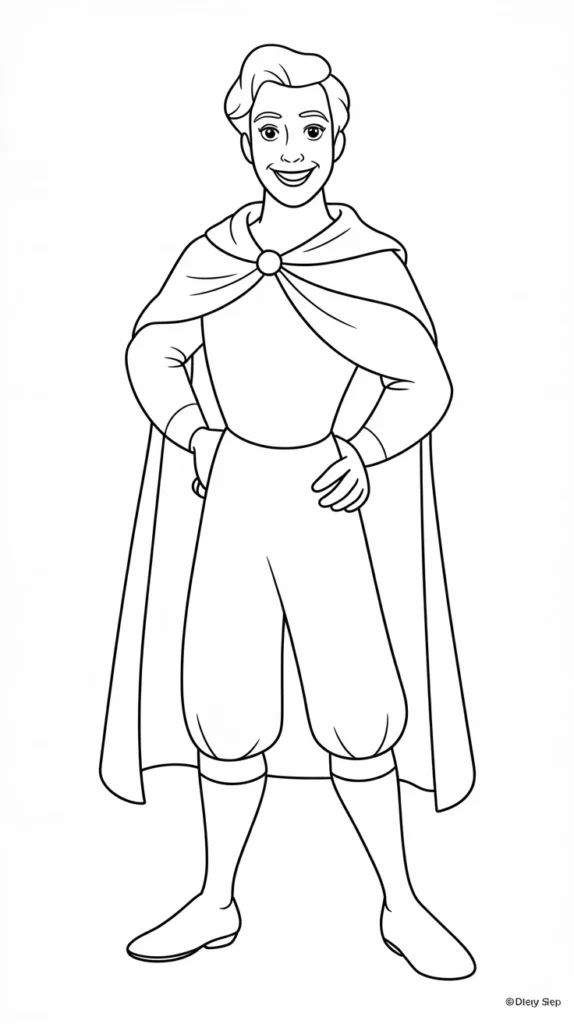
Add any specific accessories like crowns, capes, bows, or props. These details are often iconic and contribute significantly to character recognition.
Step 8: Refine Lines and Erase Construction Marks
Once you’re happy with the overall sketch, it’s time to clean up. Lightly erase your initial construction lines and faint guides, leaving only the desired outlines.
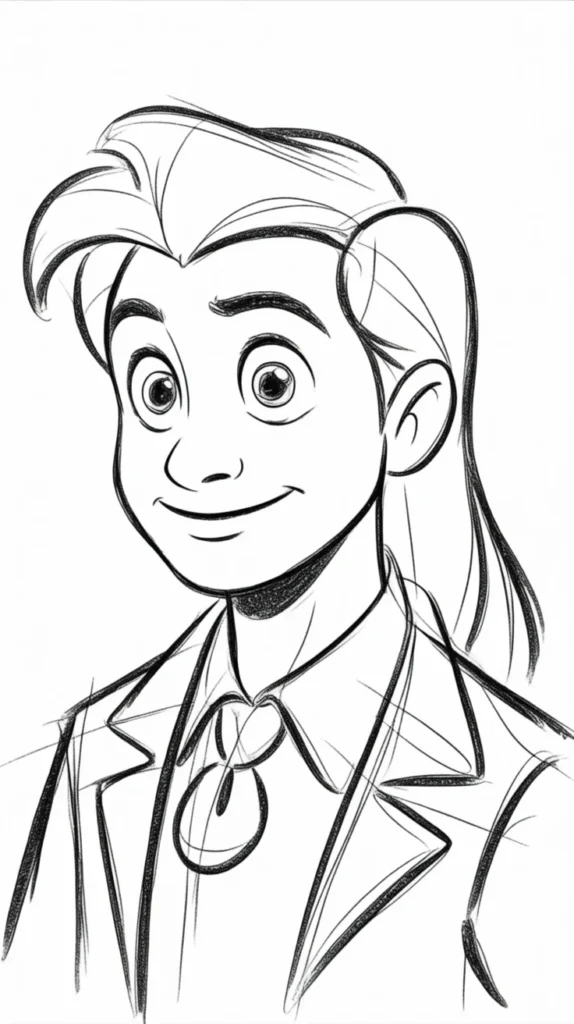
Go over your main drawing lines with a slightly darker pencil or a fine-liner pen. This step defines the character and makes your drawing crisp and clear.
Pro Tip: Use a kneaded eraser for gentle lifting of pencil marks without damaging the paper. It’s excellent for making construction lines disappear subtly.
Step 9: Add Details and Shading (Optional)
This final step brings your character to life. Add smaller details like eyelashes, wrinkles in clothing, or patterns on accessories.
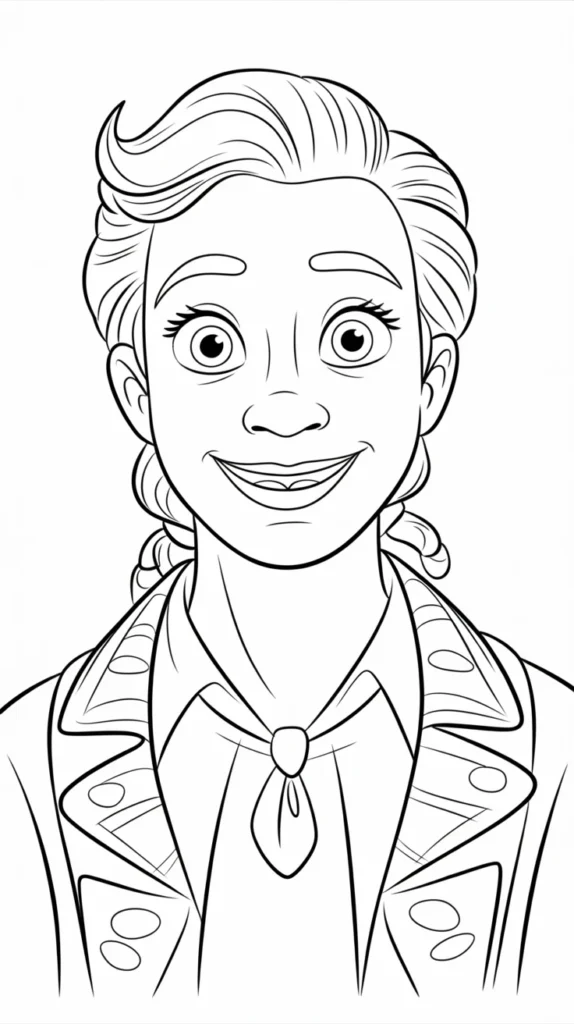
If you wish, apply light shading to give your drawing depth. Think about where light would hit the character and where shadows would naturally fall to enhance their three-dimensionality.
Common Mistakes to Avoid
Ignoring Proportions
A frequent pitfall is drawing features or limbs out of scale with the rest of the character. This can make your drawing look “off” and less like the intended Disney character.
Always double-check your initial basic shapes and construction lines. Compare the size of the head to the body, or the length of the arms to the torso, using your reference as a guide.
Rushing the Sketch Phase
Many beginners tend to rush straight into drawing details without building a solid foundation. This often leads to needing extensive corrections later or a lopsided final drawing.
Take your time with the initial basic shapes and construction lines. These faint, light lines are the backbone of your drawing and save you frustration in the long run.
Not Using Reference Images Enough
Relying solely on memory can result in inaccurate representations of characters. Even if you think you know a character well, subtle details or specific expressions can be hard to recall perfectly.
Keep your reference images visible and consult them frequently throughout the drawing process. Pay attention to the character’s unique style, line quality, and expressive nuances.
Drawing Stiff Poses
Without understanding basic anatomy and flow, characters can appear rigid or lifeless. Disney characters are known for their dynamic and expressive poses.
Start with a clear line of action for the entire character to establish movement and fluidity. Use simple curves and “S” shapes to suggest natural posture and energy, even in static poses.
Troubleshooting
My Character Looks Off-Balance
If your character appears to be falling over or leaning awkwardly, it’s usually an issue with the initial pose and weight distribution.
Go back to your basic shapes and stick figure stage. Draw a faint vertical line directly through the character’s center of gravity, often near the hips. Ensure the weight is evenly distributed around this line or intentionally shifted for a dynamic pose.
Facial Features Aren’t Symmetrical
Asymmetry in eyes, nose, or mouth is a common problem, especially when starting out. It can make the character look distorted or unlike themselves.
Revisit your facial guidelines. Ensure the horizontal eye line is truly level and the vertical centerline is accurate. Use these guides strictly for initial placement, then refine with small adjustments.
Lines Are Too Hairy or Messy
If your final lines are fuzzy, broken, or look like a “hairy” mess, it means you’re pressing too hard with your pencil or making too many small, tentative strokes.
Practice drawing longer, confident lines with a lighter touch for your initial sketches. For final outlines, try to draw with fewer, smoother strokes. If using a pen, commit to the line once you start.
Key Takeaways
- Start Simple: Always begin with basic geometric shapes to build your character’s foundation.
- Use References: High-quality reference images are indispensable for accuracy and capturing character essence.
- Proportions are Key: Pay close attention to the relative sizes of body parts to maintain character integrity.
- Practice Lines: Develop confidence in your line work, aiming for smooth, clean strokes.
- Embrace Erasers: Don’t be afraid to correct mistakes; the sketching process is all about refinement.
- Observe and Adapt: Study the unique style of different Disney characters and adapt your approach accordingly.
Frequently Asked Questions
Which Disney characters are easiest for beginners to draw?
Characters with simpler designs and clear, rounded shapes are often best for beginners. Think classic Mickey Mouse (especially just his head), Winnie the Pooh, or basic silhouettes of princesses. They have fewer complex details and exaggerated anatomical features.
How do I make my drawings look more “Disney”?
The “Disney” look comes from exaggeration, expressive eyes, clear line work, and often rounded, appealing shapes. Focus on capturing the character’s emotion through their eyes and mouth, and ensure your lines are clean and flowing, avoiding sharp, angular forms unless part of the character’s specific design.
Should I use a light table or tracing for practice?
Tracing can be a useful tool for understanding proportions and muscle memory, especially when starting out. A light table helps with this. However, don’t rely on it exclusively. Use tracing to learn, then try drawing freehand with your reference beside you to truly develop your skills.
How can I draw different facial expressions for a character?
Start by observing how the eyes, eyebrows, and mouth change for different emotions in your reference images. The core head shape remains, but the placement and shape of these key features shift dramatically. Practice drawing just the face and experimenting with these elements to convey various feelings.
Our Top Recommended Finds
- Staedtler Mars Lumograph Pencils (Assorted Set): Offers a range of lead hardness for sketching, shading, and detailing.
- Strathmore Smooth Bristol Paper: Provides a smooth surface that’s excellent for clean lines and holds up well to erasing.
- Kneaded Eraser: Perfect for lifting pencil marks gently without leaving crumbs or damaging the paper surface.
Your Creative Journey Awaits
You now have the fundamental steps to begin your journey into drawing Disney characters. Remember, every master artist started with basic shapes and a willingness to practice.
Don’t be discouraged by initial attempts; each line drawn is a step forward in your artistic development. The magic of Disney lies in its timeless appeal, and now you can recreate that magic with your own hands.
Grab your pencil, choose your favorite character, and start sketching today!
& Painting
No rigid rules or pretension. Just practical guides, medium comparisons, and encouraging tips to help you enjoy the drawing & painting process.