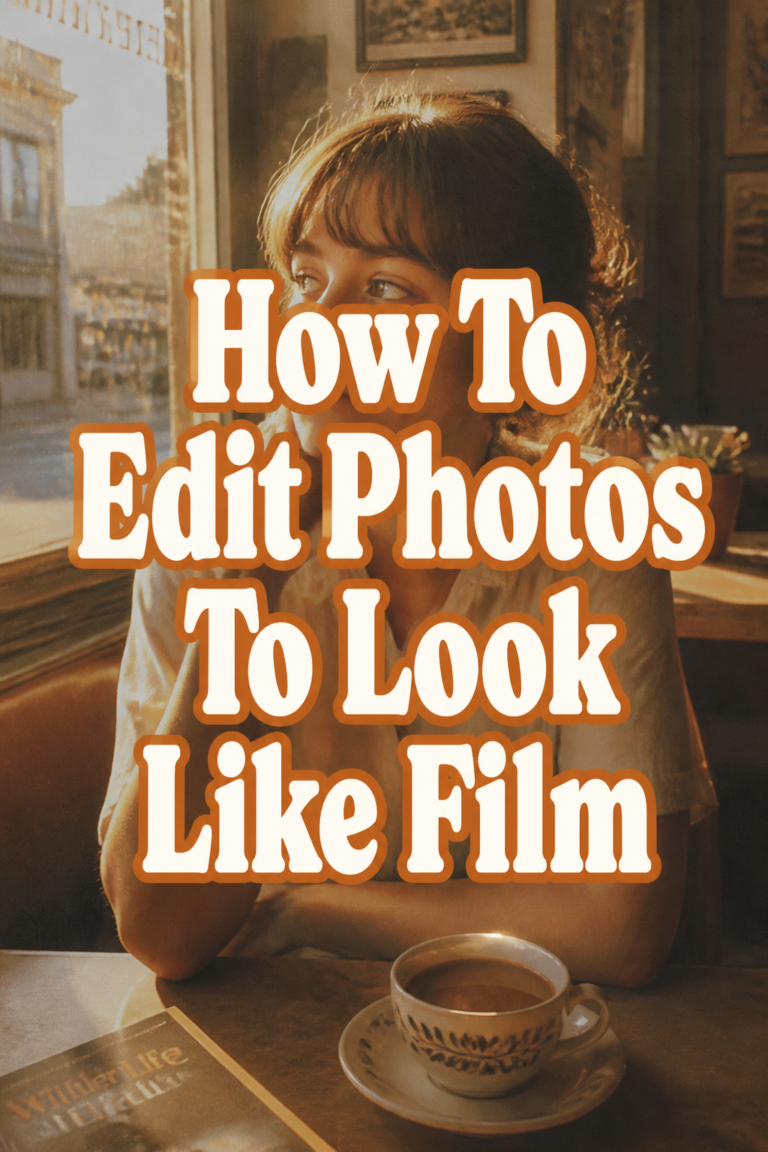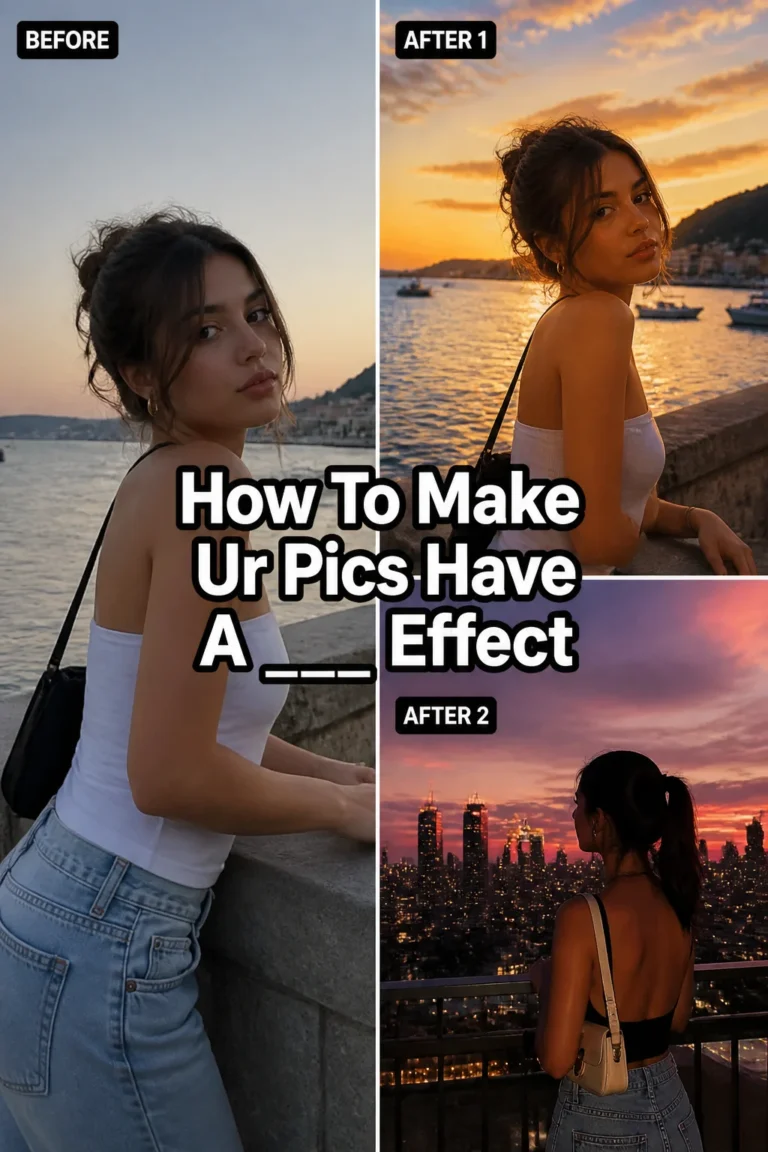
✨ How To Make Your Pics Have A ‘Dreamy’ Effect
Ever scrolled through your feed and stopped dead at a photo that just felt magical? It wasn’t just the subject; it was the soft glow, the gentle colors, that subtle, ethereal quality.
That’s the dreamy effect, and it’s easier to achieve than you might think. I’ve spent countless hours experimenting with different editing styles to get that perfect soft-focus, otherworldly vibe, and now I’m sharing my favorite techniques with you.

Quick Overview
This guide will walk you through transforming ordinary photos into captivating, dreamy scenes. You’ll learn how to apply subtle changes that make a big impact, giving your images a soft, ethereal quality.
- Time needed: 15-30 minutes per photo (after initial setup)
- Difficulty: Beginner to Intermediate
- What you’ll need: A photo editing app (e.g., Lightroom Mobile, Snapseed, Photoshop Express) and a suitable base photo.
Step-by-Step Instructions
Step 1: Pick Your Perfect Canvas
The journey to a dreamy photo begins with the right starting image. Look for photos with soft light, interesting textures, or a subject that already hints at a gentle mood.
Images taken during golden hour, or on an overcast day, often work best. Avoid harsh shadows or overly busy backgrounds that might distract from the effect.
Pro Tip: Photos with a single focal point, like a flower or a person, tend to lend themselves beautifully to a dreamy aesthetic. Simplicity is key here.
Step 2: Soften the Focus with a Gentle Blur
A hallmark of the dreamy effect is a slightly diffused look, as if viewed through a soft lens. You don’t want a heavy blur, but a subtle softening.
Locate your app’s “Blur” or “Lens Blur” tool. Apply a small amount, focusing it on the background if your subject is clear. If blurring the whole image, keep it minimal, just enough to remove harsh edges.
Some apps have a “Gaussian Blur” or “Diffuse” filter that can be applied globally. Experiment with these settings to find a sweet spot where details are softened but not lost entirely.
Step 3: Adjust Exposure and Contrast for Luminosity
Dreamy photos often feel bright and airy, but not overexposed. You want a sense of light without losing detail in the highlights.
Increase the “Exposure” slightly to brighten the image overall. Then, reduce the “Contrast” to soften the distinction between light and dark areas. This helps to create that gentle, almost glowing effect.
Lift the “Shadows” slightly and pull down the “Highlights” a touch. This flattens the dynamic range just enough to prevent overly dark or overly bright spots, contributing to the soft look.
Step 4: Shift White Balance for Warmth or Coolness
The temperature of your photo plays a huge role in its mood. A dreamy effect can lean warm and nostalgic, or cool and ethereal.
Adjust the “White Balance” by moving the “Temperature” slider. Slide it towards warmer tones (yellow/orange) for a cozy, inviting dreaminess. Shift it towards cooler tones (blue) for a calm, otherworldly feel.
Sometimes, a subtle shift in the “Tint” (green/magenta) can also enhance the mood. Add a touch of magenta for a more romantic, pastel vibe.
Step 5: Introduce a Touch of Color Grading
Color grading is where you infuse specific colors into the shadows, midtones, and highlights. This adds depth and a cohesive color palette to your dreamy image.
In apps with “Color Grading” or “Split Toning” tools, add a soft pastel color (like light blue, pink, or peach) to the highlights. Then, introduce a complementary or slightly darker shade to the shadows.
If your app doesn’t have these advanced tools, you can often use a “Color Overlay” layer at a low opacity. Pick a soft color like a muted lavender or a pale rose and blend it gently over your image.
Pro Tip: Think about the overall feeling you want. A warm peach in the highlights and a cool teal in the shadows can create a beautiful, harmonious contrast that feels very dreamy.
Step 6: Create a Subtle ‘Glow’ Effect
A true dreamy photo often has a gentle luminescence, as if light is softly bleeding from bright areas. This is sometimes called a “bloom” or “halation” effect.
Many editing apps have a “Glow” or “Bloom” filter. Apply this very sparingly. You want to see the effect, but it shouldn’t look artificial or overly bright.
If your app has “Clarity” or “Texture” sliders, reduce them slightly. This will further smooth out details and enhance the soft, glowing appearance without introducing blur.
Step 7: Add a Gentle Vignette (Optional)
A vignette can help draw the viewer’s eye to the center of your dreamy scene, framing the subject beautifully. It adds a subtle depth.
Find the “Vignette” tool. Choose a subtle dark vignette to gently darken the edges, making the center appear brighter. Alternatively, a light vignette can sometimes enhance the ethereal feel.
Adjust the “Feather” or “Roundness” settings to make sure the vignette is soft and organic, not a harsh circle. The goal is barely-there framing.
Step 8: Final Refinements and Grain
Now, take a step back and look at your image. Does anything feel too strong or too weak? This is the time for small adjustments.
Tweak the saturation or vibrance if colors feel off. Sometimes, a slight desaturation enhances the dreaminess. Consider adding a very fine amount of “Grain” or “Noise.” This can mimic film and add a lovely texture that completes the ethereal look.
Remember, the goal is subtlety. Every adjustment should contribute to the overall soft, magical mood without being overtly noticeable on its own.
Common Mistakes to Avoid
Over-Blurring Your Photo
It’s tempting to go heavy on the blur to achieve that soft look, but too much will make your image look out of focus or poorly shot. The dreamy effect relies on softness, not complete obliteration of detail. Always keep some sharpness, especially in your main subject, to maintain visual interest and clarity.
Excessive Contrast Reduction
While reducing contrast is key for a dreamy feel, taking it too far can result in a flat, muddy image. Your photo will lose all its punch and look dull. Aim for a subtle reduction that softens the edges but still allows for a gentle range of tones, giving your picture depth without harshness.
Unnatural Color Shifts
Playing with white balance and color grading is fun, but pushing colors too much can make skin tones look alien or turn natural elements into neon versions of themselves. Always check how your color adjustments affect the entire image, especially faces and common objects, to ensure a believable and pleasing aesthetic.
Too Much Glow or Bloom
A little glow goes a long way. Overdoing the bloom effect can make your image look blown out, hazy, or like a cheap filter was applied. The idea is a gentle luminescence, not a blinding light. Keep the glow subtle so it enhances the dreaminess rather than overwhelming the photo.
Troubleshooting
My Photo Looks Flat and Dull
If your image appears lifeless after reducing contrast and adjusting brightness, you might have gone a little too far. Try subtly increasing the contrast again, or introduce a tiny bit of “Clarity” to bring back some definition. Sometimes, a very slight increase in “Blacks” can add depth without making shadows too harsh.
Colors Look Washed Out or Too Saturated
This often happens when adjusting white balance or applying color overlays. If colors are washed out, try increasing the “Vibrance” slightly – it boosts muted colors without over-saturating already vivid ones. If they’re too strong, gently reduce “Saturation” for the whole image or specifically target problematic color ranges in your app’s HSL (Hue, Saturation, Luminance) panel.
The Image Feels Hazy, Not Dreamy
A hazy look often comes from too much blur, excessive glow, or lifting the “Blacks” slider too high. Revisit your blur settings, ensuring it’s minimal. Dial back the “Glow” effect significantly. If you lifted the blacks, try pulling them back down just a touch to restore some crispness to the darkest areas, which can define the image better.
Key Takeaways
- Start with a well-composed photo with soft, even lighting for the best results.
- Subtlety is paramount; small adjustments add up to a big dreamy effect.
- Soften details with gentle blur and reduced clarity, avoiding an out-of-focus look.
- Adjust exposure and contrast to create an airy, luminous feel without losing detail.
- Use white balance and color grading to infuse the desired warm or cool mood.
- Apply glow and vignette sparingly to enhance the ethereal quality and guide the eye.
- Always review your work and make final tweaks, sometimes adding a touch of grain for texture.
Frequently Asked Questions
Can I achieve this effect with any photo?
While you can certainly try, some photos lend themselves better to the dreamy effect than others. Images with soft natural light, a relatively simple background, and a clear subject will yield the most compelling results. Harsh lighting or busy scenes can be challenging to transform convincingly.
What’s the best app for this effect?
Many apps can do the job! Adobe Lightroom Mobile, Snapseed, VSCO, and even Photoshop Express offer the necessary tools like blur, white balance, contrast, and color grading. Experiment with a few to see which interface feels most intuitive for you. The principles remain the same across platforms.
How do I make my dreamy photo look unique?
To make your dreamy photos stand out, experiment with different color palettes beyond the common pastels. Try a moody, darker dreaminess, or incorporate unique textures. Don’t be afraid to subtly blend in elements like light leaks or dust overlays, but always keep the overall softness as your guiding principle.
Will this effect work for portraits?
Absolutely! The dreamy effect is incredibly popular for portraits. It can soften skin, create a beautiful glow around hair, and give the subject an ethereal quality. Just be careful not to over-blur the face or make skin tones look unnatural. Focus on enhancing, not masking, the natural beauty.
Our Top Recommended Finds
- Smartphone Tripod: Essential for steady shots, especially in lower light, ensuring your base photos are sharp before you start editing.
- Lens Cleaning Kit: A clean lens prevents unwanted haze or smudges, giving you the clearest possible starting image for your dreamy edits.
- Portable Ring Light: Great for adding soft, even illumination to subjects, helping you capture that ideal “dreamy” light even indoors or on cloudy days.
Your Vision, Brought to Life
Now you have the tools and techniques to infuse your photographs with that captivating dreamy quality. It’s about more than just filters; it’s about understanding light, color, and mood to tell a story.
Don’t be afraid to experiment, to play with the sliders, and to trust your eye. Every photo is a new opportunity to create something truly magical.
Grab a favorite picture and start transforming it today. Your next dreamy masterpiece awaits!