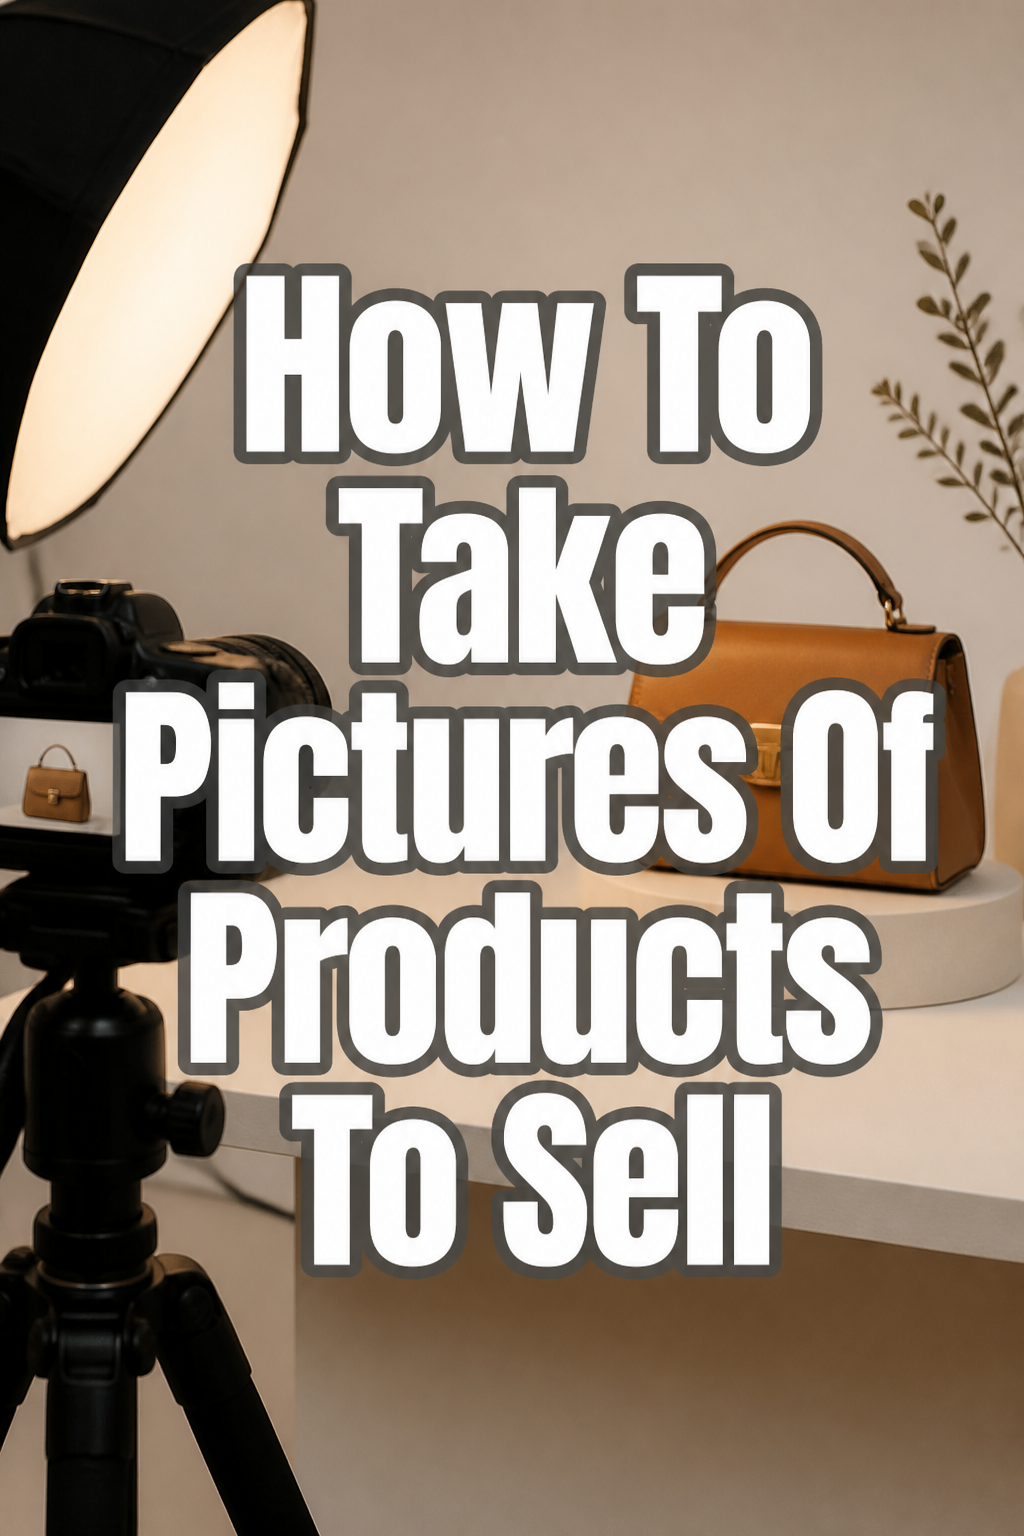
📸 How To Take Pictures Of Products To Sell

& Painting
No rigid rules or pretension. Just practical guides, medium comparisons, and encouraging tips to help you enjoy the drawing & painting process.
Selling products online requires more than just a great item; it demands captivating visuals.
Poor photos can make even the most incredible product seem unappealing, leading to missed sales.
Having personally navigated the challenges of product photography for my own small business, I’ve learned the exact strategies that transform a simple snapshot into a compelling sales tool. This guide will show you how.
Quick Overview
This guide will equip you with the knowledge to create professional-looking product photos, enhancing your online listings and attracting more buyers.
You’ll learn about setting up your shot, optimizing your lighting, and refining your images for maximum impact.
- Time needed: 2-4 hours (initial setup & first shoot), 30-60 minutes (per subsequent product)
- Difficulty: Beginner
- What you’ll need: Smartphone or camera, natural light or simple lighting kit, white backdrop, tripod, editing app/software.
Step-by-Step Instructions
Step 1: Define Your Product’s Story
Understand what makes your product unique. Every item has a story or a key benefit.
Consider who your target customer is. What features are most important to them?
Plan your shots to highlight these aspects. Will you focus on detail, scale, or lifestyle?
Pro Tip: Before picking up your camera, spend 10 minutes brainstorming three key selling points for your product. These should guide every photo you take.
Step 2: Gather Your Gear
Select your primary camera. A modern smartphone is perfectly capable for most online selling platforms.
Ensure your phone or camera lens is clean. Smudges cause blurry, hazy photos.
Acquire a stable tripod. This is crucial for sharp images and consistent angles, even for phone photography.
Prepare your lighting. Natural window light works wonders, or consider a simple LED light panel.
Step 3: Set Up Your Shooting Space
Choose a location with ample natural light, preferably near a large window, but out of direct harsh sunlight.
Create a clean, uncluttered background. A simple white poster board or a roll of white paper works well for a seamless look.
Position your product on your chosen surface. Ensure it is stable and perfectly aligned.
Step 4: Master Your Lighting
Utilize soft, diffused light. Direct sunlight creates harsh shadows and blown-out highlights.
Place your product between the light source and your camera. This provides even illumination.
Use a reflector (a piece of white foam board) opposite your main light source. This bounces light back, filling in shadows and adding brightness.
Experiment with light angles. Slight adjustments can dramatically change the mood and detail in your photo.
Pro Tip: Overcast days often provide the best natural light for product photography because the clouds act as a giant diffuser.
Step 5: Compose Your Shots
Shoot from multiple angles. Show the front, back, sides, and any unique features.
Include close-up shots to showcase texture, quality, and fine details. Buyers love to see craftsmanship.
Consider including a prop for scale if your product’s size isn’t obvious. A hand or a common object can work.
Leave some negative space around your product. This allows it to breathe and makes it easier to crop later.
Step 6: Focus and Exposure
Tap on your product on your smartphone screen to set the focus. This ensures your item is crystal clear.
Adjust exposure if needed. On most phones, you can slide a finger up or down after tapping to brighten or darken the image.
Avoid using digital zoom. Instead, physically move your camera closer to the product for better quality.
Step 7: Capture Lifestyle & Context Shots
Show your product in use. This helps customers visualize themselves owning and using the item.
Arrange your product in a relevant setting. For example, a mug on a cozy table, or jewelry being worn.
Add subtle, complementary props. These should enhance the product, not distract from it.
Think about the emotion your product evokes. Try to capture that feeling in your lifestyle photos.
Step 8: Edit Your Images
Import your best photos into an editing app (e.g., Snapseed, Lightroom Mobile, Photoshop Express).
Crop your images to a consistent aspect ratio (e.g., square for Instagram, 4:3 for most marketplaces).
Adjust brightness and contrast. Aim for a well-lit, clear image without harsh shadows or overexposed areas.
Correct white balance if colors appear off. Your product’s colors should be true to life.
Sharpen slightly to enhance details, but avoid over-sharpening which can make images look artificial.
Remove any dust or blemishes. Use a spot healing tool to clean up imperfections.
Pro Tip: Consistency in editing is key. Apply similar adjustments to all your product photos for a cohesive brand look across your listings.
Step 9: Optimize for Online Platforms
Export your edited images at the appropriate size and resolution for your chosen selling platform.
Check file sizes. Large files can slow down page loading, impacting user experience.
Review your photos on different devices (desktop, tablet, phone) to ensure they look good everywhere.
Name your image files descriptively (e.g., “product-name-front.jpg”) for better organization and SEO.
Common Mistakes to Avoid
Poor Lighting
Using inadequate or harsh lighting is a common pitfall. Shadows can obscure details, and overexposure can wash out your product.
Always seek soft, diffused light, either natural or artificial. Use reflectors to bounce light and fill in shadowy areas for even illumination.
Cluttered Backgrounds
A busy or distracting background pulls attention away from your product. It makes your item look less professional and desirable.
Opt for simple, clean backgrounds. White, grey, or a solid complementary color works best to make your product stand out.
Blurry or Out-of-Focus Images
Nothing screams unprofessional like a blurry product photo. Customers need to see clear details to make an informed purchase.
Always use a tripod to stabilize your camera and tap on your product to ensure sharp focus. Take multiple shots to guarantee at least one is perfectly sharp.
Inconsistent Photo Styles
When all your product photos look different in terms of lighting, background, or editing, it creates a disjointed shopping experience.
Strive for consistency. Use the same setup, lighting, and editing style for all your products to build a recognizable and professional brand aesthetic.
Troubleshooting
Colors Look Off
If your product’s colors don’t appear accurate in your photos, your white balance might be incorrect. Different light sources have different color temperatures.
Adjust the white balance setting on your camera or in your editing software. You can often use a gray card during shooting or select a specific white balance preset like “Daylight” or “Cloudy.”
Photos Are Too Dark or Too Bright
Exposure issues are frequent, often due to challenging lighting conditions or incorrect camera settings.
In editing, adjust the “Exposure” or “Brightness” sliders. If parts are completely black or white, try adjusting “Highlights” and “Shadows” to recover detail. Ensure your shooting space has adequate, but not direct, light.
Unwanted Reflections on Shiny Products
Shiny items like jewelry or glass can be tricky, often reflecting your camera, lights, or even yourself.
Use a “light tent” or “light box” which diffuses light from all sides and minimizes reflections. You can also use black or white cards strategically placed to block reflections, or shoot from an angle where reflections are less prominent.
Key Takeaways
- Plan Your Shots: Understand your product’s selling points and audience before you even pick up your camera.
- Prioritize Lighting: Soft, diffused light is your best friend for professional-looking product photos.
- Use a Tripod: Stability is crucial for sharp, clear images and consistent angles across your listings.
- Compose Thoughtfully: Capture multiple angles, close-ups, and lifestyle shots to tell a complete story.
- Edit Consistently: Refine your images with basic edits like cropping, brightness, and color correction, maintaining a cohesive look.
- Optimize for Platforms: Ensure your images are the right size and resolution for fast loading and clear display online.
Frequently Asked Questions
Can I really use my smartphone for product photography?
Absolutely. Modern smartphones have excellent cameras capable of producing high-quality images. With good lighting, a steady hand (or tripod), and some editing, your phone can yield professional results for online sales.
How many photos should I take per product?
Aim for at least 5-7 diverse photos per product. This should include a main hero shot, different angles, close-ups of details, and at least one lifestyle or in-use shot. More complex products might benefit from even more.
Do I need a fancy camera and studio equipment?
Not at all. While professional gear can offer more control, you can achieve fantastic results with a smartphone, natural window light, a white poster board, and a simple reflector. Start simple and upgrade only if necessary.
What’s the best background color for product photos?
White is the most versatile and popular choice because it’s clean, doesn’t distract, and makes products pop. Light gray is another excellent option. Sometimes, a subtle complementary color can work for specific branding, but white is generally safest.
Our Top Recommended Finds
- Smartphone Tripod with Remote: Essential for stability and hands-free shooting, eliminating blur from camera shake.
- White Foam Board (Large): Versatile for creating seamless backgrounds and acting as a reflector to fill shadows.
- Small LED Light Panel: Provides consistent, soft lighting when natural light isn’t sufficient or for evening shoots.
Transform Your Listings Today
You now have the practical steps to dramatically improve your product photography. This isn’t just about taking pictures; it’s about building trust and desirability around your offerings.
Great photos are your silent salesperson, working 24/7 to attract customers and close sales.
Don’t let another day pass with mediocre product shots. Start experimenting with these techniques today and watch your online presence flourish.
& Painting
No rigid rules or pretension. Just practical guides, medium comparisons, and encouraging tips to help you enjoy the drawing & painting process.