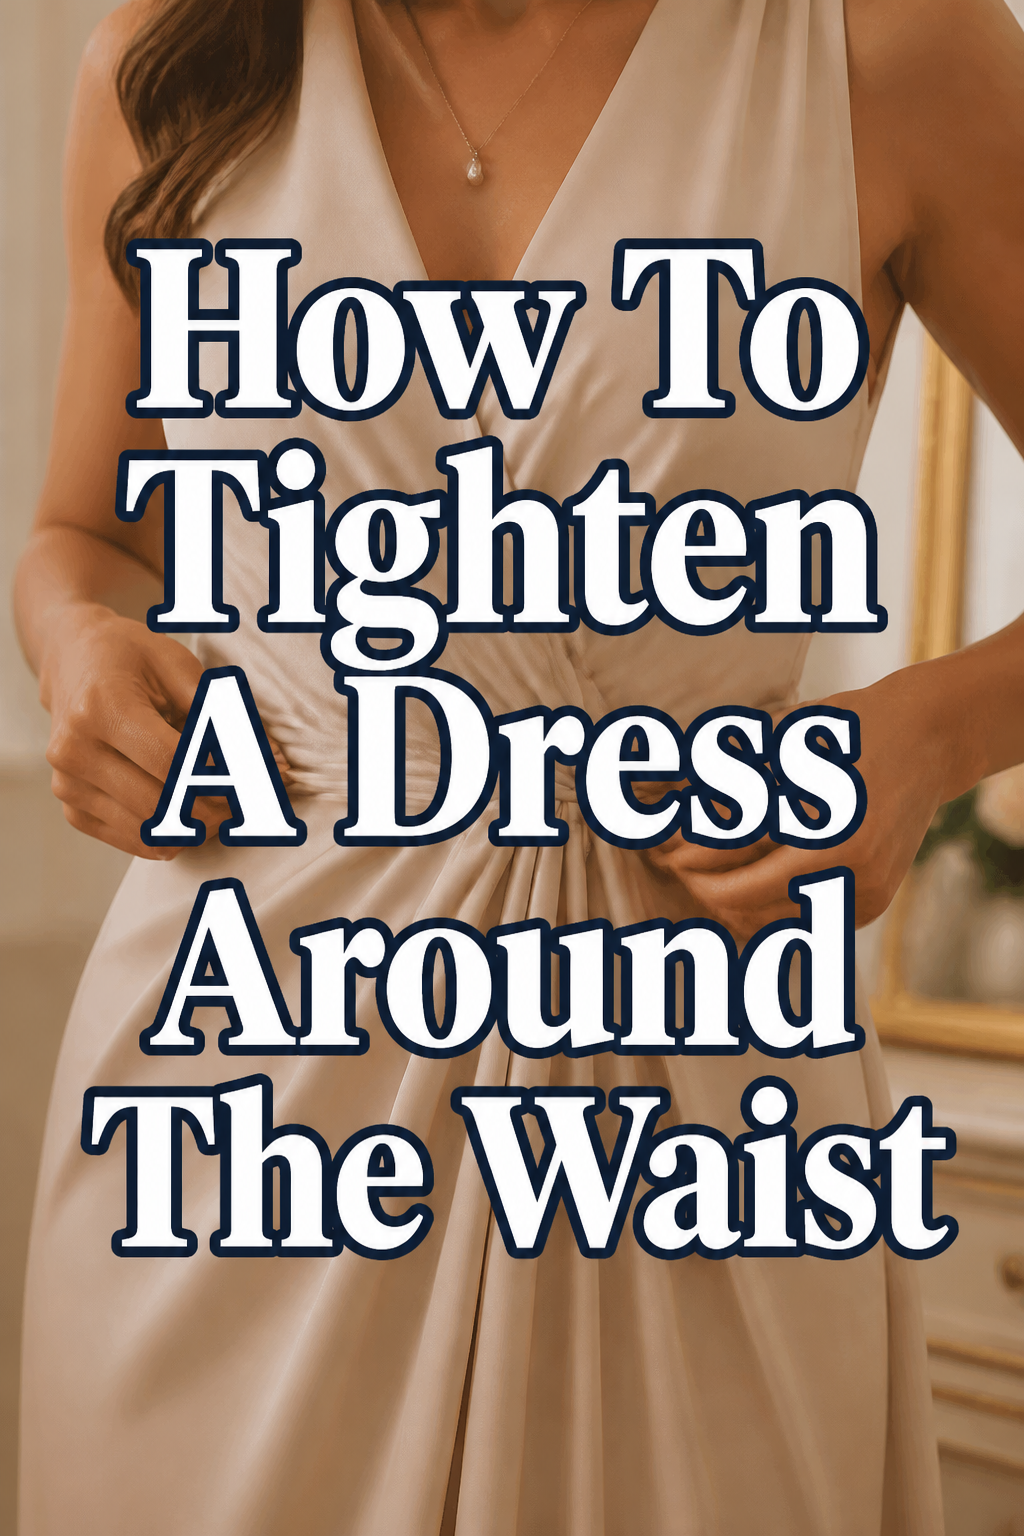
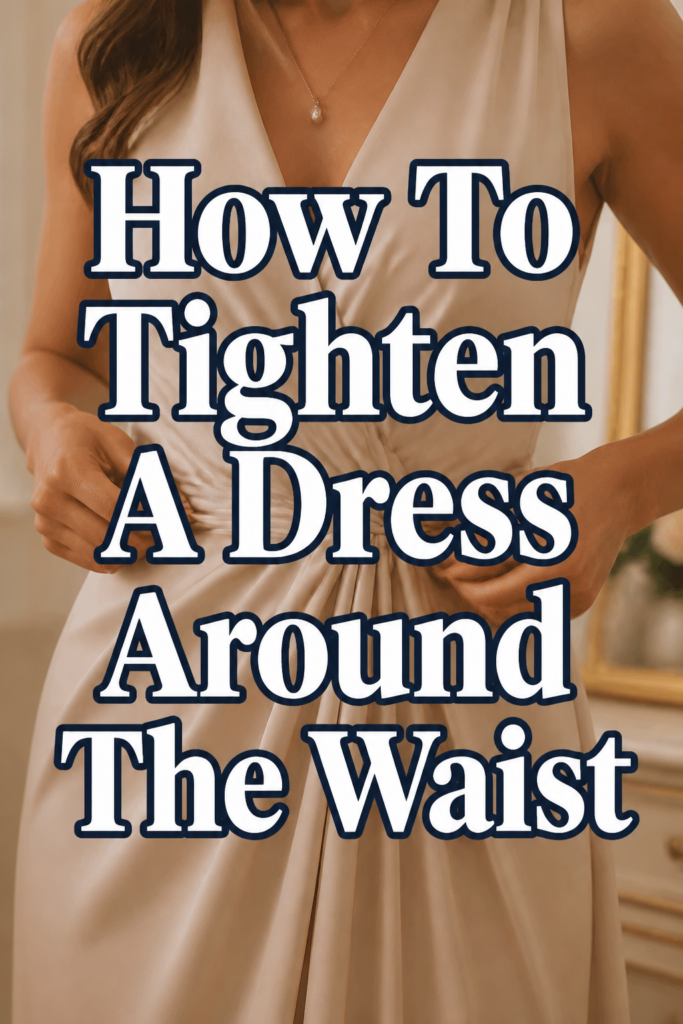
👗 How To Tighten A Dress Around The Waist

& Painting
No rigid rules or pretension. Just practical guides, medium comparisons, and encouraging tips to help you enjoy the drawing & painting process.
I remember the frustration of finding a beautiful dress, only to have it gape awkwardly at the waist.
It felt like a small detail, but it completely changed how the dress looked and felt on me.
Over the years, I’ve learned simple, effective ways to tailor dresses at home, and I’m excited to share those trusted methods with you.
Quick Overview
Tightening a dress around the waist can transform its fit and enhance your silhouette. This guide offers both temporary and permanent solutions.
You’ll learn how to achieve a flattering waistline, making your favorite dresses look custom-made.
- Time needed: 30 minutes – 2 hours (depending on chosen method)
- Difficulty: Beginner to Intermediate
- What you’ll need: Safety pins, a belt, elastic, needle and thread, fabric chalk, a sewing machine (optional)
Step-by-Step Instructions
Step 1: Assess the Current Fit
Put on the dress you want to tighten. Stand in front of a mirror and observe where the fabric is loose.
Identify how much excess material there is and where it gathers. This initial assessment helps you choose the best tightening method.
Consider if the looseness is uniform around the entire waist or concentrated in specific areas like the back or sides.
Pro Tip: Wear the undergarments you typically wear with the dress during this assessment. This ensures the most accurate fit.
Step 2: Pin for Precision
Gently pinch the excess fabric at the waistline until the dress feels snug but not tight. Use safety pins or dressmaker’s pins to secure these folds.
Place pins vertically along the seam lines or where you intend to create new seams or darts. Ensure the pins are on the inside of the dress if possible, to avoid marking the fabric.
Walk around, sit down, and raise your arms to test the pinned fit. The dress should allow comfortable movement.
Step 3: The Simple Cinch (Temporary Solutions)
For a quick fix, a belt or sash can instantly tighten a loose waist. Choose a belt that complements the dress style and fabric.
Wrap the belt around your natural waist, pulling it tight enough to gather the excess fabric subtly. This creates a defined waistline.
You can also use a decorative ribbon or a fabric tie to achieve a similar effect. This method works well for flowy or casual dresses.
Step 4: Internal Drawstring or Elastic Casing (No-Sew/Low-Sew)
This method works by creating a channel on the inside of the dress’s waistline. You can either sew a channel or use fabric adhesive for a no-sew option.
Measure the circumference of your waist and cut a piece of elastic or drawstring slightly shorter. Thread this through the casing you’ve created.
Pull the elastic or drawstring until the dress fits snugly. Secure the ends, and you have an adjustable waist.
Pro Tip: For a no-sew casing, use iron-on fusible web tape to create the channel. This offers a clean finish without needing a needle and thread.
Step 5: Adding Darts (Basic Sewing)
Darts are triangular folds sewn into fabric to give it shape. They are ideal for creating a more tailored fit around the waist.
With the dress on and pinned as in Step 2, mark the dart lines with tailor’s chalk. Typically, darts are placed at the back, or along the side seams.
Carefully remove the dress and sew along your marked lines, tapering from wide at the waist to a point. Press the darts flat towards the center or side, depending on placement.
Step 6: Taking in Side Seams (Intermediate Sewing)
This method offers a more professional and permanent alteration. It involves carefully unpicking the dress’s side seams.
Pin the excess fabric at the side seams as determined in Step 2. Mark the new seam line with tailor’s chalk, tapering smoothly from the bust to the hips.
Stitch along your new marked lines, then trim the excess fabric, leaving a small seam allowance. Finish the seams to prevent fraying.
Pro Tip: Always sew a basting stitch (a loose, temporary stitch) first. Try on the dress to confirm the fit before sewing a permanent seam. This saves time and prevents mistakes.
Step 7: Elastic Shirring (Decorative & Functional)
Shirring involves sewing multiple rows of elastic thread to create a gathered, stretchy section. This is a great option for cotton or linen dresses.
Mark the area on the dress where you want to add shirring. Wind elastic thread onto your bobbin by hand, without stretching it.
Sew parallel rows using a straight stitch, gently stretching the fabric as you go. The elastic will gather the fabric, tightening the waist while adding a decorative texture.
Step 8: Using Fabric Clips or Safety Pins (Temporary & Discreet)
For a very temporary and almost invisible fix, fabric clips can gather excess material at the back of the dress.
Pinch the excess fabric at the center back or side seams. Use a small, discreet fabric clip or a safety pin to secure the gathered fabric on the inside of the dress.
This method is best for special occasions when you need a quick adjustment without sewing. Ensure the clips or pins are not visible from the outside.
Step 9: When to Consider a Professional Tailor
Some alterations are more complex than others. If your dress is made of delicate fabric, has intricate detailing, or requires significant reshaping, a professional tailor is your best option.
They have the expertise and specialized equipment to handle challenging alterations. A tailor ensures a flawless finish and preserves the integrity of your garment.
Don’t hesitate to seek professional help for expensive or sentimental dresses. It’s an investment in the longevity and fit of your clothing.
Common Mistakes to Avoid
Over-tightening the Waist
Making the waist too tight restricts movement and can create an uncomfortable, unnatural look. It might also cause the fabric to pucker or pull in unflattering ways.
Always aim for a comfortable snugness that allows you to breathe and move freely. Test the fit by sitting and bending before finalizing any alterations.
Uneven Pinning
Inaccurate or uneven pinning leads to a lopsided or skewed waistline. This can make the dress look poorly fitted even after adjustments.
Take your time when pinning. Use a mirror, and if possible, have someone help you ensure the pins are symmetrical and create an even gather around the waist.
Ignoring Fabric Type
Different fabrics respond differently to alteration methods. Attempting to add darts to a very stretchy knit might not yield the desired crispness, for example.
Always consider the fabric’s properties. Delicate silks might require hand sewing, while heavier cottons can handle machine stitching. Choose a method suitable for your dress material.
Not Trying On Periodically
Making all adjustments in one go without trying on the dress at various stages increases the risk of mistakes. You might over-alter or miss crucial fit issues.
After pinning, basting, and even after a preliminary permanent stitch, try on the dress. This allows you to fine-tune the fit and make minor corrections before it’s too late.
Troubleshooting
Dress Still Feels Loose After Adjustments
If your dress still feels loose, you might not have taken in enough fabric. Re-evaluate the fit while wearing the dress.
Pin in a bit more material, focusing on the areas where it still gapes. For darted dresses, you can slightly deepen the darts. For side seams, take in a fraction more fabric.
Sometimes, the issue isn’t just the waist, but also the bust or hips. Consider if a more comprehensive alteration is needed, or if an additional dart might solve the problem.
Fabric Bunching or Puckering
Bunching or puckering often happens due to uneven stitching, pulling the fabric too tightly, or using the wrong needle/thread for the fabric type.
Carefully unpick the problematic stitches. Ensure you’re sewing evenly, and not stretching the fabric as you stitch. Use a fresh, sharp needle appropriate for your fabric.
Pressing the seams properly after sewing can also help smooth out minor puckers. For elastic shirring, ensure the elastic thread is wound correctly and not stretched too much in the bobbin.
Adjustment Looks Obvious or Unnatural
If your alteration stands out, it might be too abrupt or not blended smoothly into the existing seams. A harsh line where the alteration begins can be noticeable.
Focus on tapering new seams or darts gradually. The new line should flow seamlessly into the original garment lines, avoiding sharp angles.
Pressing seams thoroughly after sewing is critical for a professional finish. It helps new stitches blend into the fabric, making the alteration almost invisible.
Key Takeaways
- Always start by carefully assessing the current fit and pinpointing where the dress is loose.
- Use pins or tailor’s chalk to mark your adjustments precisely before sewing or finalizing.
- Temporary solutions like belts or clips offer quick fixes without permanent alteration.
- Adding darts or taking in side seams provide more permanent, tailored results.
- Consider the fabric type of your dress when choosing an alteration method.
- Try on the dress frequently throughout the alteration process to ensure an ideal fit.
Frequently Asked Questions
Can I tighten a dress without sewing?
Absolutely! Temporary methods like using a belt, sash, fabric clips, or even safety pins can cinch the waist without any sewing. You can also create an internal drawstring casing using iron-on fusible web for a no-sew, adjustable waist.
How much can I realistically tighten a dress?
You can typically tighten a dress by one to two sizes around the waist without drastically altering its overall shape. More significant adjustments might require reshaping other areas like the bust or hips, which is often best left to a professional tailor.
Will tightening damage the dress fabric?
If done carefully with appropriate tools and techniques, tightening a dress should not damage the fabric. However, improper pinning, using blunt needles, or sewing too tightly can cause snags, holes, or puckering. Always test on an inconspicuous area first if unsure.
What if my dress has a lining?
If your dress has a lining, you will need to alter the lining separately, mirroring the adjustments made to the outer fabric. Unpick the lining from the main dress around the waist area, make your alterations, and then reattach it. This ensures a smooth finish and prevents the lining from pulling.
Our Top Recommended Finds
- Basic Sewing Kit: Essential for any home alteration, including needles, thread, scissors, and a seam ripper.
- Fabric Clips: Great for holding fabric without piercing it, especially useful for delicate materials or when pinning is tricky.
- Dressmaker’s Chalk: Perfect for making clear, temporary marks on fabric that can be easily brushed away.
Embrace Your Perfect Fit
Achieving a perfectly fitted dress around the waist is more accessible than you might think. With these practical steps, you can transform ill-fitting garments into wardrobe favorites.
No longer settle for dresses that gape or feel uncomfortable. Take control of your style and enjoy the confidence that comes with a perfectly tailored look.
Grab your tools and start transforming your dresses today. You’ll be amazed at the difference a well-fitted waist can make!
& Painting
No rigid rules or pretension. Just practical guides, medium comparisons, and encouraging tips to help you enjoy the drawing & painting process.