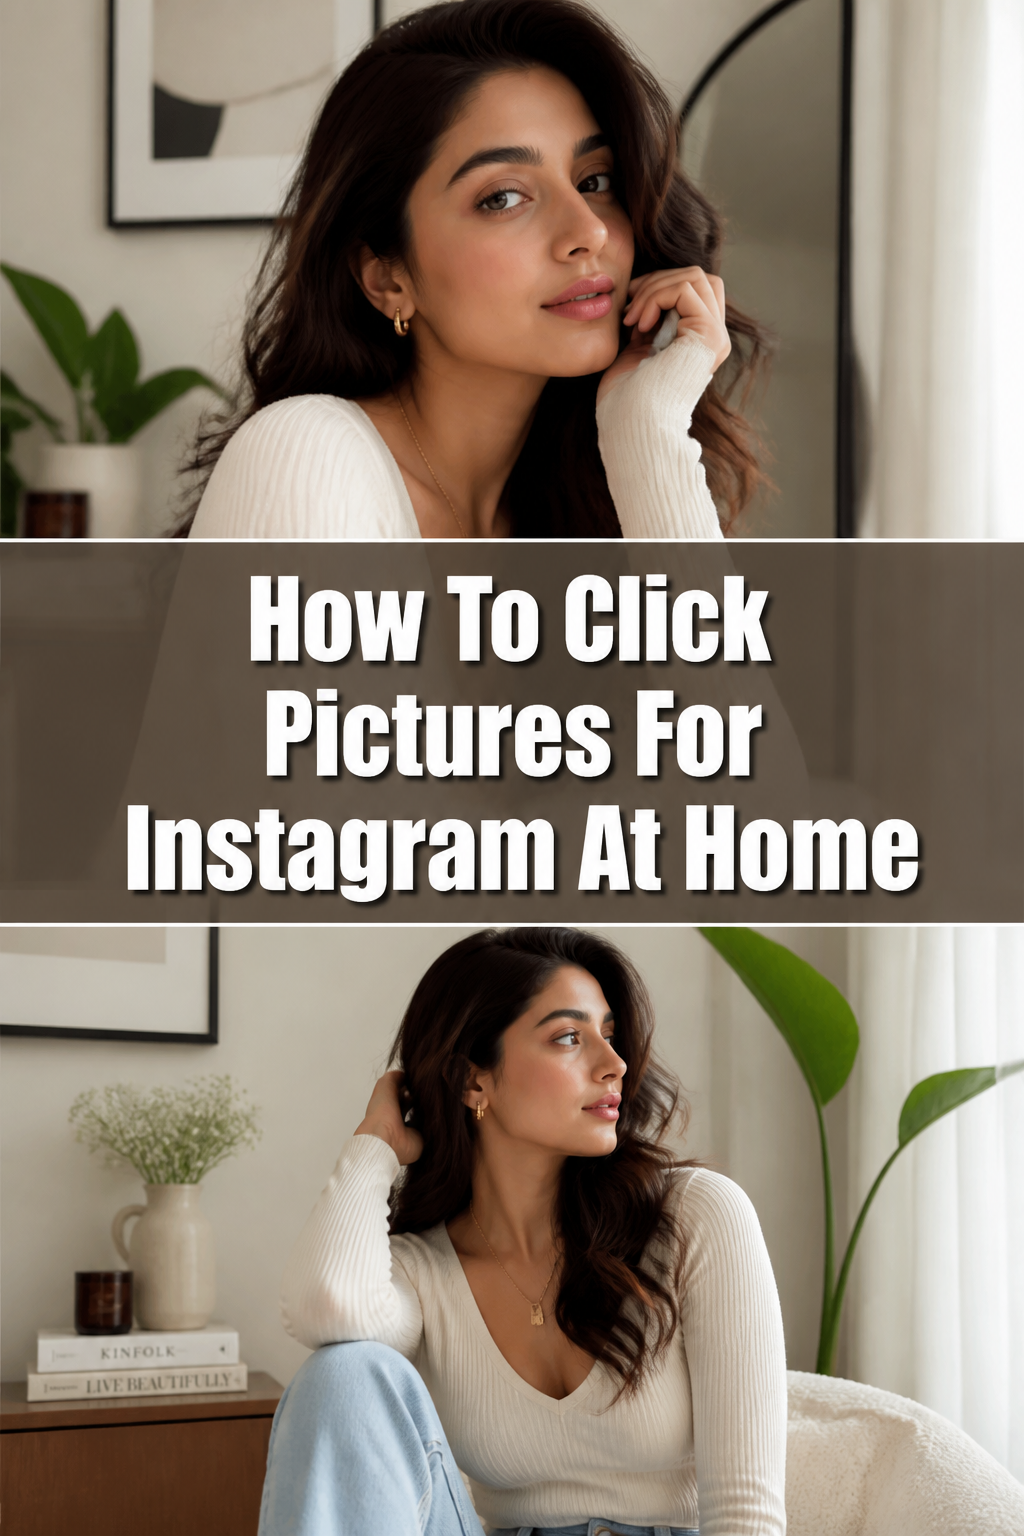
📸 How To Click Pictures For Instagram At Home

& Painting
No rigid rules or pretension. Just practical guides, medium comparisons, and encouraging tips to help you enjoy the drawing & painting process.
You want to create stunning Instagram photos, but leaving the house just isn’t an option today. It’s a common challenge, and one I’ve personally faced many times.
I’ve spent countless hours experimenting in my own living room, turning ordinary corners into vibrant backdrops. This guide shares all my practical insights, showing you exactly how to get those scroll-stopping shots right where you are.
You’ll discover that amazing photography doesn’t require a studio or exotic locations; it simply needs a keen eye and a few smart techniques.
Quick Overview
This guide will empower you to transform your home into a personal photo studio, capturing beautiful, engaging images for your Instagram feed. You’ll learn to leverage natural light, compose striking shots, and edit like a pro, all without stepping outside.
- Time needed: 1-2 hours (including setup, shooting, and basic editing)
- Difficulty: Beginner
- What you’ll need: Smartphone or camera, natural light source, clean space, optional props
Step-by-Step Instructions
Step 1: Prepare Your Space
Before you even think about clicking, take a moment to look around your chosen area. A clean, organized space is the first step to a great photo.
Declutter any unnecessary items from your background. Move away remote controls, stray papers, or anything that distracts from your main subject. A tidy environment makes your photo look professional and intentional.
You don’t need a huge area; even a small, clear wall or a corner by a window can work wonders. Think about the story you want your photo to tell.
Pro Tip: Sometimes, less is more. A minimalist background often highlights your subject better than a busy one.
Step 2: Find Your Light Source
Lighting is arguably the most crucial element in photography. Natural light is your best friend when shooting at home.
Locate the largest window in your home. This will be your primary light source. Avoid direct, harsh sunlight, which can create strong shadows and overexposed areas.
Look for soft, diffused light, usually found when the sun isn’t shining directly into your room. Overcast days are perfect for this, or you can use sheer curtains to soften direct light. Position your subject facing the window to get even illumination.
Step 3: Choose Your Background Wisely
Your background sets the scene and mood for your picture. It should complement, not compete with, your subject.
Select a simple, uncluttered background. A plain wall, a textured blanket draped over a chair, or even a neatly arranged bookshelf can work. Think about colors and textures that enhance your subject.
Avoid busy patterns or objects that draw the eye away. The goal is for your background to add depth and context without becoming the main focus.
Step 4: Master Your Composition
Composition is how you arrange elements within your frame. Good composition makes your photos visually appealing and engaging.
Apply the rule of thirds. Imagine dividing your screen into nine equal parts with two horizontal and two vertical lines. Place your subject or key elements along these lines or at their intersections.
This creates a more balanced and interesting photo than simply centering everything. Experiment with different angles too; shooting slightly from above or below can add unique perspectives.
Step 5: Set Up Your Shot and Subject
Once your space is ready and light is ideal, it’s time to arrange your subject. This could be you, a product, or a still life.
Arrange your subject carefully. If it’s a product, consider its best angle and how it interacts with any props. For self-portraits, think about your pose and expression. Use a tripod or stack of books to stabilize your phone or camera if you’re shooting alone.
Make sure your subject is well-lit and stands out from the background. Take a few test shots to check the framing and focus.
Pro Tip: For self-portraits, use your phone’s timer feature or a remote shutter release. This gives you time to get into position and relax.
Step 6: Incorporate Thoughtful Props
Props can add personality, context, and visual interest to your photos. They help tell a story.
Gather everyday items that fit your photo’s theme. A cup of coffee, a book, a plant, or a cozy blanket can transform a simple shot. Don’t overdo it; a few well-chosen props are more effective than a cluttered scene.
Think about how the props interact with your main subject and background. They should enhance the narrative, not distract from it.
Step 7: Take Multiple Shots
One of the biggest mistakes beginners make is taking only one or two photos. Digital photography allows for endless experimentation.
Shoot many variations. Change your angle slightly, adjust your pose, move a prop, or alter your expression. Use burst mode on your phone for moving subjects or self-portraits to capture the perfect moment.
The more photos you take, the higher your chances of getting a truly fantastic shot. You can always delete the ones you don’t like later.
Step 8: Edit Your Photos Smartly
Editing is where your photo truly comes to life and gains a consistent look for your Instagram feed. You don’t need expensive software.
Utilize free editing apps like Lightroom Mobile, Snapseed, or even your phone’s built-in editor. Focus on subtle adjustments first. Crop to improve composition, adjust brightness and contrast for clarity, and tweak saturation for color vibrancy.
Maintain a consistent editing style across your photos for a cohesive Instagram feed. Avoid heavy filters that make your photos look unnatural.
Common Mistakes to Avoid
Poor Lighting
Many home photos suffer from bad lighting, making subjects appear dull or harsh. Shooting in a dimly lit room or under direct, overhead artificial lights often results in unflattering shadows and poor color reproduction. Always prioritize natural, diffused light from a window. Position your subject facing the light source for even illumination, or use sheer curtains to soften harsh sun.
Cluttered Backgrounds
A messy or distracting background instantly detracts from your photo’s subject. Viewers’ eyes will wander to the pile of laundry or the unmade bed instead of your intended focus. Before shooting, always scan your background and remove any unnecessary items. Opt for plain walls, simple textures, or thoughtfully arranged elements that complement your subject without competing.
Over-Editing
While editing enhances your photos, going overboard can make them look artificial and heavily filtered. Excessive saturation, contrast, or skin smoothing often results in an unnatural appearance that loses the photo’s original charm. Aim for subtle enhancements that bring out the best in your image. Focus on correcting exposure, white balance, and minor adjustments to clarity and vibrancy, keeping the overall look natural and appealing.
Bad Angles and Composition
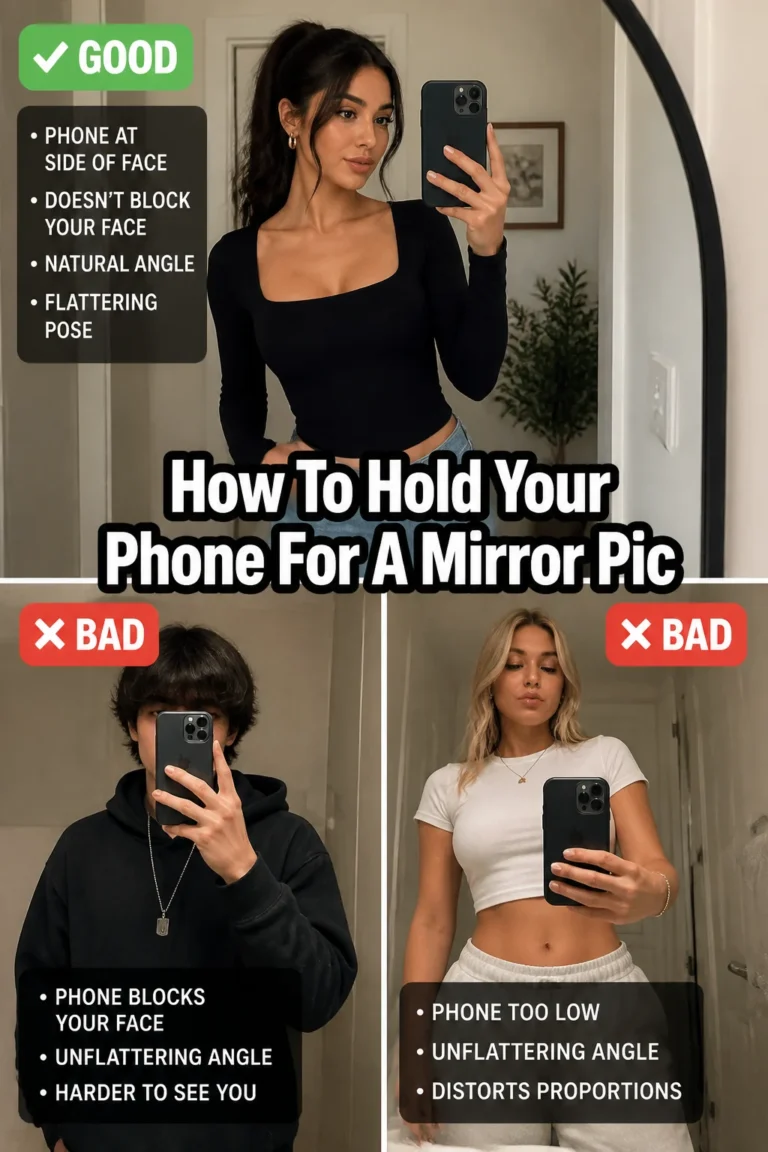
Centering every photo or shooting everything from eye-level can lead to very predictable and uninteresting images. Stiff, uninspired angles fail to capture attention and make your feed look repetitive. Experiment with different perspectives: shoot from slightly above, at eye-level with your subject, or even from a low angle. Actively use compositional guidelines like the rule of thirds to create more dynamic and visually engaging shots.
Troubleshooting
Photos Are Too Dark or Underexposed
If your photos consistently appear too dark, even near a window, it often means your light source isn’t strong enough or your camera settings aren’t optimized.
To fix this, try moving closer to your window or shooting earlier/later in the day when the natural light is brighter but still soft. On your phone, tap on the darkest part of your screen before shooting; this tells the camera to expose for that area, brightening the overall image. You can also manually adjust the exposure slider in your camera app.
Images Look Blurry or Out of Focus
Blurry photos usually stem from camera shake or incorrect focus. If you’re holding your phone or camera by hand, even slight movements can cause blur, especially in lower light.
To resolve this, stabilize your device. Use a tripod, prop your phone against a stack of books, or lean against a stable surface. Always tap on your subject on the screen to ensure the camera focuses precisely on what you want sharp. If shooting moving subjects, try using burst mode to capture several frames, increasing your chances of a clear shot.
Inconsistent Look Across My Instagram Feed
A disjointed feed often comes from using too many different filters or editing styles for each photo. While individual photos might look good, they don’t flow well together.
To achieve consistency, choose a core editing style or a specific set of adjustments you apply to most of your photos. This could involve a particular color grade, contrast level, or even just a favorite filter applied with moderation. Save your favorite editing settings as a preset in apps like Lightroom Mobile. This ensures a cohesive visual identity across your entire Instagram grid.
Key Takeaways
- Always prioritize natural light from a window for the best results.
- Declutter your background to keep your subject the main focus.
- Experiment with composition techniques like the rule of thirds for engaging shots.
- Take many photos from different angles; variety increases your chances of a great shot.
- Use everyday props thoughtfully to add context and personality.
- Edit subtly to enhance your photos, aiming for a consistent look on your feed.
Frequently Asked Questions
What’s the best time of day to shoot at home?
The “golden hour” (shortly after sunrise or before sunset) provides beautiful, soft, warm light. However, any time during the day when natural light is soft and diffused through a window, without direct harsh sun, works well. Overcast days are also excellent as they provide naturally soft light.
Do I need a fancy camera, or is my phone enough?
Your smartphone is perfectly capable of taking amazing Instagram photos at home. Modern phone cameras have excellent sensors and processing power. Focus more on understanding light, composition, and editing than on having the most expensive gear. A good phone paired with smart techniques beats a high-end camera used poorly.
How can I pose for self-portraits when I’m alone?
Set up your phone or camera on a stable surface like a tripod or stack of books. Use your phone’s self-timer function (usually 3 or 10 seconds) or a Bluetooth remote shutter. Experiment with different sitting, standing, or leaning poses. Look for comfortable, natural positions, and don’t be afraid to move and try different expressions between shots.
What are the best free editing apps for Instagram photos?
For powerful and intuitive editing, Lightroom Mobile (free version) is excellent for exposure, color, and tone adjustments. Snapseed offers a wide range of tools for selective adjustments and healing. Your phone’s built-in photo editor also provides essential tools for cropping, brightness, and basic color correction.
Our Top Recommended Finds
- Smartphone Tripod with Remote: Essential for stable shots, self-portraits, and hands-free shooting.
- Portable Ring Light: Great for adding fill light or creating a catchlight in your eyes, especially in darker rooms.
- Collapsible Backdrop Kit: Offers versatile plain backgrounds like white, black, or grey, easily stored away.
Unlock Your Home’s Photo Potential Today
You now have a solid roadmap to start creating stunning Instagram photos right from the comfort of your home. Forget about needing expensive equipment or exotic locations. Your creativity and a few simple techniques are all you truly need.
Don’t let another day pass without trying out these tips. Grab your phone, look around your space with fresh eyes, and start experimenting. The more you practice, the more confident and skilled you’ll become.
Consider exploring different themes for your home photography, like flat lays, product shots, or even fashion features using your own wardrobe. The possibilities are endless when you start seeing your home as a creative canvas. So, go ahead, snap that first brilliant shot and share your unique vision with the world!
& Painting
No rigid rules or pretension. Just practical guides, medium comparisons, and encouraging tips to help you enjoy the drawing & painting process.