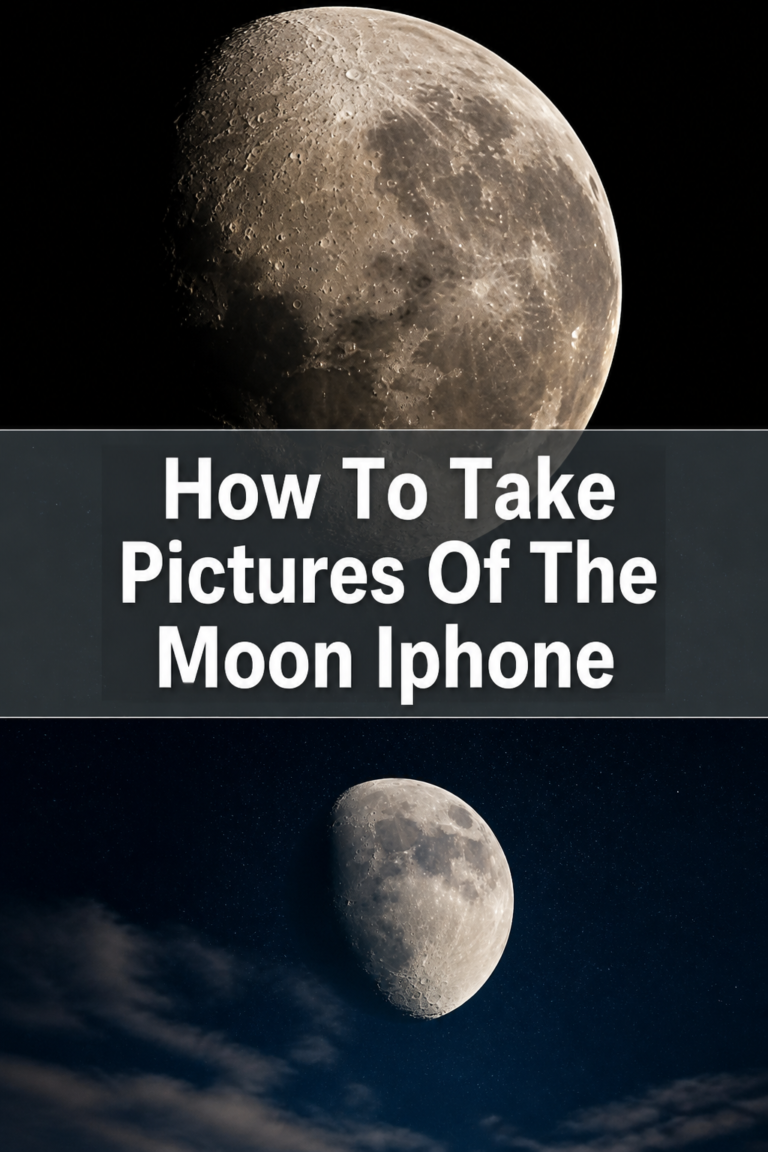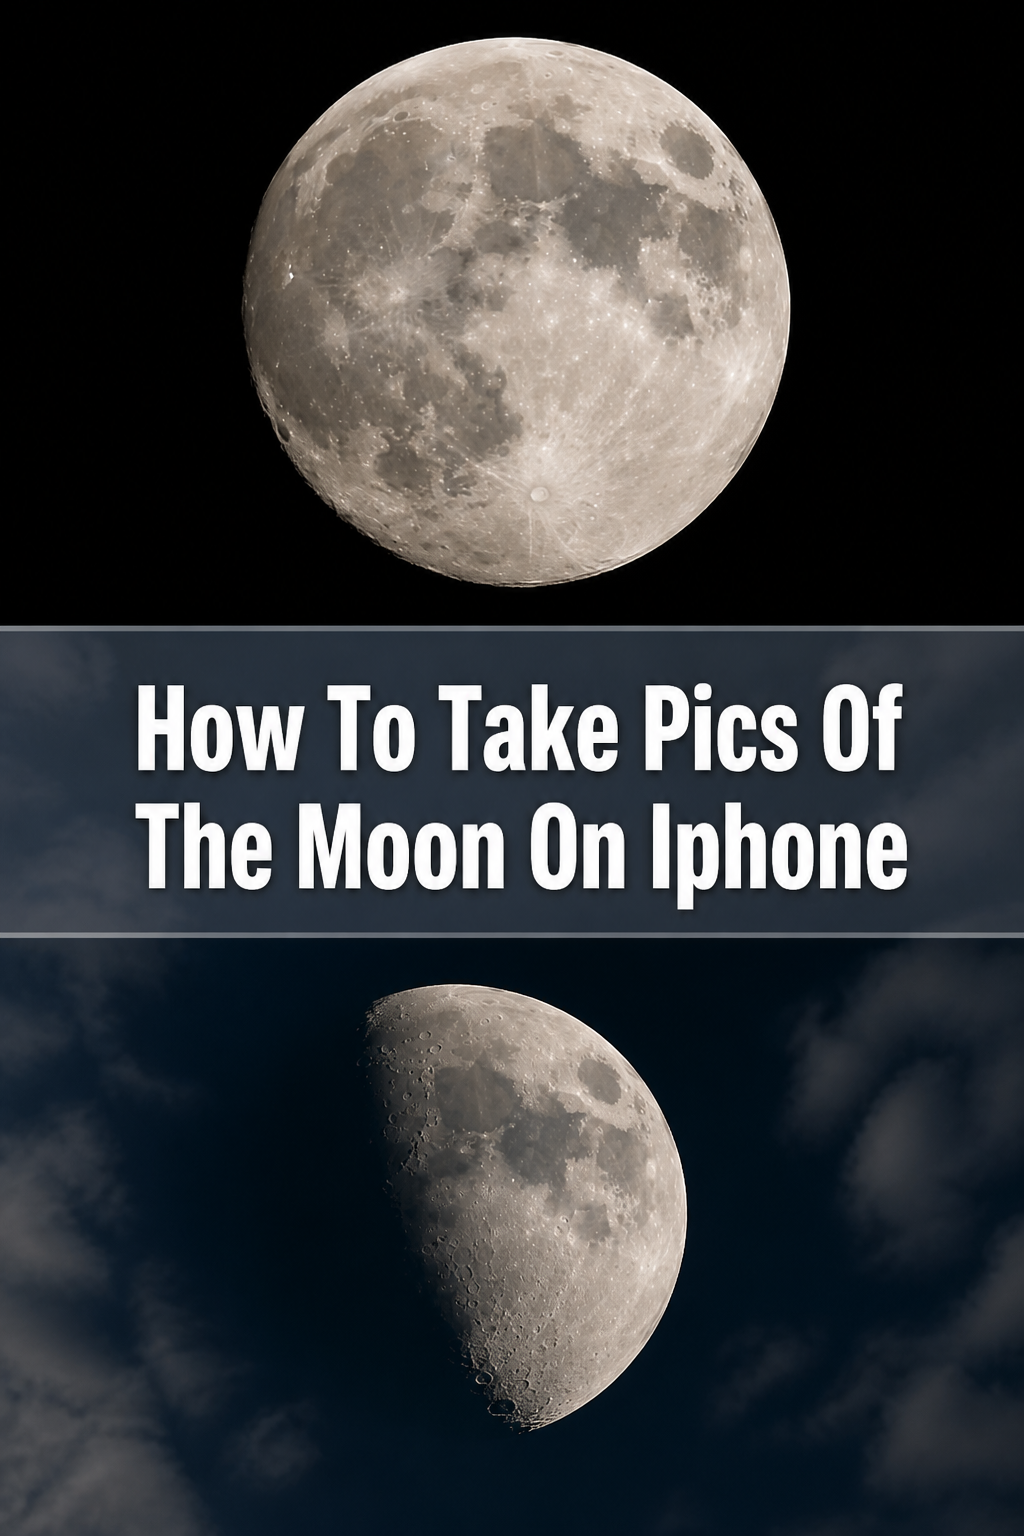
🌕 How To Take Pics Of The Moon On Iphone

& Painting
No rigid rules or pretension. Just practical guides, medium comparisons, and encouraging tips to help you enjoy the drawing & painting process.
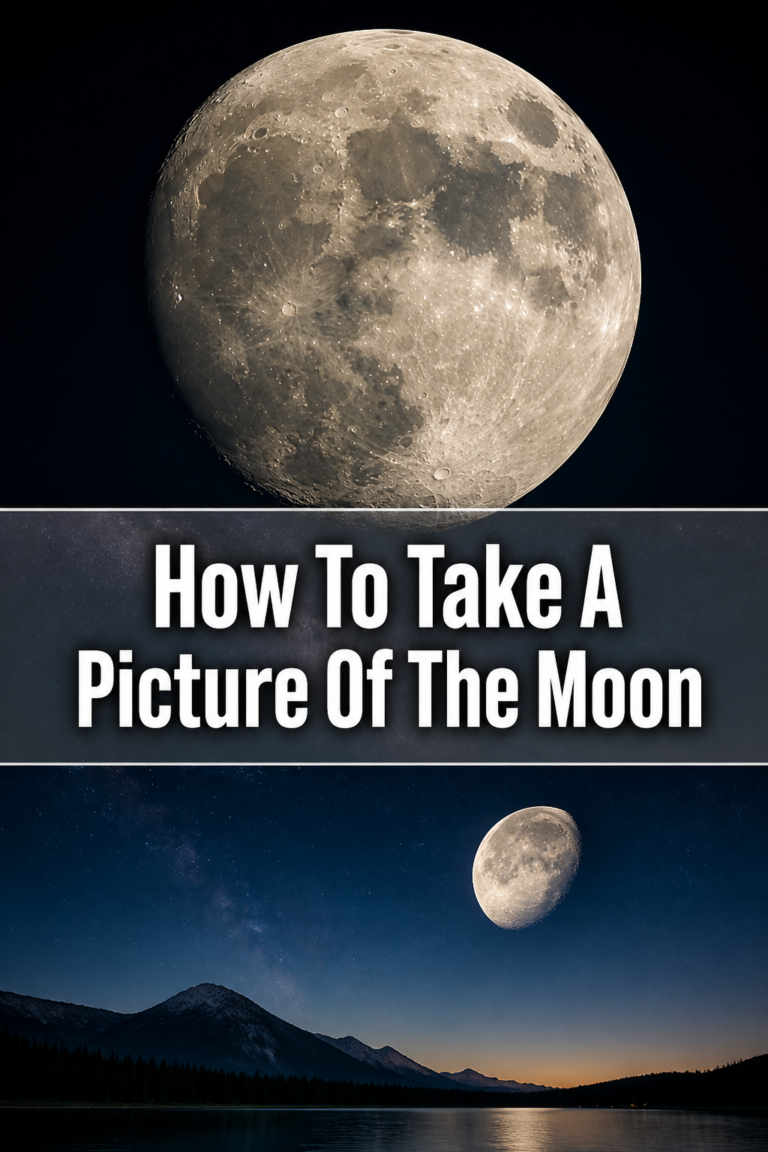
I remember the first time I tried to photograph the moon with my iPhone; it looked like a tiny, blurry dot. It was frustrating to see incredible shots online while mine were so disappointing. After much experimentation, I discovered a reliable method to capture stunning lunar images.
This guide shares everything I learned, turning that distant glow into a detailed masterpiece right from your pocket.
Quick Overview
This guide will equip you to capture clear, detailed photos of the moon using just your iPhone and a few smart techniques. You’ll learn essential camera settings, accessory recommendations, and post-processing tips to elevate your lunar photography.
- Time needed: 30-60 minutes (including setup and initial attempts)
- Difficulty: Intermediate
- What you’ll need: iPhone (iPhone 11 or newer recommended), stable surface or tripod, optional telephoto lens attachment.
Step-by-Step Instructions
Step 1: Find Your Lunar Window
Timing is everything when photographing the moon. A full moon can be too bright, often blowing out details. The best times are during a crescent, half, or gibbous phase, or just after a full moon.
Look for when the moon is lower in the sky, shortly after moonrise or before moonset. This allows you to capture more atmospheric detail and reduce light pollution. Apps like PhotoPills or The Photographer’s Ephemeris can help predict moon phases and positions.
Step 2: Secure Your iPhone
Camera shake is the biggest enemy of sharp moon photos. Even the slightest wobble will ruin your shot, especially when zooming in. This step is non-negotiable for clarity.
Place your iPhone on a sturdy surface, like a wall or a stack of books. A tripod is highly recommended for maximum stability. If using a tripod, ensure your phone mount is secure and doesn’t introduce any vibration.
Pro Tip: Use a tripod with a remote shutter or your Apple Watch as a remote. This eliminates any vibration from touching your phone screen, ensuring the sharpest possible image.
Step 3: Adjust iPhone Camera Settings
Open your iPhone’s native Camera app. Swipe up from the bottom of the screen to reveal the camera controls, indicated by a small arrow. Tap the exposure icon, which looks like a plus/minus symbol, or simply tap on the moon itself to lock focus and exposure.
Drag the exposure slider down significantly, often to its lowest setting. This prevents the moon from appearing as an overexposed blob, allowing you to capture surface details. You might also want to manually adjust the ISO and shutter speed if your iPhone model allows for more granular manual controls within third-party apps.
Step 4: Zoom In Carefully
Pinch to zoom on the moon, but do so judiciously. Digital zoom beyond 5x or 10x (depending on your iPhone model) will quickly degrade image quality. Newer iPhones with telephoto lenses will offer optical zoom, which is superior.
Use your iPhone’s optical zoom first if available (e.g., 2x, 3x, 5x depending on model). Only use digital zoom sparingly to frame the shot. Remember, less digital zoom often means better quality.
Step 5: Tap to Focus and Reduce Exposure
Once zoomed in, tap directly on the moon on your screen. This tells your iPhone to focus specifically on the moon. A yellow square will appear, indicating focus lock.
Next, drag the sun icon next to the yellow focus square downwards. This manually reduces the exposure, darkening the overall image and bringing out the moon’s craters and textures. Experiment with this slider until you see good detail.
Pro Tip: For iPhones with ProRAW or Apple ProRAW capabilities (iPhone 12 Pro and newer), enable this setting in Camera > Formats. ProRAW files retain far more detail for editing, giving you greater flexibility in post-processing.
Step 6: Capture Multiple Shots
Take several photos, adjusting the exposure slider slightly between each. The moon’s brightness can vary, and different exposure levels will capture different details. You’ll often find that one shot captures the craters best, while another might capture the subtle glow.
A burst mode can also be useful, capturing a rapid sequence of images. This increases your chances of getting a perfectly stable and focused shot. To activate burst mode, hold down the volume up button while in the camera app.
Step 7: Enhance Your Photos in Editing
Open your best moon photos in the Photos app or a third-party editing app. Cropping is usually the first step to remove excess black space and center the moon.
Adjust exposure, contrast, and highlights to bring out more detail. Increase sharpness and clarity carefully, as too much can introduce noise. Experiment with shadows to reveal unlit areas.
Pro Tip: Consider using a dedicated photo editing app like Adobe Lightroom Mobile or Snapseed. These apps offer more precise controls over various parameters, allowing for finer adjustments to brightness, contrast, and texture.
Step 8: Consider a Telephoto Lens Attachment
While not strictly necessary, a clip-on telephoto lens can significantly improve your moon photos. These lenses provide additional optical zoom, allowing you to get much closer to the moon without relying heavily on digital zoom.
Attach the lens securely over your iPhone’s main camera. Then, repeat the steps for securing your phone, adjusting exposure, and focusing. The added magnification will make a noticeable difference in detail.
Common Mistakes to Avoid
Relying on Automatic Settings
Your iPhone’s automatic camera settings are designed for general use, not for specialized subjects like the moon. The camera will try to expose for the entire dark sky, resulting in an overexposed, blown-out moon. Always manually adjust exposure by tapping and dragging down the sun icon.
Handholding the Phone
Even the steadiest hands will introduce micro-movements, especially when zoomed in. This leads to blurry, soft images. Always use a tripod or a stable surface to eliminate camera shake. A remote shutter further guarantees sharpness.
Excessive Digital Zoom
While tempting to get the moon to fill the frame, pushing digital zoom too far will pixelate your image. Beyond a certain point, you’re just enlarging pixels, not capturing more detail. Stick to optical zoom first, and use digital zoom sparingly.
Ignoring Post-Processing
Your initial moon shot will likely look decent, but it won’t be its best without editing. Cropping, adjusting exposure, contrast, highlights, and sharpness are crucial steps. Post-processing can transform a good shot into a great one by bringing out hidden details.
Troubleshooting
Moon Appears as a Bright White Blob
This is the most common issue and means your exposure is too high.
Tap on the moon in your camera app to set focus, then immediately drag the sun icon (exposure slider) downwards until the moon’s details become visible. You might need to drag it quite far down. If using a third-party app, manually lower the ISO and shutter speed.
Photos Are Blurry or Lack Sharpness
Blurriness usually comes from camera shake or improper focus.
Ensure your iPhone is absolutely stable, preferably on a tripod. Use a remote shutter or your Apple Watch to trigger the camera, avoiding any physical contact with the phone during the shot. Tap directly on the moon to ensure focus is locked.
Not Enough Detail Even After Editing
If your photos still lack detail, it might be due to insufficient zoom or poor light conditions.
Consider using a telephoto lens attachment for more optical zoom. Also, ensure you’re shooting when the moon isn’t perfectly full, as a slightly less bright moon often shows more surface features. Shooting in ProRAW (if available) provides more data for editing.
Key Takeaways
- Stability is paramount; always use a tripod or a very steady surface.
- Manual exposure adjustment is critical to prevent an overexposed moon.
- Avoid excessive digital zoom, which degrades image quality.
- Tap on the moon to lock focus and fine-tune exposure by dragging the sun icon.
- Shoot multiple frames and consider using ProRAW for better editing flexibility.
- Post-processing is essential for enhancing detail, contrast, and sharpness.
Frequently Asked Questions
Do I need a special app to take moon pictures?
While your iPhone’s native camera app can work with manual exposure adjustments, third-party apps like Halide Mark II or ProCamera offer more granular manual controls over shutter speed, ISO, and white balance, which can be beneficial for advanced users.
What iPhone model is best for moon photography?
Newer iPhone models, especially those with multiple lenses (like the Pro and Pro Max series starting from iPhone 11 Pro), offer better optical zoom capabilities and improved low-light performance. The iPhone 12 Pro and newer also support Apple ProRAW, which is excellent for editing.
Can I take pictures of the moon without any accessories?
Yes, you can. However, your results will be significantly better with a tripod to ensure stability and reduce blur. A telephoto lens attachment is optional but highly recommended for capturing more detail.
Why does my moon picture look like a small dot?
This usually happens when you haven’t zoomed in sufficiently or when the moon is very high in the sky, making it appear smaller. Ensure you’re using your optical zoom first, then sparingly apply digital zoom. Cropping heavily in post-processing can also make the moon appear larger in the final image.
Our Top Recommended Finds
- Smartphone Tripod with Phone Mount: Essential for stability, eliminating camera shake for sharp images.
- External Bluetooth Shutter Remote: Allows you to trigger your iPhone’s camera without touching the screen, further preventing vibrations.
- Clip-on Telephoto Lens Attachment: Provides additional optical magnification, letting you get much closer to the moon’s surface detail.
Your Lunar Photography Journey Begins Now
Capturing the moon’s ethereal beauty with your iPhone is a rewarding experience. It takes a bit of patience and practice, but the techniques outlined here will set you on the path to impressive results. Don’t be discouraged by initial attempts; each shot is a learning opportunity.
Now that you have the knowledge, step outside tonight. Apply these steps and start experimenting. The night sky is full of wonders, and your iPhone is a powerful tool to bring them closer. You might even discover a passion for astrophotography.
& Painting
No rigid rules or pretension. Just practical guides, medium comparisons, and encouraging tips to help you enjoy the drawing & painting process.