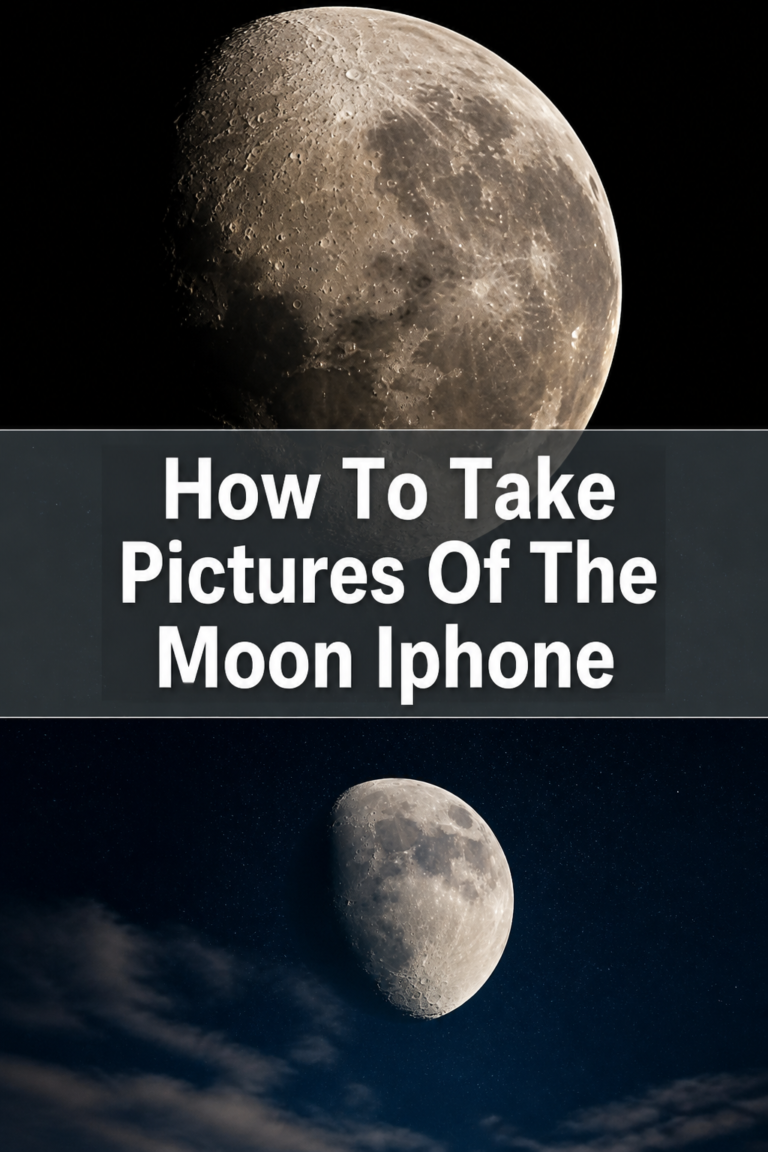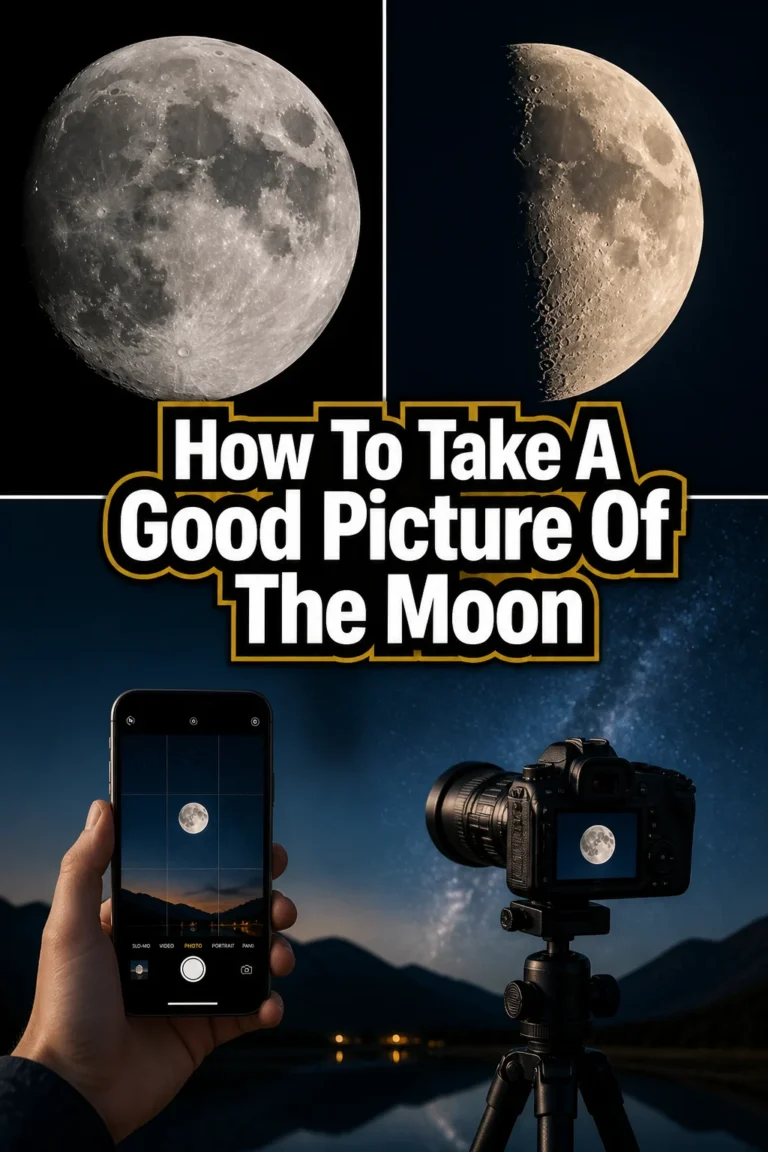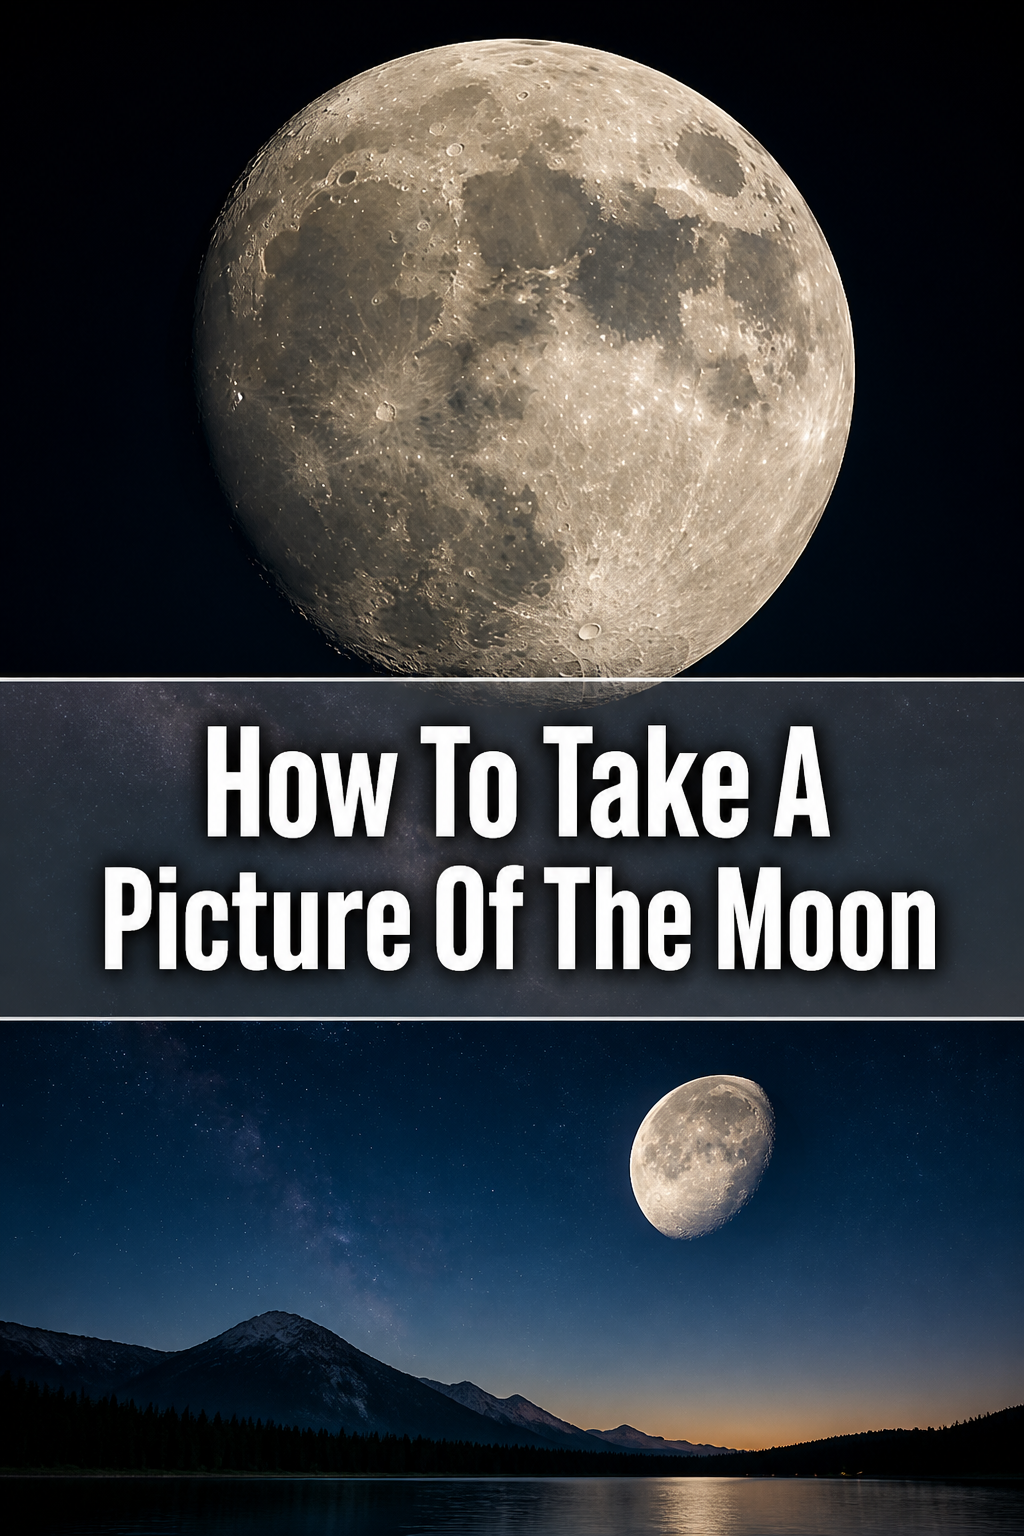
🌕 How To Take A Picture Of The Moon

& Painting
No rigid rules or pretension. Just practical guides, medium comparisons, and encouraging tips to help you enjoy the drawing & painting process.
Capturing the Moon’s ethereal glow in a photograph feels like a true achievement.
I remember my first blurry attempts, which taught me patience and the right techniques.
This guide distills years of photographic trial and error into simple, actionable steps you can trust.
Quick Overview
By following these steps, you’ll learn to capture stunning, detailed images of the Moon, moving beyond blurry phone shots to professional-looking photographs.
You’ll gain confidence in manual camera settings and understand how light influences your lunar photography.
- Time needed: 1-2 hours (including setup, shooting, and initial review)
- Difficulty: Intermediate
- What you’ll need: Camera (DSLR or mirrorless), telephoto lens, sturdy tripod, remote shutter release
Step-by-Step Instructions
Step 1: Gather Your Essential Gear
Collect all your necessary equipment before heading out. This prevents last-minute scrambling in the dark.
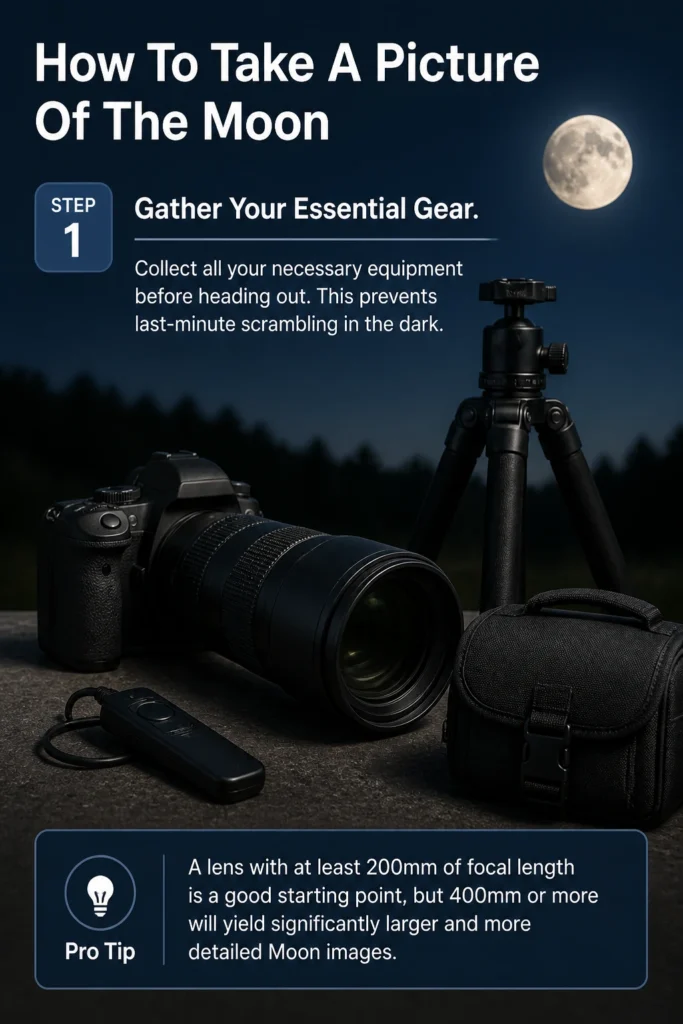
You’ll need a camera with manual controls, a telephoto lens (the longer the focal length, the better), a sturdy tripod, and a remote shutter release.
Pro Tip: A lens with at least 200mm of focal length is a good starting point, but 400mm or more will yield significantly larger and more detailed Moon images.
Step 2: Scout Your Location and Timing
Choose a location with a clear view of the sky, away from city lights if possible. Light pollution can affect image quality.
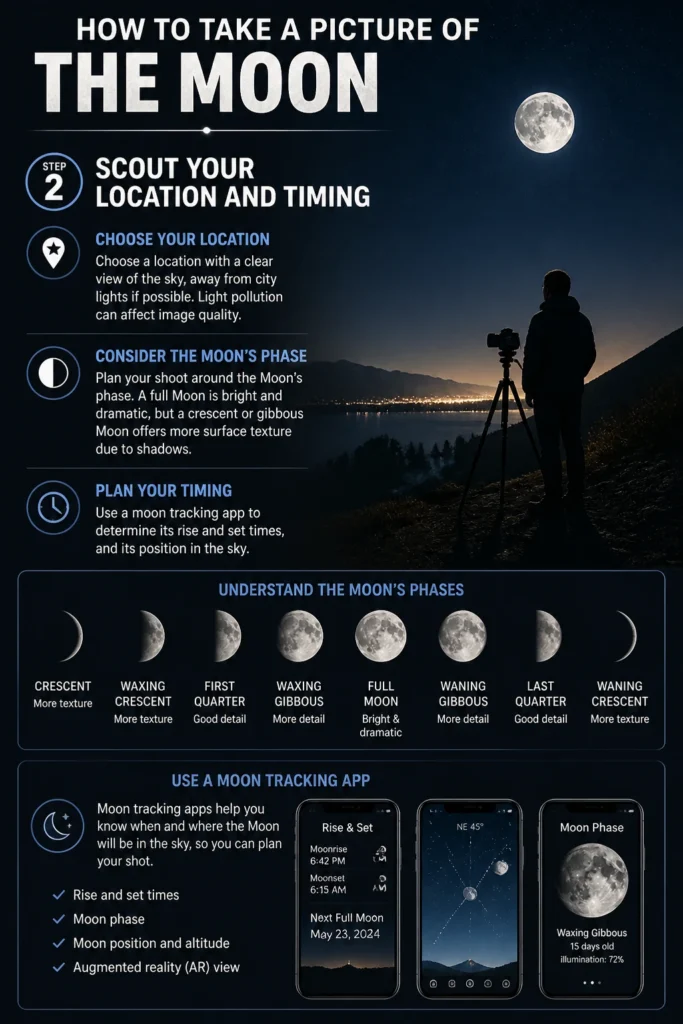
Plan your shoot around the Moon’s phase. A full Moon is bright and dramatic, but a crescent or gibbous Moon offers more surface texture due to shadows.
Use a moon tracking app to determine its rise and set times, and its position in the sky.
Step 3: Set Up Your Sturdy Tripod
Place your tripod on stable, level ground. Any wobble will introduce blur, especially with a long telephoto lens.
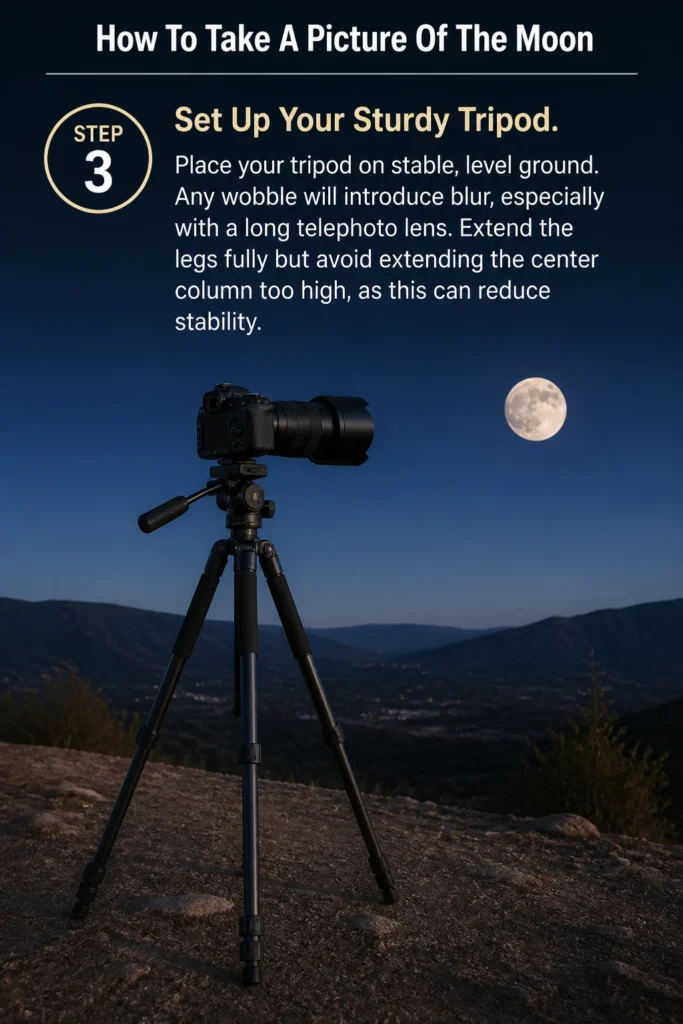
Extend the legs fully but avoid extending the center column too high, as this can reduce stability.
Step 4: Attach Your Lens and Camera Securely
Mount your camera body onto the tripod head, ensuring it’s tightened firmly. Then, attach your telephoto lens.
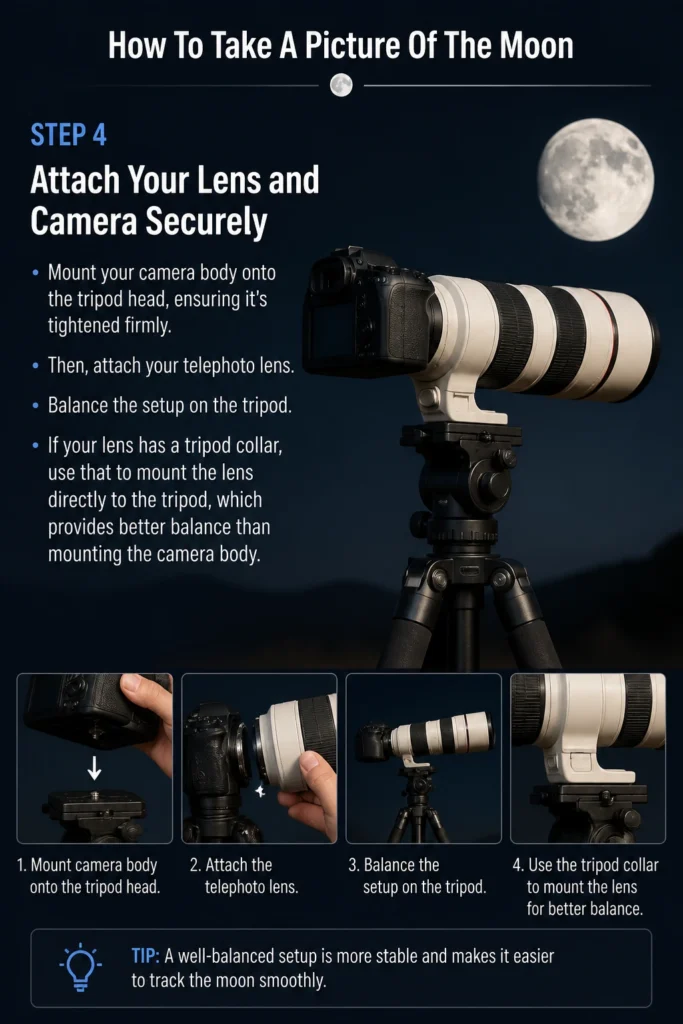
Balance the setup on the tripod. If your lens has a tripod collar, use that to mount the lens directly to the tripod, which provides better balance than mounting the camera body.
Step 5: Switch Your Camera to Manual Mode
Rotate your camera’s mode dial to ‘M’ for Manual. This gives you complete control over exposure settings.
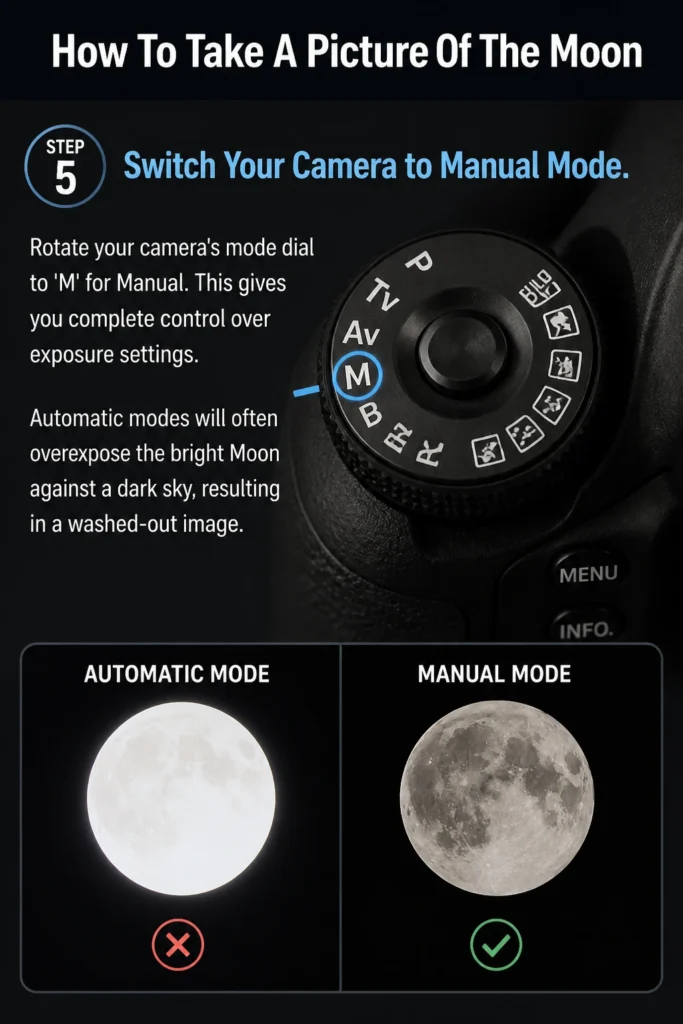
Automatic modes will often overexpose the bright Moon against a dark sky, resulting in a washed-out image.
Step 6: Dial In Initial Exposure Settings (The Looney 11 Rule)
Apply the “Looney 11” rule as a starting point. This rule suggests setting your aperture to f/11.
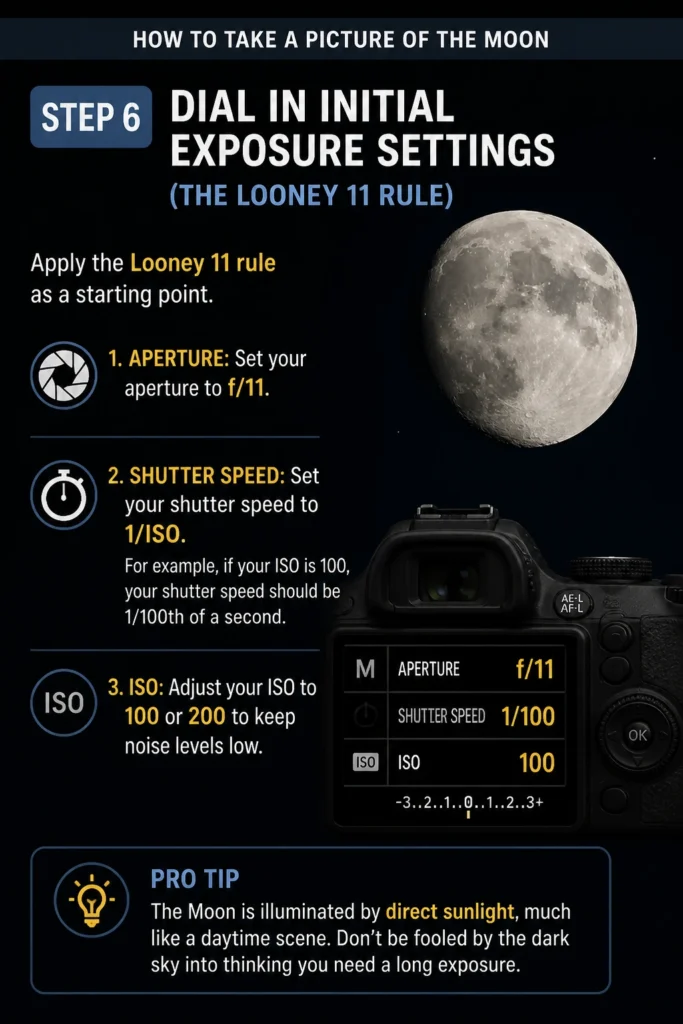
Then, set your shutter speed to 1/ISO. For example, if your ISO is 100, your shutter speed should be 1/100th of a second.
Adjust your ISO to 100 or 200 to keep noise levels low.
Pro Tip: The Moon is illuminated by direct sunlight, much like a daytime scene. Don’t be fooled by the dark sky into thinking you need a long exposure.
Step 7: Focus Precisely on the Moon
Switch your lens to manual focus (MF). Autofocus will struggle with the Moon against the dark sky.
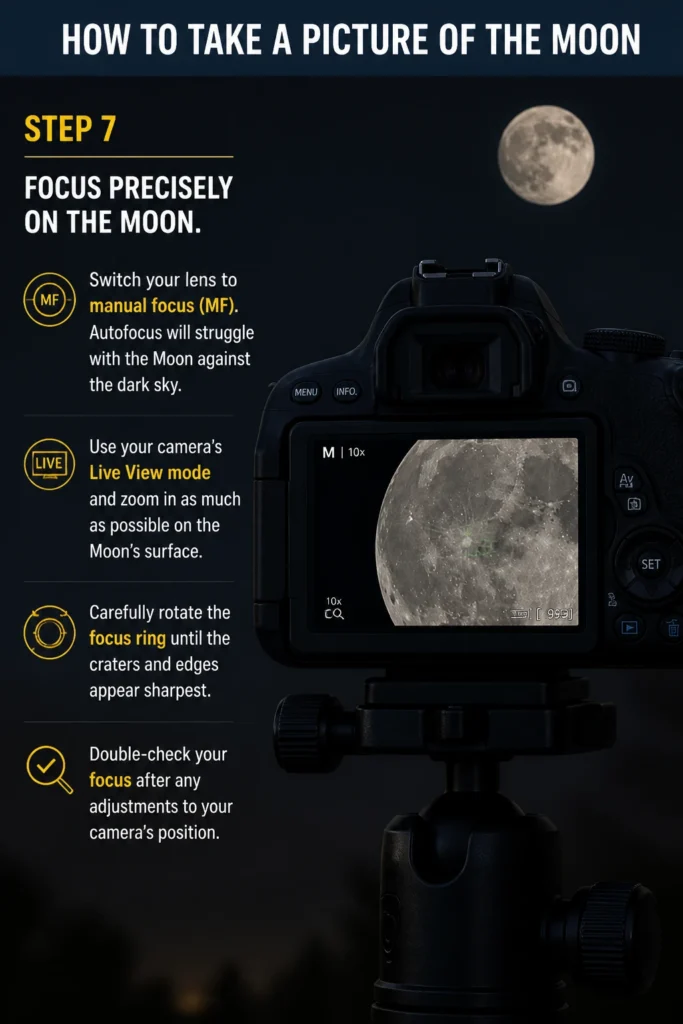
Use your camera’s Live View mode and zoom in as much as possible on the Moon’s surface. Carefully rotate the focus ring until the craters and edges appear sharpest.
Double-check your focus after any adjustments to your camera’s position.
Step 8: Compose Your Shot
Frame the Moon in your viewfinder. While a tightly cropped shot of the Moon alone is common, consider adding foreground elements if appropriate, like trees or buildings, for scale and interest.
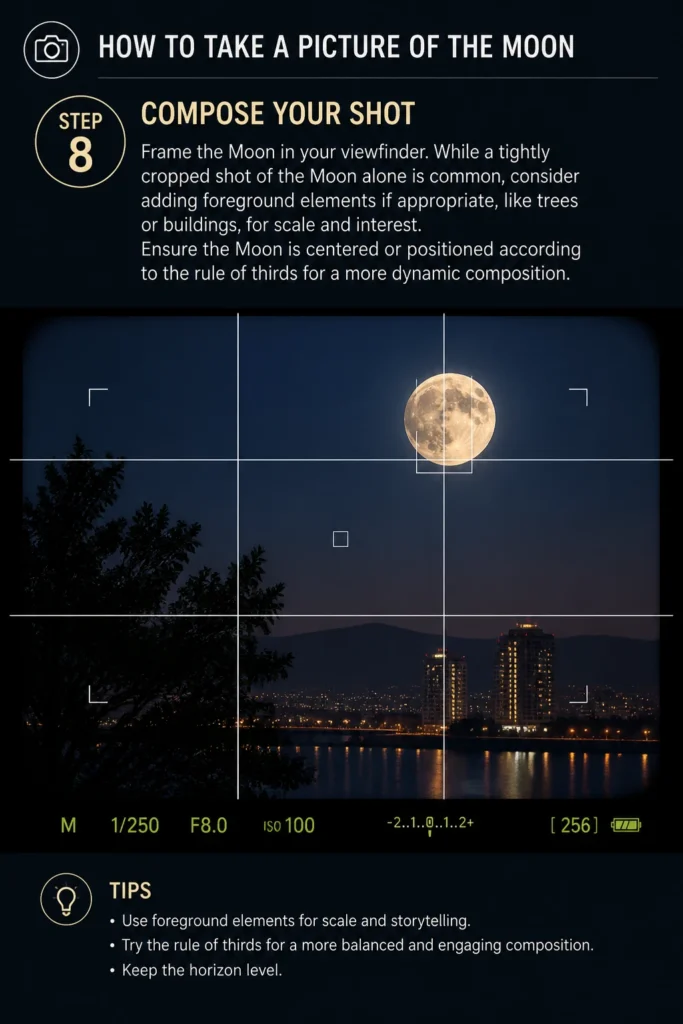
Ensure the Moon is centered or positioned according to the rule of thirds for a more dynamic composition.
Step 9: Capture Your Image Using a Remote Shutter
Press the button on your remote shutter release to take the picture. This eliminates any camera shake caused by pressing the camera’s shutter button directly.
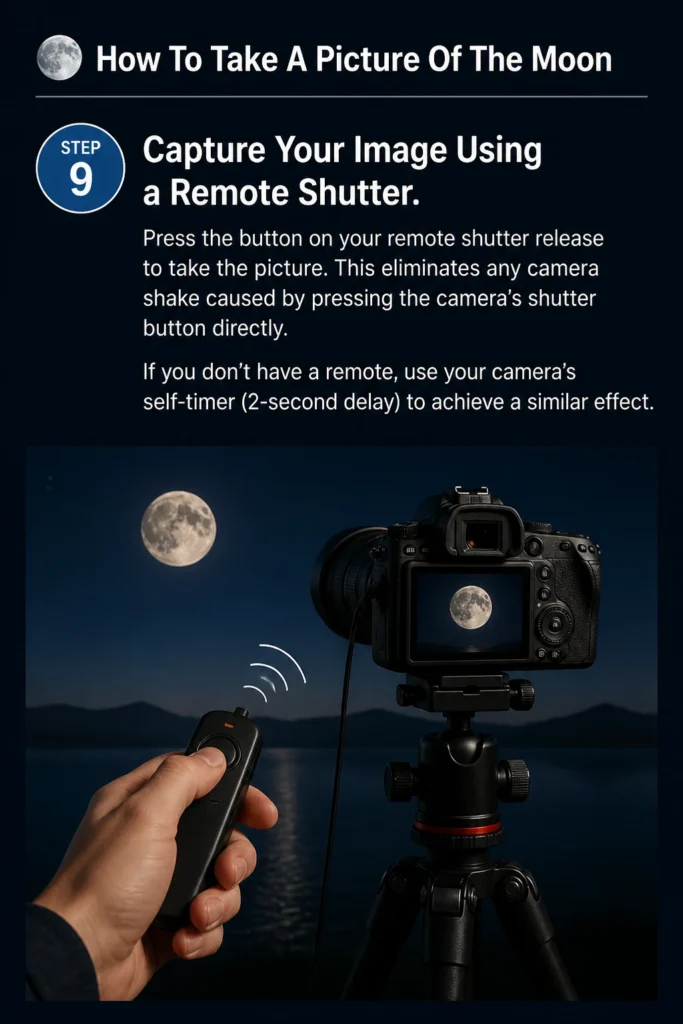
If you don’t have a remote, use your camera’s self-timer (2-second delay) to achieve a similar effect.
Step 10: Review and Adjust Your Settings
Examine your captured image on your camera’s LCD screen. Zoom in to check for sharpness and proper focus.
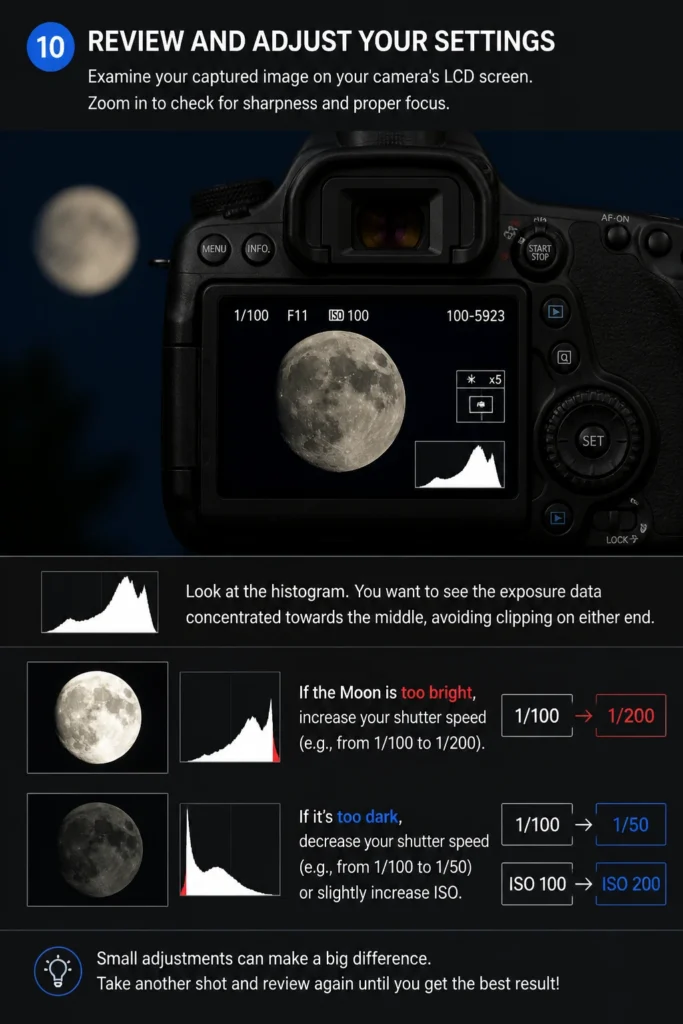
Look at the histogram. You want to see the exposure data concentrated towards the middle, avoiding clipping on either end.
If the Moon is too bright, increase your shutter speed (e.g., from 1/100 to 1/200). If it’s too dark, decrease your shutter speed (e.g., from 1/100 to 1/50) or slightly increase ISO.
Common Mistakes to Avoid
Shooting Handheld
Attempting to photograph the Moon without a tripod almost guarantees blurry results. The long focal length required magnifies even the slightest movement.
Always use a sturdy tripod to stabilize your camera and lens, ensuring sharp, clear images.
Using Automatic Camera Modes
Your camera’s automatic modes are designed for general scenes and struggle with the extreme contrast of a bright Moon against a dark sky. They often overexpose the Moon.
Switch to manual mode to gain full control over your aperture, shutter speed, and ISO, allowing you to achieve the correct exposure.
Overlooking Precise Focus
A slightly out-of-focus Moon will appear soft and lack detail, no matter how perfect your exposure is. Autofocus systems often fail in low light.
Always use manual focus, zooming in on the Moon via Live View to achieve critical sharpness before taking your shot.
Ignoring the Looney 11 Rule
Many beginners assume they need a very long exposure for night photography, but the Moon is an intensely bright object.
The Looney 11 rule provides an excellent starting point for exposure, preventing overexposure and revealing surface details.
Troubleshooting
Moon Appears Too Bright or Washed Out
This usually indicates overexposure. Your camera’s meter might be fooled by the surrounding darkness, trying to brighten the entire scene.
To fix this, increase your shutter speed (make it faster) or decrease your ISO. You can also try a slightly smaller aperture (higher f-number) if your lens allows and you have enough light.
Image is Blurry or Lacks Sharpness
Blur can stem from several issues: camera shake, incorrect focus, or too slow a shutter speed for the Moon’s movement.
Ensure your tripod is stable, use a remote shutter, and set a shutter speed of at least 1/100th of a second. Most importantly, re-check your manual focus on the Moon’s craters.
Moon Appears Too Small in the Frame
This is a common issue if you’re using a lens with a shorter focal length. Even 200mm can make the Moon seem distant.
To make the Moon larger, you need a longer telephoto lens (400mm, 600mm, or more). If that’s not an option, you’ll need to crop significantly in post-processing, which may reduce overall image quality.
Key Takeaways
- Manual camera mode is absolutely essential for proper lunar exposure.
- A sturdy tripod and a remote shutter release are critical for preventing camera shake and ensuring sharp images.
- The “Looney 11” rule offers an excellent baseline for your initial exposure settings.
- Achieving precise manual focus on the Moon’s surface is paramount for capturing intricate details.
- Always review your captured images on your camera’s screen and histogram, making immediate adjustments to settings as needed.
- Patience and experimentation with settings will lead to the best results.
Frequently Asked Questions
What’s the best moon phase to photograph?
While a full Moon is popular, a crescent or gibbous Moon (when it’s not fully illuminated) often provides more dramatic shadows and texture along the terminator line (the division between light and dark).
Can I use my phone to take a picture of the Moon?
Modern smartphones with telephoto lenses can capture the Moon, but they generally lack the optical zoom and manual control of a dedicated camera. You’ll likely get a small, less detailed image without specialized adapters or advanced techniques.
What’s the best lens for Moon photography?
The longer the focal length, the better. Lenses in the 300mm to 600mm range are ideal. If you have an APS-C sensor camera, its crop factor will give you an effective focal length boost, making a 300mm lens behave like a 450mm or 480mm lens.
How do I get the Moon to look bigger in my picture?
The primary way to make the Moon appear larger is by using a longer telephoto lens. Increasing your focal length effectively zooms in on the Moon. Cropping in post-processing is another option, but it sacrifices resolution.
Our Top Recommended Finds
- Sturdy Tripod: Look for a carbon fiber tripod for stability and portability. Brands like Manfrotto or Benro offer excellent options that minimize vibration.
- Wireless Remote Shutter Release: A simple, inexpensive accessory that makes a huge difference. It allows you to trigger the shutter without touching the camera, eliminating shake.
- High-Quality Telephoto Lens: Consider a 70-300mm lens as an entry point, or a dedicated prime lens like a 400mm f/5.6 for superior sharpness if your budget allows.
Your Journey to Lunar Photography Begins Now
You now possess the knowledge and practical steps to capture breathtaking images of our celestial neighbor.
Don’t be afraid to experiment with your settings and try different compositions.
Grab your gear tonight, find a clear sky, and start creating your own stunning lunar portraits.
& Painting
No rigid rules or pretension. Just practical guides, medium comparisons, and encouraging tips to help you enjoy the drawing & painting process.