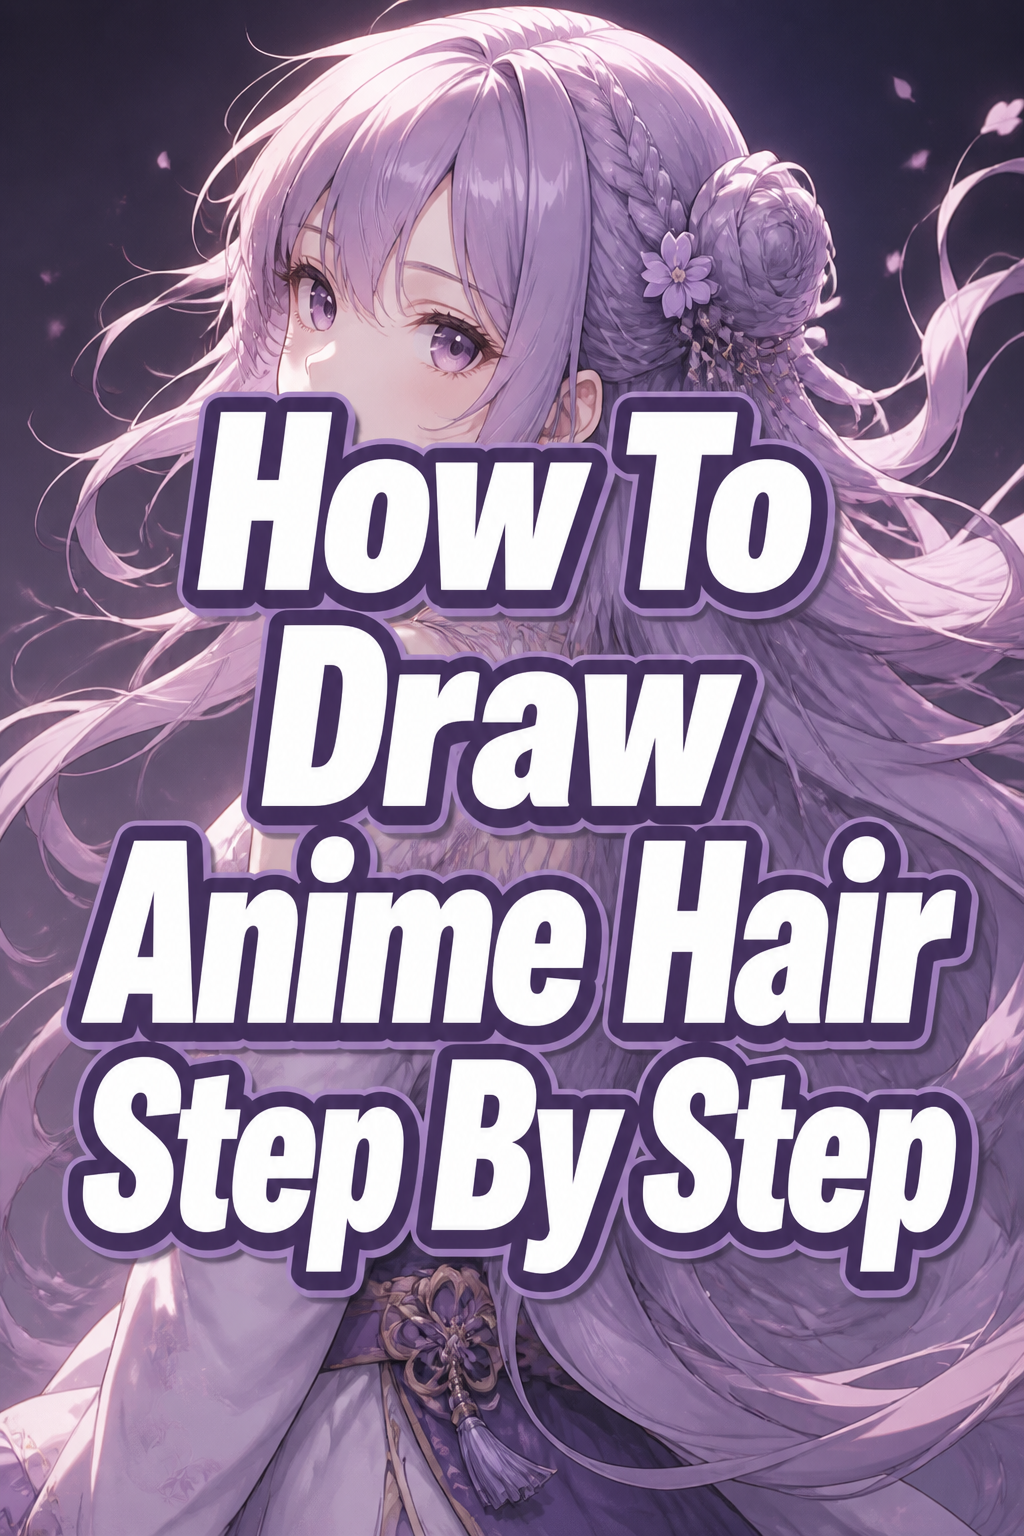
🎨 How To Draw Anime Hair Step By Step

& Painting
No rigid rules or pretension. Just practical guides, medium comparisons, and encouraging tips to help you enjoy the drawing & painting process.
I remember my first attempts at drawing anime hair, ending up with stiff, lifeless strands that didn’t quite capture the dynamic look I admired. It took practice and a deeper understanding of underlying principles to create truly expressive styles. This guide shares the practical steps and insights I learned along the way, helping you avoid those early frustrations and bring your characters to life.
Quick Overview
This guide will walk you through the process of drawing various anime hairstyles, from initial concept to refined details. You will learn to create hair that feels natural, dynamic, and full of character.
- Time needed: 60-90 minutes (for a complete drawing session)
- Difficulty: Intermediate
- What you’ll need: Pencil (HB, 2B recommended), paper, eraser, reference images, optional digital drawing tablet and software.
Step-by-Step Instructions
Step 1: Understand the Head and Hairline
Every great hairstyle starts with a solid foundation: the head. Begin by sketching a basic head shape, often an oval or a circle with a jawline added. This provides the canvas for your hair.
Next, establish the hairline. This is where the hair actually grows from the scalp, not just where it sits on top. Think of it as a loose “M” or “U” shape across the forehead, curving around the temples.
This initial hairline helps define the forehead and ensures your hair doesn’t look like a wig floating above the head. It’s crucial for anchoring the hair naturally.
Pro Tip: Lightly sketch the ears at this stage. Hair often covers parts of the ears, so knowing their position helps you draw realistic overlaps later.
Step 2: Block Out Major Hair Sections
Instead of drawing individual strands immediately, think in large, manageable clumps. Anime hair is characterized by distinct sections and spikes, not a tangled mess. Imagine the hair as a series of simplified, flowing shapes.
Draw the main mass of hair around the head, following the general direction you want the style to take. For example, if it’s long hair, sketch the overall silhouette falling over the shoulders. For bangs, block out the general shape covering the forehead.
These large shapes establish the volume and overall silhouette of the hairstyle. Don’t worry about perfection; focus on the general flow and where the hair will sit.
Step 3: Define the Flow and Direction
Hair isn’t static; it moves with gravity, wind, and character action. Use curved lines to suggest the flow and movement of the hair. Think about how the hair would naturally fall from the hairline.
Consider the “root” of each major hair section. Hair always grows outwards from the scalp. Even if it’s spiky, the spikes originate from a point and then shoot outwards. Use gentle curves to guide the eye through the hair.
This step brings life to your drawing. Dynamic flow makes hair look less stiff and more natural, even in exaggerated anime styles. Varying the curve direction adds visual interest.
Step 4: Shape the Bangs and Side Hair
Bangs are a defining feature in many anime styles. Sketch the shape of the bangs, deciding if they are straight, parted, swept, or choppy. Remember, they also follow the hairline and gravity.
Extend the side hair from the temples down towards the jawline or shoulders. Pay attention to how it frames the face. Does it cover the ears, or is it tucked behind them?
Bangs and side hair significantly impact character design and expression. Experiment with different lengths and styles to see what best suits your character’s personality.
Step 5: Add Details and Smaller Clumps
Once the main shapes are in place, begin to refine them. Break down the larger clumps into smaller, more defined sections. These smaller clumps often overlap, creating depth.
Focus on the ends of the hair. Are they sharp and spiky, soft and curly, or blunt? Add a few strategically placed “flyaway” strands to make the hair look less rigid and more realistic. These small details add a lot of character.
Avoid drawing every single strand. Instead, imply texture by drawing a few key strands within each clump. This creates a sense of detail without making the hair look too busy.
Pro Tip: Use slightly jagged or uneven lines for hair ends to give it a more natural, less perfectly sculpted look. Perfect straight lines can make hair appear stiff.
Step 6: Refine Lines and Clean Up
With all the details sketched, it’s time to clean up your drawing. Go over your preferred lines with a darker pencil or ink. Erase all the initial light construction lines and any stray marks.
Ensure that the lines defining the hair clumps are clear and confident. Pay attention to line weight; thicker lines can indicate areas of shadow or where hair overlaps.
This step brings clarity to your artwork. A clean line art makes the hair pop and prepares it for potential coloring or shading.
Step 7: Consider Shading and Lighting
Shading adds depth and volume to anime hair, making it look three-dimensional. Identify your light source first. Where is the light coming from? This dictates where shadows will fall.
Apply shading within the hair clumps, typically under overlapping sections and where the hair curves away from the light. Use darker tones for deeper shadows and lighter tones for areas hit directly by light.
Highlights are just as important. Add small, reflective shapes on the brightest areas of the hair to give it a shiny, dynamic look. These are often simplified shapes, not just white spots.
Step 8: Explore Different Hair Types and Styles
The steps above provide a fundamental approach, but anime hair comes in endless varieties. Practice drawing long, short, curly, spiky, and wavy styles. Each type will require slight adjustments to your initial blocking and flow.
Experiment with accessories like headbands, ribbons, or hair clips. These can add to a character’s personality and provide interesting challenges for how hair interacts with objects.
Don’t be afraid to use references from your favorite anime or real-life photos. Analyzing how different artists tackle various hair textures will greatly expand your repertoire.
Common Mistakes to Avoid
Drawing Individual Strands
Many beginners try to draw every single strand of hair, resulting in a messy, flat, and overwhelming look. Anime hair is stylized; it focuses on clumps and shapes rather than individual hairs. This approach makes the hair look like a tangled wig instead of a coherent, volumetric mass.
Instead, think of hair as large, flowing ribbons or distinct sections. Focus on the overall shape and how these sections interact. Only add a few strategic individual strands for detail or flyaways, primarily at the edges or where sections meet.
Ignoring Gravity and Flow
Hair is affected by gravity, movement, and wind. A common mistake is drawing hair that looks stiff, floating unnaturally, or defying basic physics. This can make a character appear static and unrealistic, even in a stylized art form.
Always consider how gravity would pull the hair down or how movement would cause it to sweep or flow. Use gentle, arcing lines to show direction and movement. Even spiky hair has a base that follows gravitational pull before shooting upwards.
Making Hair Too Flat or Stiff
Without proper consideration for volume and depth, hair can end up looking like a flat helmet painted onto the head. This lack of three-dimensionality makes the character’s head appear odd and the hair unconvincing. Hair should have a sense of weight and fullness.
Remember that hair grows outwards from the scalp, creating space between the head and the outer layer of hair. Always draw the hair with a slight curve or arc away from the head to suggest volume. Shading and highlights further enhance this illusion of depth.
Forgetting the Hairline
Sometimes artists jump straight into drawing the outer silhouette of the hair without establishing where it originates on the scalp. This can lead to hair that looks disconnected from the head, appearing like a hat or a wig. The hairline is crucial for anchoring the hair.
Always start by lightly sketching the skull and the natural hairline. This provides a clear starting point for all hair sections, ensuring they organically grow from the head. Even if bangs cover the hairline, knowing its position helps create a believable foundation.
Troubleshooting
Hair Looks Unnatural or Stiff
If your anime hair appears rigid or doesn’t feel natural, you might be relying too much on straight lines or symmetrical shapes. Hair is organic and dynamic, full of curves and subtle imperfections.
Solution: Focus on using more curved and flowing lines. Introduce asymmetry and varying lengths within your hair clumps. Try exaggerating the flow in one direction, as if a gentle breeze is passing through it. References of real hair or other anime styles can help you identify more natural-looking curves and breaks.
Difficulty with Volume
Struggling to make the hair look full and three-dimensional, leading to a flat appearance? This often happens when you draw the hair too close to the head or neglect the space hair occupies.
Solution: Always remember that hair has thickness and grows away from the scalp. When you block out the main shapes, draw them with a noticeable gap between the hair and the skull outline. Use shading to create shadows under overlapping clumps and highlights on the outer surfaces, enhancing the illusion of volume.
Styling Different Hair Types
It can be challenging to adapt the basic steps for various hair lengths and textures, like short, curly, or super spiky hair. Each type has its own characteristics and flow.
Solution: For short hair, focus on defining sharp, distinct clumps that follow the head shape closely. For curly hair, use softer, more rounded, and overlapping “C” or “S” curves to represent the coils. For spiky hair, exaggerate the sharp angles and directions of the clumps, making sure they still originate from a central point. Always use plenty of references for the specific style you’re aiming for.
Key Takeaways
- Always begin by establishing the head shape and a realistic hairline.
- Think of hair in large, flowing clumps and sections, not individual strands.
- Emphasize dynamic flow and movement using curved lines to avoid stiffness.
- Use shading and highlights effectively to create depth, volume, and shine.
- Regularly use references to study various anime hairstyles and real hair dynamics.
- Don’t be afraid to experiment with different styles and accessories for your characters.
Frequently Asked Questions
How do I make anime hair look shiny?
To make anime hair look shiny, strategically place sharp, distinct highlights on the areas where light would directly hit. These are often simplified shapes like elongated ovals, triangles, or even small rectangles. The contrast between these bright highlights and the surrounding darker shaded areas creates the illusion of gloss and reflectivity.
What’s the best way to draw different hair lengths?
The best way to draw different hair lengths is to adjust the initial blocking of major hair sections. For short hair, the clumps will follow the head shape more closely. For long hair, focus on how the overall mass flows down the back or shoulders, paying attention to gravity and how it drapes. Always consider the origin point at the hairline and how the hair extends from there.
Should I use references when drawing anime hair?
Absolutely! Using references is incredibly helpful, even for stylized anime hair. Look at photos of real hairstyles to understand how hair behaves with gravity, how light reflects off it, and how different textures form. Also, study anime screenshots or character designs to see how various artists stylize hair effectively. References are a learning tool, not a crutch.
How do I draw male versus female anime hair?
Drawing male versus female anime hair often comes down to common styling conventions, though creativity knows no bounds. Female hair often features softer curves, more volume, and a wider range of accessories like ribbons or braids. Male hair frequently incorporates sharper angles, spikier textures, or shorter, more structured cuts. However, these are general trends; many anime characters defy these norms, so focus on the character’s personality.
Our Top Recommended Finds
- Graphite Pencil Set (HB, 2B, 4B): These pencils offer a range of hardness for light sketching, defining lines, and adding darker shadows.
- Sketchbook with Smooth, Acid-Free Paper: Quality paper makes a big difference in how your pencil glides and how colors (if you add them) appear.
- Kneaded Eraser: Perfect for lifting pencil marks gently without damaging the paper, allowing for clean corrections and soft highlights.
Your Journey to Masterful Anime Hair Continues!
You’ve taken the first exciting steps toward drawing captivating anime hair. Remember that every artist’s journey is unique, filled with discovery and continuous improvement. The real magic happens when you pick up your tools and start creating.
Don’t be afraid to experiment with the techniques you’ve learned. Try combining different styles, pushing the boundaries, and infusing your own unique flair into each character’s hair. Your next step could be exploring how hair interacts with dynamic poses or how to render it in full color. Keep drawing, keep practicing, and watch your skills grow with every stroke.
& Painting
No rigid rules or pretension. Just practical guides, medium comparisons, and encouraging tips to help you enjoy the drawing & painting process.