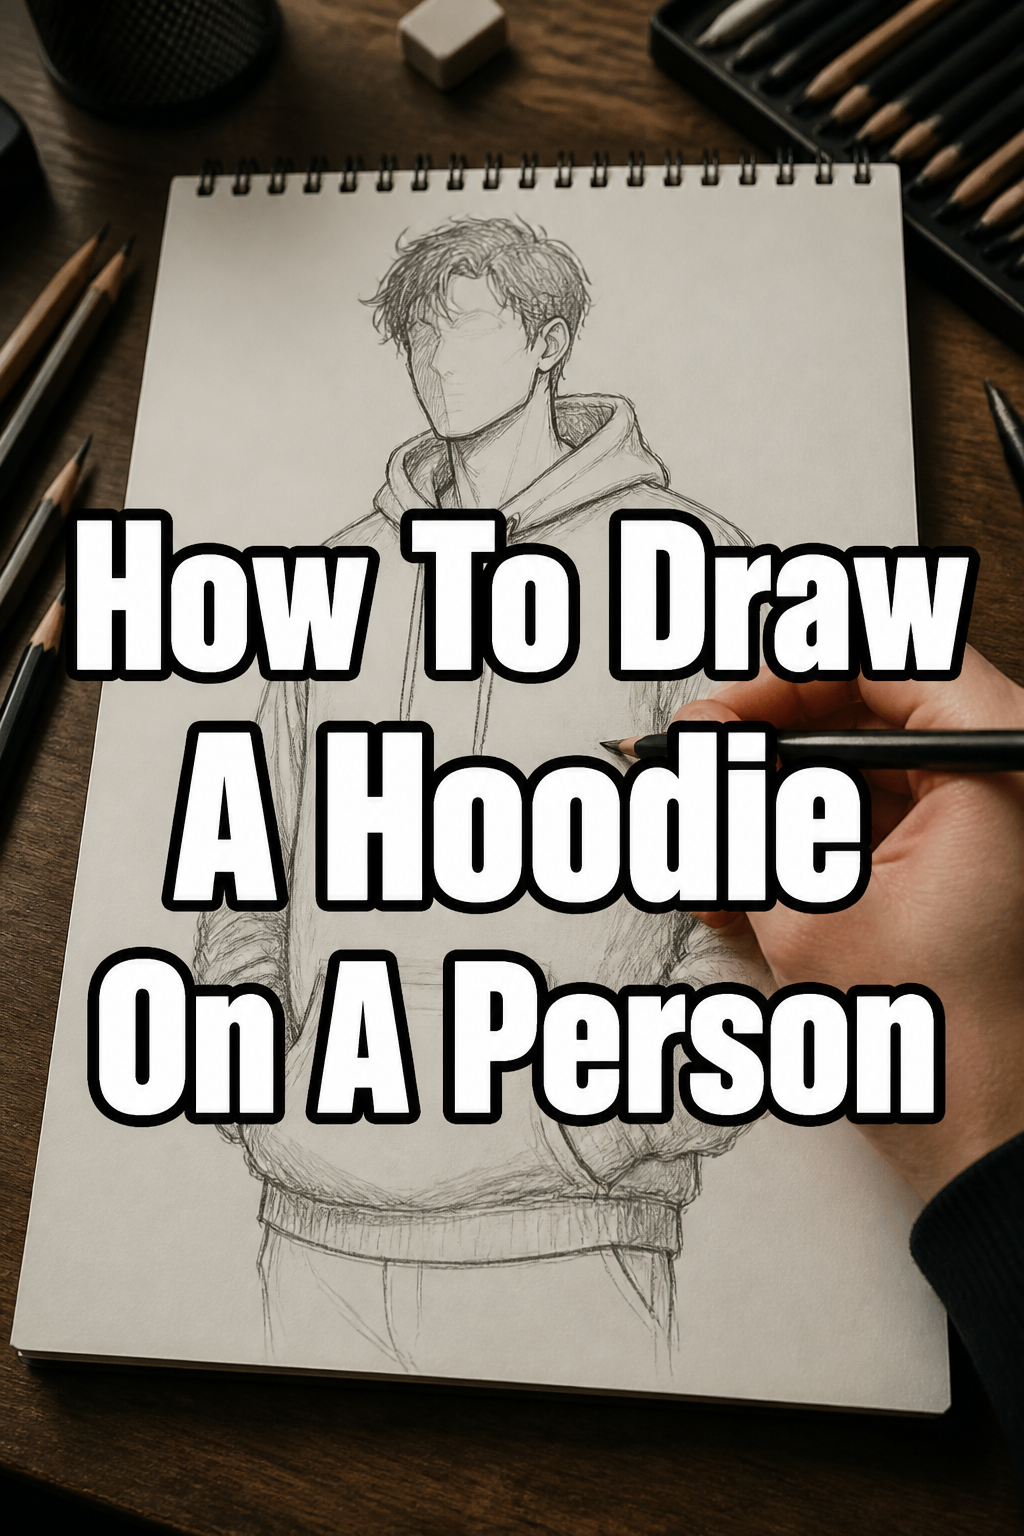
👕 How To Draw A Hoodie On A Person

& Painting
No rigid rules or pretension. Just practical guides, medium comparisons, and encouraging tips to help you enjoy the drawing & painting process.
Drawing clothing can feel daunting, especially when trying to capture the way fabric drapes and folds. Hoodies, with their unique structure and relaxed fit, present a fun challenge.
I remember struggling with the sleeves and hood shape when I first started, but consistent practice and understanding basic principles made all the difference. This guide will walk you through each element, helping you create a realistic and dynamic hoodie on your characters. You’ll gain the confidence to make your figures look truly dressed.
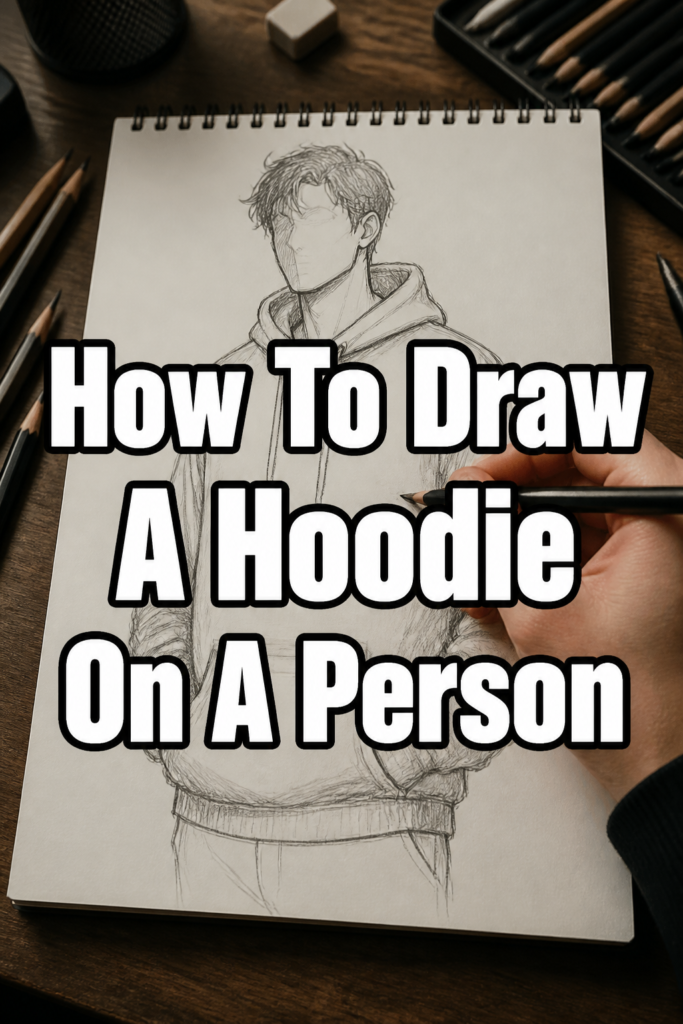
Quick Overview
This guide will equip you with the knowledge to sketch a convincing hoodie, from its initial shape to the intricate details of fabric folds. You’ll learn to see clothing as a secondary layer that interacts with the body underneath.
- Time needed: 30-60 minutes (depending on detail)
- Difficulty: Intermediate
- What you’ll need: Pencil (HB, 2B), eraser, paper, reference images (optional)
Step-by-Step Instructions
Step 1: Establish the Figure’s Form
Begin by lightly sketching the basic human figure underneath where the hoodie will sit. This foundational step is crucial, as clothing always conforms to the body’s structure. Think of simple shapes like ovals for joints and cylinders for limbs.
You don’t need a fully detailed figure, just enough to understand the pose and proportions. This under-drawing acts as your guide for where the fabric will stretch, sag, or fold.
Remember to keep these initial lines very faint. They will be erased later, or simply covered by the hoodie’s details.
Step 2: Outline the Main Body Shape of the Hoodie
Now, draw the general silhouette of the hoodie, keeping it slightly larger than the figure’s torso. Hoodies are typically loose-fitting, so allow for some space between the fabric and the body. Pay attention to how the hoodie hangs from the shoulders.
The bottom hem usually sits around the hips, but this can vary based on style. Consider the overall volume and how it contrasts with the figure’s body.
Pro Tip: Think of the hoodie as a separate, soft shell. It won’t hug the body tightly in most areas, creating a relaxed, almost boxy shape around the torso.
Step 3: Sketch the Hood’s Basic Form
The hood is a defining feature. Start by drawing a large, rounded shape that emerges from the back of the neck and drapes over the shoulders. Its size and how it sits will depend on whether it’s up or down.
If the hood is down, it will form a substantial mass around the neck and upper back. Focus on its weight and how it folds onto itself.
Consider the opening of the hood where the head would emerge. This creates a distinct curve at the front.
Step 4: Define the Sleeves and Cuffs
Extend the hoodie’s main body into the sleeves. These should also be somewhat loose, especially around the upper arm. Observe how sleeves typically taper towards the wrist.
Add ribbed cuffs at the end of each sleeve. These cuffs are usually tighter than the rest of the sleeve, creating a slight gathering of fabric above them. Show this gathering with a few gentle curves.
Pay attention to how the sleeves interact with any arm bends. Fabric will naturally bunch at the elbows.
Step 5: Add the Kangaroo Pocket
Most hoodies feature a large kangaroo pocket on the front. Draw this as a single, large, slightly curved rectangle or oval shape on the lower front torso. It often has openings on either side.
Consider the depth and how it might sag slightly in the middle. The top edge of the pocket will usually be quite flat, while the bottom will curve with the fabric.
The pocket will also create its own subtle folds and shadows, especially where the hands might rest inside.
Step 6: Introduce the Drawstrings and Eyelets
Drawstrings are a small but important detail. These typically emerge from two small eyelets near the hood’s opening. Sketch the eyelets as tiny circles.
Then, draw the drawstrings as two parallel lines, often with a knot or metal tip at the end. They will hang down the front of the hoodie.
Show the drawstrings curving and overlapping slightly, indicating their soft nature. They might even cast a small shadow.
Step 7: Develop Fabric Folds and Wrinkles
This is where the hoodie truly comes alive. Focus on key areas where fabric naturally bunches or stretches. These include the armpits, elbows, shoulders, and around the bottom hem.
Folds often radiate from points of tension, like the shoulders or where an arm bends. Use curved lines to suggest these wrinkles, rather than straight, harsh ones.
Remember that fabric folds are not random; they follow the underlying form and the direction of gravity. Look for Y-shaped or V-shaped folds.
Pro Tip: Imagine the fabric being pulled. Where is it taut, and where is it loose? Loose areas will have more dramatic, softer folds, while taut areas will show stretched lines.
Step 8: Refine Lines and Add Shading
Once you’re satisfied with the structure and folds, go back and darken your primary lines. Erase any unnecessary construction lines from your initial figure sketch.
Apply shading to give the hoodie depth and volume. Identify your light source and shade accordingly. Areas in shadow, like under the hood, within deep folds, or under the arms, will be darker.
Use a softer pencil (like 2B) for shading. Blend your shadows for a smooth transition, but leave some harder edges to define the folds.
Step 9: Detail the Ribbing and Texture
Add subtle details to the ribbed cuffs and hem. These areas often have visible vertical lines or a slightly different texture. You can suggest this with a series of short, parallel lines.
Consider the fabric texture itself. If it’s a thick fleece, it might have a softer, less defined appearance than a thinner cotton. You can convey this through your shading and line work.
Small touches, like stitching lines along seams, can also enhance realism. Don’t overdo it, but a few well-placed details make a difference.
Common Mistakes to Avoid
Making the Hoodie Too Tight
A common error is drawing the hoodie as if it’s painted onto the person’s body. Hoodies are inherently loose garments. If you draw it too close to the figure’s outline, it loses its characteristic relaxed feel and appears more like a tight shirt. Always leave some breathing room between the fabric and the underlying form, especially around the torso and upper arms.
Ignoring Gravity and Form
Fabric doesn’t just float; it’s affected by gravity and the body beneath. Drawing folds without considering these forces can make the hoodie look stiff or unrealistic. Folds should drape, sag, and bunch logically, responding to the figure’s pose and the garment’s weight. Always think about how the fabric would naturally fall.
Overcomplicating Folds
While folds are crucial, too many or overly complex wrinkles can make the drawing look messy and confusing. Focus on the most prominent folds that define the shape and movement of the fabric. Use a few strong, well-placed lines rather than many small, chaotic ones. Simplicity often leads to greater clarity and impact.
Symmetrical Pockets and Drawstrings
While the kangaroo pocket and drawstrings might seem symmetrical, in reality, they rarely are perfectly aligned. The fabric will pull and shift, causing slight variations. Drawing them perfectly symmetrical can make the hoodie appear stiff and unnatural. Introduce subtle differences in their placement and how they hang to add a touch of realism.
Troubleshooting
My Hoodie Looks Flat and Lifeless
If your drawing lacks depth, it’s likely due to insufficient attention to folds and shading. Review your fabric folds, ensuring they radiate from tension points and respond to gravity. Add more contrast with shading, deepening shadows in areas like under the hood, in armpits, and within deep creases. Stronger light and shadow will create a sense of three-dimensionality.
The Hood Doesn’t Sit Right
A misplaced or oddly shaped hood can throw off the entire drawing. Start by ensuring the hood attaches correctly at the neck seam. If it’s down, it should have enough mass to rest naturally on the shoulders and upper back, creating a substantial drape. If it’s up, it needs to be large enough to comfortably contain the head, with folds around the face opening. Use reference images to observe how hoods sit on real people.
The Sleeves Look Stiff
Stiff sleeves often result from drawing them too straight or too tight. Remember that hoodie sleeves are typically loose. Introduce gentle curves and subtle folds, especially around the elbows and wrists, to convey the softness of the fabric. The cuffs should gather the fabric above them, not just end abruptly. Loosen up your lines and think about the natural flow of the material.
Key Takeaways
- Always start with a foundational sketch of the human figure to guide your clothing placement.
- Allow ample space between the hoodie and the body to capture its characteristic loose fit.
- Focus on the main components first: the torso, hood, sleeves, and pocket, before adding details.
- Fabric folds are crucial for realism; they follow gravity and the underlying body’s movement.
- Shading adds depth and volume, transforming a flat sketch into a three-dimensional garment.
- Practice observing real-life hoodies to understand how they drape and wrinkle in various poses.
Frequently Asked Questions
How do I make the fabric look soft?
To make fabric look soft, focus on using curved, flowing lines for your folds rather than sharp, angular ones. Avoid harsh outlines. When shading, use smooth transitions between light and shadow, and consider blending your pencil strokes. A softer, more diffused light source in your mental model can also help.
Should I draw the entire person first?
It’s highly recommended to at least draw a basic mannequin or stick figure of the person’s pose first. This provides a crucial framework for the hoodie, ensuring it drapes realistically over the body’s proportions and movement. You don’t need to draw every detail of the person, just enough to establish the form.
How do I draw a hood that’s pulled up?
When drawing a hood pulled up, the opening for the face becomes a key element. The fabric will typically gather around the neck and shoulders, and the top of the hood will often have a slight peak or curve. Pay attention to how the fabric folds around the sides of the face and neck. The drawstrings will also hang differently, possibly tighter.
What’s the best way to practice drawing fabric?
The best way to practice drawing fabric is through observation. Look at photos of people in hoodies, or even better, observe a real hoodie on a person or draped over an object. Pay close attention to how light hits the fabric, where shadows form, and how folds are created by tension and gravity. Sketching from life or photos is incredibly effective.
Our Top Recommended Finds
- Good Quality Sketchbook: A durable sketchbook with paper that can handle multiple layers and erasing is essential for practice.
- Set of Graphite Pencils (HB, 2B, 4B): Having a range of hardness allows you to create light construction lines and rich, dark shadows.
- Kneaded Eraser: This type of eraser is perfect for lifting graphite gently without damaging the paper, ideal for refining lines and subtle highlights.
Embrace Your Artistic Journey
You now have a clear roadmap for drawing a hoodie on a person, from the initial figure to the subtle nuances of fabric. Each step builds on the last, guiding you toward a complete and realistic depiction.
Don’t be afraid to experiment with different poses and hoodie styles. The more you practice, the more intuitive the process will become. Pick up your pencil today and bring your characters to life with dynamic and believable clothing.
& Painting
No rigid rules or pretension. Just practical guides, medium comparisons, and encouraging tips to help you enjoy the drawing & painting process.