✏️ How To Draw Step By Step For Beginners

& Painting
No rigid rules or pretension. Just practical guides, medium comparisons, and encouraging tips to help you enjoy the drawing & painting process.
I remember sitting at my kitchen table years ago, staring at a blank piece of paper and feeling completely paralyzed.
I wanted to create something beautiful, but my hands felt clumsy and every line I drew looked like a tangled mess of wire.
After years of filling sketchbooks and teaching others, I realized that drawing is not a magical gift, but a series of logical steps that anyone can master with patience.
Quick Overview
This guide will take you from a blank page to a finished sketch by teaching you the foundational mechanics of art.
- Time needed: 30 to 60 minutes per practice session
- Difficulty: Beginner
- What you’ll need: A graphite pencil (HB or 2B), an eraser, a sharpener, and plain white paper.
Step-by-Step Instructions
Step 1: Train Your Eyes to See Shapes
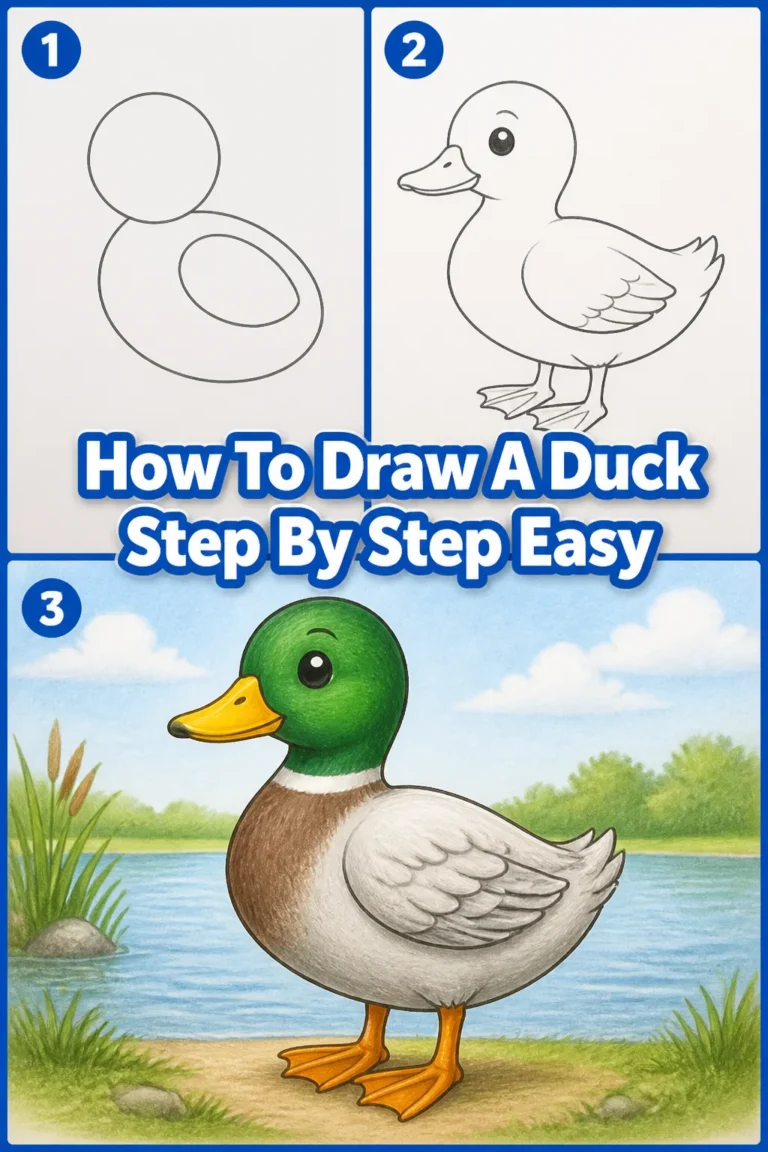
Observe the world around you not as “things,” but as a collection of simple geometric forms.
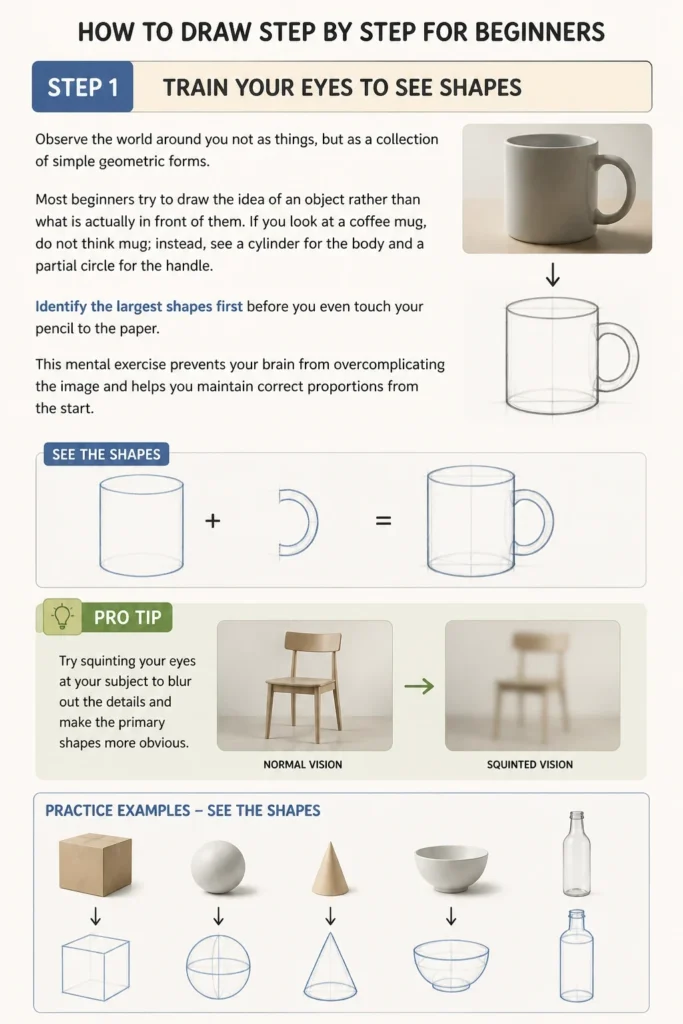
Most beginners try to draw the “idea” of an object rather than what is actually in front of them.
If you look at a coffee mug, do not think “mug”; instead, see a cylinder for the body and a partial circle for the handle.
Identify the largest shapes first before you even touch your pencil to the paper.
This mental exercise prevents your brain from overcomplicating the image and helps you maintain correct proportions from the start.
Pro Tip: Try squinting your eyes at your subject to blur out the details and make the primary shapes more obvious.
Step 2: Build a Light Scaffolding
Sketch the basic shapes you identified in the previous step using very light, airy strokes.
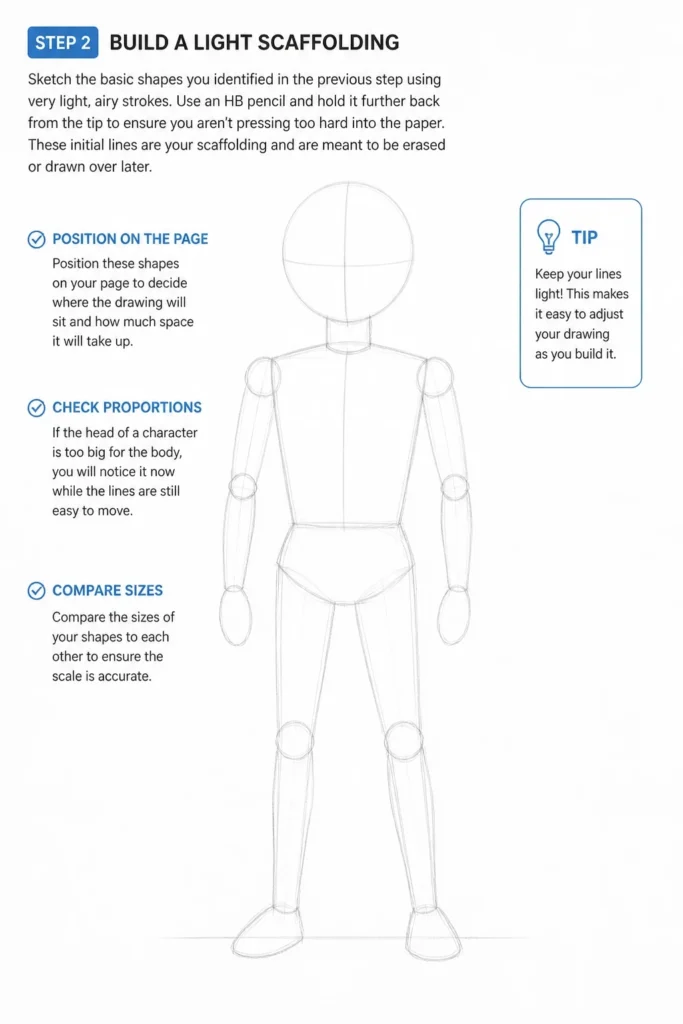
Use an HB pencil and hold it further back from the tip to ensure you aren’t pressing too hard into the paper.
These initial lines are your “scaffolding” and are meant to be erased or drawn over later.
Position these shapes on your page to decide where the drawing will sit and how much space it will take up.
If the head of a character is too big for the body, you will notice it now while the lines are still easy to move.
Compare the sizes of your shapes to each other to ensure the scale is accurate.
Step 3: Refine the Contours
Connect your basic shapes with more specific, descriptive lines that define the outer edge of your subject.
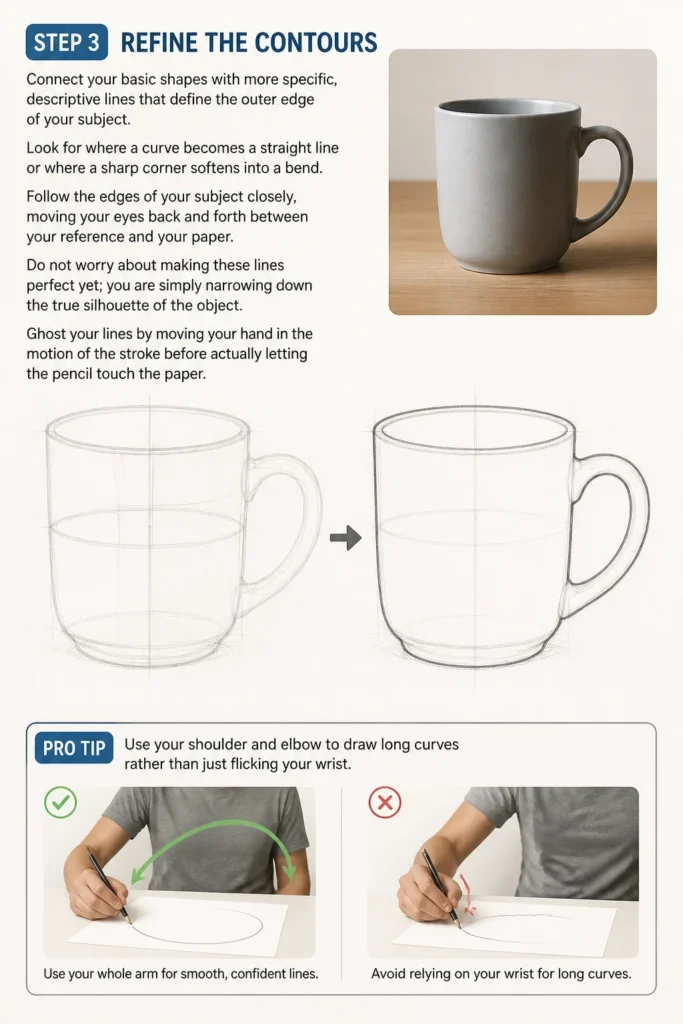
Look for where a curve becomes a straight line or where a sharp corner softens into a bend.
Follow the edges of your subject closely, moving your eyes back and forth between your reference and your paper.
Do not worry about making these lines perfect yet; you are simply narrowing down the “true” silhouette of the object.
Ghost your lines by moving your hand in the motion of the stroke before actually letting the pencil touch the paper.
Pro Tip: Use your shoulder and elbow to draw long curves rather than just flicking your wrist.
Step 4: Establish a Light Source
Pick one direction from which the light is hitting your object and stick to it throughout the drawing.
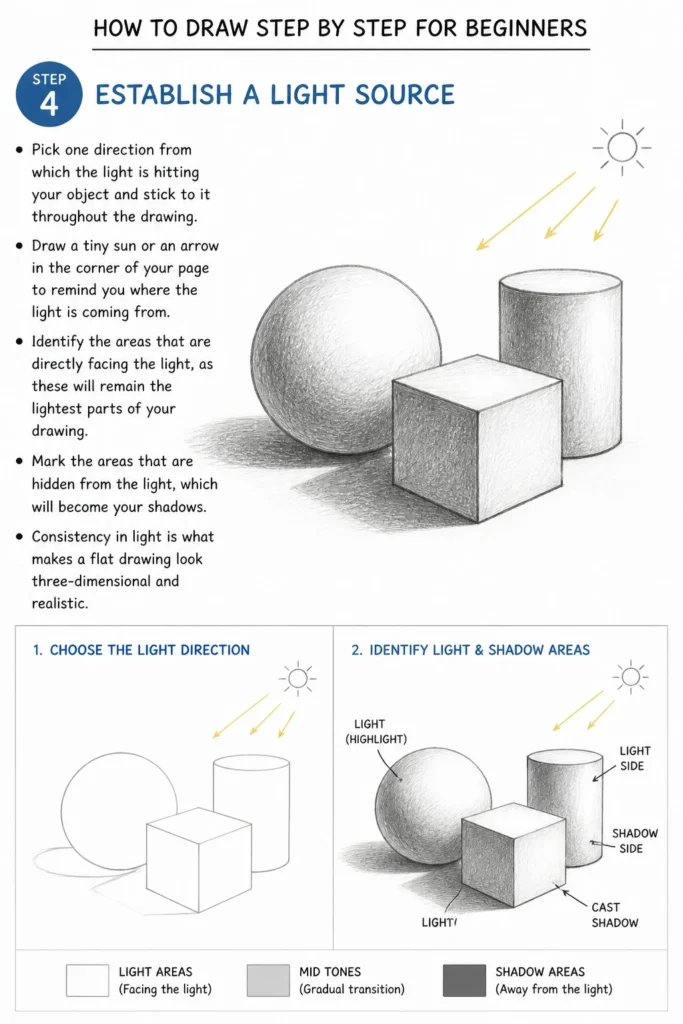
Draw a tiny sun or an arrow in the corner of your page to remind you where the light is coming from.
Identify the areas that are directly facing the light, as these will remain the lightest parts of your drawing.
Mark the areas that are hidden from the light, which will become your shadows.
Consistency in light is what makes a flat drawing look three-dimensional and realistic.
Step 5: Apply Basic Values
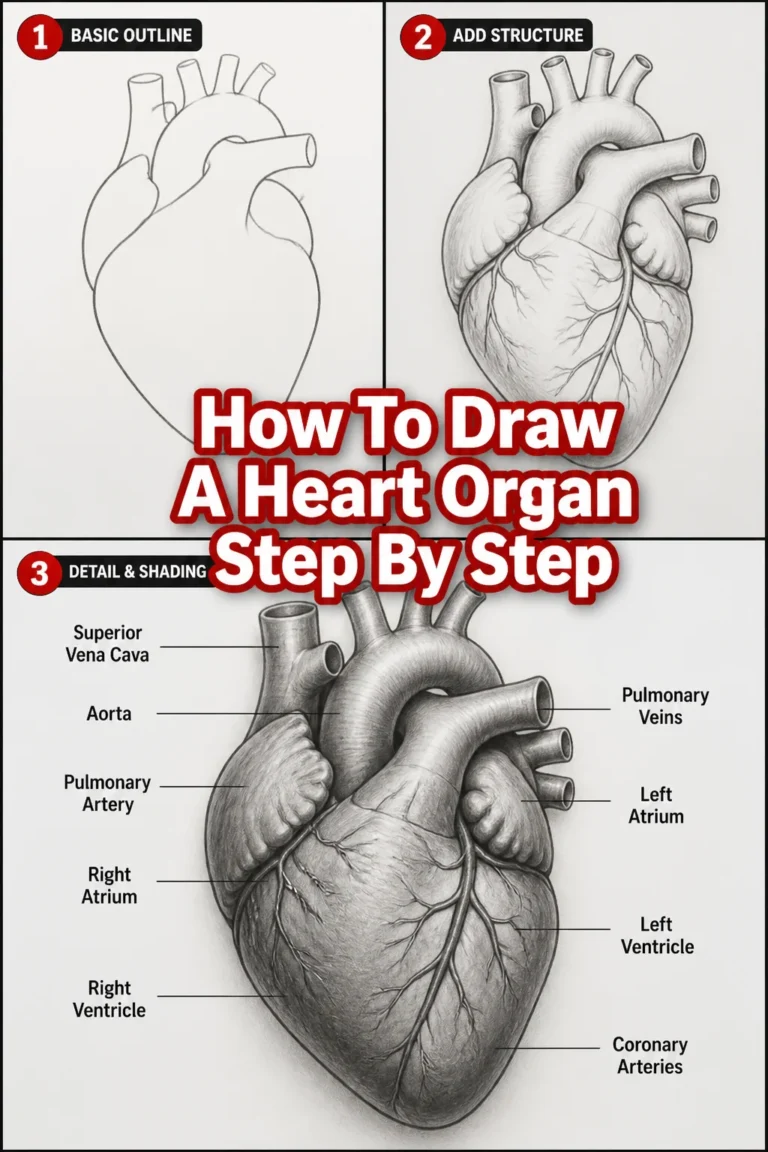
Fill in the shadow areas with a consistent layer of medium-gray tone.
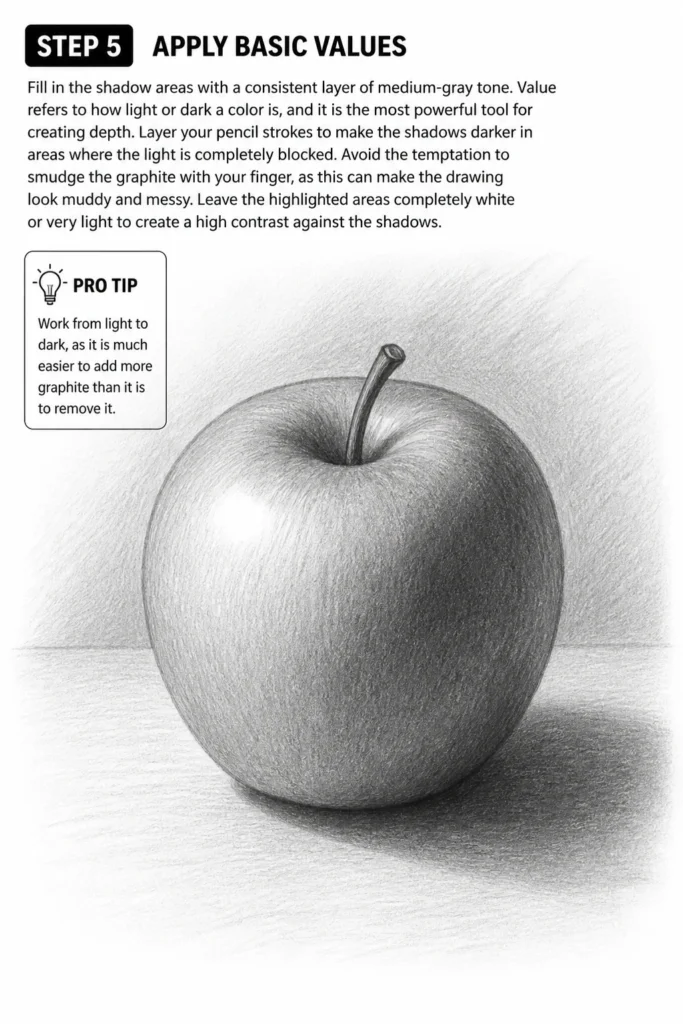
Value refers to how light or dark a color is, and it is the most powerful tool for creating depth.
Layer your pencil strokes to make the shadows darker in areas where the light is completely blocked.
Avoid the temptation to smudge the graphite with your finger, as this can make the drawing look muddy and messy.
Leave the highlighted areas completely white or very light to create a high contrast against the shadows.
Pro Tip: Work from light to dark, as it is much easier to add more graphite than it is to remove it.
Step 6: Add Texture and Detail
Focus on the small characteristics that give your subject personality, like the grain of wood or the softness of fur.
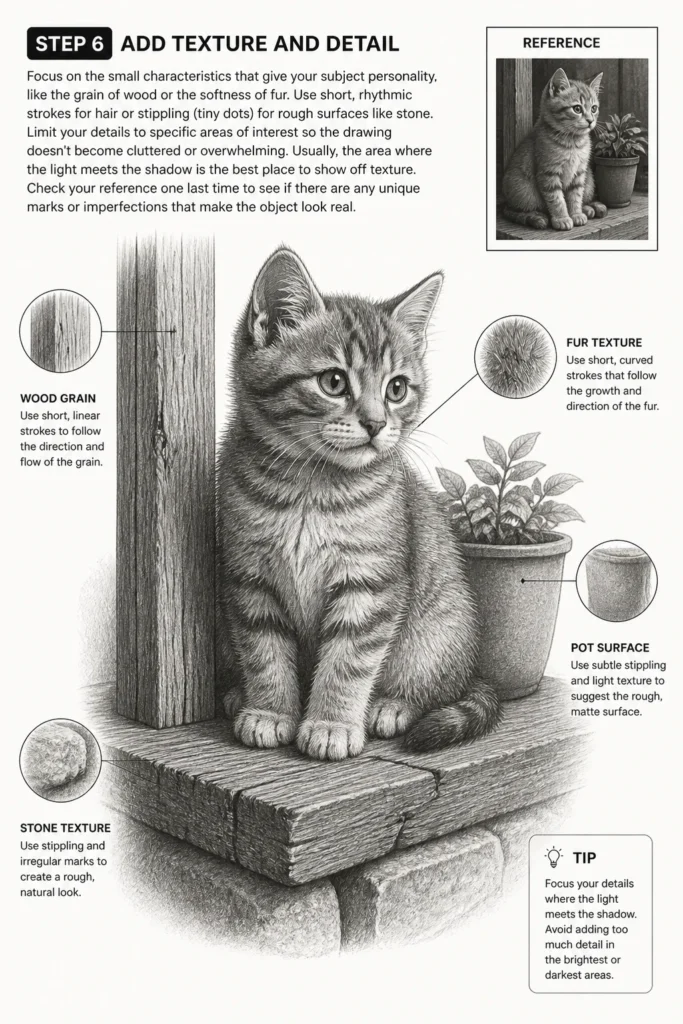
Use short, rhythmic strokes for hair or stippling (tiny dots) for rough surfaces like stone.
Limit your details to specific areas of interest so the drawing doesn’t become cluttered or overwhelming.
Usually, the area where the light meets the shadow is the best place to show off texture.
Check your reference one last time to see if there are any unique marks or “imperfections” that make the object look real.
Step 7: Clean and Finalize
Erase any of the original scaffolding lines that are still visible or distracting from the final image.
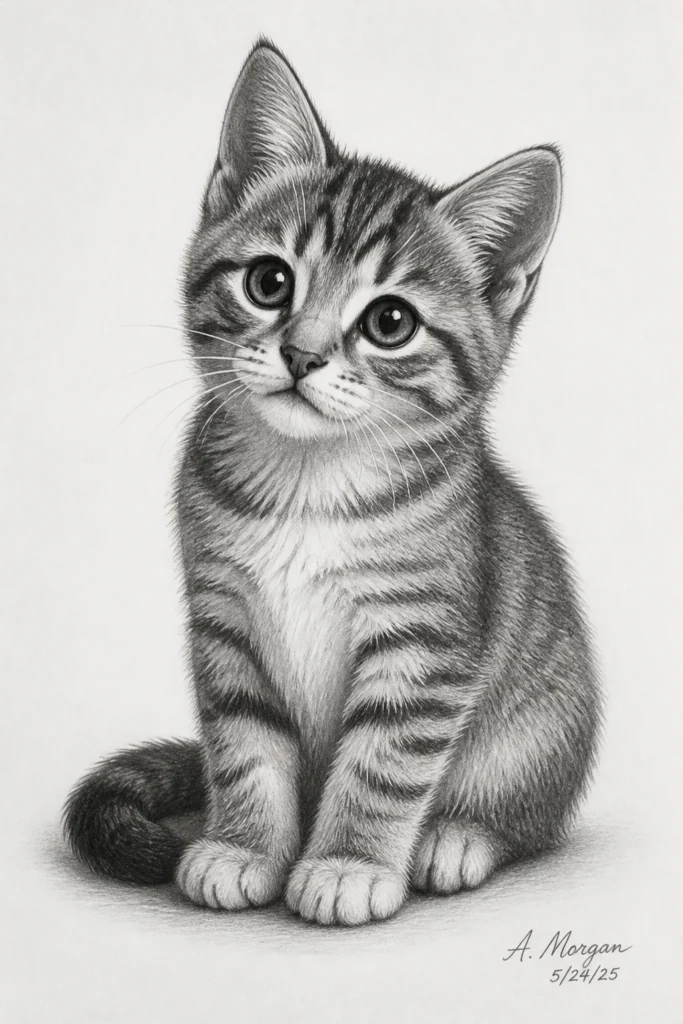
Use a kneaded eraser to gently dab away excess graphite without damaging the surface of the paper.
Darken the most important lines and the deepest shadows to give the drawing a “finished” look.
Check the overall balance of the piece and ensure that the darkest darks and lightest lights are working together.
Sign your work in the corner, as this builds confidence and helps you track your progress over time.
Common Mistakes to Avoid
Pressing Too Hard Too Soon
Many beginners dig their pencil into the paper during the initial sketching phase.
This creates deep grooves in the paper that are impossible to erase even if you remove the graphite.
Keep your hand relaxed and your lines barely visible until you are certain of the placement.
Focusing on Details First
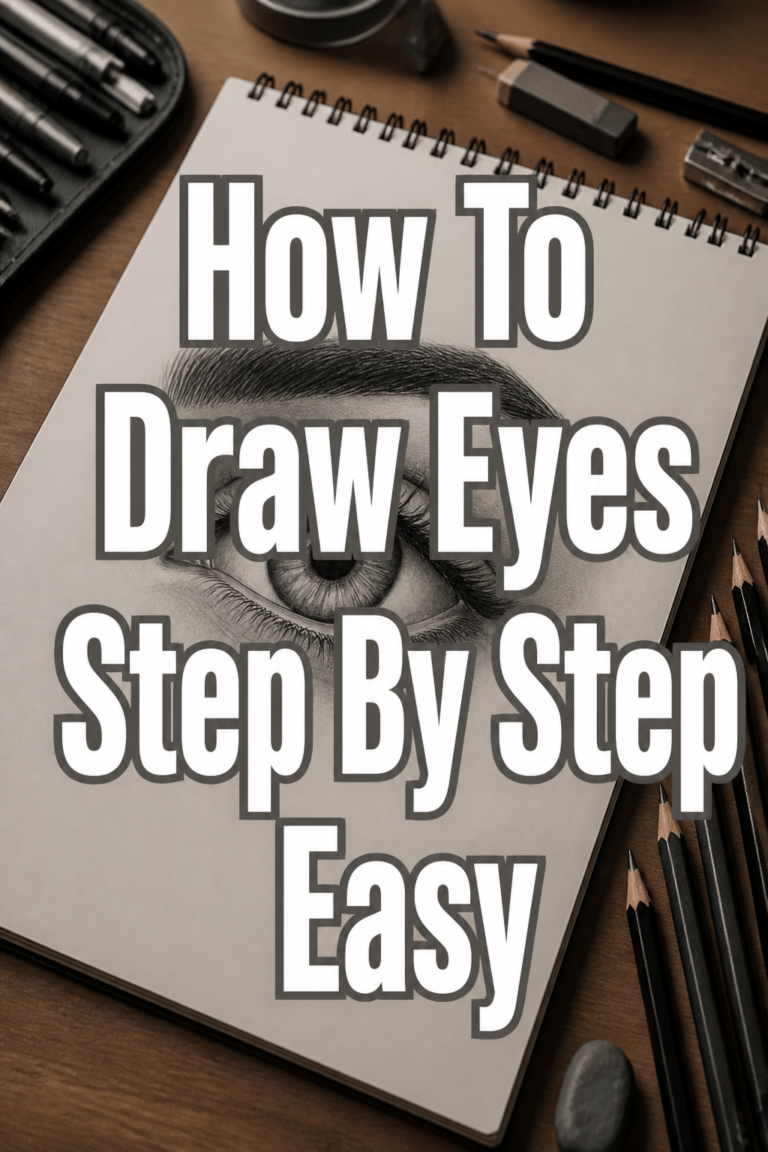
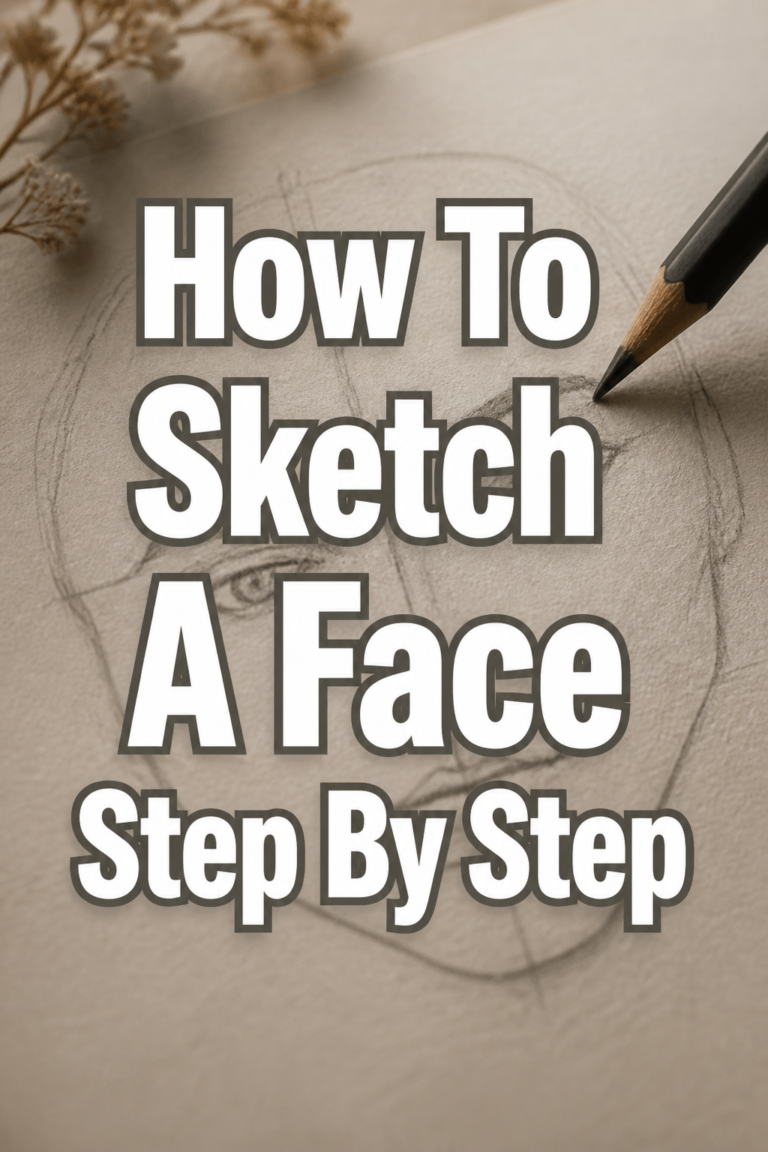
It is tempting to draw the beautiful eyelashes of an eye before you have even sketched the shape of the skull.
If the underlying structure is wrong, no amount of beautiful detail will save the drawing.
Always work from the largest shapes down to the smallest details in a systematic way.
Drawing What You Think You See
Our brains have “symbols” for things, like a generic “eye” shape or a “tree” shape.
When you draw from these symbols, your work looks like a cartoon rather than a realistic representation.
Force yourself to look at the specific angles and unique curves of the actual object in front of you.
Troubleshooting
The Drawing Looks Flat
Flatness usually happens when there isn’t enough contrast between your lights and your darks.
Check your shadow areas and see if you can make them significantly darker with a 2B or 4B pencil.
Adding a “cast shadow” on the surface the object is sitting on can also help ground it in space.
Proportions Feel “Off”
If something looks wrong but you can’t tell why, try looking at your drawing in a mirror.
Reversing the image gives your brain a fresh perspective and makes mistakes in symmetry or scale jump out at you.
You can also turn your drawing upside down to see the shapes more clearly without the distraction of the subject matter.
Smudging and Messy Pages
As you move your hand across the paper, you might accidentally drag your palm through the graphite.
Place a clean sheet of scrap paper under your drawing hand to act as a barrier between your skin and the sketch.
Work from the top-left to the bottom-right (if you are right-handed) to minimize contact with finished areas.
Key Takeaways
- Break every complex object down into basic circles, squares, and triangles before adding detail.
- Maintain a light touch during the beginning stages to allow for easy corrections and refinements.
- Define a consistent light source to create a sense of three-dimensional form and depth.
- Prioritize the overall structure and proportions over small textures and finishing touches.
- Use a range of values from bright white to deep black to make your drawing pop off the page.
- Practice regularly to build the muscle memory and observational skills required for artistic growth.
Frequently Asked Questions
Do I need expensive pencils to start drawing?
No, you can learn the basics of drawing with a standard yellow number two pencil found in any office supply store.
While professional pencils offer a wider range of softness and darkness, they are not necessary for practicing foundational skills.
Focus on your technique and observation first, then upgrade your tools as you become more comfortable.
How long does it take to get good at drawing?
Drawing is a lifelong journey, but most people see a significant improvement within just a few weeks of daily practice.
Consistency is more important than the length of each session, so even fifteen minutes a day can yield great results.
Be patient with yourself and remember that every “bad” drawing is a necessary step toward a good one.
Should I draw from life or from photos?
Drawing from life is generally better for beginners because it teaches you how to translate 3D space onto a 2D surface.
Photos are already flat, which does some of the work for you but can limit your understanding of volume.
Try to mix both methods to keep your practice interesting and to challenge your spatial awareness.
What should I draw first as a beginner?
Start with simple, inorganic objects like fruit, coffee mugs, or books that have clear, stable shapes.
These subjects don’t move and allow you to take your time studying how light interacts with their surfaces.
Once you feel confident with these, you can move on to more complex subjects like plants, animals, or faces.
Our Top Recommended Finds
- Kneaded Eraser: This pliable tool can be molded into any shape to lift graphite precisely without leaving crumbs.
- Sketchbook with Heavyweight Paper: A dedicated book with thick pages prevents your drawings from bleeding through and keeps your progress in one place.
- Graphite Pencil Set (H to 6B): Having a variety of lead hardness allows you to achieve much deeper shadows and finer light lines.
Start Your Artistic Journey Today
The hardest part of drawing is often just putting the pencil to the paper for the first time.
Now that you understand the process of seeing shapes and building a sketch, pick up a pencil and find something simple to draw right now.
You might want to explore the world of charcoal drawing or dive into perspective techniques next to further expand your skills.
Every line you draw today is building the foundation for the masterpieces you will create tomorrow.
& Painting
No rigid rules or pretension. Just practical guides, medium comparisons, and encouraging tips to help you enjoy the drawing & painting process.